Create and manage protection policies for Fabric (preview)
This article describes how to create, edit, and delete Microsoft Purview protection policies for Microsoft Fabric. Its target audience is security and compliance admins who need to create protection policies for Fabric.
For an overview of how protection policies for Fabric work, see Protection policies in Fabric (preview).
Note
Microsoft Purview protection policies for Fabric are currently being rolled out and may not be immediately available in all tenants.
Prerequisites
To create a protection policy, the following requirements must be met:
You must have a Microsoft 365 E3/E5 license as required for sensitivity labels from Microsoft Purview Information Protection. For more information, see Microsoft Purview Information Protection: Sensitivity labeling.
You must have at least the Information Protection Admin role to create protection policies in the Microsoft Purview portal. The Information Protection Admin role is assigned by default under the Compliance Administrator role group.
At least one "appropriately configured" sensitivity label from Microsoft Purview Information Protection must exist in the tenant. "Appropriately configured" in the context of protection policies for Fabric means that when the label was configured, it was scoped to Files & other data assets, and its protection settings were set to include Control access (for information about sensitivity label configuration, see Create and configure sensitivity labels and their policies). Only such "appropriately configured" sensitivity labels can be used to create the protection policies for Fabric.
Create a protection policy for Fabric
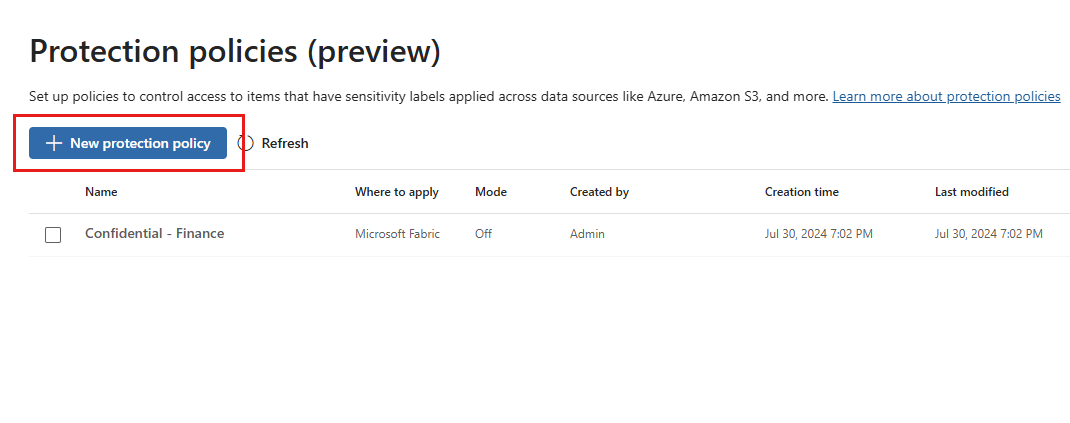
Open the Protection policies (preview) page in the Microsoft Purview portal.
https://purview.microsoft.com/informationprotection/protectionpolicy.
On the Protection policies (preview) page, select New protection policy.
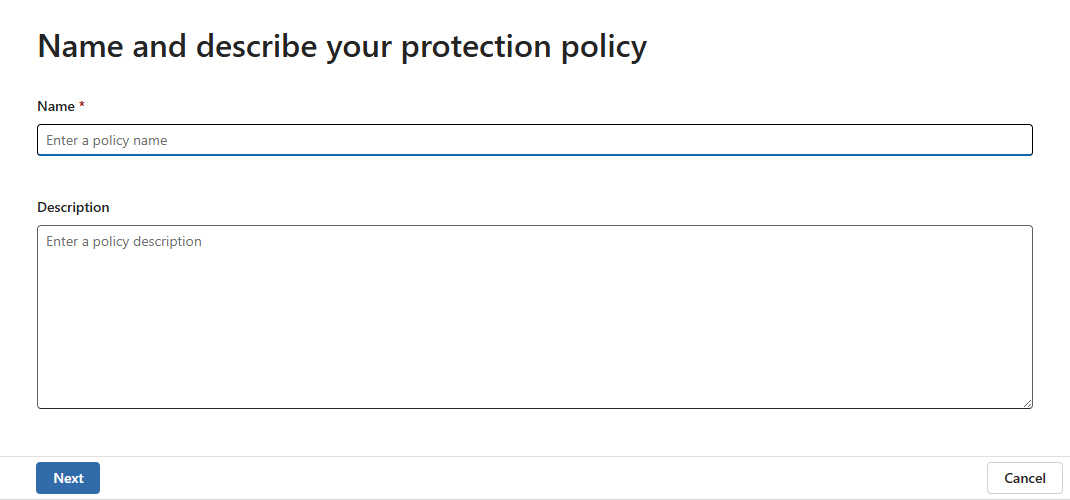
On the Name and describe your protection policy page, provide a name and description for the policy. When done, select Next.
On the Choose the sensitivity label used to detect sensitive items page, select + Add sensitivity label and choose the sensitivity label you want to associate with the policy. The label must be a label that applies encryption and is correctly configured. See the prerequisites for details. You can select only one label per policy.
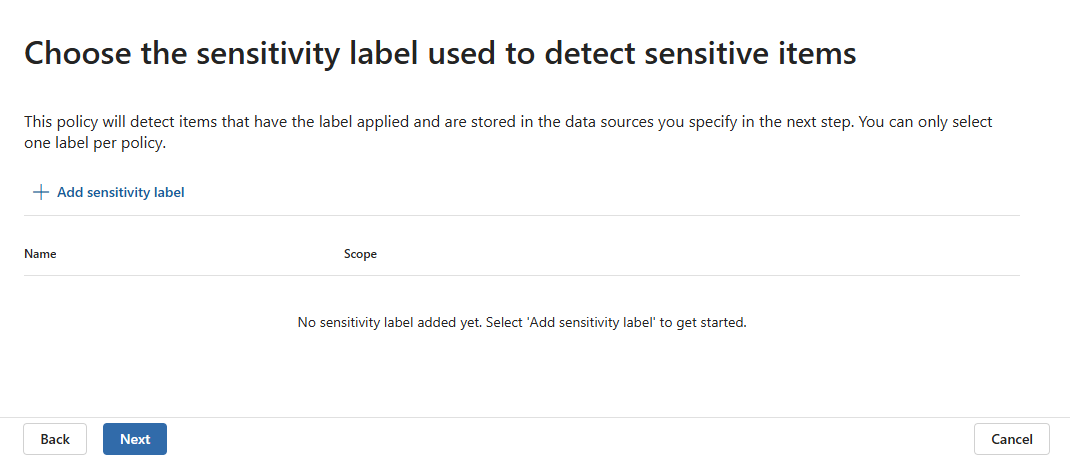
After you've chosen the label, select Add and then Next.
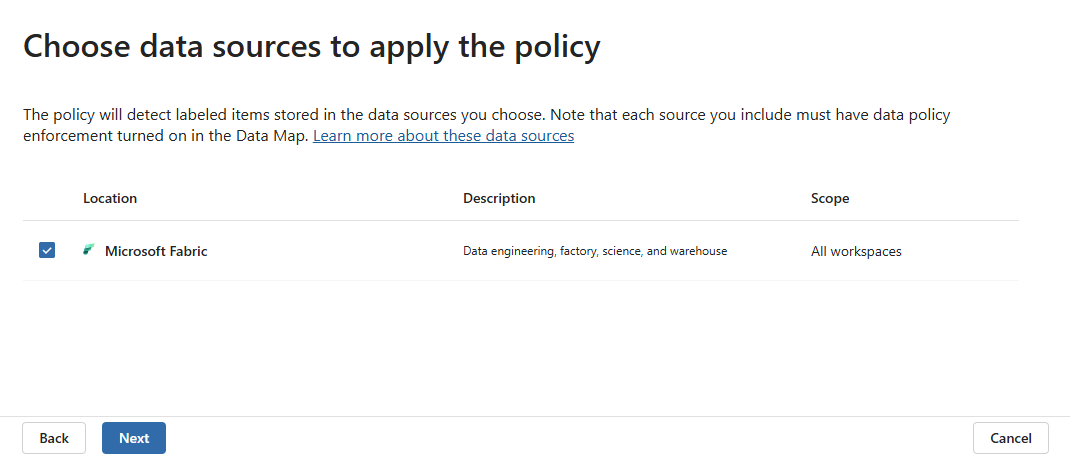
On the Choose data sources to apply the policy page, select Microsoft Fabric. If you see multiple data sources listed, be sure to select only Fabric. The policy will apply to supported item types in all workspaces. When done, select Next.
On the Define access control settings page, select the access controls you'd like to apply to items labeled with the sensitivity label you selected in step 4.
You have two options:
- Allow users to retain read access - Any users or groups added under this control setting will retain read permissions to resources with the selected sensitivity label if they already have it. Any other permissions they have on the item will be removed.
- Allow users to retain full control - Any users or groups added under this control setting will retain full control of the labeled item if they already have it, or any other permissions they might have.
You can select either one option or both options. For each control, select Add users and groups to specify which users and/or groups the control should apply to.
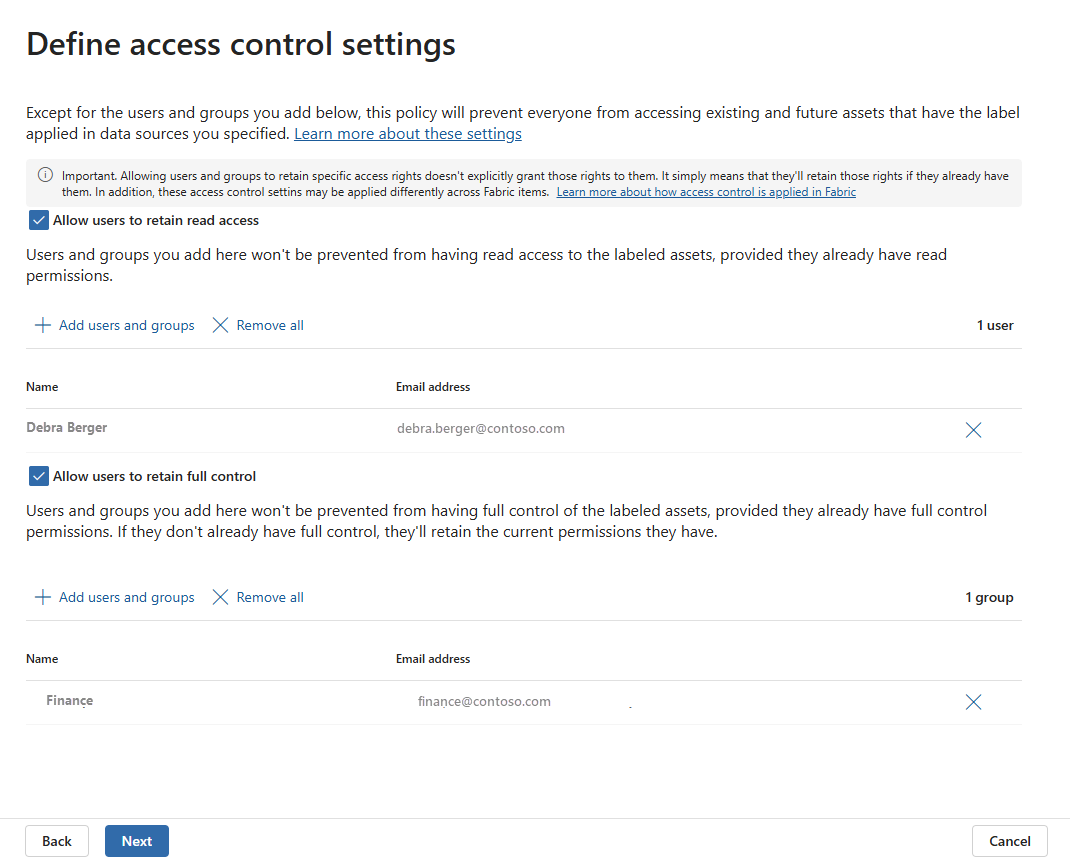
The policy will block access to items labeled with the associated sensitivity label for all users not specified in one of the above controls.
When done, select Next.
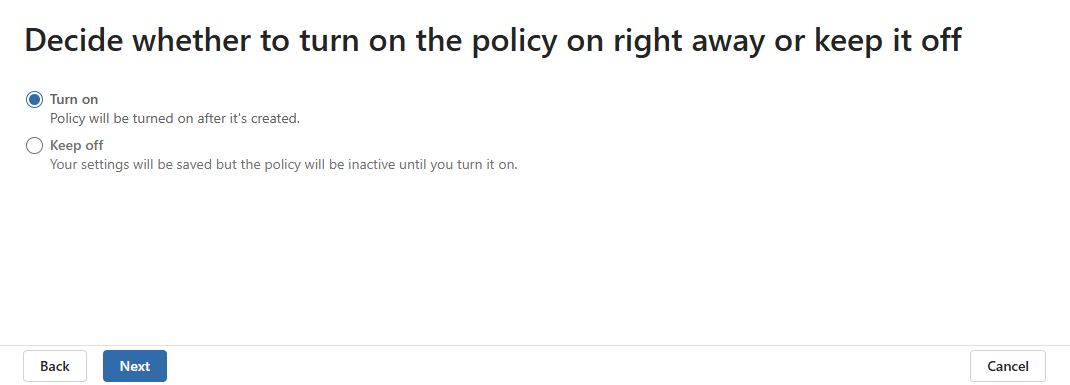
On the Decide whether to turn on the policy on right away or keep it off page, choose whether turn on the policy right away or not. When done, select Next.
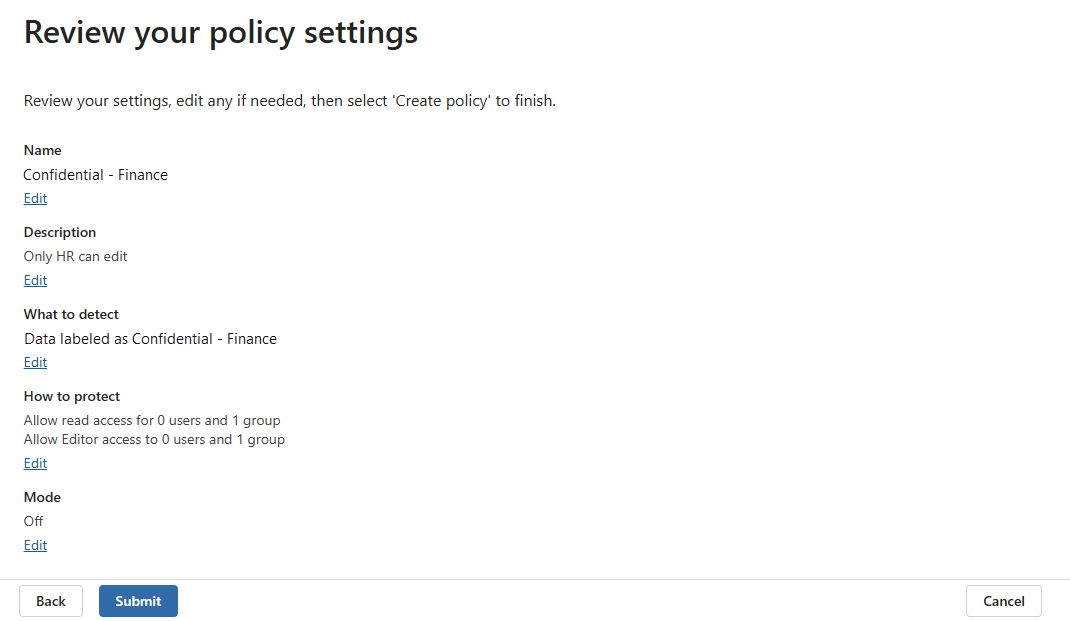
On the Review your policy settings page, review the policy settings. When you're satisfied, select Submit, and then Done.
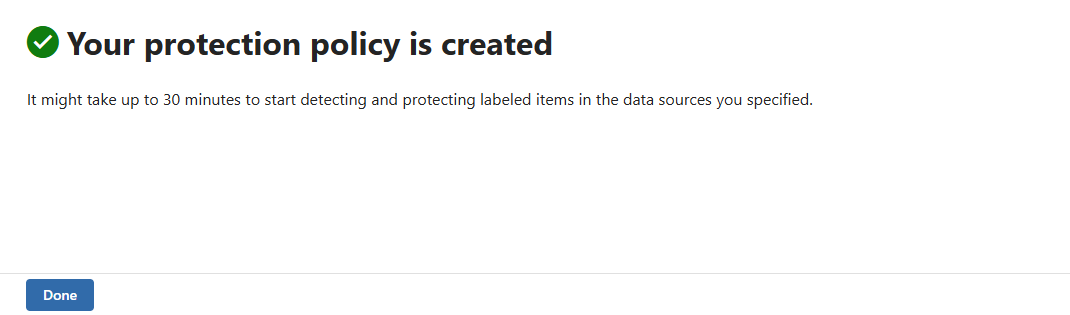
You'll be informed that your new protection policy has been created and that it can take up to 30 minutes for the new policy to start detecting and protecting items labeled with the sensitivity label you chose.
Your new policy now appears in the list of protection policies. Select it to confirm that all the details are correct.

Manage protection policies
To edit or delete a protection policy:
Open the Protection policies (preview) page in the Microsoft Purview portal.
https://purview.microsoft.com/informationprotection/protectionpolicy.
Select the policy you wish to edit or delete, and then select Edit policy or Delete policy either on the ribbon or in the details pane.

If you're editing the policy, continue cycling through the configuration pages as in Step 3 of the policy creation flow.