Add Confluent Cloud Kafka as source in Real-Time hub (preview)
This article describes how to add Confluent Cloud Kafka as an event source in Fabric Real-Time hub.
Note
Real-Time hub is currently in preview.
Prerequisites
- Get access to the Fabric premium workspace with Contributor or above permissions.
- A Confluent Cloud Kafka cluster and an API Key.
Launch Add source experience
Sign in to Microsoft Fabric.
Select Real-Time hub on the left navigation bar.
On the Real-Time hub page, select + Add source in the top-right corner of the page.


Add Confluent Cloud Kafka as a source
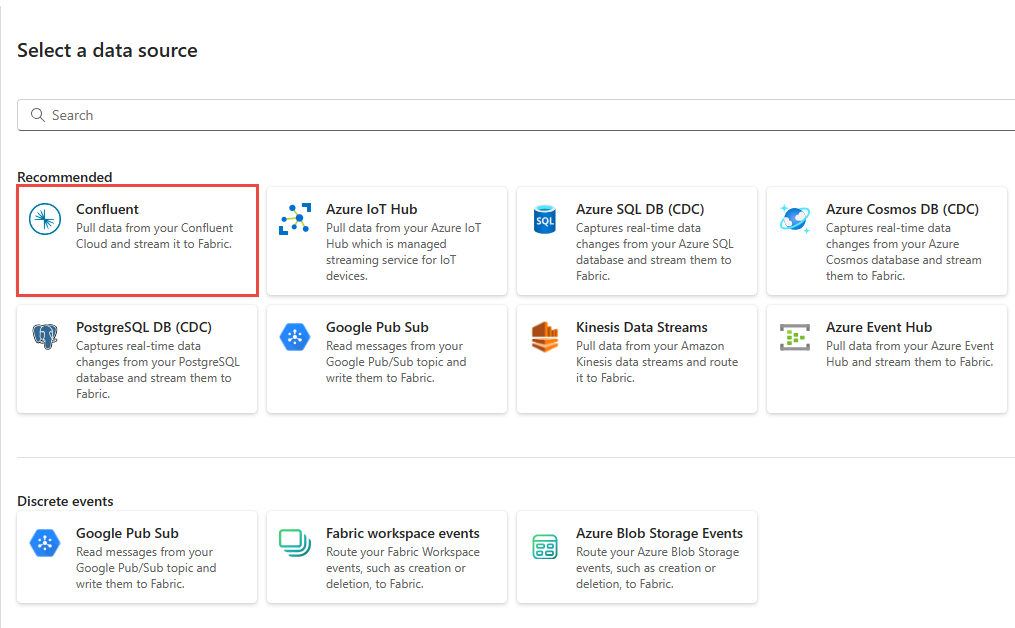
On the Select a data source page, select Confluent.
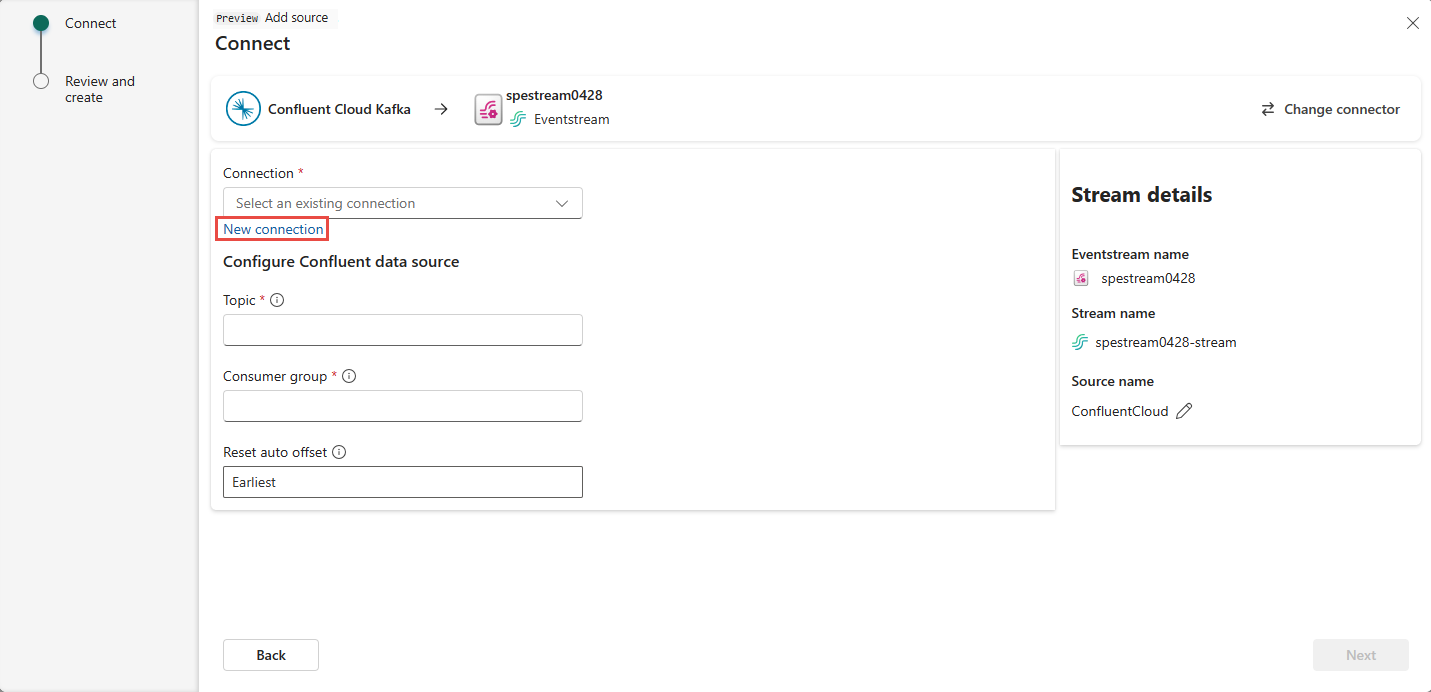
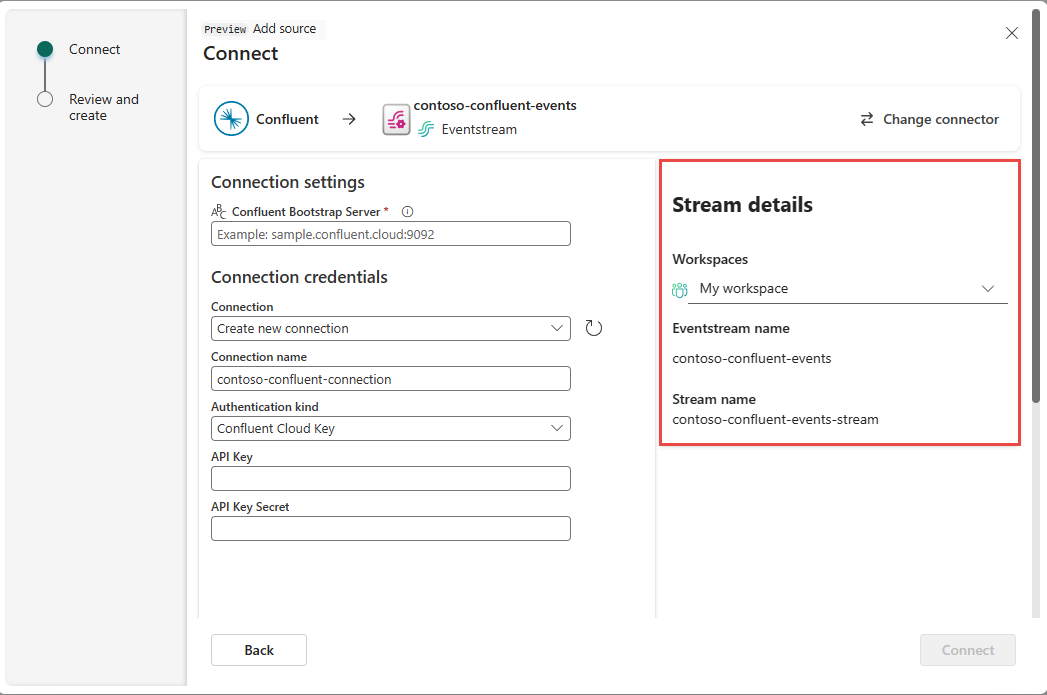
To create a connection to the Confluent Cloud Kafka source, select New connection.
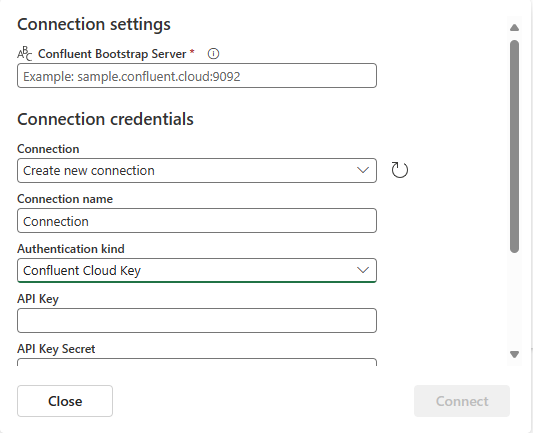
In the Connection settings section, enter Confluent Bootstrap Server. Navigate to your Confluent Cloud home page, select Cluster Settings, and copy the address to your Bootstrap Server.
In the Connection credentials section, If you have an existing connection to the Confluent cluster, select it from the drop-down list for Connection. Otherwise, follow these steps:
- For Connection name, enter a name for the connection.
- For Authentication kind, confirm that Confluent Cloud Key is selected.
- For API Key and API Key Secret:
Navigate to your Confluent Cloud.
Select API Keys on the side menu.
Select the Add key button to create a new API key.
Copy the API Key and Secret.
Paste those values into the API Key and API Key Secret fields.
Select Connect
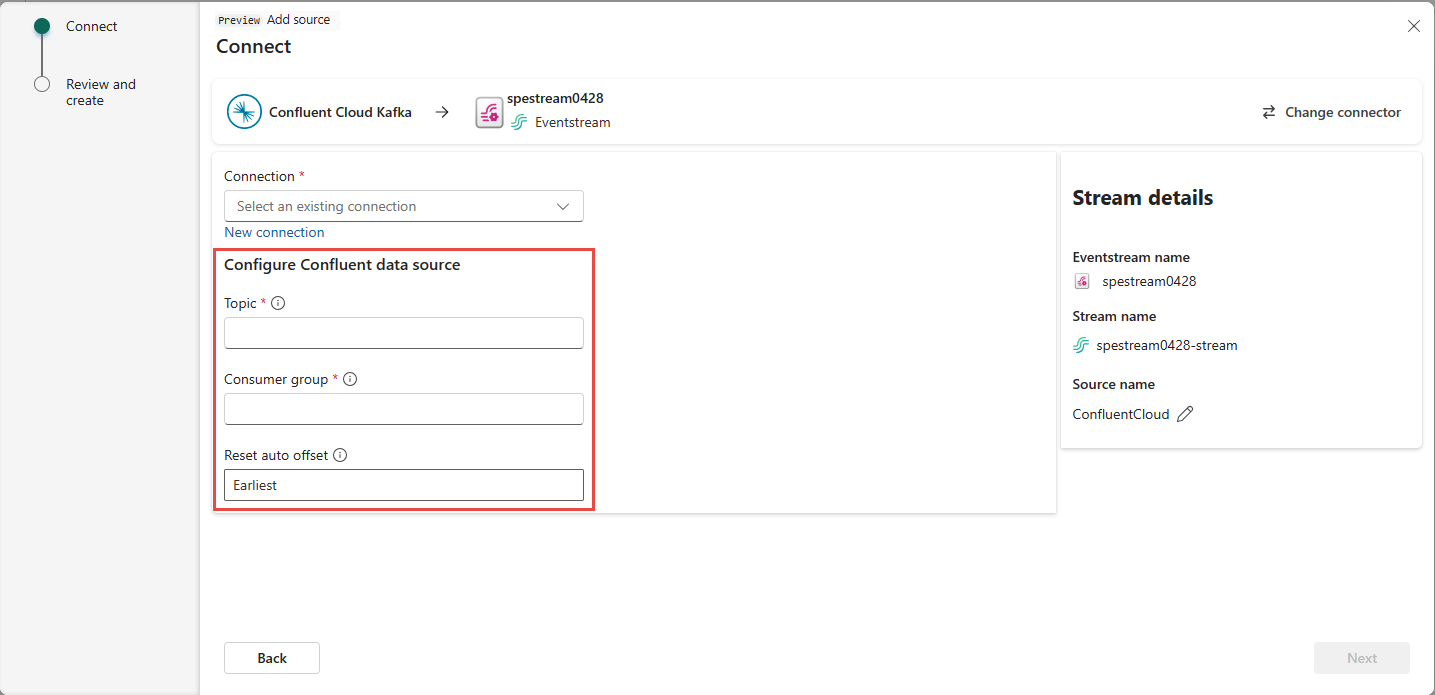
Scroll to see the Configure Confluent data source section on the page. Enter the information to complete the configuration of the Confluent data source.
- For Topic, enter a topic name from your Confluent Cloud. You can create or manage your topic in the Confluent Cloud Console.
- For Consumer group, Enter a consumer group of your Confluent Cloud. It provides you with the dedicated consumer group for getting the events from Confluent Cloud cluster.
- For Reset auto offset setting, select one of the following values:
Earliest – the earliest data available from your Confluent cluster
Latest – the latest available data
None – don't automatically set the offset.
In the Stream details section of the right pane, do these steps:
Select the workspace where you want to save the connection.
Enter a name for the eventstream to be created for you.
Name of the stream for Real-Time hub is automatically generated for you.
Select Next.
On the Review and create screen, review the summary, and then select Create source.
View data stream details
On the Review and create page, if you select Open eventstream, the wizard opens the eventstream that it created for you with the selected Confluent Cloud Kafka source. To close the wizard, select Close at the bottom of the page.
In Real-Time hub, select All data streams. To see the new data stream, refresh the All data streams page.
For detailed steps, see View details of data streams in Fabric Real-Time hub.
Related content
To learn about consuming data streams, see the following articles: