Set up error logging in Azure Data Lake Storage
This article shows you how to configure your Azure Data Lake Storage account to allow Intelligent Recommendations to write error log data to it.
Currently, customers can see error logs related to the data ingestion process, and modeling evaluation logs that allow you to analyze the performance of your models.
To enable Intelligent Recommendations logging, you must first grant Intelligent Recommendations write permissions to a container on your Data Lake Storage account.
Select a container and root folder
To select the container and folder that Intelligent Recommendations use to log the reports:
Sign in to Azure portal and select the Storage section.
Choose the subscription used to create your Intelligent Recommendations account, choose a Data Lake Storage account, and then select Containers.
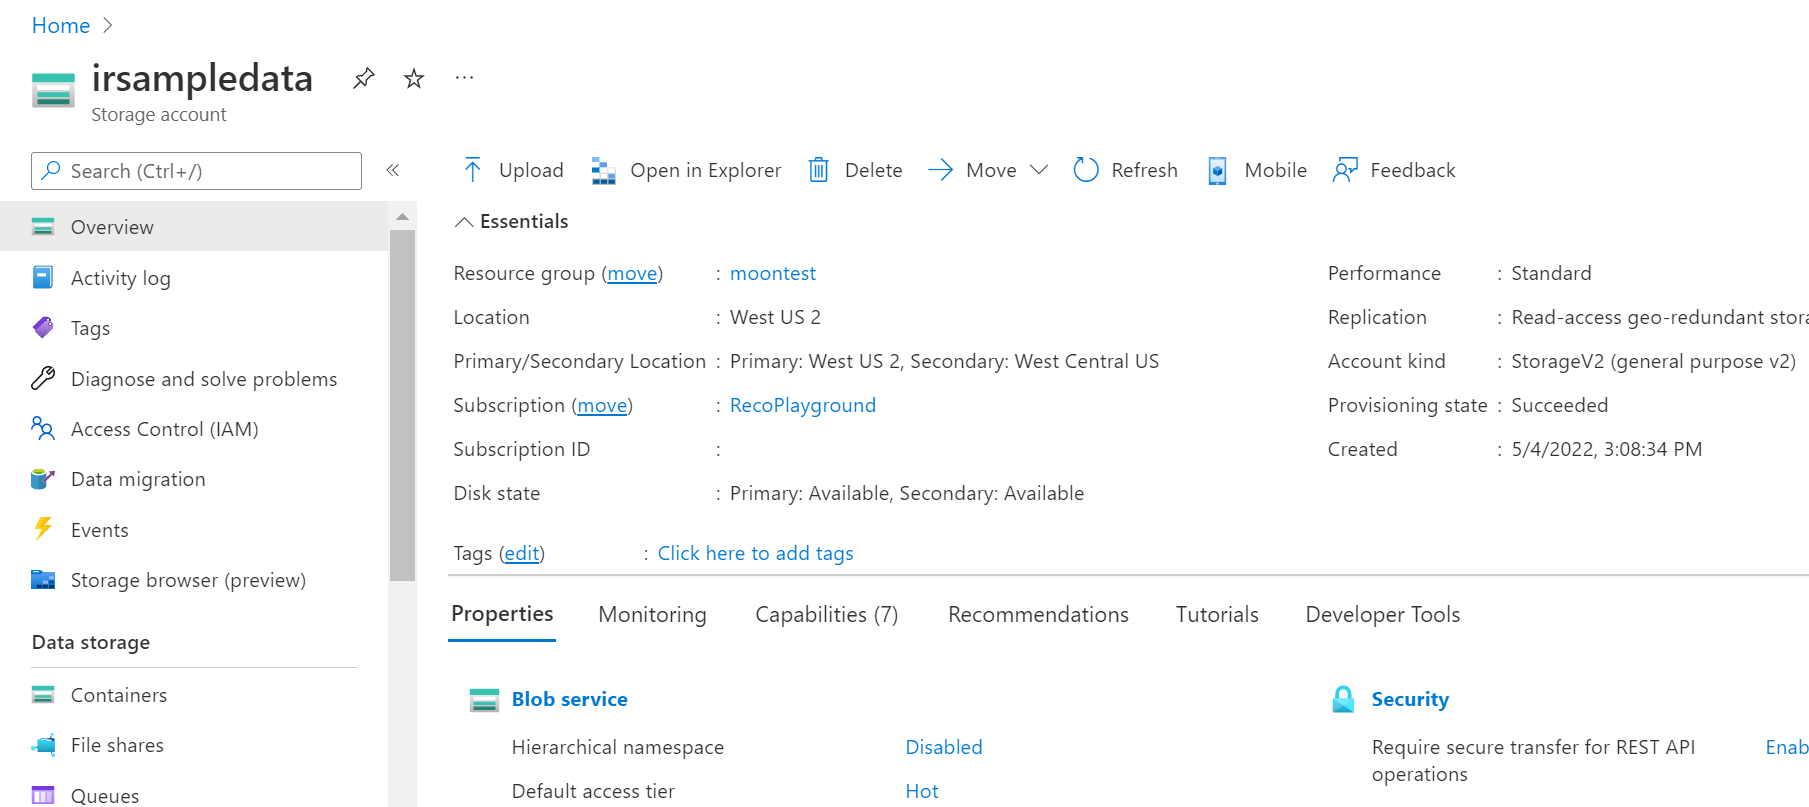
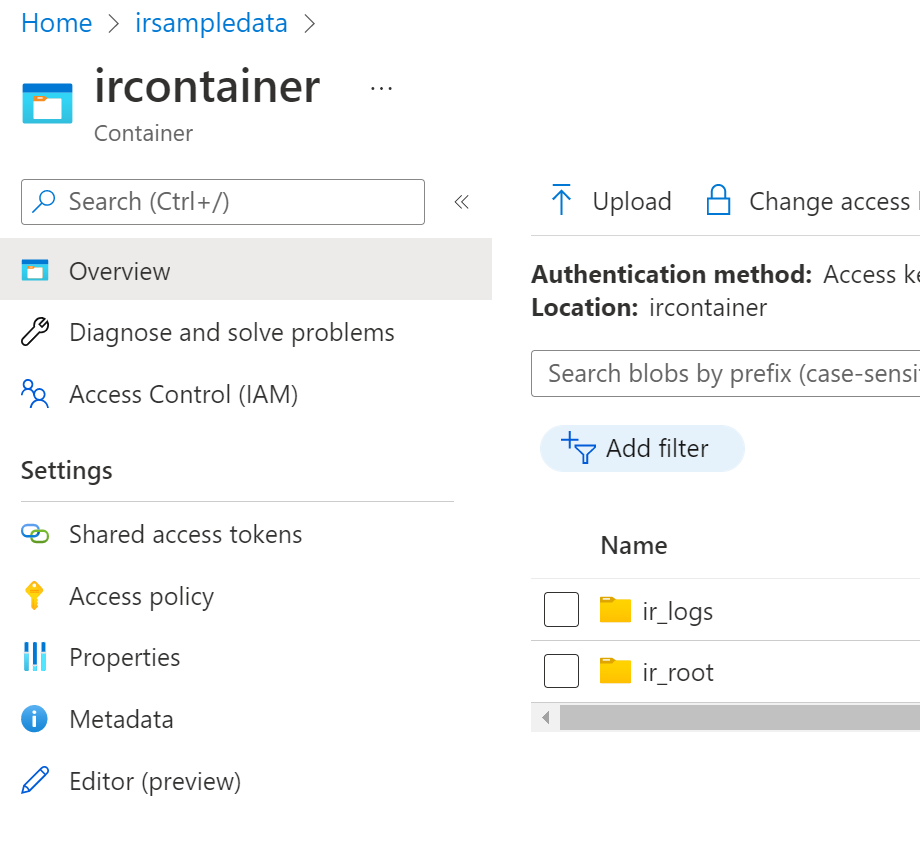
Choose your container, the same one as you used as the root folder for Intelligent Recommendations. In our example, the container is ircontainer and the root folder is ir_root.
Then select, or create destination folder for the logs written by Intelligent Recommendations. In this example, we created a folder called ir_logs.
Note
In case you've used the same container for sharing data with Intelligent Recommendations and for logging back data into Data Lake Storage, we highly recommend that you use a different folder for writing error logs to Data Lake Storage than the root folder used for sharing data with Intelligent Recommendations.
Set up security for the container
To configure security for your container and enable logs to be written to your dedicated storage account's logs folder, you must grant access to Intelligent Recommendations to write logs by using either system assigned or user assigned managed identities. These steps use the system-assigned managed identity. To learn more about how to set up security using a user-assigned managed identity, go to User Assigned Identity for Intelligent Recommendations.
Before continuing, make sure you have your subscription Id and Storage account that your business will use for sharing data with Intelligent Recommendations.
System assigned managed identity approach
To set up security with the system assigned managed identity:
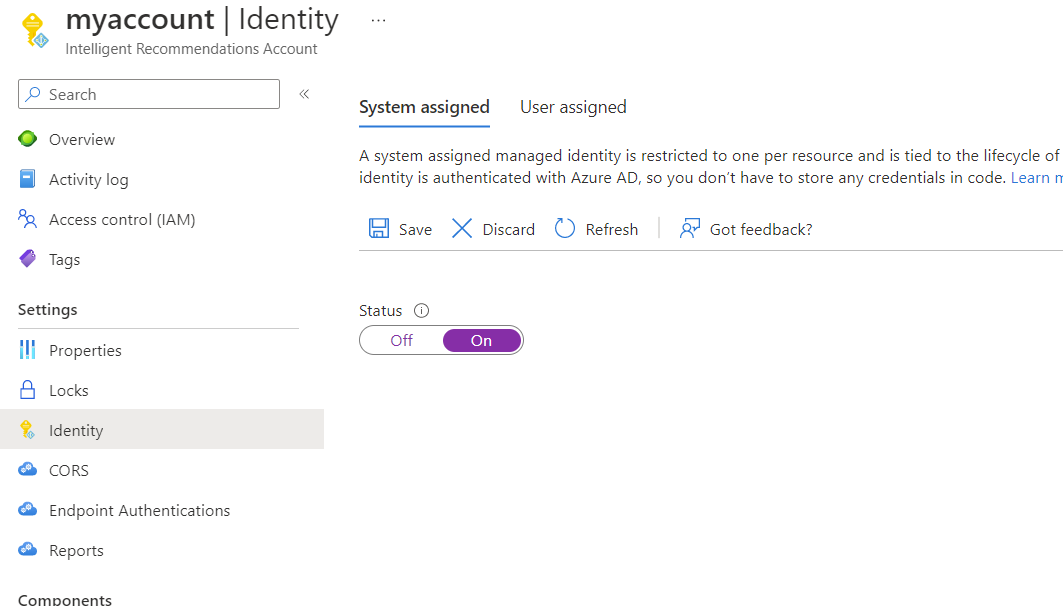
- Open your Intelligent Recommendations account.
- On the left pane, select Identity.
- Under the System assigned tab, turn Status to ON and select Save.
- Return to your storage account and select Containers in the left navigation pane and select your ircontainer (or whatever name you have given your container).
- On the left pane, select Access Control (IAM).
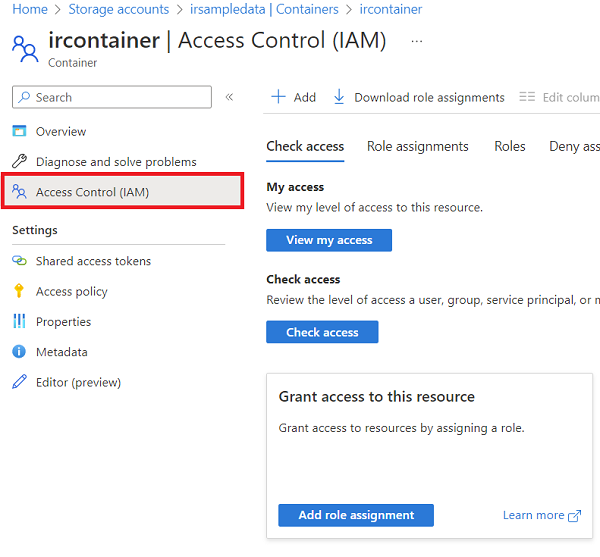
To allow the Intelligent Recommendations service to write the logs data, assign the Storage Blob Data Contributor permission:
- Under Grant access to this resource, select Add role assignment.
- In Role, select Storage Blob Data Contributor, then select next.
- On the next screen, under the Assign access to section, select Managed identity, then select + Select members.
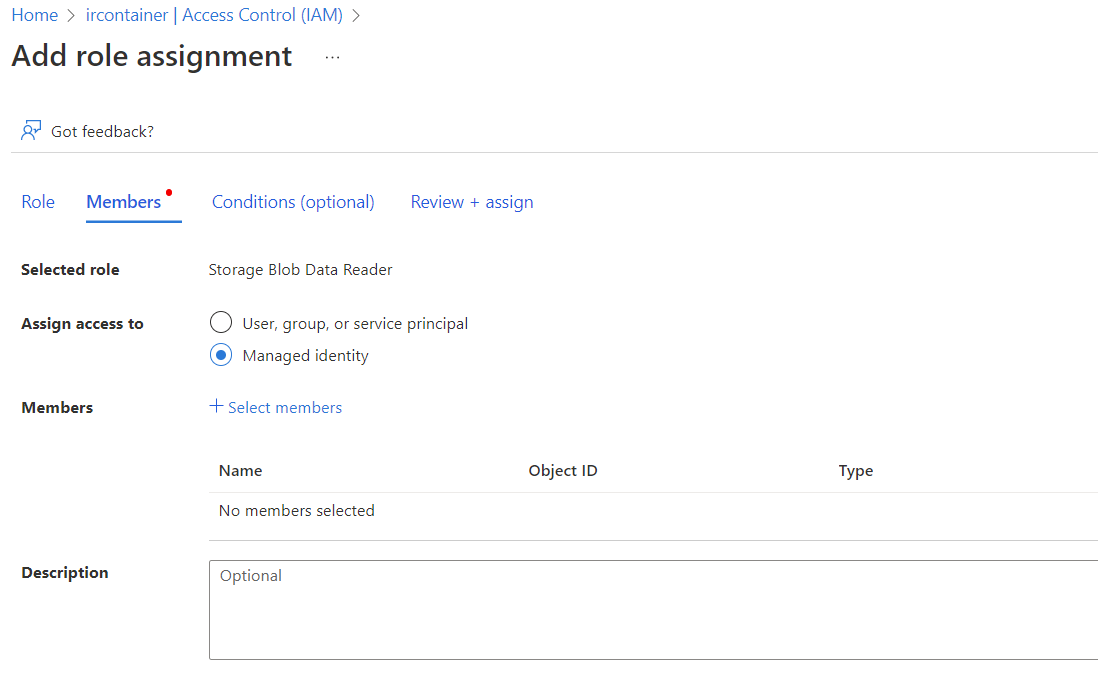
- Under Managed identity, select Intelligent Recommendations Account category.
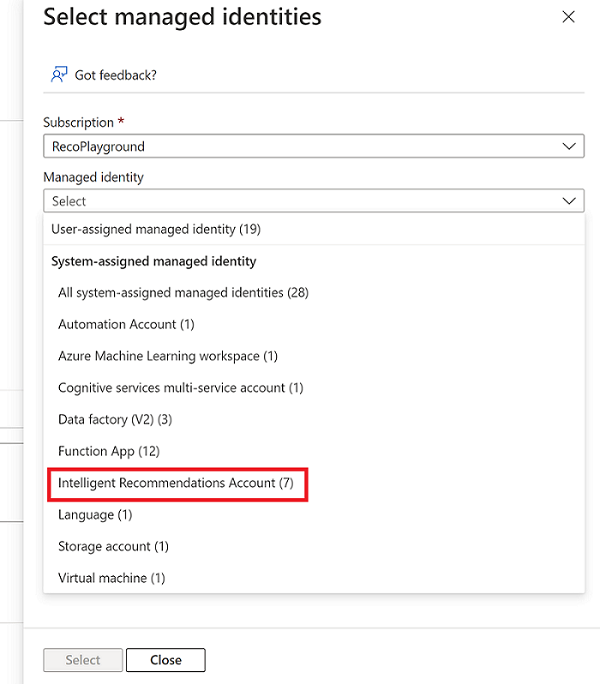
- Next, you see a list of Intelligent Recommendations Accounts. Choose the relevant account that has access to this storage account, then select Select.
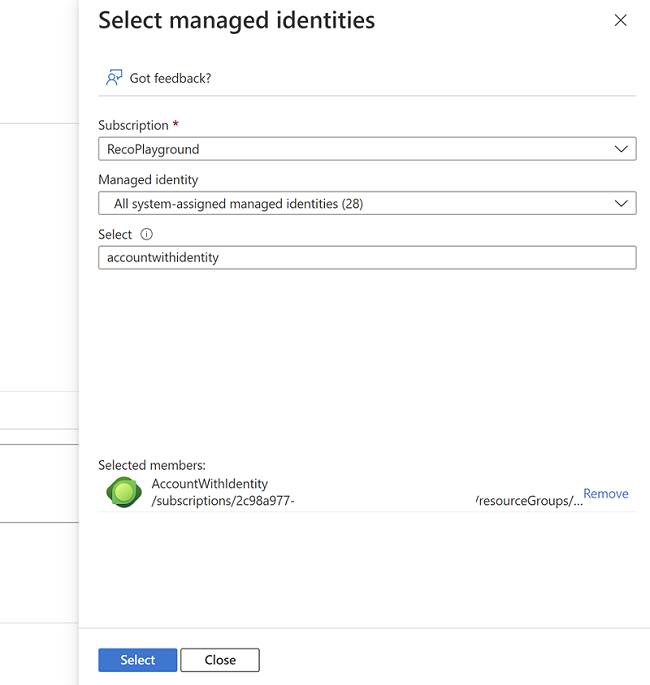
- Finalize your decision by selecting the "Review + Assign" button.
Verify your role assignments
Verify that you have the correct set of permissions by returning to your storage account and ircontainer.
- From your ircontainer, select Access Control (IAM) from the left pane.
- Select View from the View access to this resource section.
- Search for the Intelligent Recommendations service, and verify that the service is listed on the Role assignments section with Storage Blob Data Contributor. If this role is missing, go back and re-add the role using the steps outlined previously.
Note
It's also possible to set up permissions on the folder level (ACL permissions). For more information about ACL permissions, go to Access control lists in Azure Data Lake Storage Gen2.
Configure the reports feature
The next step is to set up your designated root folder as the location to which the reports will be logged.
- Go to your Intelligent Recommendations account.
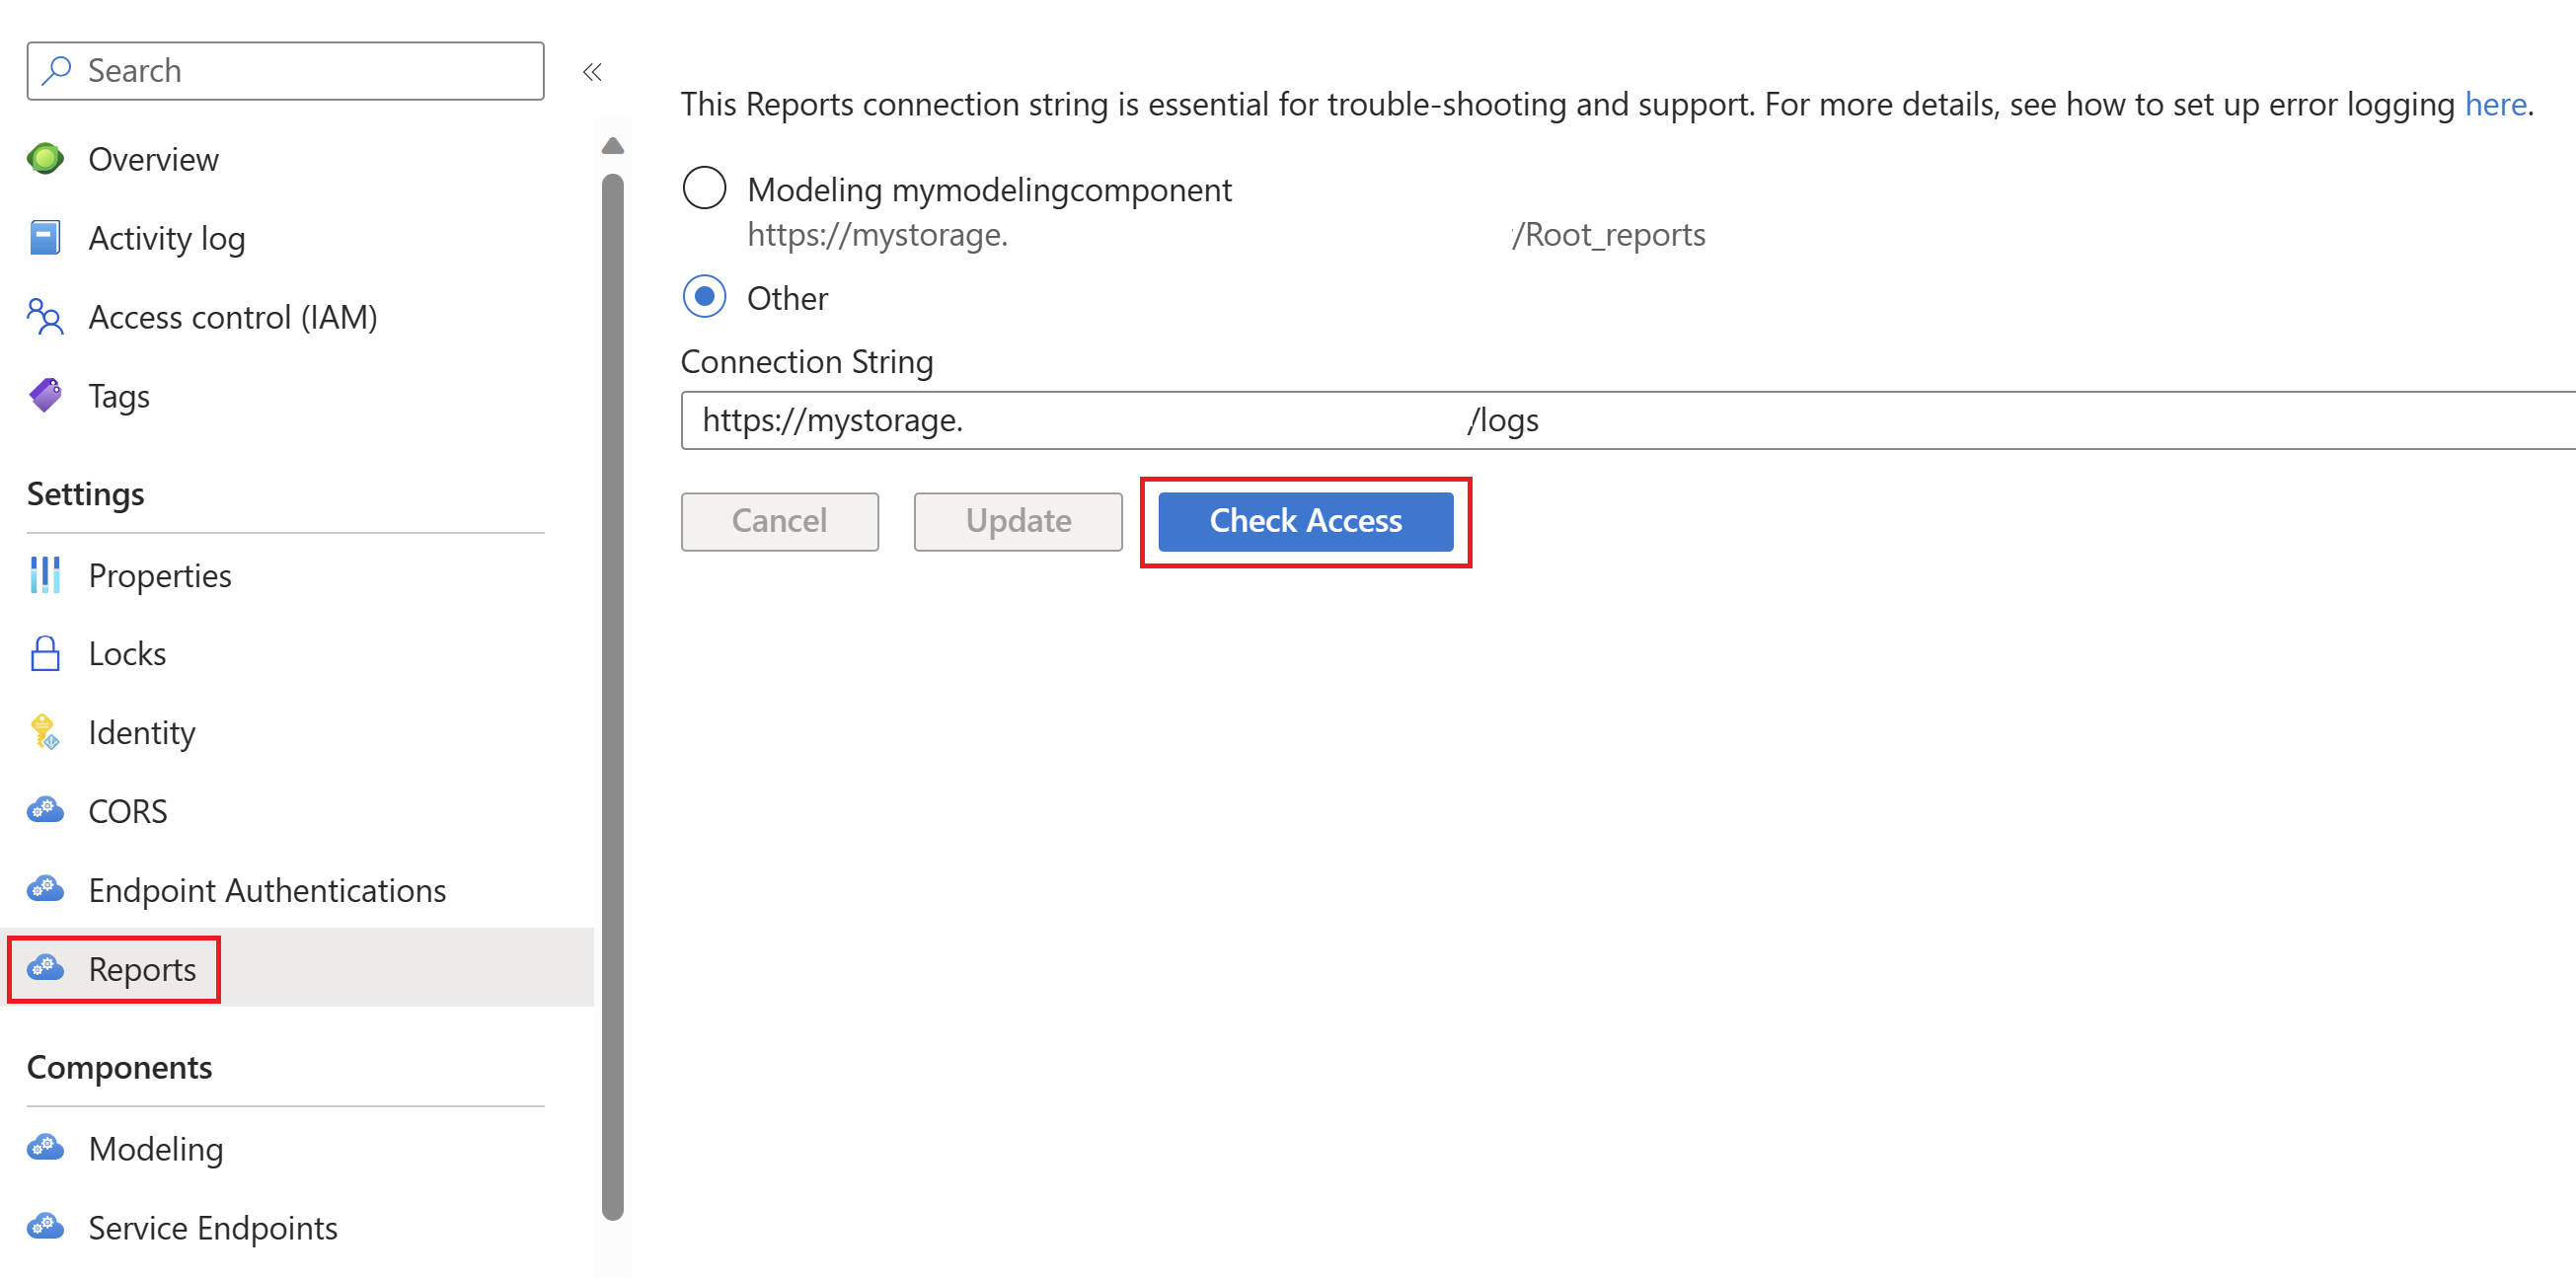
- Select the Reports tab.
- Enter the URL of your logs folder. If you already have modeling components on this IR account, you see at this stage a list of your modeling components. When you select one of them, a logs folder named "root_reports" is created automatically in the container that is defined in the modeling component's connection string, and logs for this IR account is written in there.
- You can select 'Check Access' button in order to verify that the IR account has permissions to write logs to the container that your logs folder is located in.
- Select Update.
Note
This folder doesn't need to exist. If no link is posted here, a folder will be created upon first attempt to write data to it.
Accessing the logs
Now that you’ve successfully configured write-back, logs are written to the destination folder you’ve chosen every cooking cycle. Cooking cycles run once every predetermined time window and can also be manually triggered. For more information, go to Manually trigger the modeling cycle.
Inside the folder, you find a subfolder for each of your modeling components. In each subfolder, you find two folders:
- data-ingestion: Contains the logs related to data-ingestion
- statistics: Contains the logs related to model performance.
For more information about analyzing these logs, go to Error logs.
See also
Intelligent Recommendations API reference
Quick start guide: Set up and run Intelligent Recommendations with sample data
Quick start guide: Make an authenticated API call
Deployment overview
Use data contracts to share data