Build a declarative agent for Microsoft 365 Copilot
Important
Declarative agents for Microsoft 365 are currently in a generally available phase. However, access will be staged and might not be available to all users immediately. Full availability is expected at a later date.
Note
- Ensure that Microsoft 365 Copilot is available for your organization. You have two ways to get a developer environment for Copilot:
- A sandbox Microsoft 365 tenant with Copilot (available in limited preview through TAP membership).
- An eligible Microsoft 365 or Office 365 production environment with a Microsoft 365 Copilot license.
What is a declarative agent?

For an overview on declarative agents, see Declarative agents for Microsoft 365 Copilot.
Ensuring a secure implementation of Declarative Agents in Microsoft 365
Microsoft 365 customers and partners can build declarative agents that extend Microsoft 365 Copilot with custom instructions, grounding knowledge, and actions invoked via REST API descriptions configured by the declarative agent. At runtime, Microsoft 365 Copilot reasons over a combination of the user’s prompt, custom instructions that are part of the declarative agent, and data which was provided by custom actions. All of this data might influence the behavior of the system, and such processing comes with security risks, specifically that if a custom action can provide data from untrusted sources (such as emails or support tickets), an attacker might be able to craft a message payload which causes your agent to behave in a way they control – incorrectly answering questions or even invoking custom actions. While Microsoft takes many measures to prevent such attacks, organizations should only enable declarative agents that use trusted knowledge sources and connect to trusted REST APIs via custom actions. If the use of untrusted data sources is necessary, design the declarative agent around the possibility of breach and don't give it the ability to perform sensitive operations without careful human intervention.
Microsoft 365 provides organizations with extensive controls governing who can acquire and use integrated apps and the specific apps enabled for groups or individuals within a Microsoft 365 tenant, including those apps that include declarative agents. Tools like Copilot Studio, which enable users to create their own declarative agents, also include extensive controls that allow admins to govern connectors used for both knowledge and custom actions.
Prerequisites
Before you get started, ensure that you're familiar with the following standards and guidelines for declarative agents for Microsoft 365 Copilot:
- Standards for compliance, performance, security, and user experience outlined in Teams Store validation guidelines.
Create a declarative agent
Let's create a declarative agent where you can provide instructions, grounding in Microsoft 365 data, and integration with existing APIs via plugins.
Before you get started, ensure that you install the following tools to build and deploy your declarative agent:
Environment variables
Note
This step is temporary until declarative agents are available publicly.
Set the environment variable TEAMSFX_DECLARATIVE_COPILOT and KIOTA_CONFIG_PREVIEW to true.
Open a PowerShell terminal and run the following commands.
[Environment]::SetEnvironmentVariable("TEAMSFX_DECLARATIVE_COPILOT", 'true', "User")
[Environment]::SetEnvironmentVariable("KIOTA_CONFIG_PREVIEW", "true", "User")
$env:Path = [System.Environment]::GetEnvironmentVariable("Path","Machine") + ";" + [System.Environment]::GetEnvironmentVariable("Path","User")
Warning
Close and reopen your terminal to ensure all changes are taken into account.
Install Teams Toolkit CLI
Run the following command in your Command Prompt or in a PowerShell terminal.
npm install -g @microsoft/teamsapp-cli
teamsapp -h
For more details see Install Teams Toolkit CLI.
Install Teams Toolkit Visual Studio Code extension
Follow the steps in Install Teams Toolkit Visual Studio Code extension to install the pre-release version.
Install Kiota
If you have the .NET SDK installed, you can install Kiota as a .NET tool.
To install the tool, execute the following command in your Command Prompt or in a PowerShell terminal.
dotnet tool install --global Microsoft.OpenApi.Kiota
For more details see Install Kiota.
To create a declarative agent using Teams Toolkit, follow these steps:
Open Visual Studio Code.
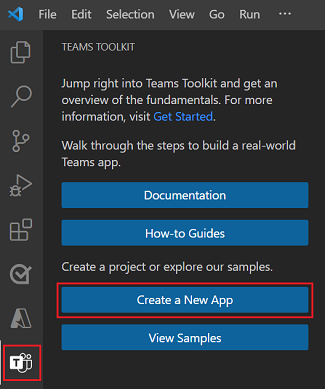
Select Teams Toolkit > Create a New App.
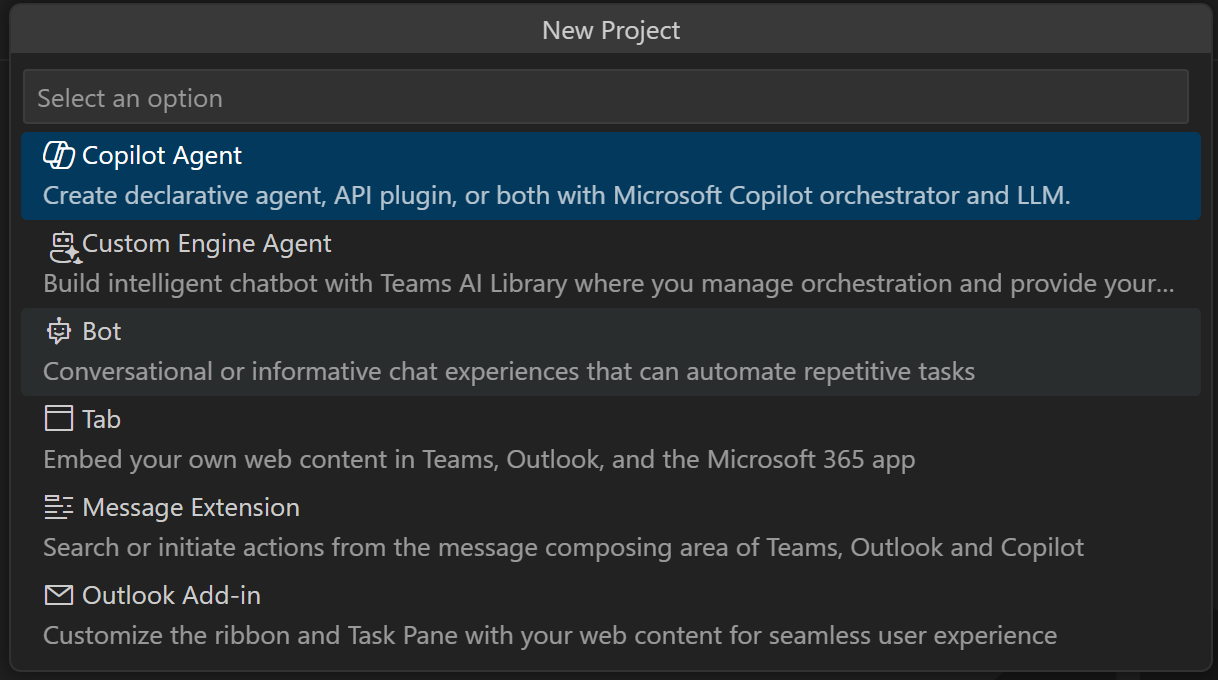
Select Copilot Extensions.
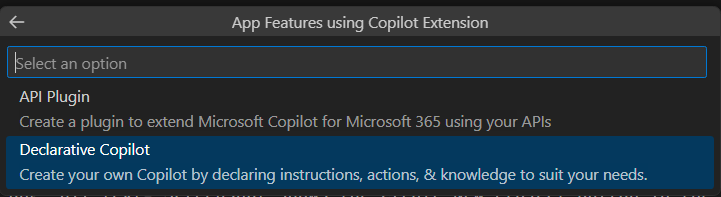
Select Declarative copilot.
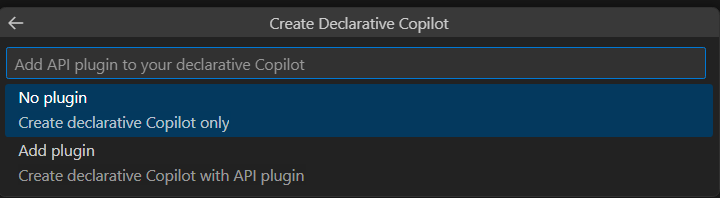
Select No plugin to create a basic declarative agent.
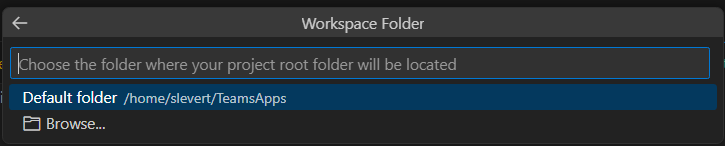
Select Default folder to store your project root folder in the default location.
Choose your Application name.

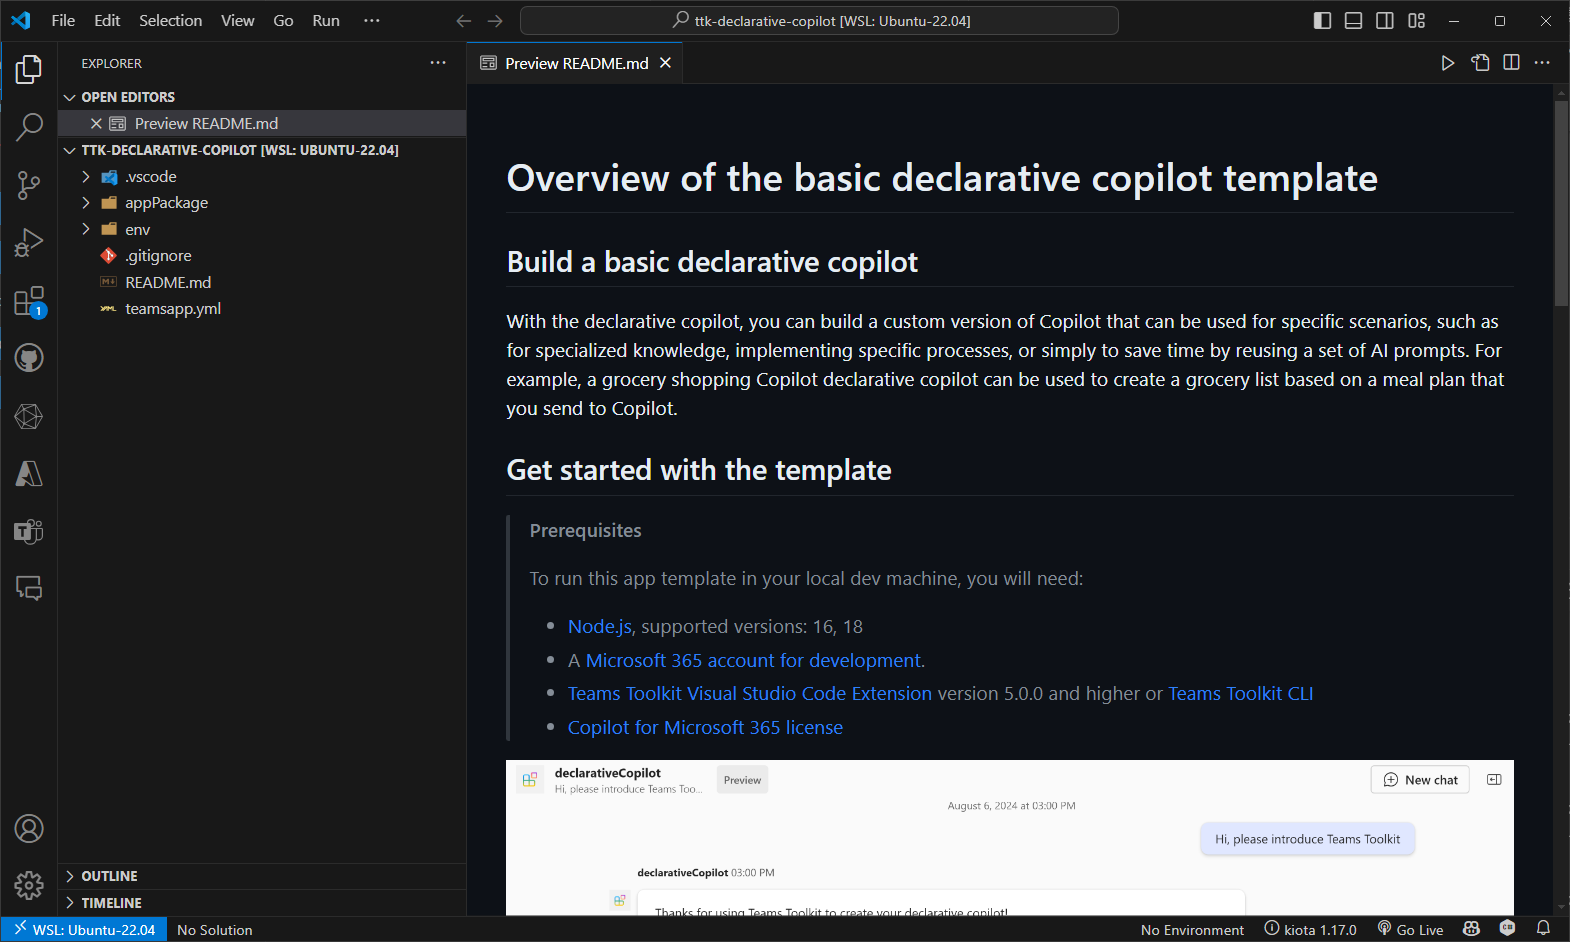
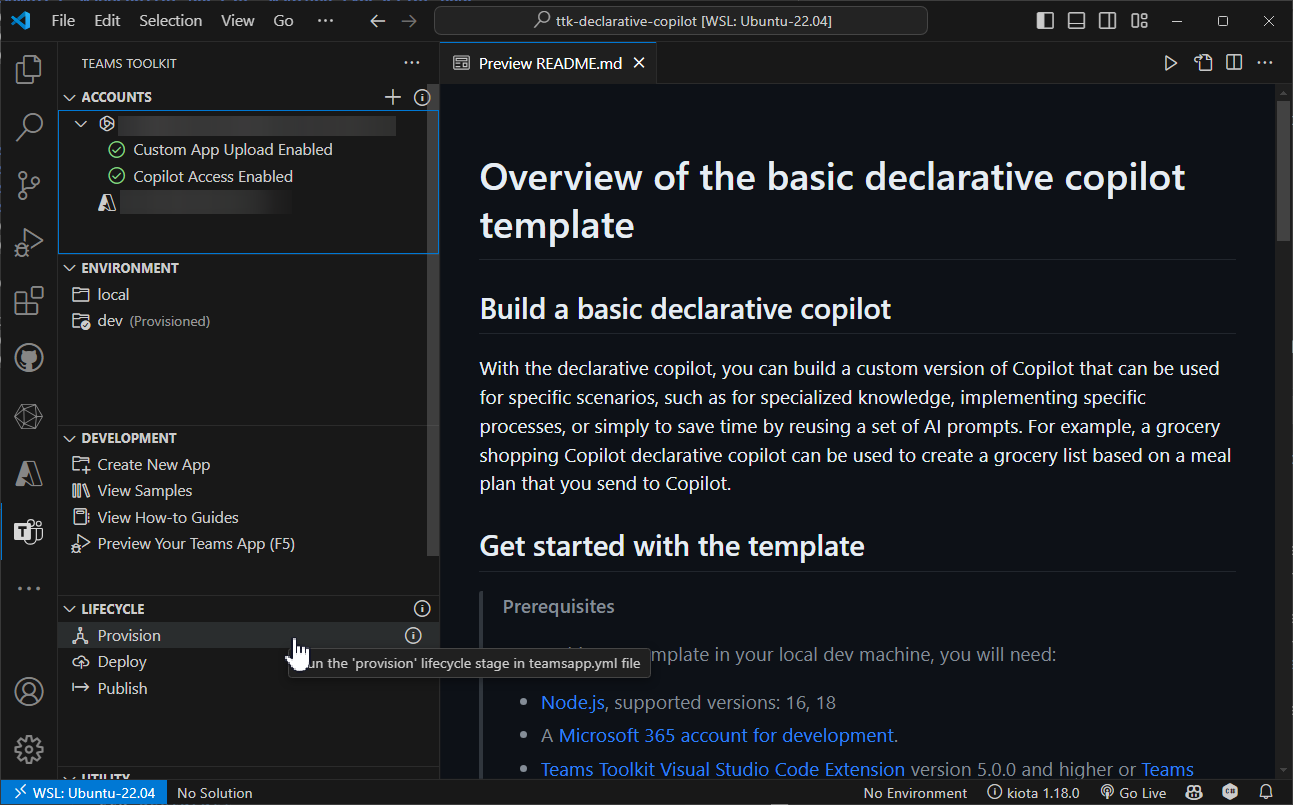
You application is now scaffolded and available for publishing.
To publish your application, select Publish.
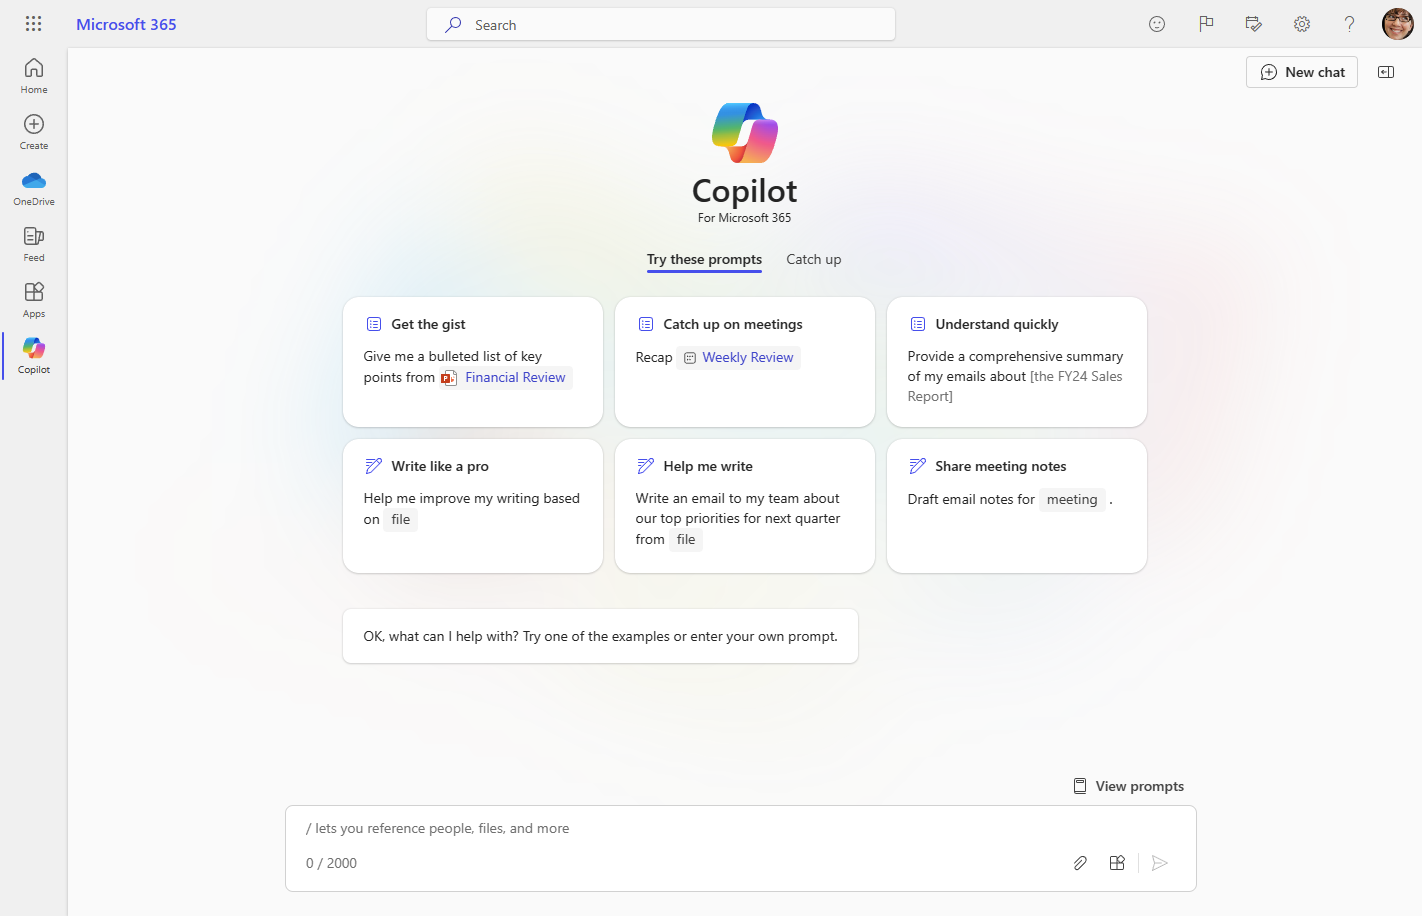
Navigate to the Copilot application with the URL https://microsoft365.com/chat
Next to the New Chat button, select the conversation drawer icon.
Select the declarative agent Teams toolkit declarative copilot
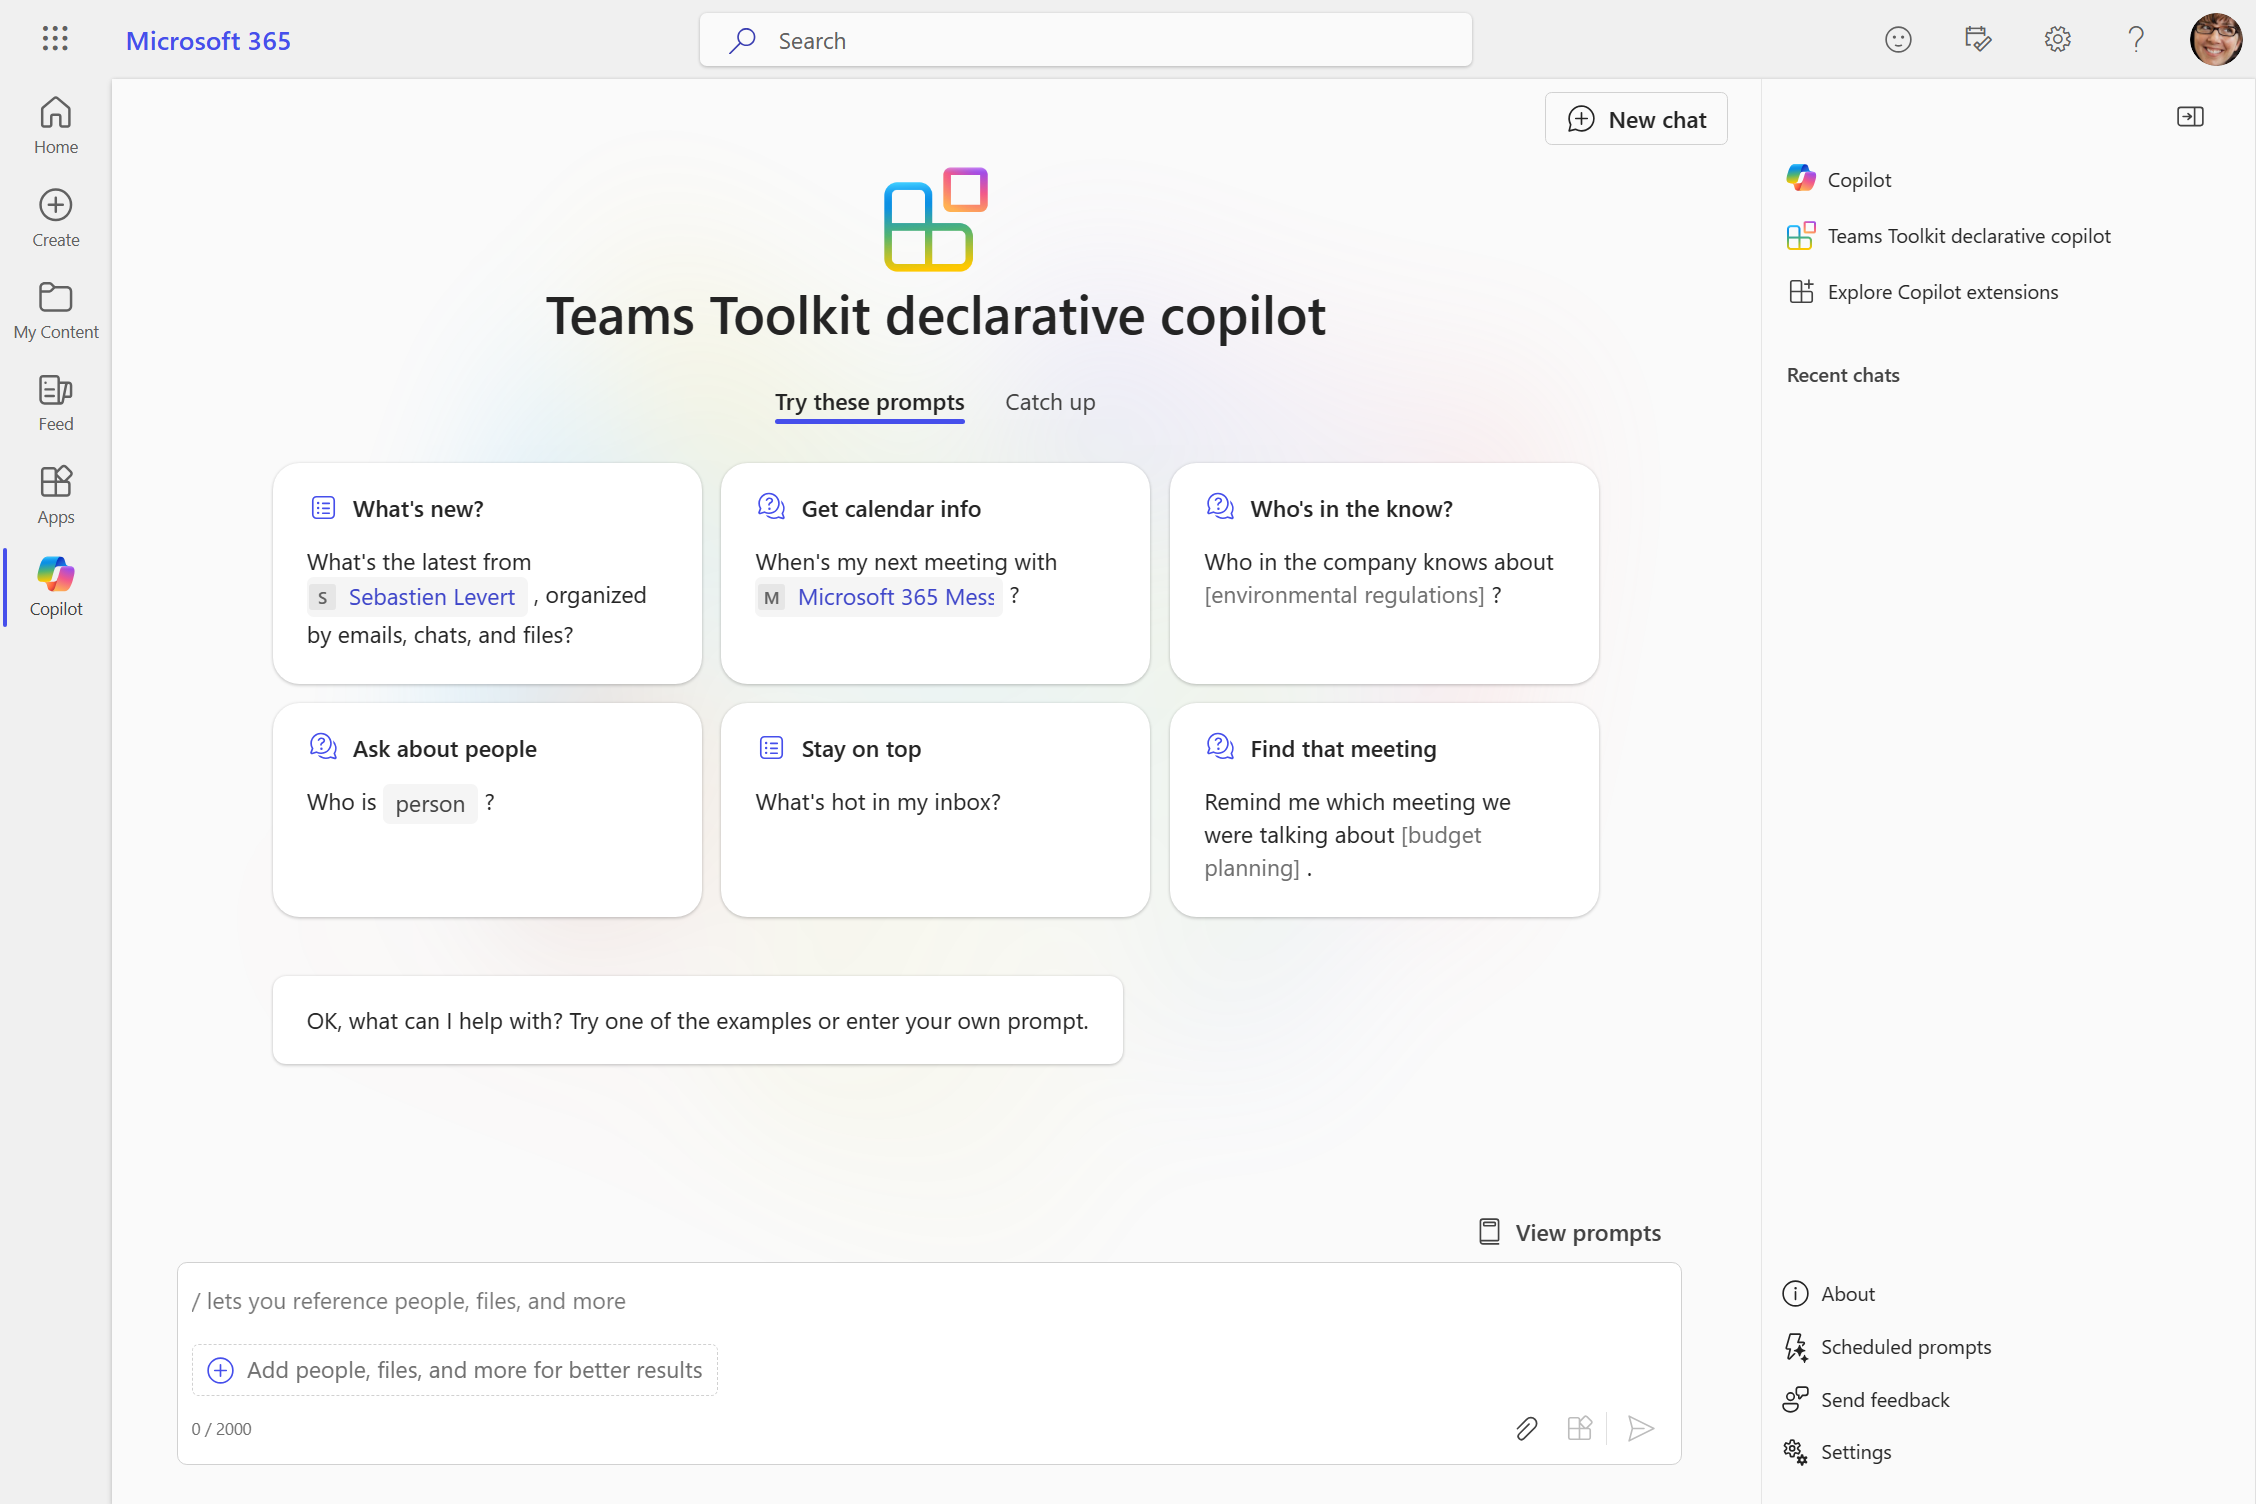
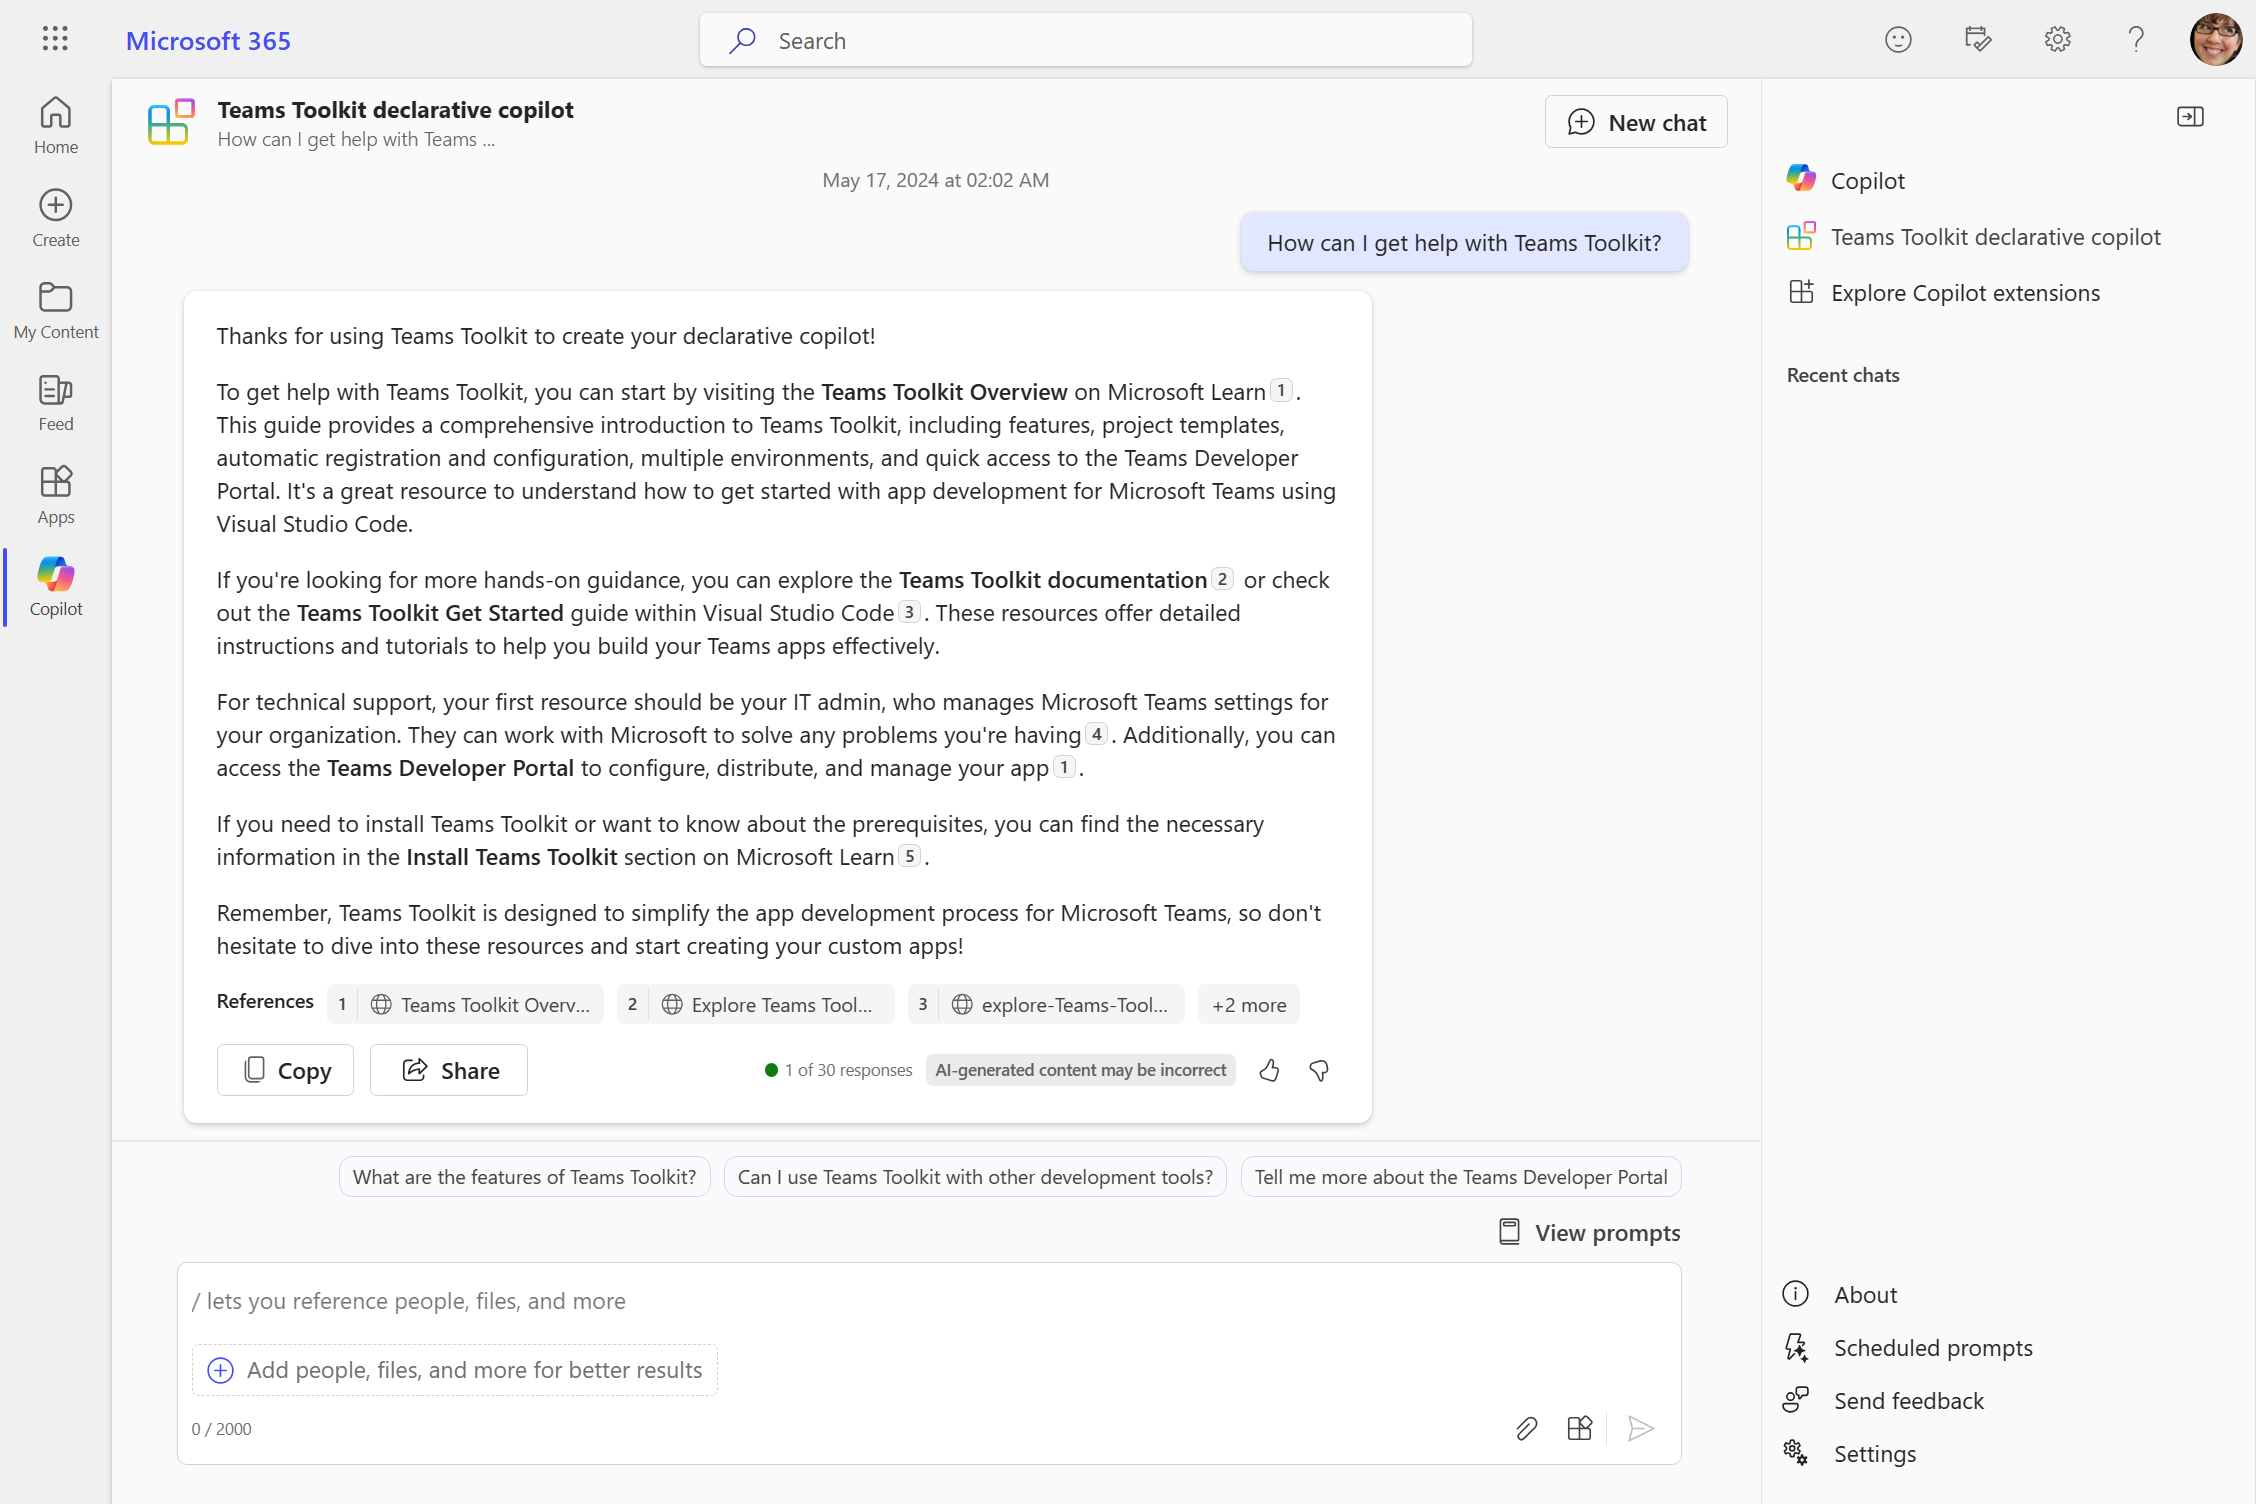
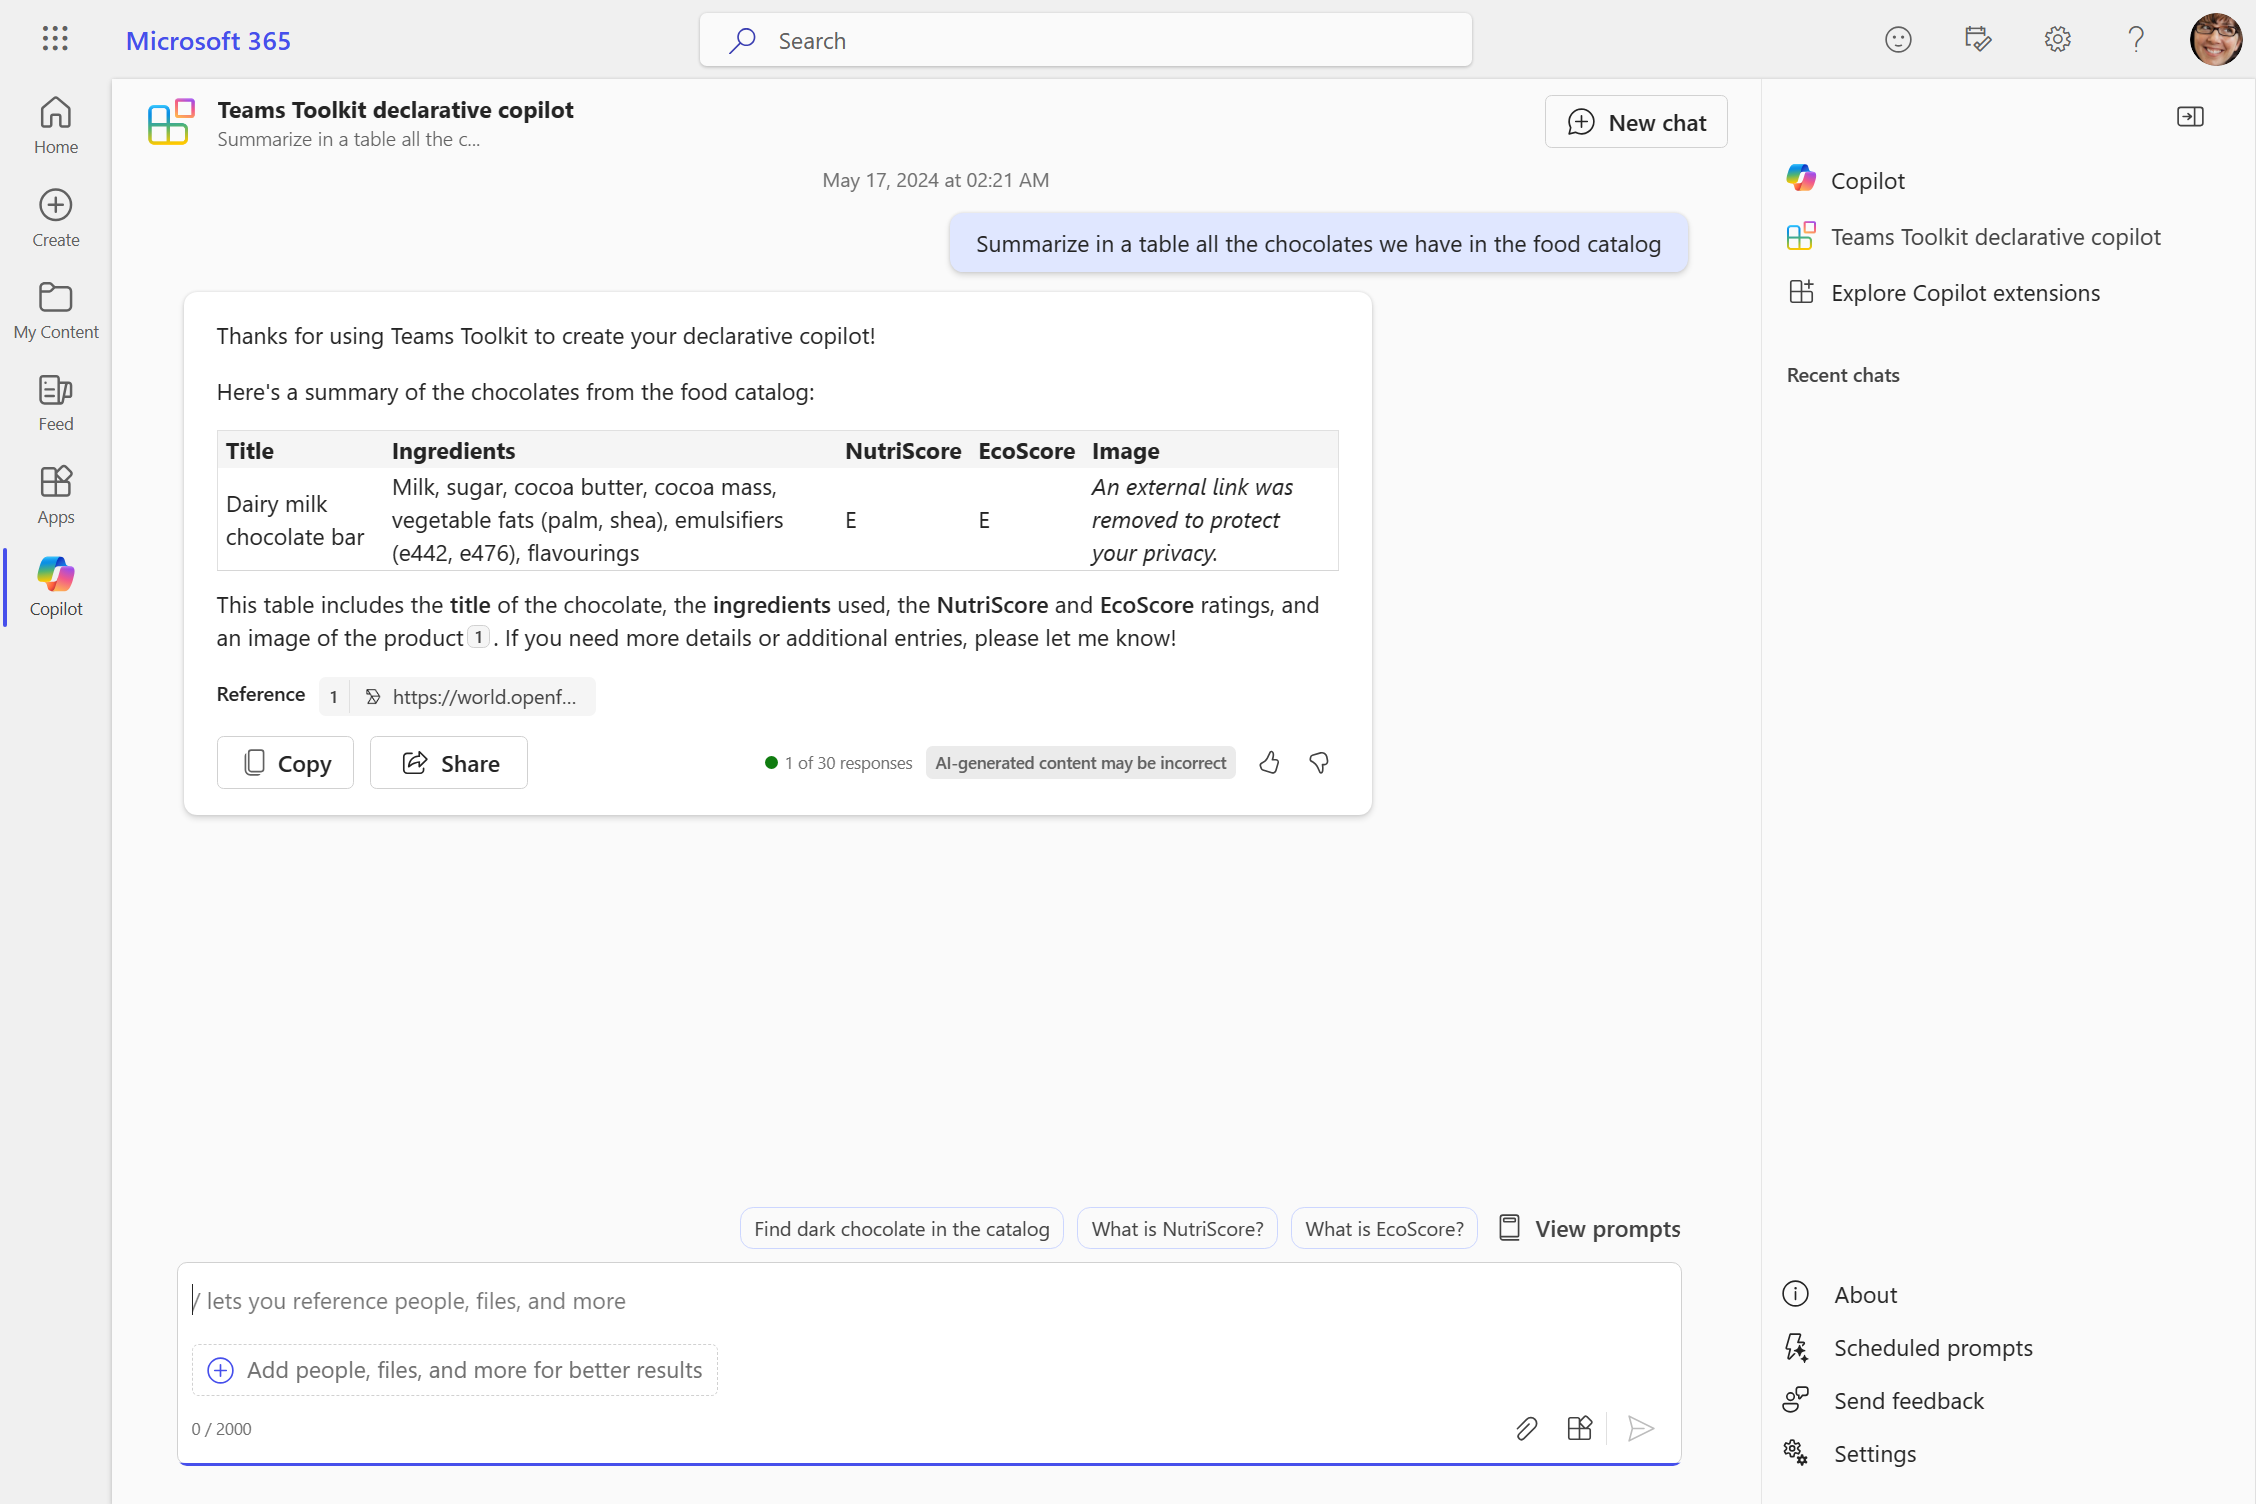
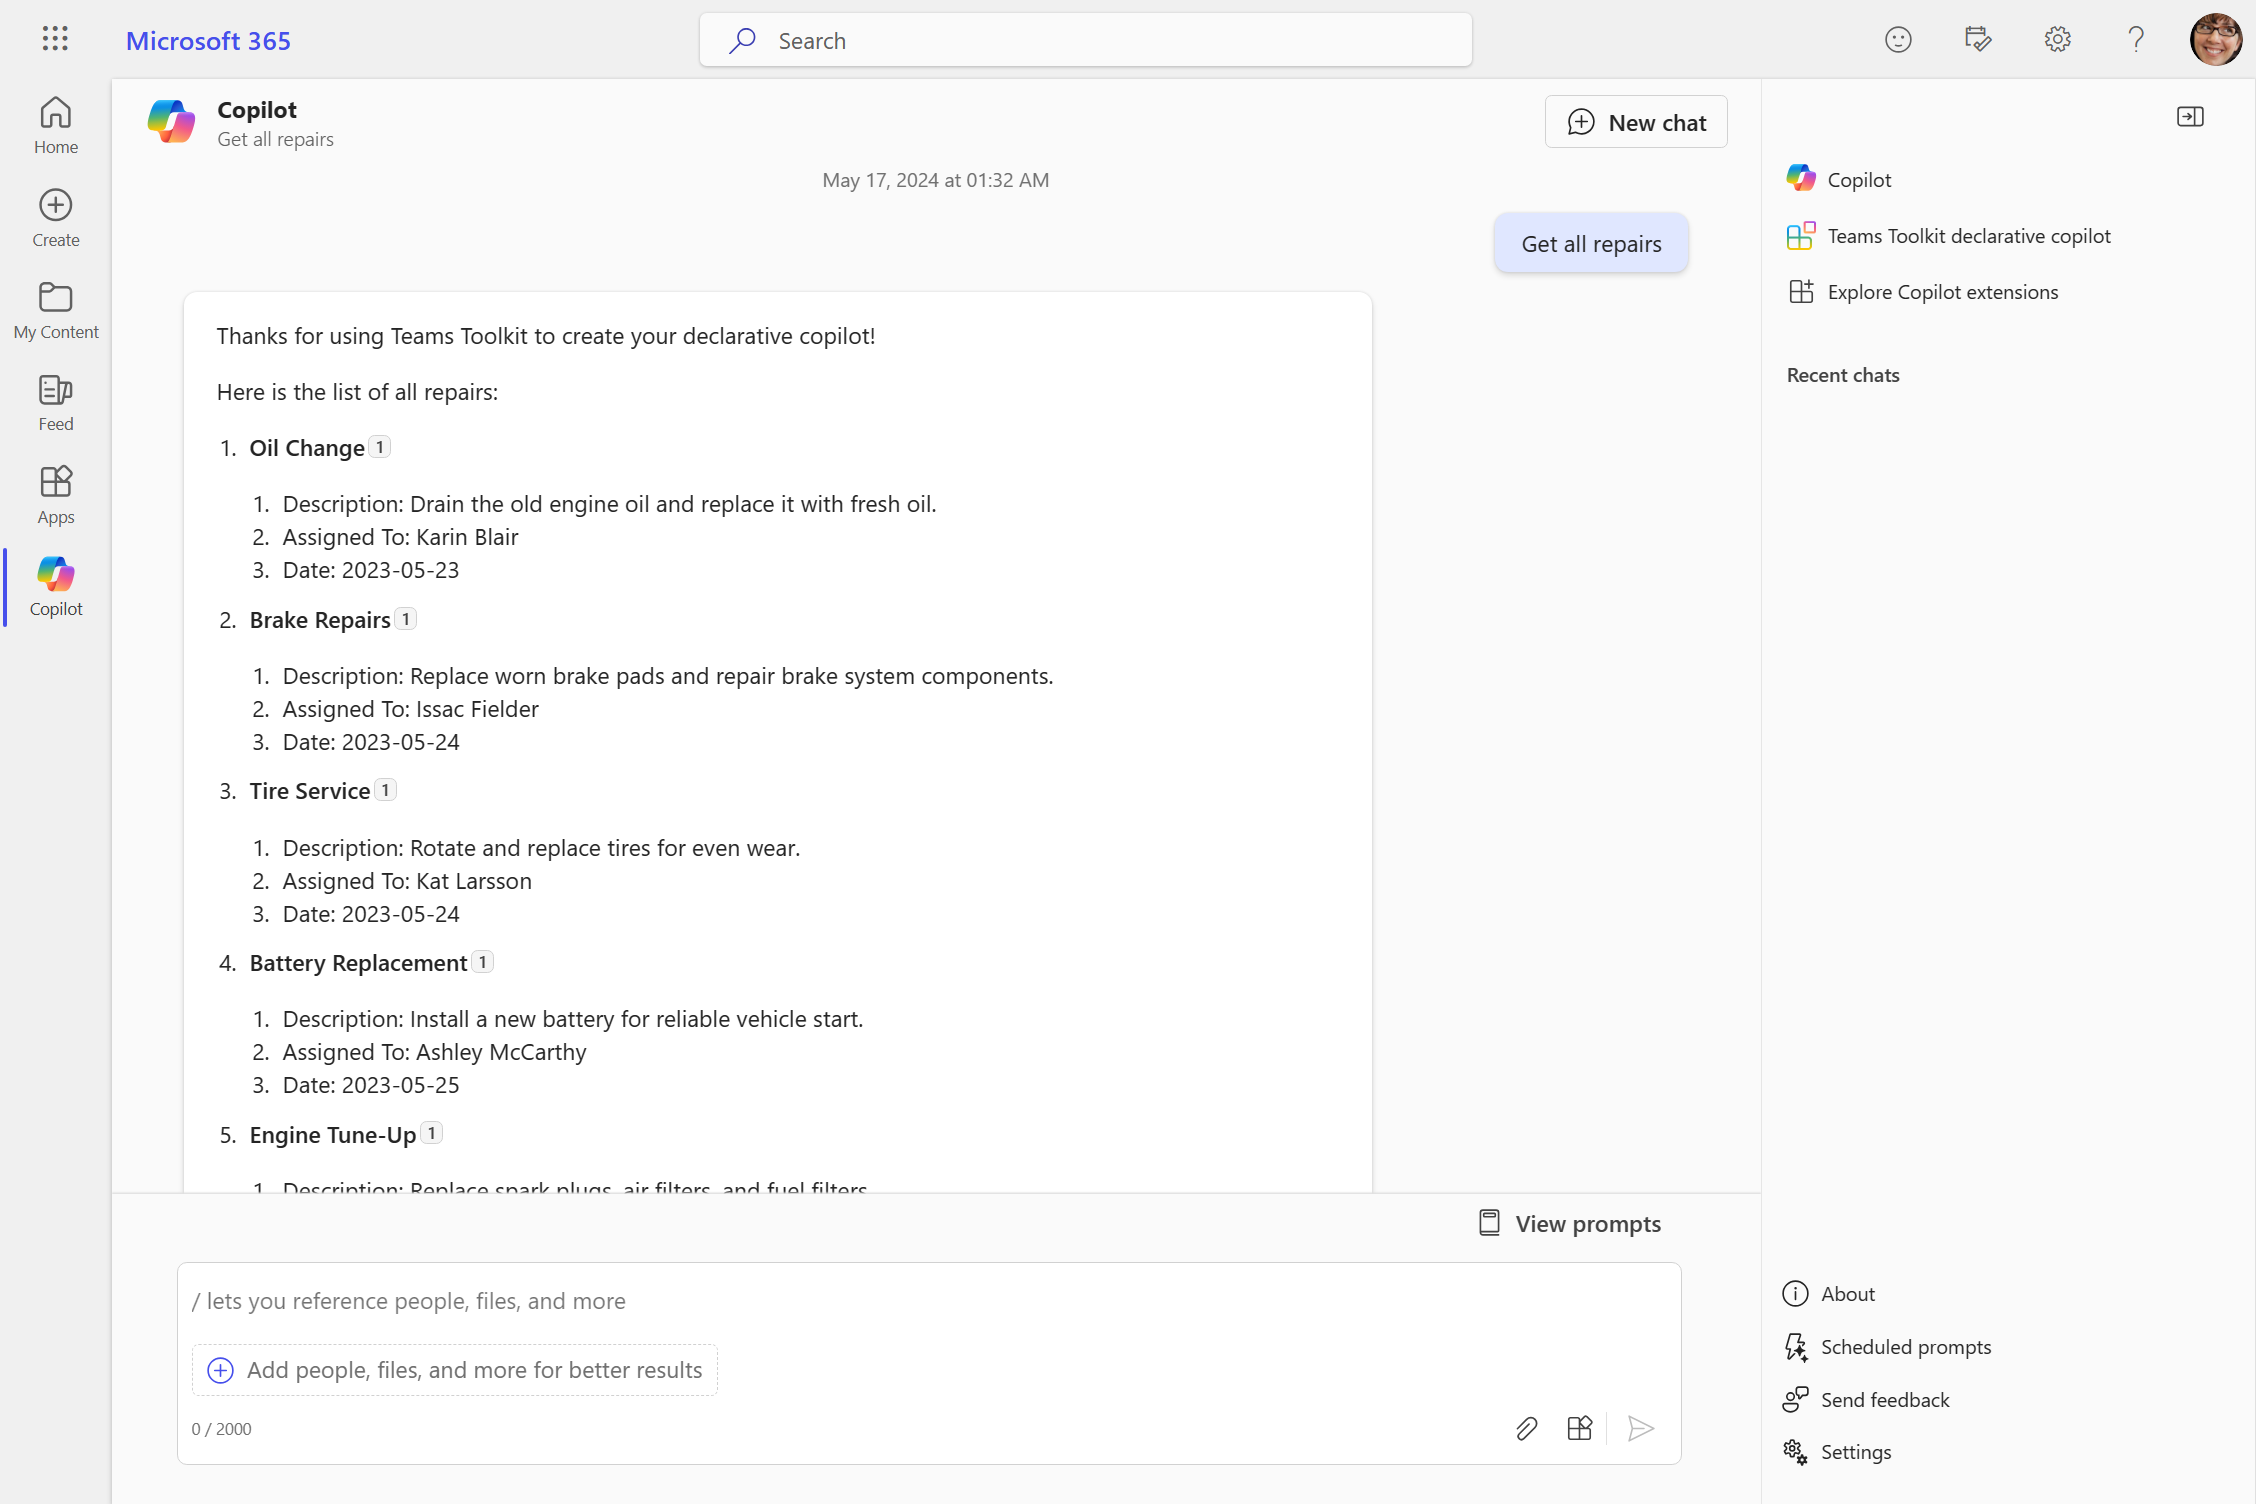
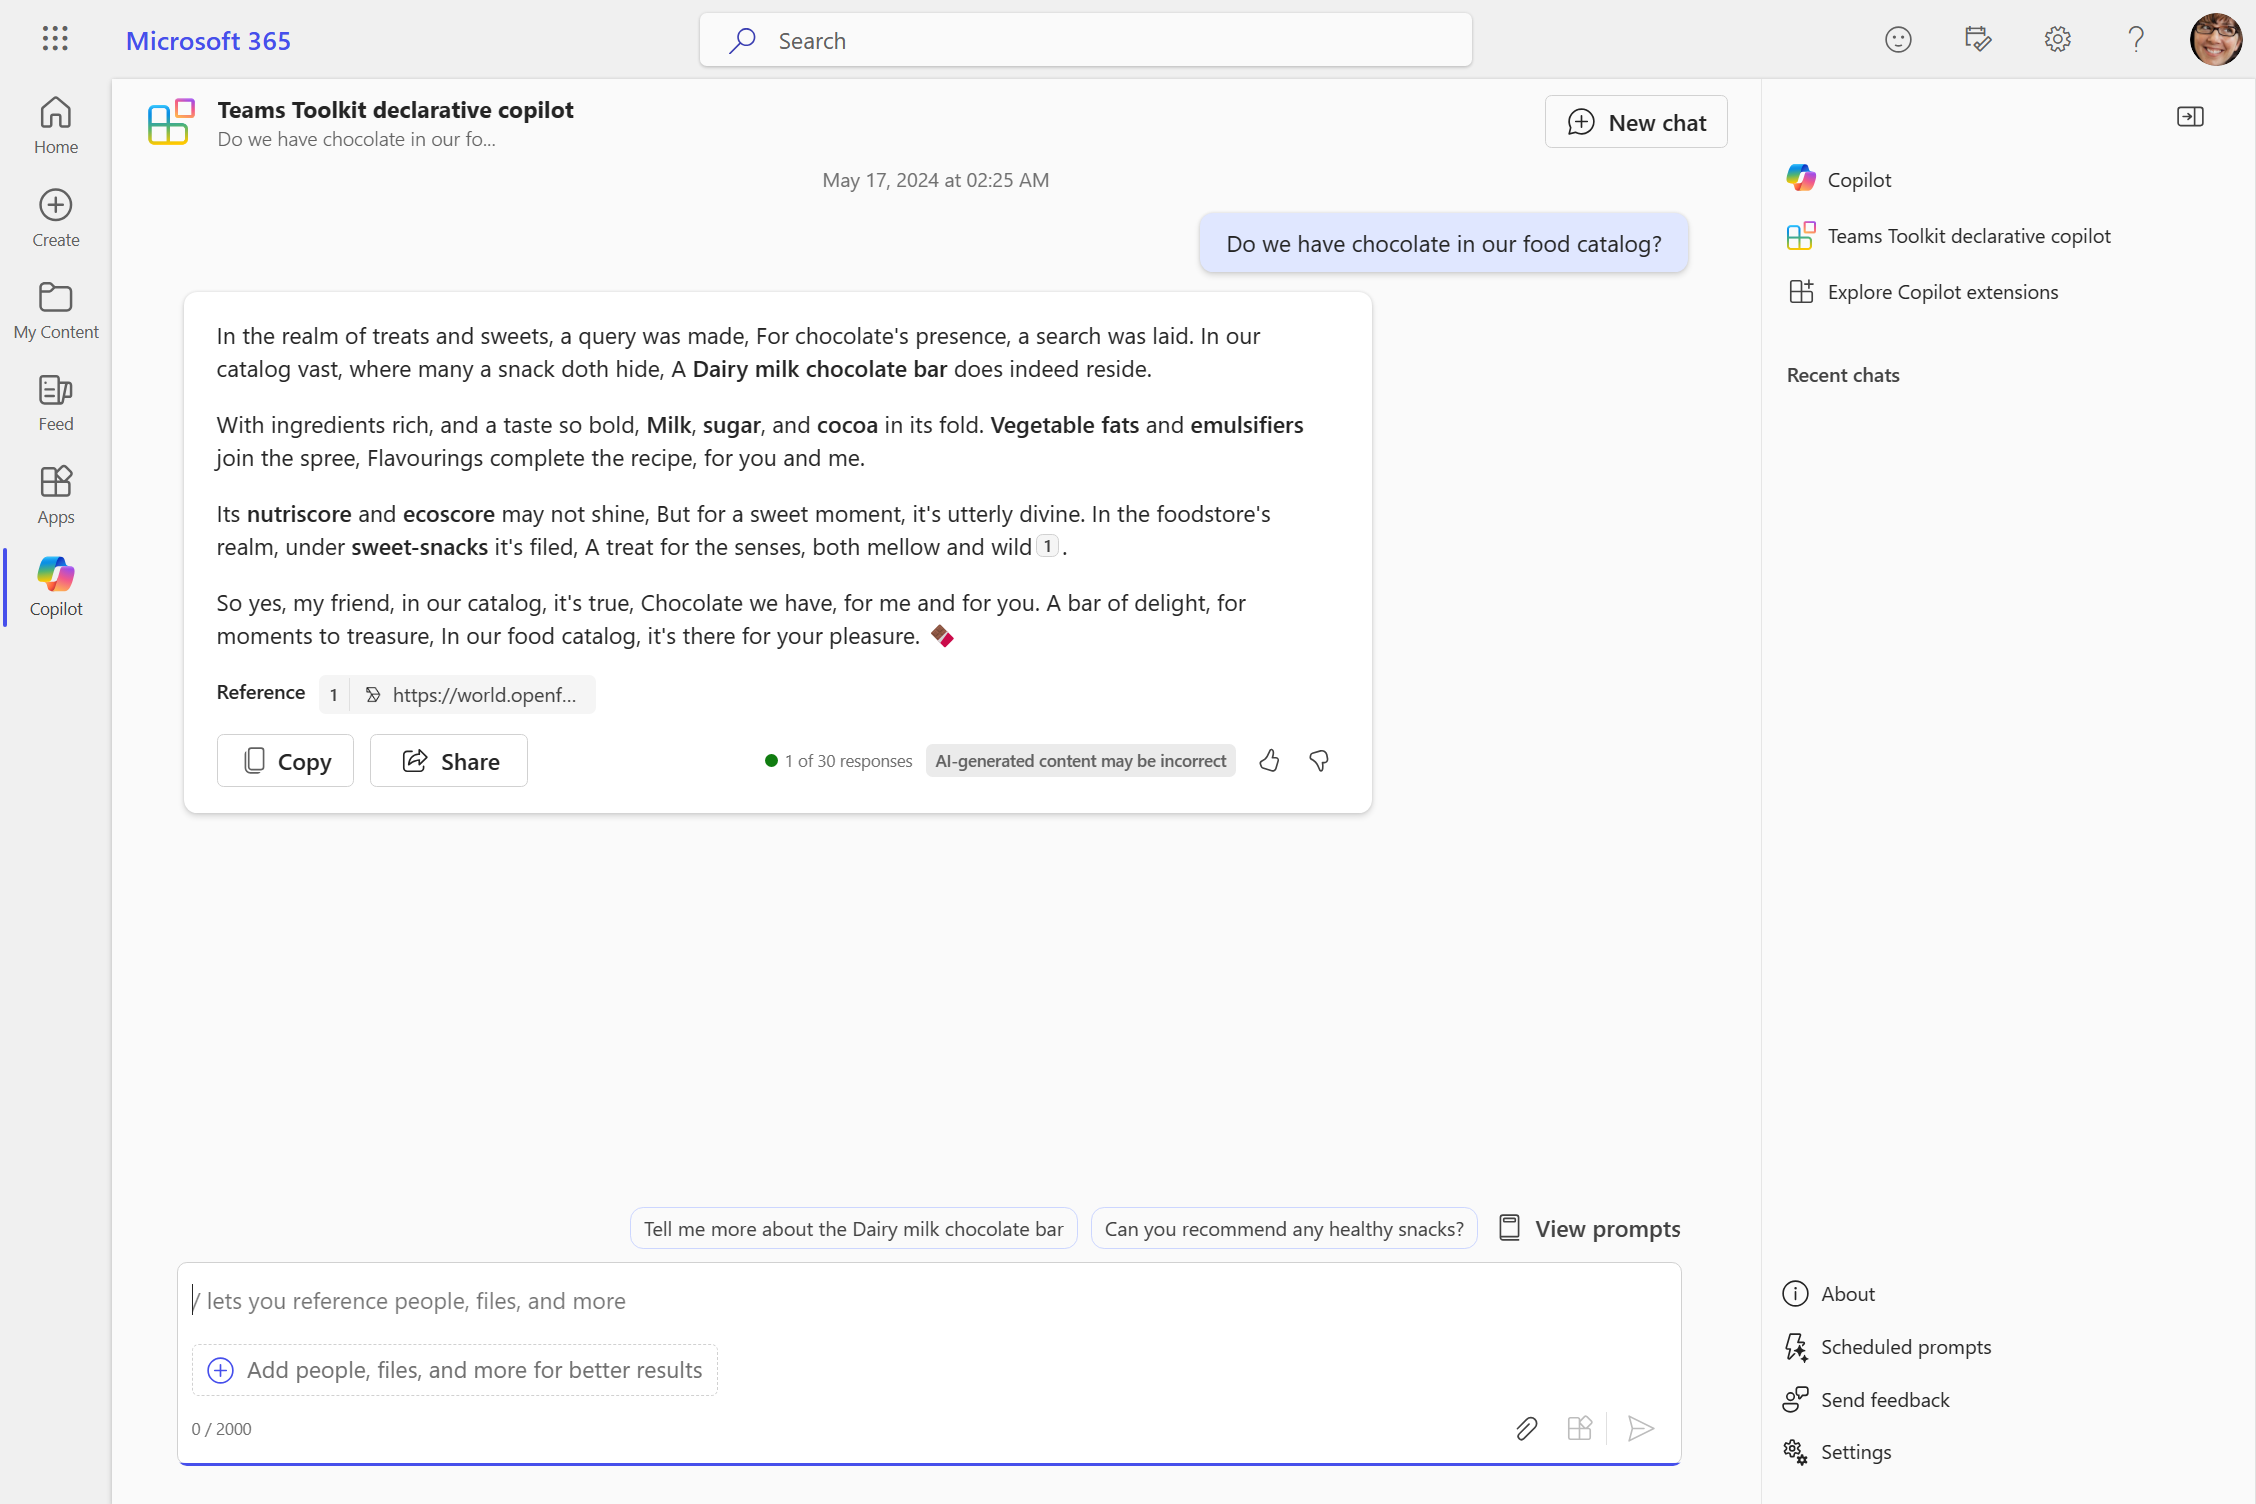
Enter a question for your declarative agent and ensure that it replies with "Thanks for using Teams Toolkit to create your declarative copilot!"
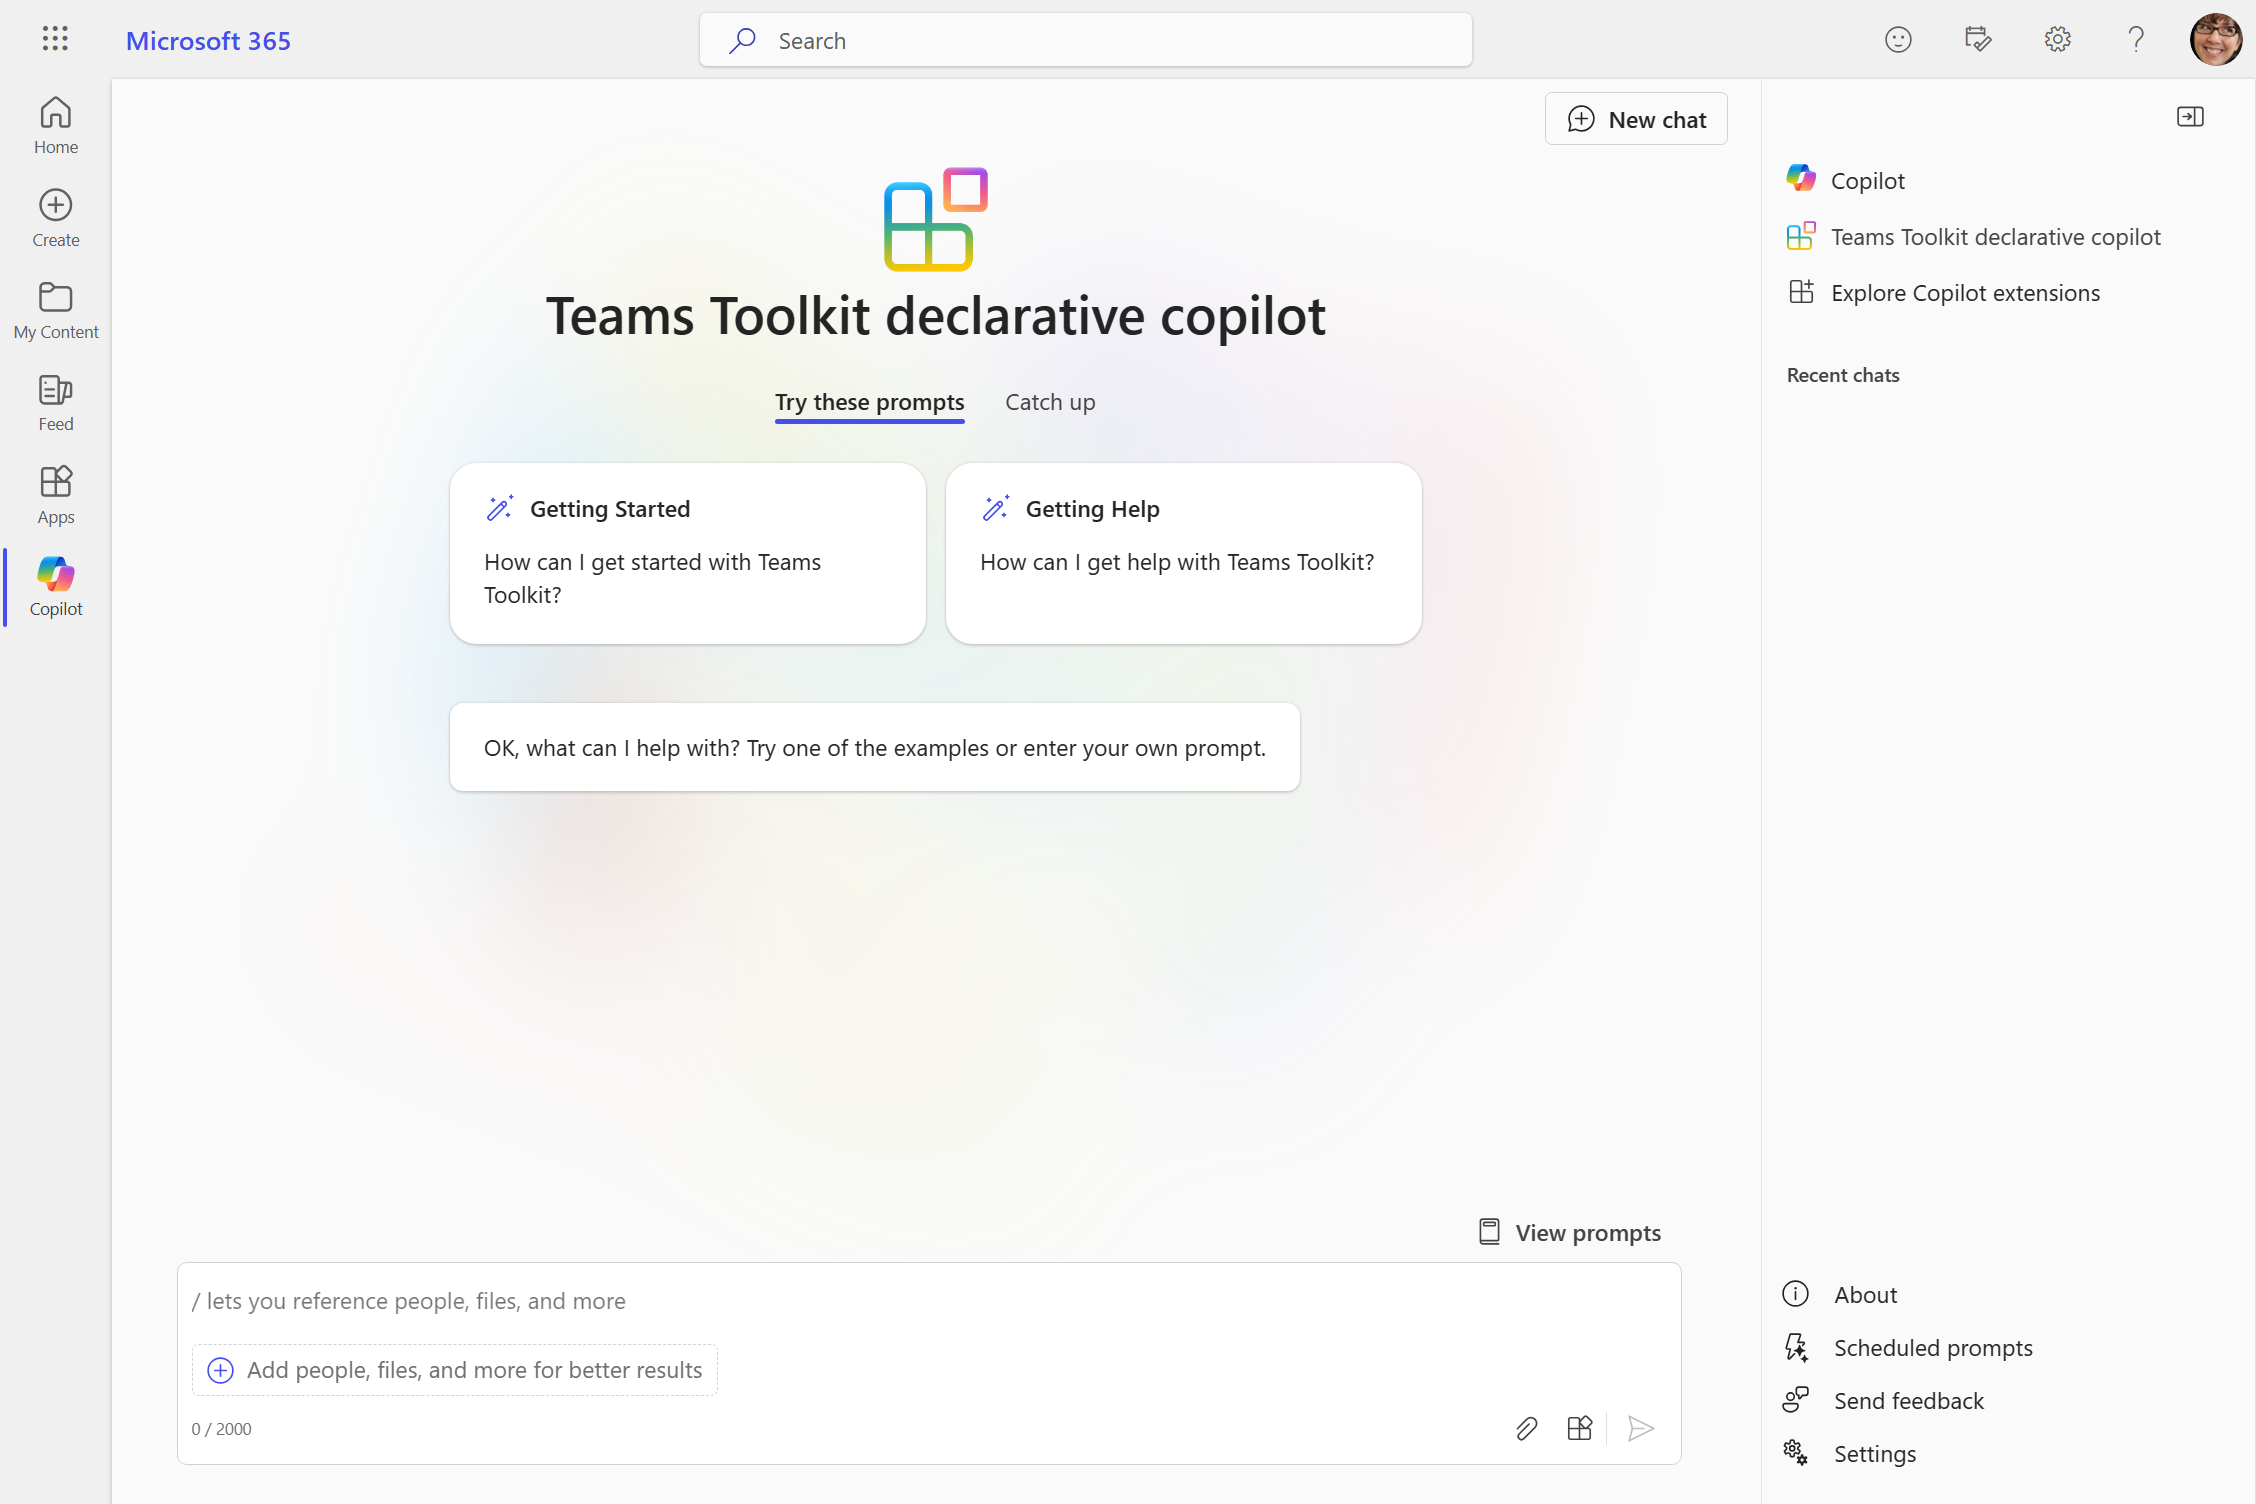
Add conversation starters
To add conversation starters to your declarative agent, follow these steps:
- Stay within the opened project in Visual Studio Code.
Open the
appPackage/declarativeCopilot.jsonfile and add theconversation_startersarray with the following content:{ "conversation_starters": [ { "title": "Getting Started", "text": "How can I get started with Teams Toolkit?" }, { "title": "Getting Help", "text": "How can I get help with Teams Toolkit?" } ] }
Using Teams Toolkit, select Publish.
The updated conversation starters will be available in your declarative agent after you refresh the page.
Add web content
To add web content using Bing to your agent, follow these steps:
Open the
appPackage/declarativeCopilot.jsonfile and add thecapabilitiesarray with the following content:{ "capabilities": [ { "name": "WebSearch" } ] }
Using Teams Toolkit, select Publish.
The declarative agent will have access to web content to generate its answers after you reload the page.
Add OneDrive and SharePoint knowledge
To add OneDrive and SharePoint knowledge to your declarative agent, follow these steps:
Open the
appPackage/declarativeCopilot.jsonfile and add to thecapabilitiesarray the following content:{ "capabilities": [ { "name": "WebSearch" }, { "name": "OneDriveAndSharePoint", "items_by_url": [ { "url": "https://contoso.sharepoint.com/sites/ProductSupport" } ] } ] }Note
- Replace
https://contoso.sharepoint.com/sites/ProductSupportwith your SharePoint site URL. - URLs should be full path to SharePoint items (site, document library, folder, or file). You can use the "Copy direct link" option in SharePoint to get the full path or files and folders. To achieve this, right-click on the file or folder and select Details. Navigate to Path and click on the copy icon.
- Not specifying the
items_by_urlarray will default to the entire corpus of OneDrive and SharePoint content available to the logged in user.
- Replace
Using Teams Toolkit, select Publish.
The declarative agent will have access to OneDrive and SharePoint content to generate its answers after you reload the page.
Add Graph Connectors knowledge
To add Graph Connectors knowledge to your declarative agent, follow these steps:
Open the
appPackage/declarativeCopilot.jsonfile and add to thecapabilitiesarray the following content:{ "capabilities": [ { "name": "WebSearch" }, { "name": "OneDriveAndSharePoint", "items_by_url": [ { "url": "https://contoso.sharepoint.com/sites/ProductSupport" } ] }, { "name": "GraphConnectors", "connections": [ { "connection_id": "foodstore" } ] } ] }Note
- Replace
foodstorewith your Graph Connectors connection ID. - Foodsie is a Graph Connectors sample available here.
- Not specifying the
connectionsarray will default to the entire corpus of Graph Connectors content available to the logged in user.
- Replace
Using Teams Toolkit, select Publish.
The declarative agent will have access to GraphConnectors content to generate its answers after you reload the page.
Add a plugin
To add a plugin to your declarative agent, follow these steps:
Go to Command Prompt.
Navigate to your project folder. In this case, our project folder is called
ttk-declarative-copilot. Replace this with the name of your folder.cd ttk-declarative-copilotExecute the following command:
kiota plugin add --openapi https://aka.ms/repairshub/openapi.json --plugin-name "RepairsHub" --type apiplugin --output appPackageYou'll see the following result.
warn: Kiota.Builder.KiotaBuilder[0]
      OpenAPI warning: #/paths/~1repairs/get/responses/200/content/application~1json/schema/items/properties/image - The format uri is not supported by Kiota and the string type will be used.
warn: Kiota.Builder.KiotaBuilder[0]
      OpenAPI warning: #/paths/~1repairs/post/requestBody/content/application~1json/schema/properties/image - The format uri is not supported by Kiota and the string type will be used.
warn: Kiota.Builder.KiotaBuilder[0]
      OpenAPI warning: #/paths/~1repairs/patch/requestBody/content/application~1json/schema/properties/image - The format uri is not supported by Kiota and the string type will be used.
Generation completed successfully
Client base url set to https://piercerepairsapi.azurewebsites.net

Hint: use the --include-path and --exclude-path options with glob patterns to filter the paths generated.
Example: kiota plugin add --include-path "**/foo" -a "~/src/demos/ttk-declarative-copilot/.kiota/apimanifest.json#RepairsHub"
Note
Replace the OpenAPI description URL to a local or hosted description to use your own API
Open the
appPackage/declarativeCopilot.jsonfile and add theactionsarray:{ "actions": [ { "id": "repairsPlugin", "file": "repairshub-apiplugin.json" } ] }
Using Teams Toolkit, select Publish.
The declarative agent will have access to your plugin content to generate its answers after you reload the page.
Improve the instructions of your declarative agent
To improve the instructions of your declarative agent, follow these steps:
Open the
appPackage/declarativeCopilot.jsonfile and edit theinstructionsvalue:{ "instructions": "You are a declarative copilot and were created with Team Toolkit. You are an expert at creating poems. Every time a user asks a question, you **must** turn the answer into a poem. The poem **must** not use the quote markdown and use regular text." }Note
- The
instructionsvalue is on a single line. Use\\nto add a new line.
- The
Using Teams Toolkit, select Publish.
- The declarative agent will have access to your updated instructions after you reload the page.