Add a custom page to your model-driven app
This article guides you through creating and editing a custom page for a model-driven app using the modern app designer.
Important
Custom pages are a new feature with significant product changes and currently have a number of known limitations outlined in Custom Page Known Issues.
This article walks you through opening a model-driven apps in the app designer, which you use to add a custom page to a model-driven app. If you need to create a new model-driven app, go to Create a model-driven app with the app designer.
Create or edit a custom page
Custom pages can be created from two places. The first is while authoring a model-driven app in the modern app designer. The other is from the Solutions area in Power Apps. Custom pages can be edited from the Solutions area but won't appear in the Home or Apps areas of make.powerapps.com.
Note
Custom pages must be created from a solution either from the modern app designer and or the Solutions area in Power Apps using New > App > Page. The custom page is a different canvas app type than the normal standalone canvas app.
Create new custom page from modern app designer
Open make.powerapps.com
On the left navigation pane, select Solutions. If the item isn’t in the side panel pane, select …More and then select the item you want.
Open the solution containing the existing model-driven app.
Select the model-driven app where you want to add a custom page, and then select Edit on the command bar.
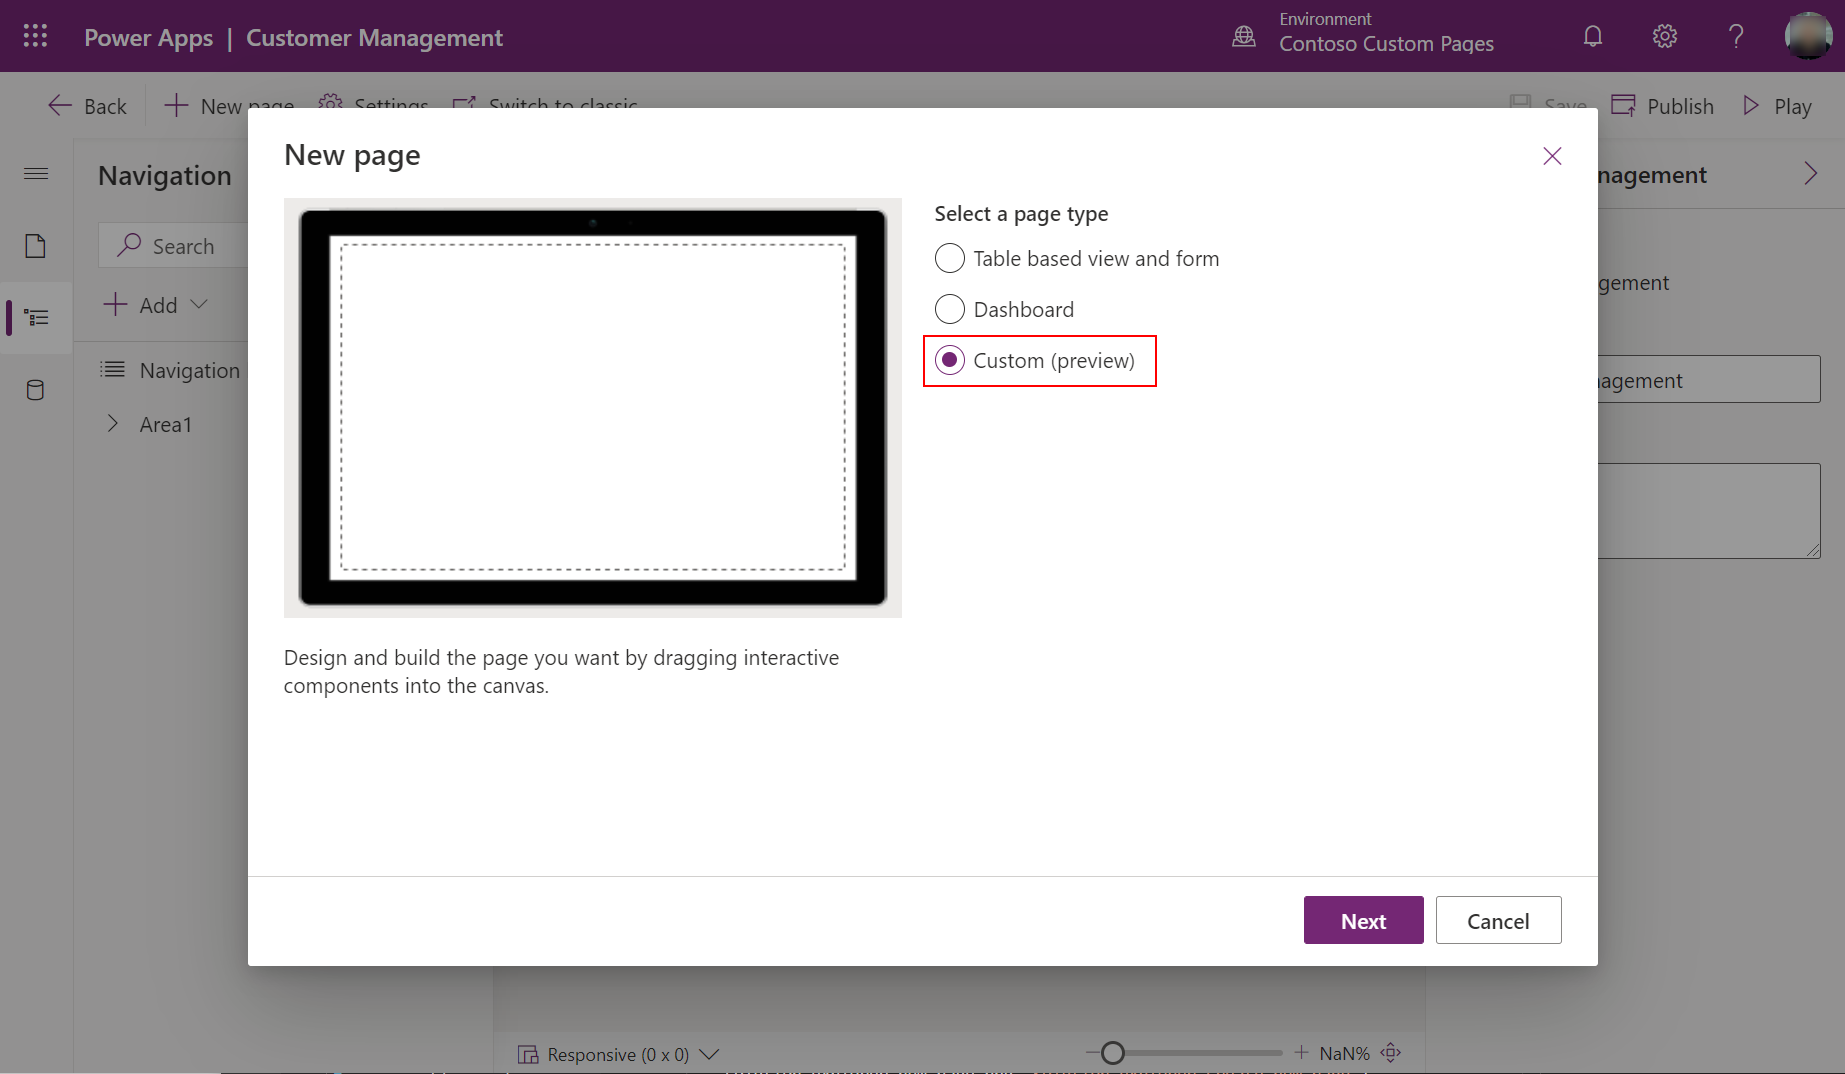
In the app designer, select Add page > Custom page on the command bar.
Select Create custom page.

The canvas app designer opens for page authoring.

When you're finished creating your canvas app custom page, Save, Publish, and then close the canvas app designer browser tab to return to the model-driven app designer.
Create new custom page from the solutions area
Sign in to Power Apps
Select Solutions from the left navigation pane. If the item isn’t in the side panel pane, select …More and then select the item you want.
Open or create a solution to contain the new custom page
Select New > App > Page.

Edit an existing custom page
Open up make.powerapps.com
Select Solutions from the left navigation pane. If the item isn’t in the side panel pane, select …More and then select the item you want.
Open or create a solution to contain the new custom page.
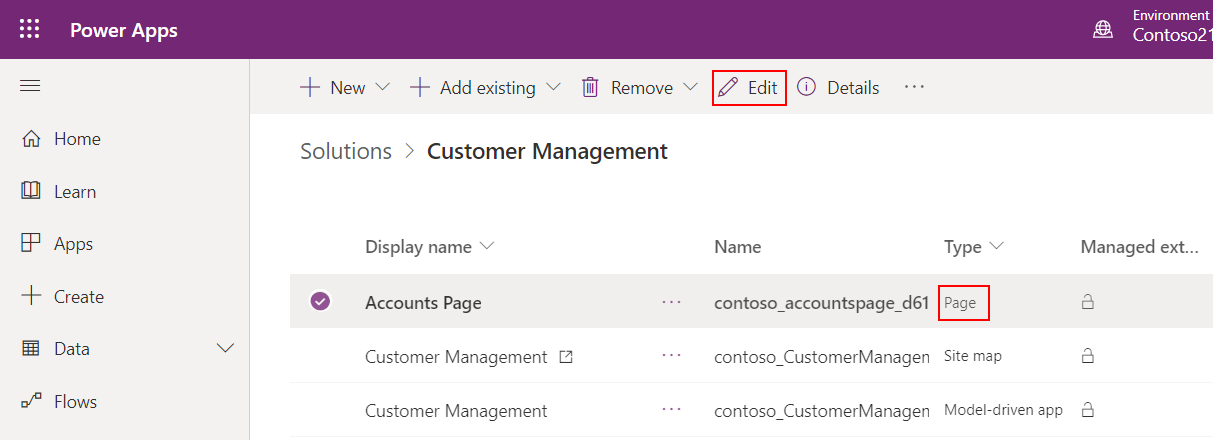
Select the custom page with Page type, and then select Edit.

Author custom page content
Design the custom page content. More information: Design a custom page for your model-driven app
Save and publish the custom page.
Close canvas app designer.
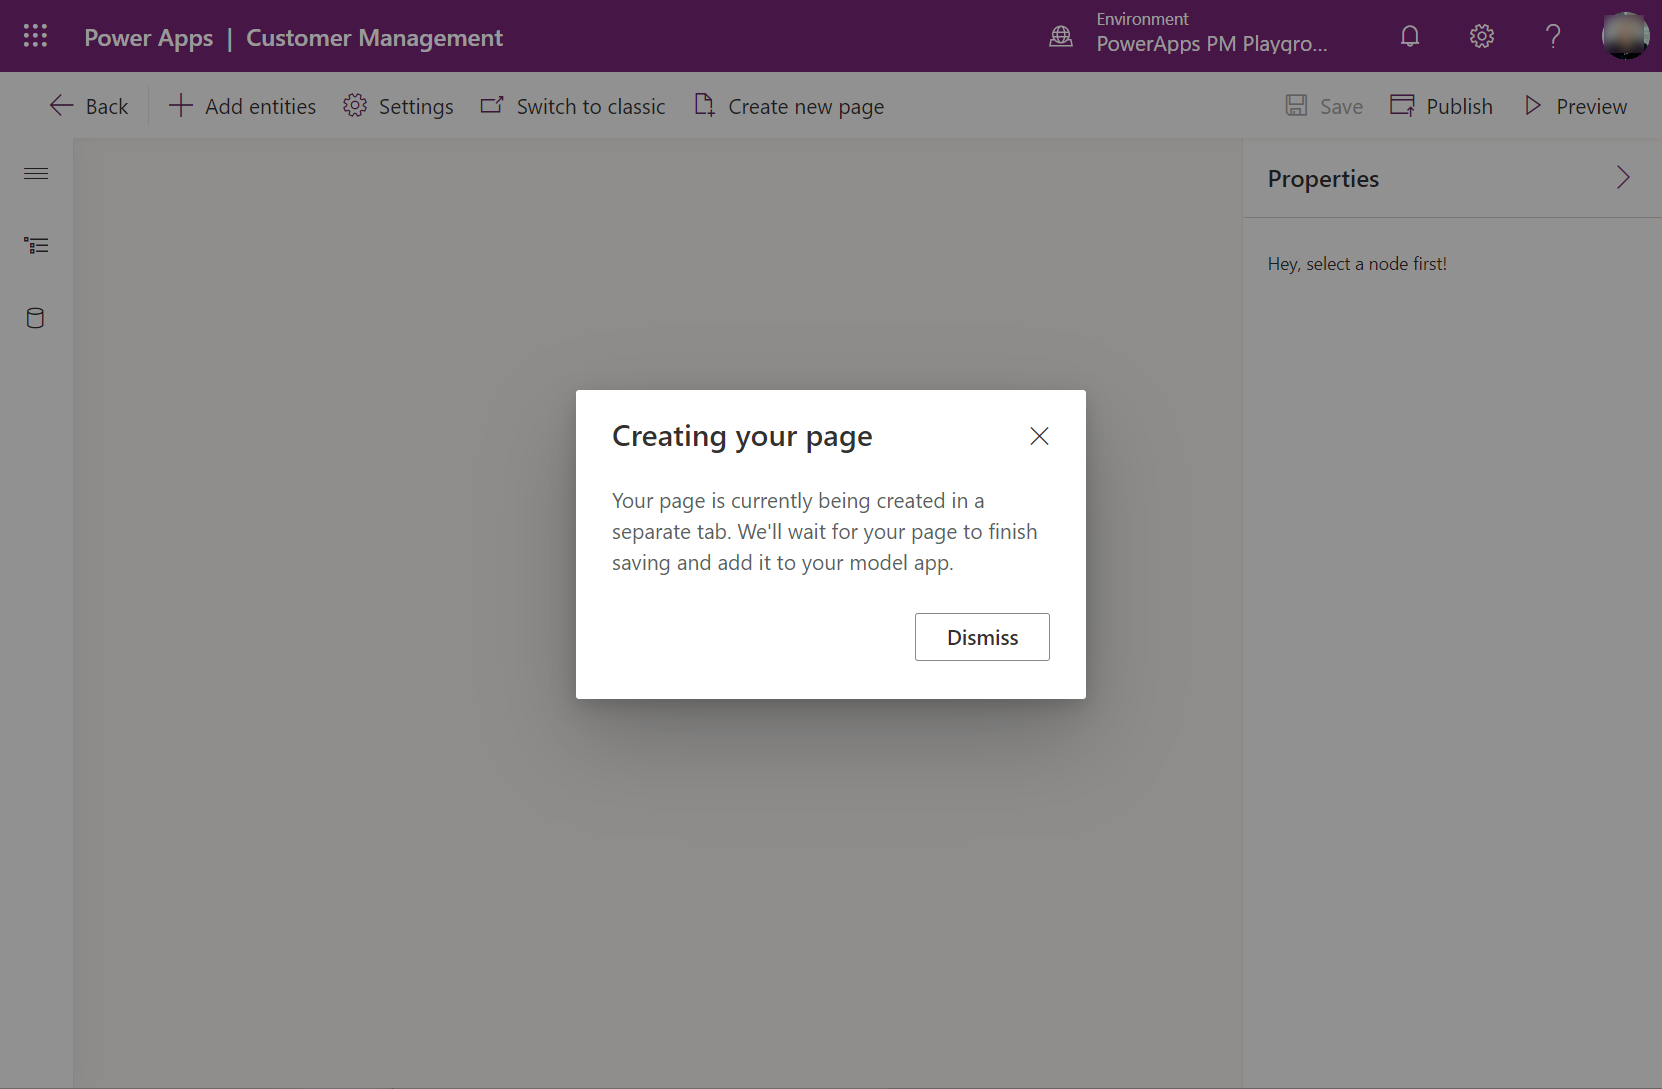
Return to the app designer browser tab and refresh the app designer by selecting Dismiss.

Select Publish in the app designer to add the changed custom page into the model-driven app.
Select Preview to play the app in a new browser tab.
Add an existing custom page into a site map
Sign into make.powerapps.com
Open an existing model-driven app using modern app designer.
Select the Add page > Custom page on the command bar.
Select the custom page in the list of custom pages available in the environment, and then select Add.

Select Publish, which also saves the app if there are changes.
Select Play to run the app in a new browser tab.
To close the app designer select Back and return to the solution.
Publishing a custom page
Important
Currently, model-driven apps must be re-published after a custom page is published. Otherwise the model-driven app continues to use the previous published custom page.
After saving changes to a custom page in the canvas designer, the custom page must be first published by the canvas designer. Then all model-driven apps referencing that custom page need to be published.
From canvas designer, select Publish
From app designer or solution explorer, select Publish on each model-driven app referencing the custom page
See also
Model-driven app custom page overview
Design a custom page for your model-driven app