Create a cloud flow in Power Automate
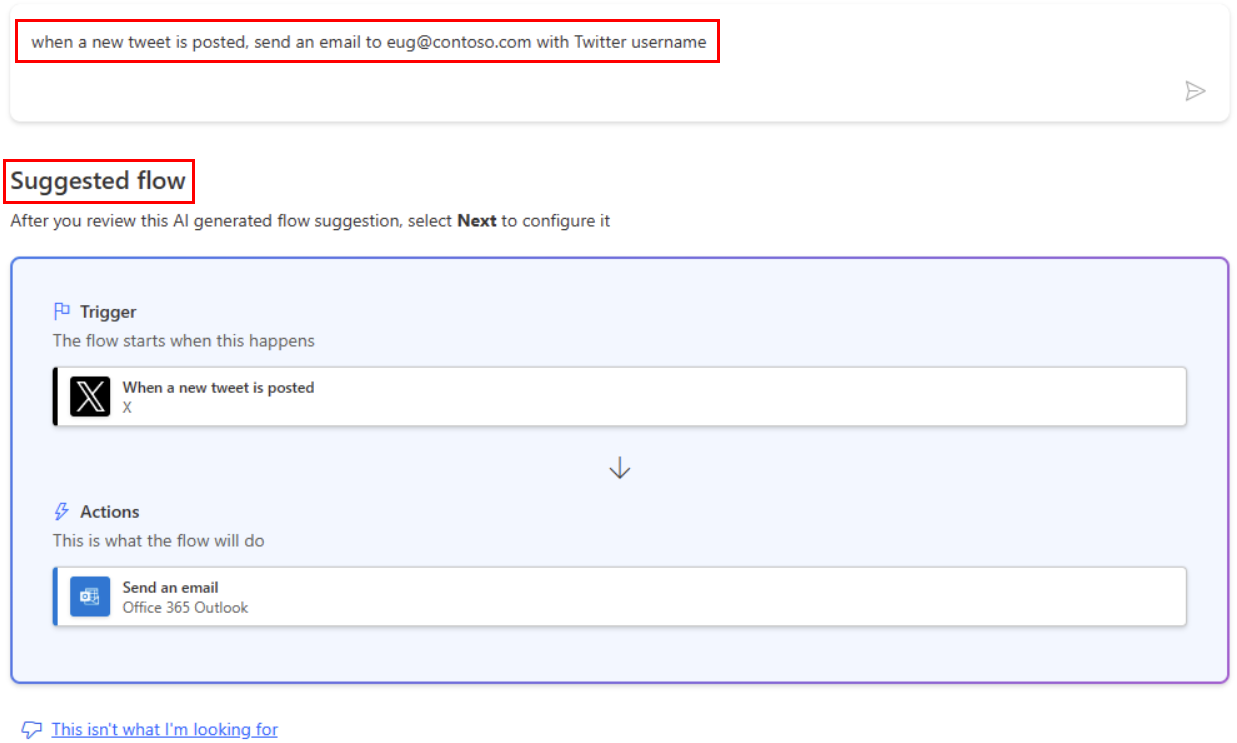
Create a cloud flow that performs one or more tasks automatically after it's triggered by an event. For example, create a cloud flow that notifies you by email when someone sends a tweet that contains a keyword you specify. In this example, sending a tweet is the event, and sending mail is the action.
- An account on Power Automate
- A Twitter account
- Office 365 credentials
Note
Power Automate uses either the classic cloud flows designer or the cloud flows designer with Copilot. To identify which designer you’re using, go to the Note section in Understand the cloud flows designer with copilot capabilities.
First, select what event, or trigger, starts your flow.
Sign in to Power Automate.
From the navigation bar on the left, select My flows.
Select New flow, and then select Automated cloud flow.
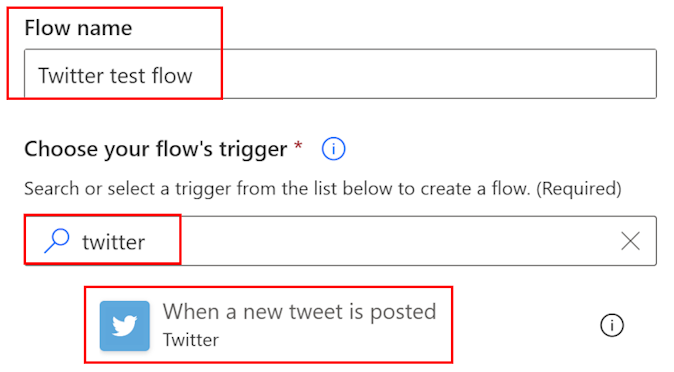
In the Flow name field, give your flow a name.
If you skip this step, Power Automate will generate a name for you.
In the Search all triggers field, enter twitter.
Select When a new tweet is posted - Twitter.

At the bottom of the screen, select Create.
Tip
Connectors support multiple types of authentication. For example, SQL Server supports Microsoft Entra ID, SQL Server authentication, Windows authentication, and SQL connection string. Users choose which type of authentication they want to use when configuring a connector.
If you haven't already connected your Twitter account to Power Automate, select Sign in to Twitter, and then provide your credentials.
In the Search text box, type the keyword that you want to find.
Select New step.
In the box that shows Search connectors and actions, enter send email, and then select Send an email (V2).
If prompted, select the sign-in button, and then provide your credentials.
In the form that appears, enter your email address in the To box, and then select your name from the list of contacts that appears.
In the Subject box, enter New tweet from:, and then type a space.
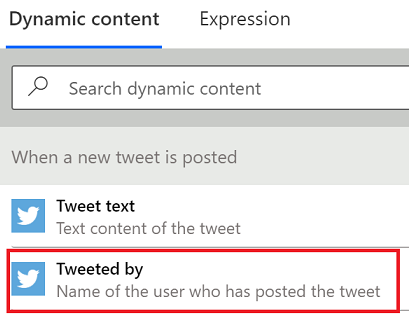
In the list of tokens, select the Tweeted by token to add a placeholder for it.

Select the Body box, and then select the Tweet text token to add a placeholder for it.
Optionally, you can add more tokens, other text, or both to the body of the email.
Near the top of the screen, select Save.
Send a tweet with the keyword that you indicated, or wait for someone else to post such a tweet.
Within a minute after the tweet is posted, an email message notifies you of the new tweet.
Tip
Use the Send email (V2) action to format email in which you customize the font, use bold, italic or underline, customize the color and highlight, and create lists or links, and more.
You can have up to 600 flows in your account. If you already have 600 flows, delete one before you create another flow.
Sign in to Power Automate.
In the navigation bar on the left, select My flows.
In the list of flows, do any of the following:
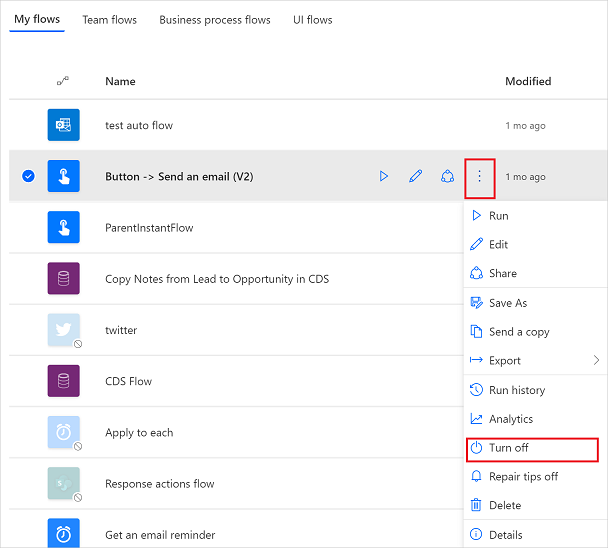
To pause a cloud flow, set its toggle to Off.

To resume a cloud flow, set its toggle to On.
To edit a cloud flow, select the pencil icon that corresponds to the flow you want to edit.
To delete a cloud flow, select the ... icon, select Delete, and then select Delete on the message box that appears.
To view the run history of a cloud flow, select the flow from the My flows page, and then view the history under the 28 day run history section of the page that opens.
Select a cloud flow run from the list of runs to see the inputs and outputs of each step.
- Add steps, such as different ways to be notified, to your flow.
- Run tasks on a schedule, when you want an action to occur daily, on a certain date, or after a certain number of minutes.
- Add a cloud flow to an app
- Get started with team flows and invite others to collaborate with you to design flows.
- Training: Get started with Power Automate (module)
