Create a pipeline using a custom pipelines host
Power Platform administrators can create one or more pipelines, associate any number of environments, then share access with those people that administer or run pipelines.
Prerequisites for custom pipelines host
- Four environments are recommended, but you can use as few as three Power Platform environments to create a pipeline.
- All environments used in pipelines must have a Microsoft Dataverse database.
- You must have a Power Platform administrator or Dataverse system administrator role to install the pipelines application.
- All target environments used in a pipeline must be enabled as Managed Environments.
Create or choose environments for pipelines
Before you begin, you need to identify which environments participate in pipelines. Be sure to enable all target environments as Managed Environments. Managed Environments isn't required for the pipelines host or developer environments.
Host environment. This special-purpose environment acts as the storage and management plane for all pipeline configuration, security, and run history.
- We recommend you keep this setting as a dedicated production environment separate from the development and target environments.
- If desired, you can configure multiple different hosts within a tenant, such as for separately managing pipelines for different business organizations or geographic locations. One host for the entire tenant is also acceptable as long as all environments are in the same geographic location.
Important
Deleting the host environment deletes all pipelines and run data. Use caution and understand the impact of data and configuration loss as well as maker access to pipelines hosted in the environment.
Development environment. This environment is where you develop solutions. A pipeline can be run from within any development environment linked to it.
Target environment. The destination environment a pipeline deploys to. For example, integration testing, user assistance testing (UAT), production, and so on.
Tip
Use environment names that indicate their purpose. For example, Contoso Host, Contoso Development, Contoso QA, and so forth.
Install the pipelines application in your host environment
This step is only required for the initial host setup. You might skip to the next section if you already have access to a host environment where you'll create pipelines.
- Sign in to the Power Platform admin center, go to Environments > New, and create a new environment with a Dataverse database. Be sure to choose the same region that your development, QA, and production environments are created in.
- Install the Power Platform Pipelines application in your host environment by selecting the host environment, then select Resources > Dynamics 365 apps.
- Select Install app and scroll down within the right-side panel until you find Power Platform Pipelines.
- Select Next, if you agree, accept the terms, and then select Install.
Important
You only need to install the deployment pipelines application in the host environment. You don't need to install it in other environments, such as development, QA or production environments that will be associated with your pipelines.
Once installed, the deployment pipelines configuration application appears in the list of installed apps.
Configure a deployment pipeline
Copy the environment IDs of all development and target Managed Environments that are linked to pipelines. You need these IDs later. More information: Find your environment and organization ID
Once the Deployment Pipeline package installation is completed, go to Power Apps, then select the dedicated host environment (where you installed the application).
Play the Deployment Pipeline Configuration app.
Select Environments on the left pane, and then select New to create the environment records in Dataverse:
- Name: Enter the name for the environment record. It's a good idea to include the same name as the actual environment, such as Contoso Dev.
- Environment Type: Select either Development Environment or Target Environment. Select Development Environment for all source environments where unmanaged solutions will be developed. Select Target Environment for QA and production environments where the managed solution artifacts are deployed.
- Environment Id: Be sure to select the correct ID. You can find the environment ID for the current environment within make.powerapps.com. Select the Settings icon on the command bar, and then select Developer resources. More information: Find your environment and organization ID
Select Save.
Refresh the form, then verify Validation Status equals Success.
Repeat steps 4-6 until all environments that participate in the pipeline have environment records created.
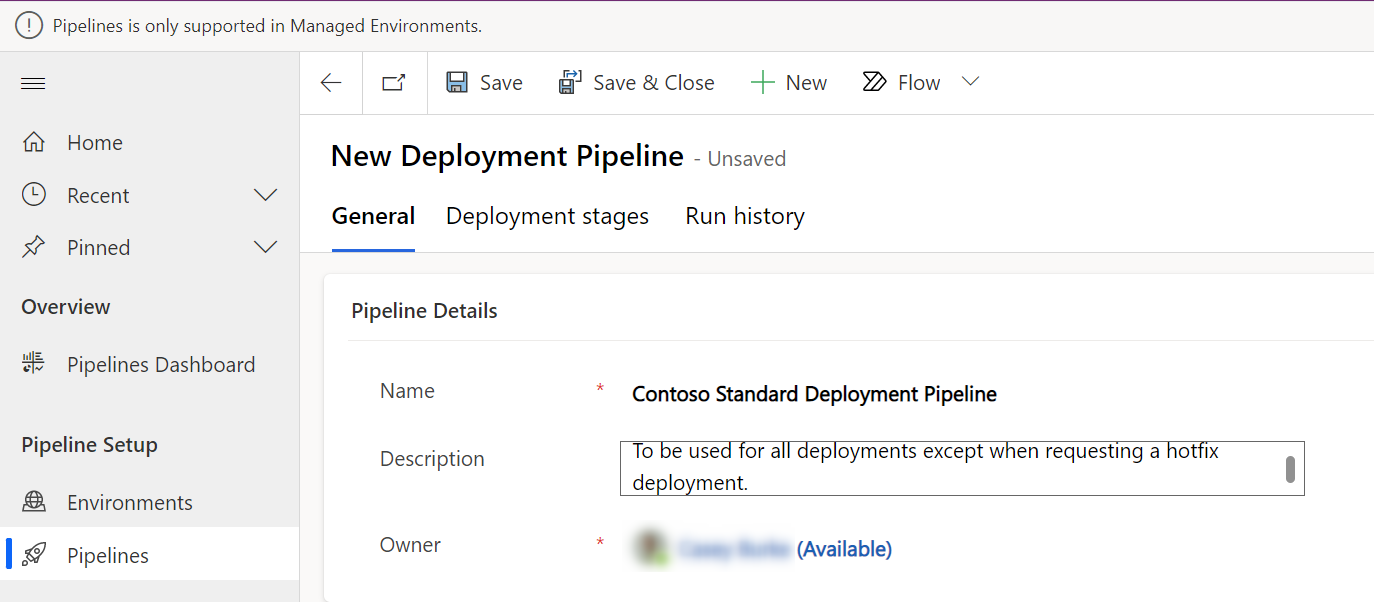
Select Pipelines on the left navigation pane, and then select New to create a new deployment pipeline:
- Name: Enter a name for the pipeline, such as Contoso Standard Deployment Pipeline or Contoso Hotfix Pipeline.
- Description: Optionally, enter a meaningful description for the pipeline.
Within the Linked Development Environments grid, select Add Existing Development Environment, then associate one or more development environments. A pipeline must have at least one development environment and one stage before it can run.

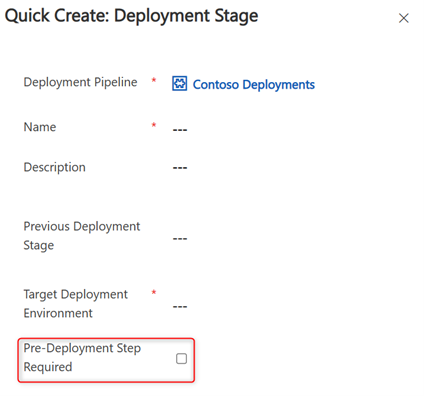
Within the Deployment Stages grid, select New Deployment Stage, to display the quick create pane.
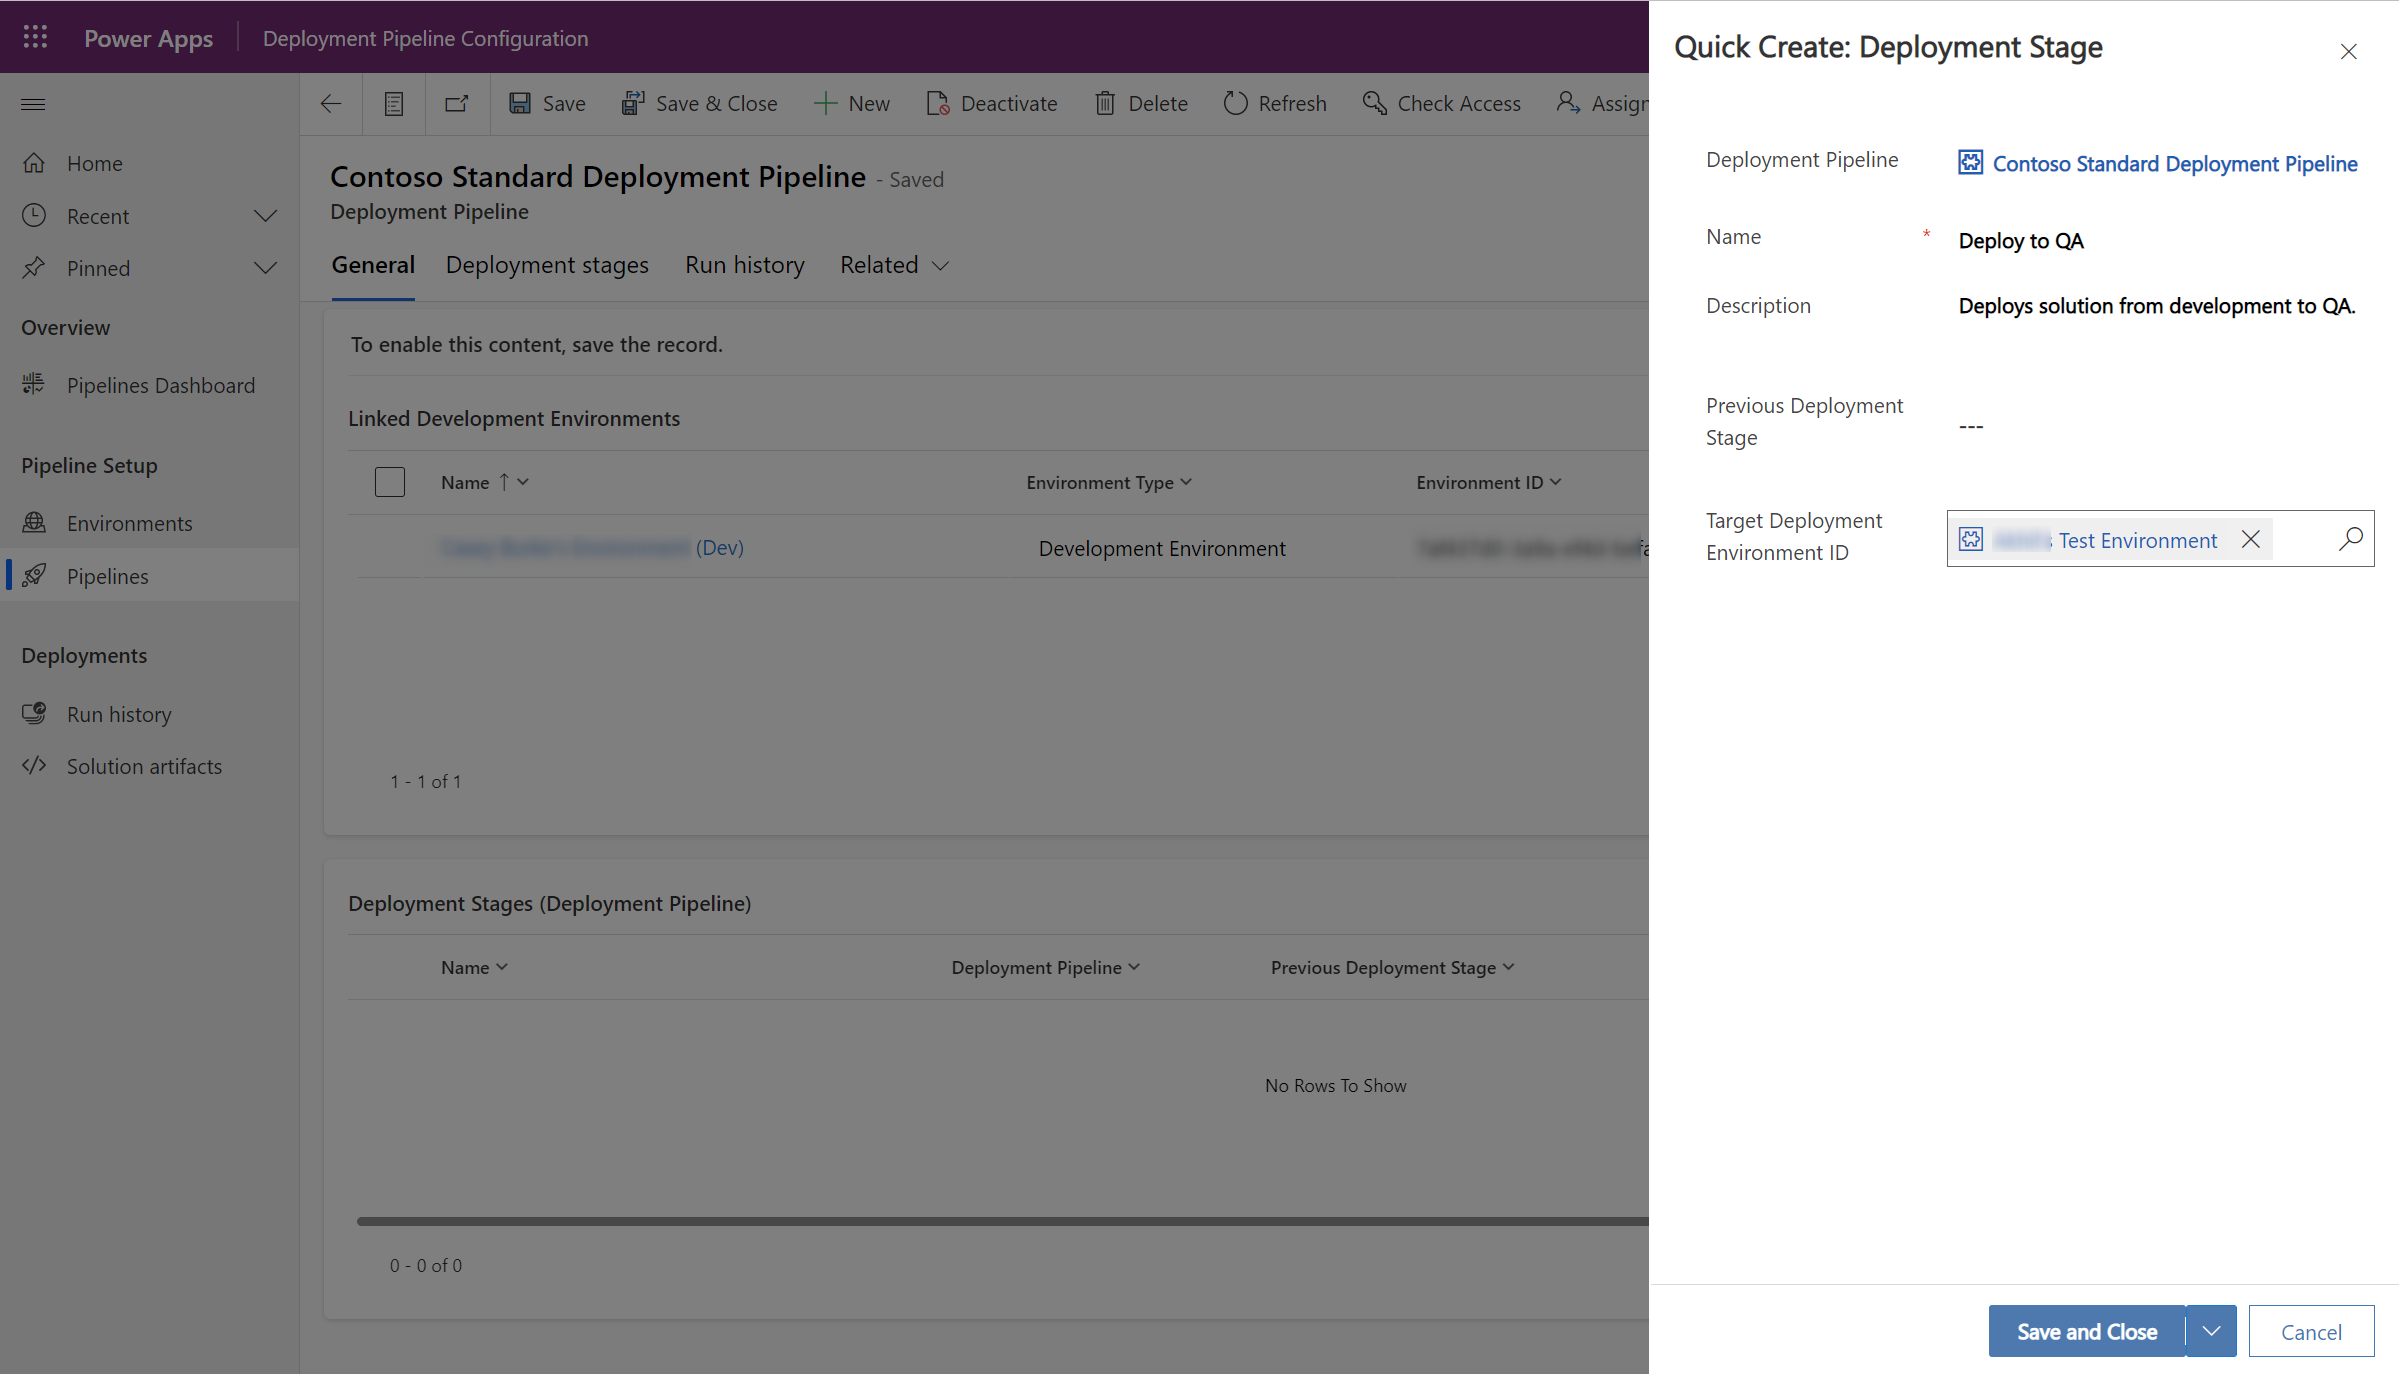
Enter the details for each stage, and then select Save and Close:
- Name: The name of the stage.
- Description (optional): Optional description for the stage.
- Previous Deployment Stage (optional): Specifies a deployment stage that must be deployed to before deploying to the current stage. For example, when creating a production stage, you can add the test stage as the Previous Deployment Stage. For the first stage, or pipelines containing only one stage, this stage should be left blank.
- Target Deployment Environment: This is the target environment where this stage deploys to.
- PreDeployment Step Required (optional): Deployment requests are pending until approved via custom business logic. Requires additional configuration. More information: Extend pipelines in Power Platform
Repeat the previous two steps for each stage you'd like to add to the pipeline. You must have at least one stage. You can add up to seven stages.
Grant access to edit or run pipelines
Pipeline security is managed within the host environment by assigning security roles. Additionally, users must currently have access to all environments associated with a pipeline in order to create or run the pipeline.
When you install the Power Platform pipelines application, two security roles are added:
- Deployment Pipeline User: Has privileges to run pipelines that have been shared with them.
- Deployment Pipeline Administrator: Has full control over all pipeline configuration, without needing system administrator security role membership.
Share pipelines with makers
The Deployment Pipeline User security role grants access to run one or more pipelines. It doesn't grant access to create, edit, or delete pipelines. Users with the Deployment Pipeline User security role can't view the host environment within the environment picker in Power Apps or Power Automate, or otherwise need to be aware of it.
To share pipelines:
- Assign makers the Deployment Pipeline User security role within the host environment. This security role is installed with the Power Platform pipelines application. More information: Assign a security role to a user
- In the deployment pipeline configuration app, Share the pipeline record with makers (or Microsoft Entra groups). Read privilege is sufficient to view and run a pipeline from within the development environment. More information: Share rows with a user or team
- Makers must also have privileges to export solutions from the source development environments, as well as privileges to import solutions to the target test and production environments for which the pipeline deploys to. By default, system customizer and environment maker roles have these privileges.
Share with pipeline administrators
The Deployment Pipeline Administrator security role grants full privileges to all pipelines (and tables, which store pipeline information) within the host environment. The role also grants access to run all pipelines associated with the current host. The Deployment Pipeline Administrator security role doesn't grant privileges to perform other activities within the host environment.
Important
Pipeline administrators must also have access to all development, test, and production environments that are associated with pipelines they create or run.
Assign the Deployment Pipeline Administrator security role to users or Microsoft Entra groups within the host environment. This security role is installed with the Power Platform Pipelines application. More information: Assign a security role to a user
Assigning pipeline roles via Security Teams in the Deployment Pipeline Configuration app
As a Deployment Pipeline Administrator, you can assign out-of-the-box Pipelines roles easily in the Deployment Pipeline Configuration app:
- Play the Deployment Pipeline Configuration app.
- Select Security Teams under Settings in the left navigation pane.
There are three teams:
- Deployment Pipeline Administrators. These users have full access to all pipelines and can play the Deployment Pipeline Configuration app.
- Deployment Pipeline Makers. These users can create and consume personal pipelines that are managed in the custom host. If a maker needs to use a shared pipeline, we recommend that the user is assigned the Deployment Pipeline Users role to gain access to shared artifacts and shared stage runs.
- Deployment Pipeline Users. These users can trigger a pipeline that is shared with them. Deployment Pipeline Users also have read access to all deployment stage runs within the same business unit.
Using a pipeline with other development environments that aren't already associated
If a user has write-access on a given pipeline, they're able to associate other development environments with that pipeline in the Pipelines experience.
Choose the created pipeline from the dropdown menu. When you select Next in the first step of the deployment configuration process, the current environment is linked to the pipeline (and the host, if not already) as a development environment.
This is useful if you have the same pipeline process for an additional development environment. For example, your UAT and production environments are the same for another source environment. You can reuse the pipeline you already created or have been given write-access to.
Centrally manage and monitor deployments
The pipeline configuration app and host environment provide many other benefits such as:
- Centrally view all deployment activity. Filtered views are also accessible within the maker experience for a given pipeline and solution.
- Audit where a certain solution version is deployed as well as who initiated the request.
- View error logs, validation results, and deployment settings. Environment variables and connections are provided during deployment.
- Retain backups of all solution artifacts by version.
- Schedule bulk delete jobs to remove unwanted data and conserve database capacity. More information: Remove a large amount of specific, targeted data with bulk deletion
- Use a dashboard to visualize deployment metrics. You might also build your own reports using data stored within the host.
Accessing the Deployment Pipeline Configuration app from Power Apps
From the Pipelines page within any solution, the Manage pipelines command on the command bar navigates to the configuration app of the pipelines host that is associated with the current environment:
- If the current environment is associated with a custom pipelines host, the button links to the Deployment Pipeline Configuration app within the dedicated Host environment.
- If the current environment is associated with the Platform host, the button links to an embedded Deployment Pipeline Configuration app within Power Apps.
The Deployment Pipeline Configuration app can be accessed by anyone with the Deployment Pipeline Administrator role if using a custom host, and any tenant administrator for the app associated with the platform host.
Manually disassociating environments from one host and associating them with another host
- From Power Apps (make.powerapps.com), begin in an environment that you want to disassociate, and select Solutions.
- Choose any solution that you have access to, and select into it.
- Navigate to the Pipelines page from the left navigation pane, and then select Manage pipelines on the command bar. If you're beginning with a custom host, you can also go directly to the dedicated host environment and run the Deployment Pipeline Configuration app from there.
- Now that you are in the Deployment Pipeline Configuration app, go to Environments from the left navigation pane.
- In the Added Deployment Environments table shown by default, select the environment records for the environments that you want to disassociate from this host.
- Select Delete on the command bar, and confirm deletion.
- For associating the deleted environments to the new host, repeat steps 1-4 but in the context of the desired host to associate the environments with.
- In the Added Deployment Environments table shown by default, select New on the command bar.
- Create the environment record by assigning a name, type, environment ID, and optional description.
Now you're able to link the environments to pipelines in the new host.
Using Force Link to associate an environment with a new host
After creating an environment record in the Deployment Pipeline Configuration app, you might encounter an error message indicating "this environment is already associated with another pipelines host." To take over the association, resulting in delinking the environment in the previous host and a successful link to the new host, select Force Link on the command bar.
Important
- Makers lose access to any pipelines in the previous host that were accessible within that environment when you perform this action on a development (source) environment.
- This action can be undone by performing a Force Link in the previous host.
- The environment record in the previous host will have a stale validation status until it's updated, so it will show as Succeeded unless it's updated.