Kyvos ODBC Connector (Beta)
Note
The following connector article is provided by Kyvos, the owner of this connector and a member of the Microsoft Power Query Connector Certification Program. If you have questions regarding the content of this article or would like to see changes made to it, write to Kyvos Support at support@kyvos.io.
Summary
| Item | Description |
|---|---|
| Release State | Beta |
| Products | Power BI (Semantic models), Power BI (Dataflows) |
| Authentication Types Supported | Username and Password OAuth (OIDC) |
Note
Some capabilities may be present in one product but not others due to deployment schedules and host-specific capabilities.
Prerequisites
This connector is designed for use with Microsoft Power BI and works most effectively when the Kyvos ODBC Driver is installed on the machine running the Power BI application.
Capabilities supported
- DirectQuery (Power BI semantic models)
- Import
Connect to Kyvos from Power BI Desktop
To connect to Kyvos from Power BI Desktop, perform the following steps.
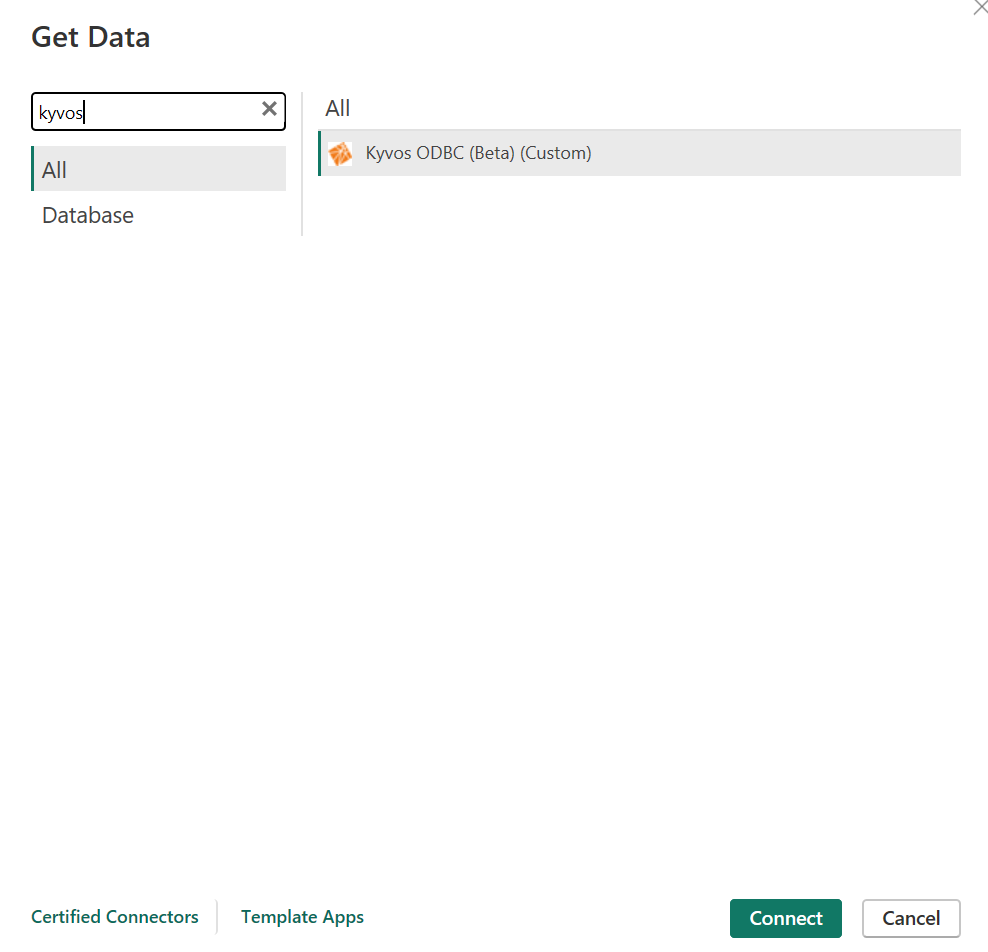
Open Power BI Desktop, navigate to Get Data, select the Kyvos ODBC connector, and the select Connect.

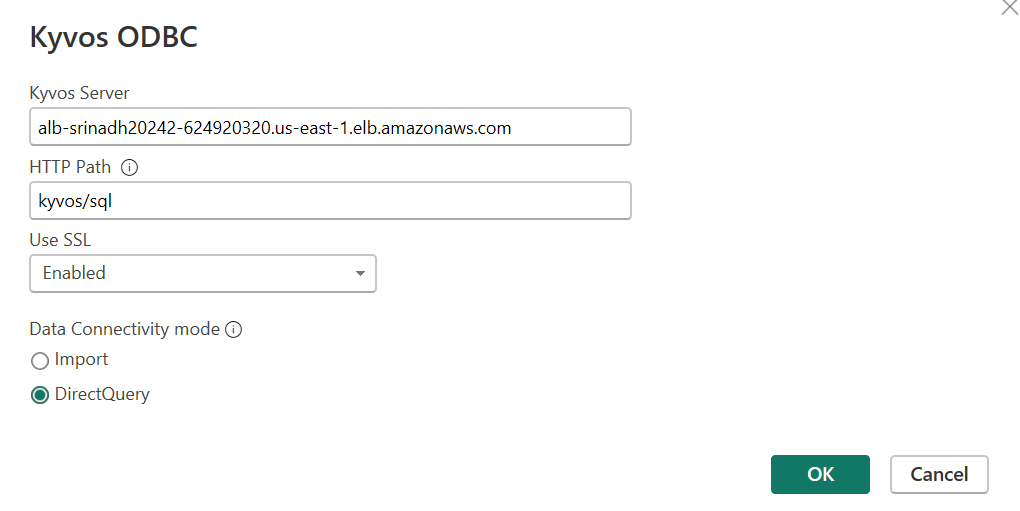
In the Kyvos ODBC Connector dialog box, provide the following details:
Kyvos Server: Enter the server details
HTTP Path: kyvos/sql
Use SSL: Enabled or Disabled
Data Connectivity mode: DirectQuery

Select OK.
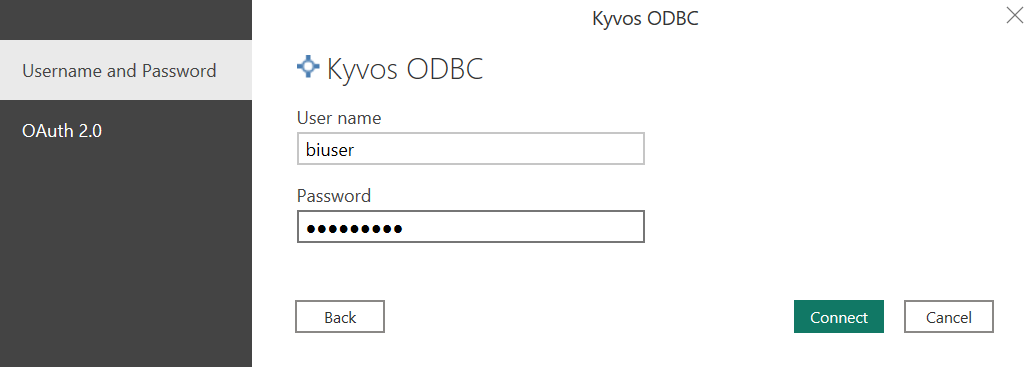
Select any of the following authentication methods:
Username and password: Provide Kyvos Web Portal credentials and then select Connect.

OAuth 2.0: Select Sign In.

- You will be redirected to a third-party Identity. To authenticate, provide your Identity Provider (IDP) credentials and the select Sign In.
- Switch to Power BI Desktop, and you will be signed in.
- Select Connect.


On the Power BI Navigator window, select your database, choose the Kyvos semantic model, and the select Load. This connects Power BI to the selected Kyvos semantic model for visualization.

Connect to Kyvos from the Power BI service
To connect to Kyvos from Power BI service, perform the following steps.
Open Power BI service.
Go to Settings > Manage connection and gateway.
Choose the Connection tab and then select New.
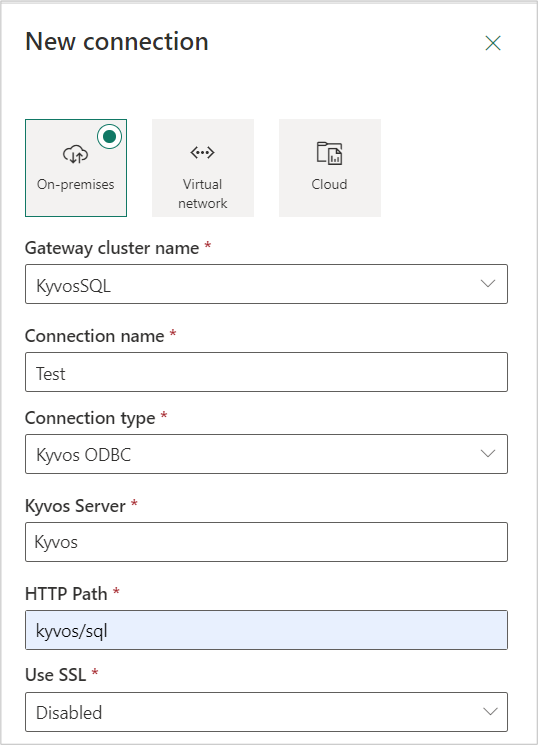
On the New Connection page, provide the required details.
Enter the Gateway cluster name.
Enter the Connection name.
Select Kyvos ODBC from the Connection Type list.
Enter the Kyvos Server name. Enter the server details.
Enter the HTTP Path as kyvos/sql.
Enter the Enabled or Disabled option from the Use SSL list.

Choose an authentication method:
Username and Password: Enter your Kyvos credentials.
OAuth 2.0: Select Edit credentials and authenticate through IDP.
Choose the required Privacy level.
Select Create.
Go to published semantic model > Settings > Gateway and cloud connections, select the required Gateway, and then Maps to appropriate connection.
Select Apply.
Now open the published Power BI workbook.
