OneStream (Beta)
Note
The following connector article is provided by OneStream Software, the owner of this connector and a member of the Microsoft Power Query Connector Certification Program. If you have questions regarding the content of this article or have changes you would like to see made to this article, visit the OneStream Software website and use the support channels there.
Summary
| Item | Description |
|---|---|
| Release State | (Beta) |
| Products | Power BI (Datasets)Power BI (Dataflows)Fabric (Dataflow Gen2) |
| Authentication Types Supported | Organizational Account |
Prerequisites
OneStream platform version 8.2 or higher is required. There are system requirements to verify before you install Microsoft Power BI Desktop.
Capabilities supported
The OneStream Connector enables secure access to your OneStream applications. With the connector you can:
- Access cube and relational data from OneStream applications, directly into Power BI.
- Access metadata members and all their OneStream properties.
- Easily recreate your full hierarchy structures in Power BI.
- Automate data loads to Power BI service.
Connect to OneStream from Power BI Desktop
Get Data
Open Power BI Desktop and select Get data from other sources.
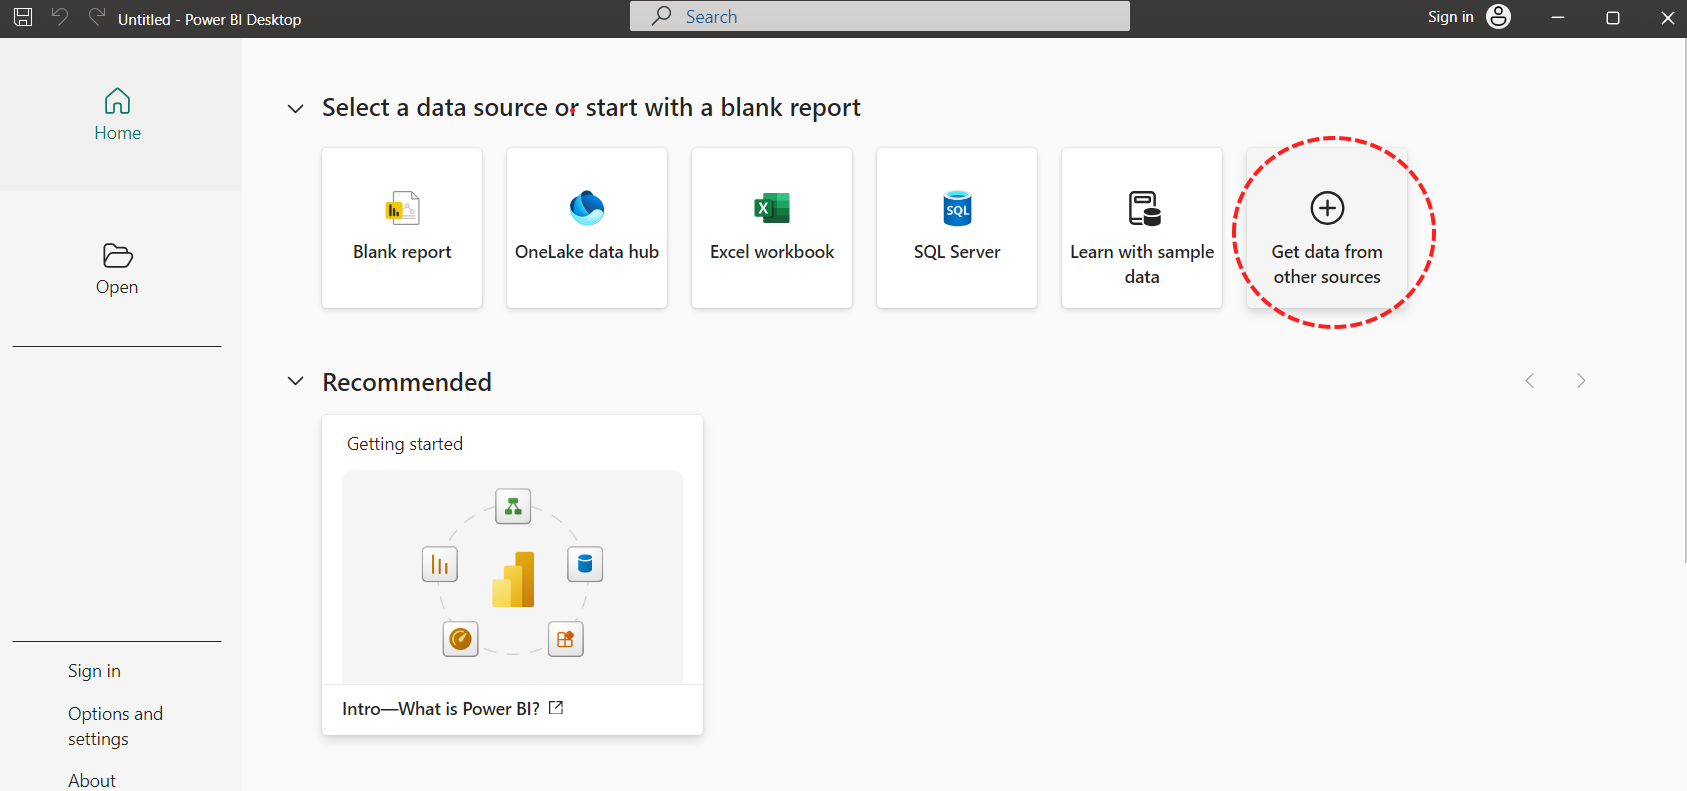
Type OneStream in the search box to find the custom OneStream connector.

Select OneStream.
Select Connect.
Configure the connector
Enter your OneStream environment URL. Ensure that the Environment URL is entered with a leading https:// (as shown in the following screenshot). Otherwise, connection attempts don't work properly.
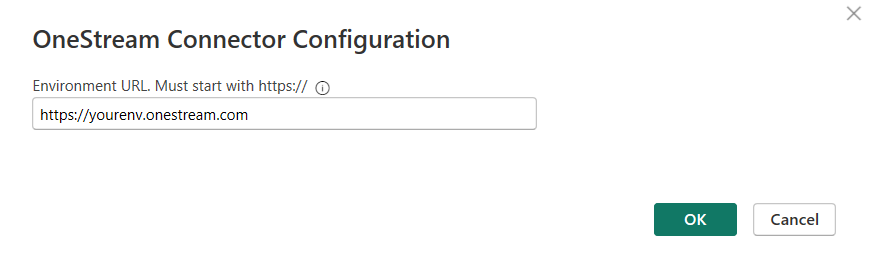
Select OK.
Authenticate
Select Sign In to start the authentication process.
This selection redirects and opens OneStream Identity Server on your default browser for login.
Log in to your OneStream Account.
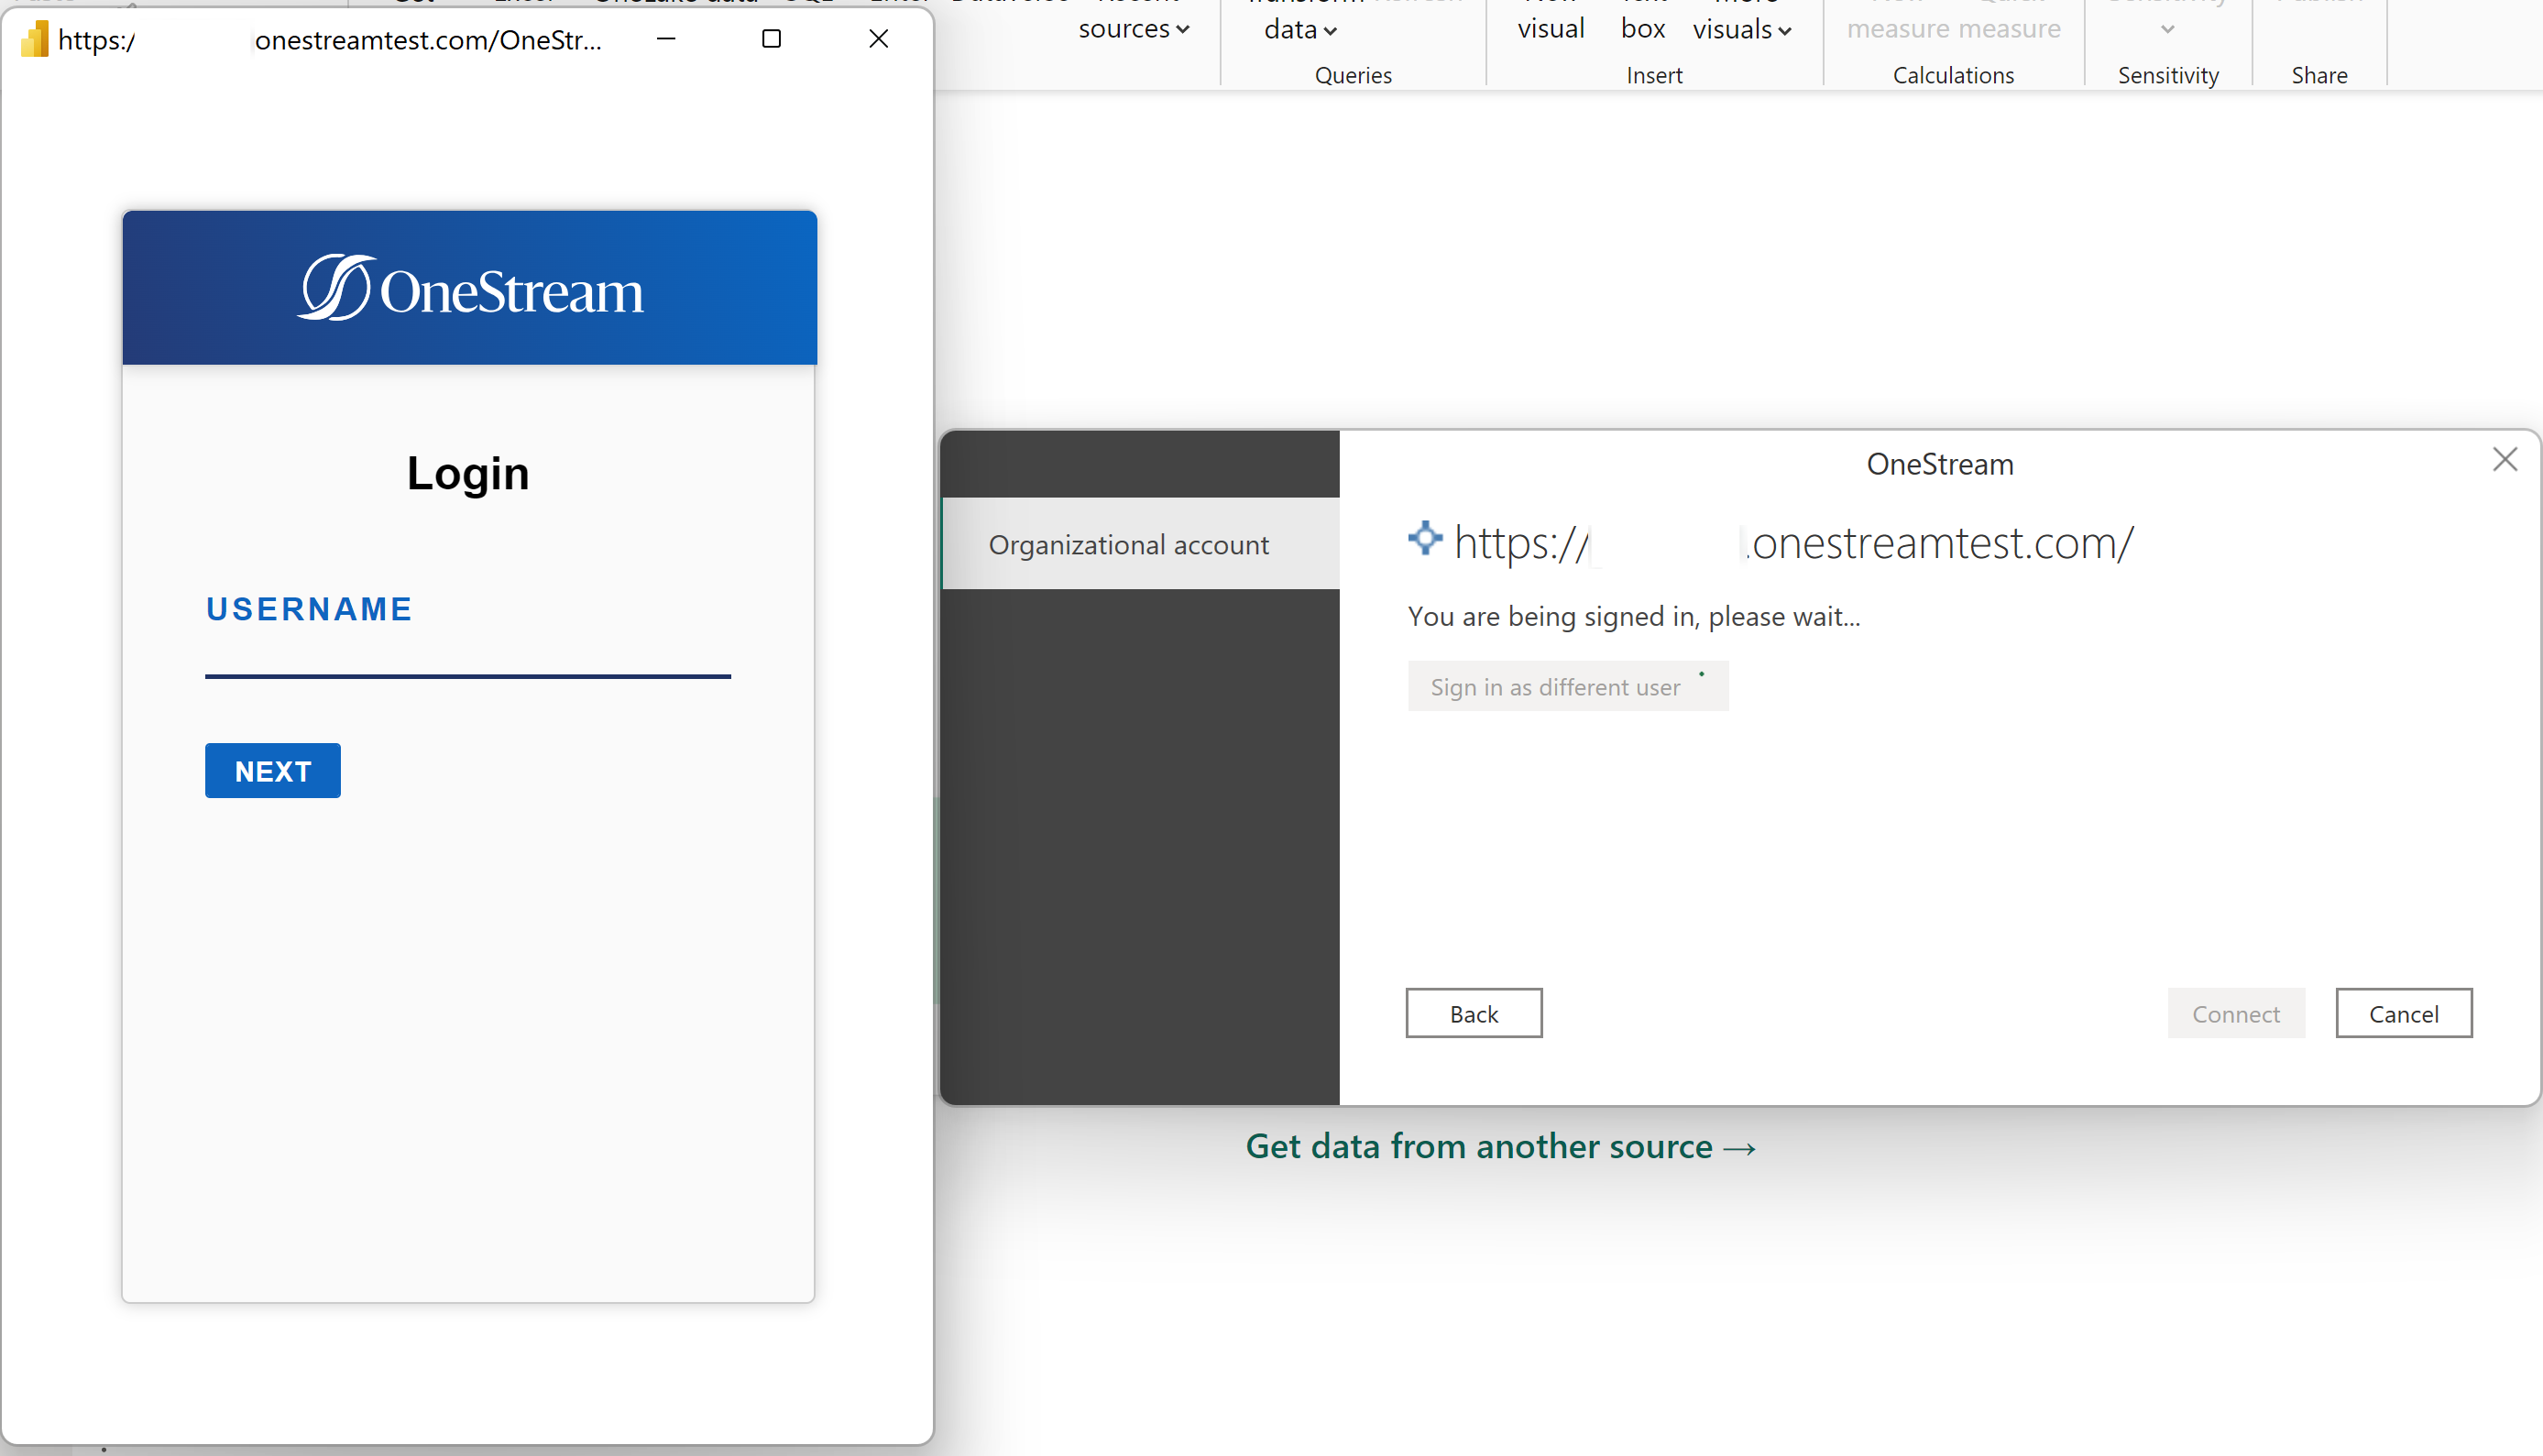
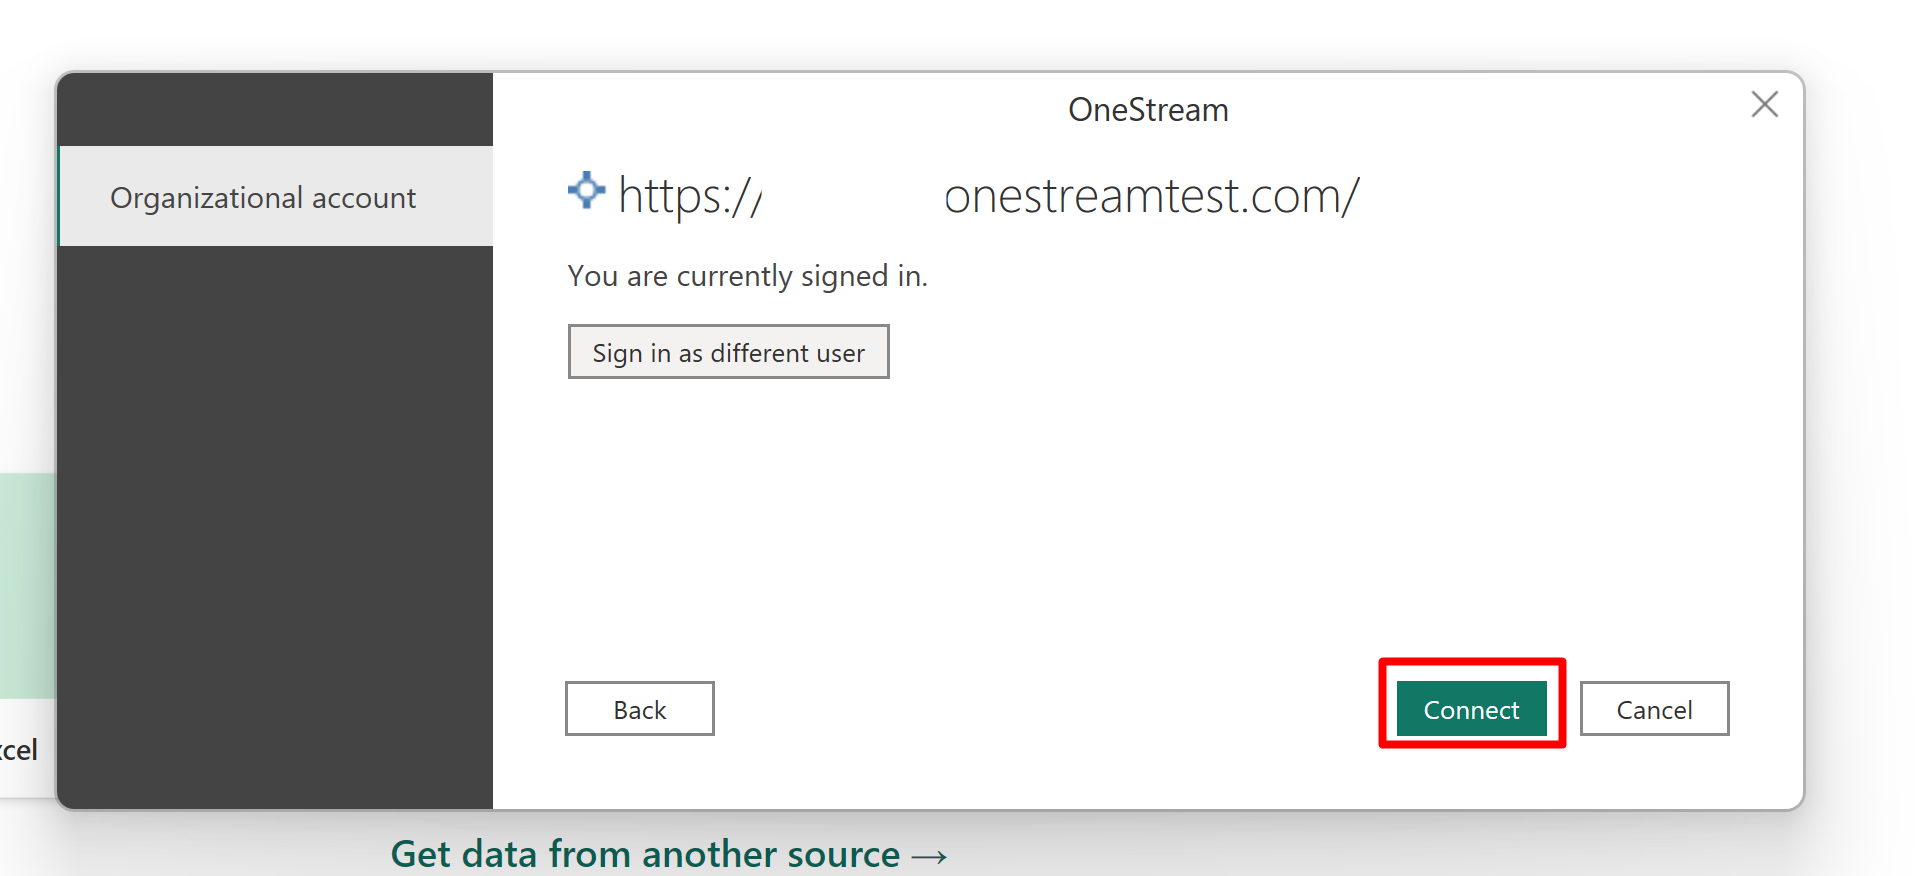
After successful login, select Connect.
OneStream navigator
After successful login, the OneStream connector shows the navigator with 4 types of calls available:

Refer to the best practices if you need help configuring the functions.
After selecting the function you want to use, follow through to load the data.
Load data
Based on the requirements, provide the values for the given function. You can toggle the parameters to just the required ones or use all of them if necessary. Power BI displays a preview of data for the table that would be returned.
After providing the parameters, either load or transform the data.
- Select Load to load the table into the internal Power BI Desktop data model.
- Select Transform data to make changes in the table before loading it into the internal Power BI Desktop data model. Transform data launchs the Power Query editor in a new window with a representative view of the table.
If you need to load additional tables, repeat the previous steps of picking the function, providing the values, and loading or transforming the table.
After you load the to the Power BI Desktop data model, you're able to create relationships between tables as well as create reports.
Details on OneStream custom connector
The OneStream connector fetches data from a OneStream instance using Representational State Transfer (REST) APIs.
The OneStream connector performs all APIs calls under the permission boundary of current logged-in user, therefore applying the security defined for the user in OneStream.
Note
The connector only uses READ scopes on behalf of the Power BI report user to perform all operations. The OneStream connector can't perform any update operation.
The OneStream connector has a limitation of 2 million rows per call. Executing a query over this limit triggers an error.
Publish Power BI Reports to Power BI Service
Select the Publish button in Power BI Desktop to publish data, reports, and data model to the cloud-based Power BI service.
Choose the appropriate Power BI workspace and select Select.

After a successful publication, a "Success" message with a link to navigate to the Power BI Service is displayed.
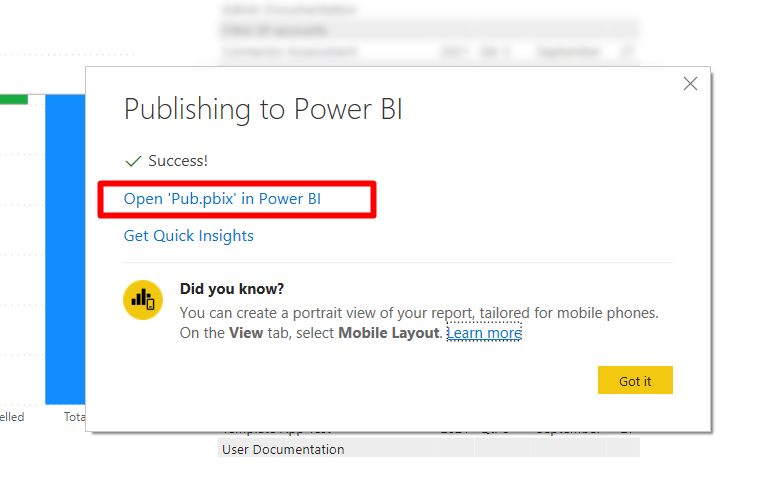
Select the link to view all reports from Power BI Desktop in the Power BI service, as well as create dashboards in the Power BI service.


Best practices and functions help
General best practices
Load only the necessary grain of data. Meaning, if you only need aggregated data at the month level, don't load data at the daily level. The smaller the model, the more performant it always is.
Limit the number of transformations you make. The more you complicate the query, the more chance there is for the query to fail.
Leverage OneStream's financial logic and Cube Views/Data Adapters to create the tables that are then loaded into Power BI.
Example: Consolidations involve the parent entity only taking 40% of one of the child entities' values. Ensure that this logic is done in OneStream, and you load the data adapter in Power BI, which already has the values populated.
Attempting to replicate the logic in Power BI would be extremely inefficient and is better performed in the source system.
Get cube
This function retrieves data from a OneStream Cube.
- All the parameters can be specified via OneStream Member Script (for example, 2023.Base for time), except View and Currency which require a single member.
- Currency refers to the Consolidation dimension in OneStream, so you can use Local or Aggregate for example.

Get custom adapter
- Specify the Workspace and Adapter Name (mandatory parameters).
- Table Name and Parameters are optional.
- Refer to a configured dashboard adapter inside OneStream to make sure you are inserting the right values.

Get dimension and get member properties
- Specify the OneStream Dimension Type you want to retrieve.
- Specify the Scenario Type. Use Default or All to use the selected cube default dimensions and retrieve the default properties.
- Include Descriptions can be set to True or False.
Feedback
Coming soon: Throughout 2024 we will be phasing out GitHub Issues as the feedback mechanism for content and replacing it with a new feedback system. For more information see: https://aka.ms/ContentUserFeedback.
Submit and view feedback for