Wolters Kluwer CCH Tagetik
Note
The following connector article is provided by Wolters Kluwer CCH Tagetik, the owner of this connector and a member of the Microsoft Power Query Connector Certification Program. If you have questions regarding the content of this article or have changes you would like to see made to this article, visit the Wolters Kluwer website and use the support channels there.
Summary
| Item | Description |
|---|---|
| Release State | General Availability |
| Products | Power BI (Semantic Models) |
| Authentication Types Supported | Basic |
Prerequisites
Verify the system requirements before you install Microsoft Power BI Desktop.
To use the Wolters Kluwer CCH Tagetik connector, you need to configure the CCH Tagetik environment from which you want to read data.
Capabilities supported
- Import
- Data loading from CCH Tagetik financial and analytical layer
Connect to Wolters Kluwer CCH Tagetik data
To connect to Wolters Kluwer CCH Tagetik data:
Select Get data from the Home ribbon in Power BI Desktop and select More.
Search for Wolters Kluwer CCH Tagetik in the list of connectors.
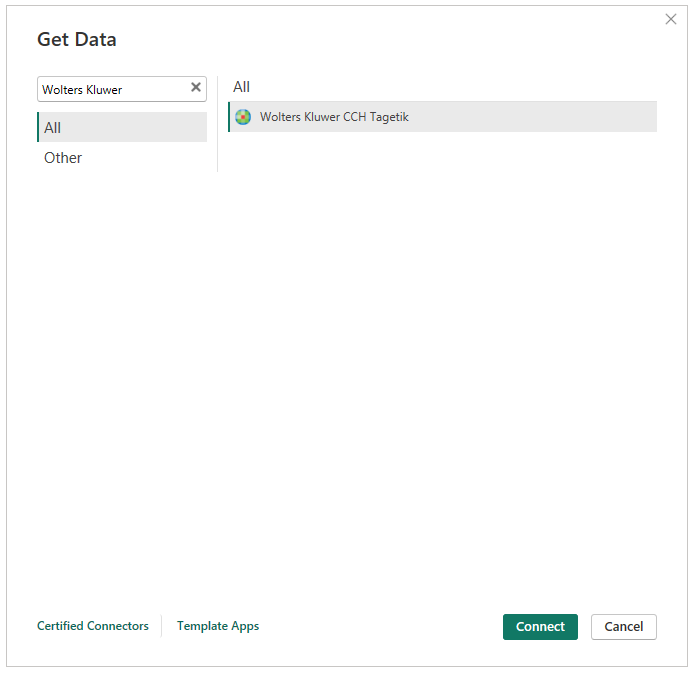
Select Connect.
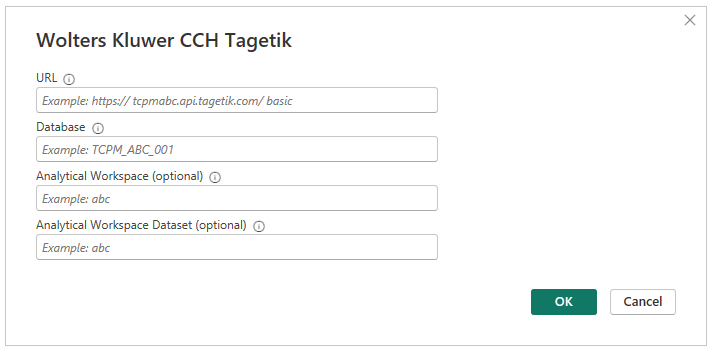
Enter the parameters to connect to the CCH Tagetik environment:
- URL is your Wolters Kluwer CCH Tagetik environment endpoint.
- Database is the code of the database.
- Analytical Workspace (optional) is the code of the analytical workspace.
- Analytical Workspace Dataset or Financial Model (optional) is the code of the analytical workspace dataset or the code of the financial model.
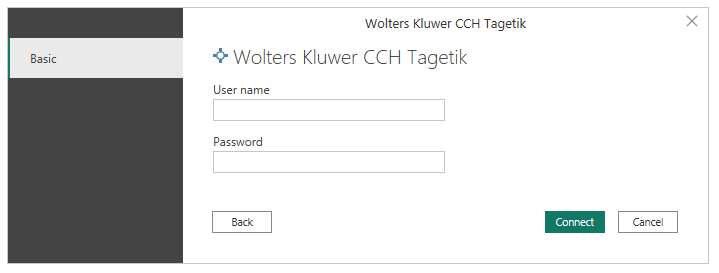
Enter the basic credentials and select Connect.
The connector uses ad-hoc credentials (username and password) defined in CCH Tagetik to access and retrieve data through OData APIs.
Once authentication is complete, the connector displays the Navigator dialog containing a list of sources based on the parameters previously entered.
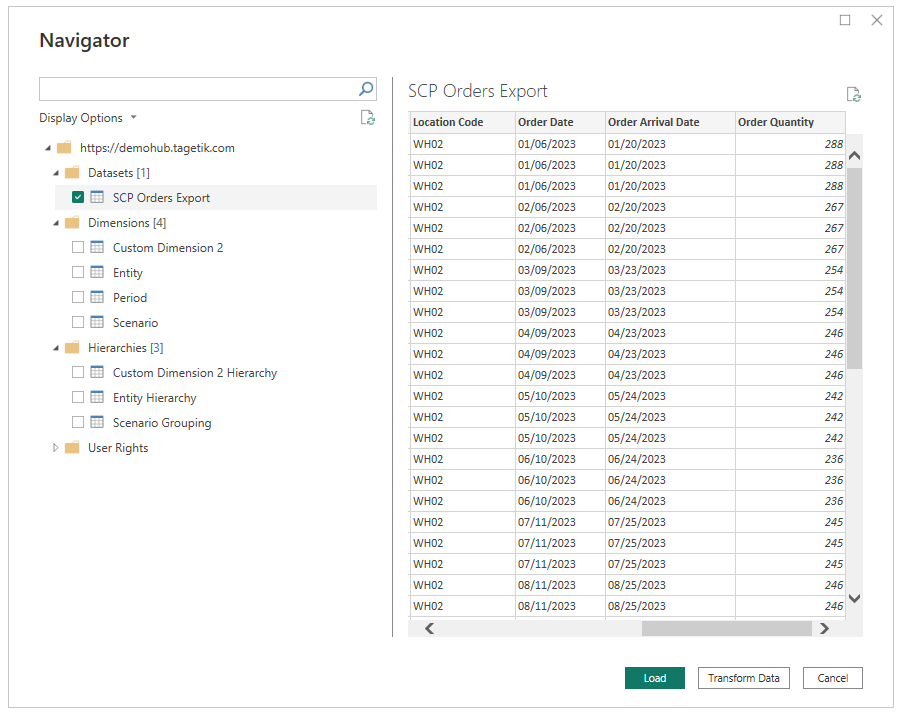
Select a single source to display a preview.
Check the box for one or more sources.
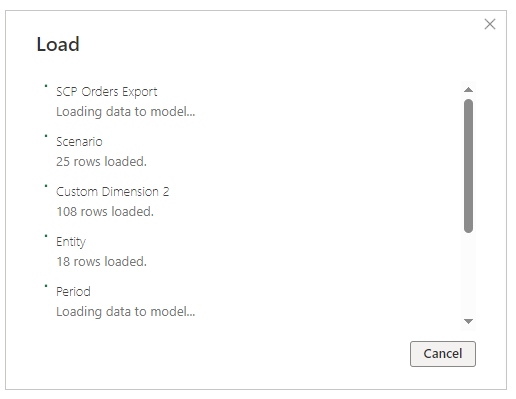
Select Load to import the data into Power BI.
Once loaded, the tables appear in the model view. Begin exploring the attributes in the Power BI Fields dialog.


- Start to build your report.
