Device Update for IoT Hub resource management
To get started with Device Update you'll need to create a Device Update account and instance, and then set access control roles.
Prerequisites
An IoT hub. It's recommended that you use an S1 (Standard) tier or above.

Create a Device Update account and instance
In the Azure portal, select Create a Resource and search for "Device Update for IoT Hub"

Select Create > Device Update for IoT Hub
On the Basics tab, provide the following information for your Device Update account:
- Subscription: The Azure subscription to be associated with your Device Update account.
- Resource group: An existing or new resource group.
- Name: A name for your account.
- Location: The Azure region where your account will be located. For information about which regions support Device Update for IoT Hub, see Azure Products-by-region page.
Note
Your Device Update account doesn't need to be in the same region as your IoT hubs, but for better performance it is recommended that you keep them geographically close.

Optionally, you can check the box to assign the Device Update administrator role to yourself. You can also use the steps listed in the Configure access control roles section to provide a combination of roles to users and applications for the right level of access.
You need to have Owner or User Access Administrator permissions in your subscription to manage roles.
Select Next: Instance
An instance of Device Update is associated with a single IoT hub. Select the IoT hub that will be used with Device Update. When you link an IoT hub to a Device Update instance, a new shared access policy is automatically created give Device Update permissions to work with IoT Hub (registry write and service connect). This policy ensures that access is only limited to Device Update.
On the Instance tab, provide the following information for your Device Update instance:
- Name: A name for your instance.
- IoT Hub details: Select an IoT hub to link to this instance.

Select Next: Review + Create. After validation, select Create.
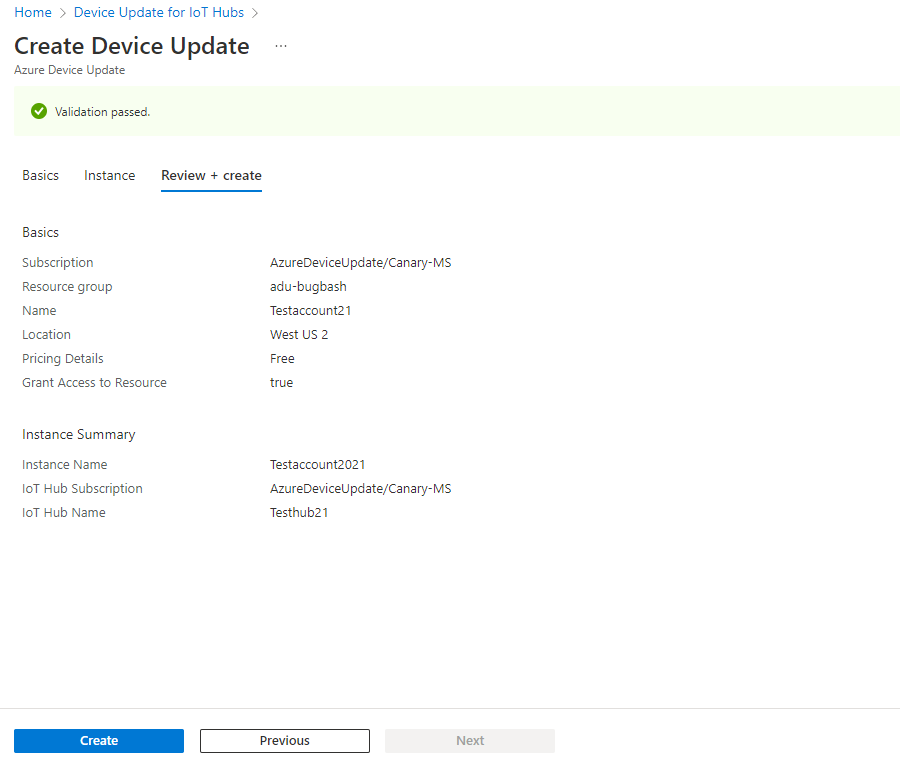
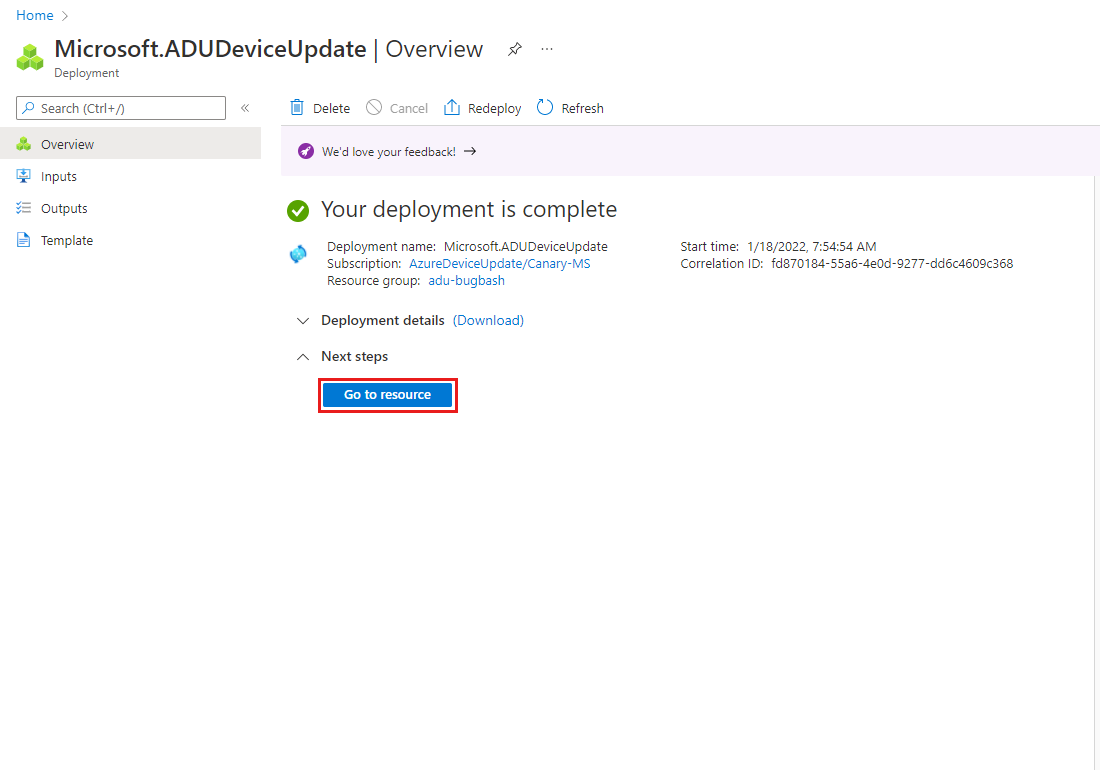
You'll see that your deployment is in progress. The deployment status will change to "complete" in a few minutes. When it does, select Go to resource


Configure access control roles for Device Update
In order for other users to have access to Device Update, they must be granted access to this resource. You can skip this step if you assigned the Device Update administrator role to yourself during account creation and don't need to provide access to other users or applications.
In your Device Update account, select Access control (IAM) from the navigation menu.
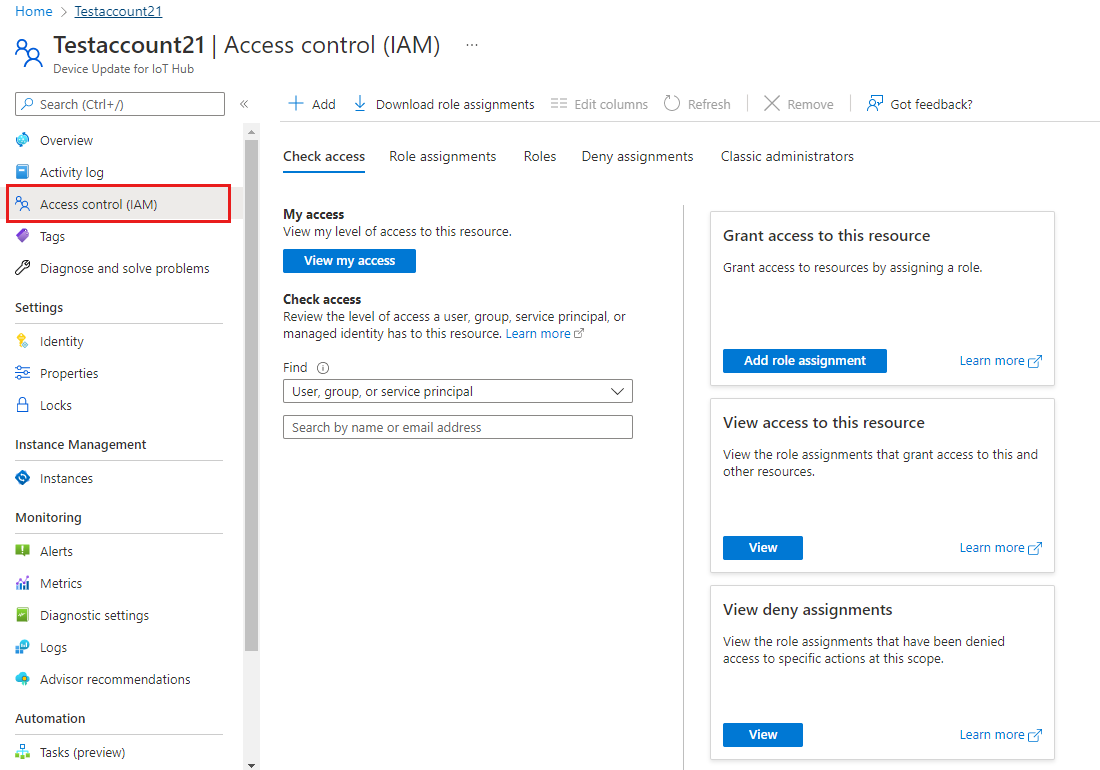
Select Add role assignments.
On the Role tab, select a Device Update role from the available options:
- Device Update Administrator
- Device Update Reader
- Device Update Content Administrator
- Device Update Content Reader
- Device Update Deployments Administrator
- Device Update Deployments Reader
For more information, Learn about Role-based access control in Device Update for IoT Hub.

Select Next
On the Members tab, select the users or groups that you want to assign the role to.

Select Review + assign
Review the new role assignments and select Review + assign again
You're now ready to use Device Update from within your IoT Hub


Configure access control roles for IoT Hub
Device Update for IoT Hub communicates with IoT Hub to manage deployments and updates and to get information about devices. To enable the access, you need to give the Azure Device Update service principal access with the IoT Hub Data Contributor role.
- In the Azure portal, navigate to the IoT hub connected to your Device Update instance.
- Select Access Control(IAM) from the navigation menu.
- Select Add > Add role assignment.
- In the Role tab, select IoT Hub Data Contributor. Select Next.
- For Assign access to, select User, group, or service principal.
- Select Select Members and search for 'Azure Device Update'
- Select Next > Review + Assign
To validate that you've set permissions correctly:
- In the Azure portal, navigate to the IoT hub connected to your Device Update instance.
- Select Access Control(IAM) from the navigation menu.
- Select Check access.
- Select User, group, or service principal and search for 'Azure Device Update'
- After clicking on Azure Device Update, verify that the IoT Hub Data Contributor role is listed under Role assignments
View and query accounts or instances
You can view, sort, and query all of your Device Update accounts and instances.
To view all Device Update accounts, use the Azure portal to search for the Device Update for IoT Hubs service.
- Use the Grouping dropdown menu to group account by subscription, resource group, location, and other conditions.
- Select Add filter to filter the list of accounts by resource group, location, tags, and other conditions.
To view all instances in an account, navigate to that account in the Azure portal. Select Instances from the Instance management section of the menu
- Use the search box to filter instances.
Next steps
Try updating a device using one of the following quick tutorials:
- Update a simulated IoT Edge device
- Update a Raspberry Pi
- Update an Ubuntu Server 18.04 x64 Package agent