Cloud case visibility - Microsoft Engage Center (Services Hub)
Note
The Cloud Case Visibility feature is currently available only to Digital Native customers who are part of the Private Preview. This feature will not be accessible to Premier and Unified customers. For more information, see Get Ready for Microsoft Engage Center.
Privacy restrictions require consent to show details of support cases created in Microsoft 365 or Azure cloud portals in the Services Hub.
The Services Hub preview Cloud case visibility feature allows you to provide consent for your cloud assets. Once enabled, users with the proper permissions will be able to see their cloud cases and their details within their respective workspaces.
You must provide consent individually for each Microsoft 365 Tenant & Azure subscription.
Prerequisites
For each Azure subscription you want to enable consent on, you need:
- subscription name
- subscription ID
For each Microsoft 365 tenant you want to enable consent on, you need:
- tenant name
- tenant ID
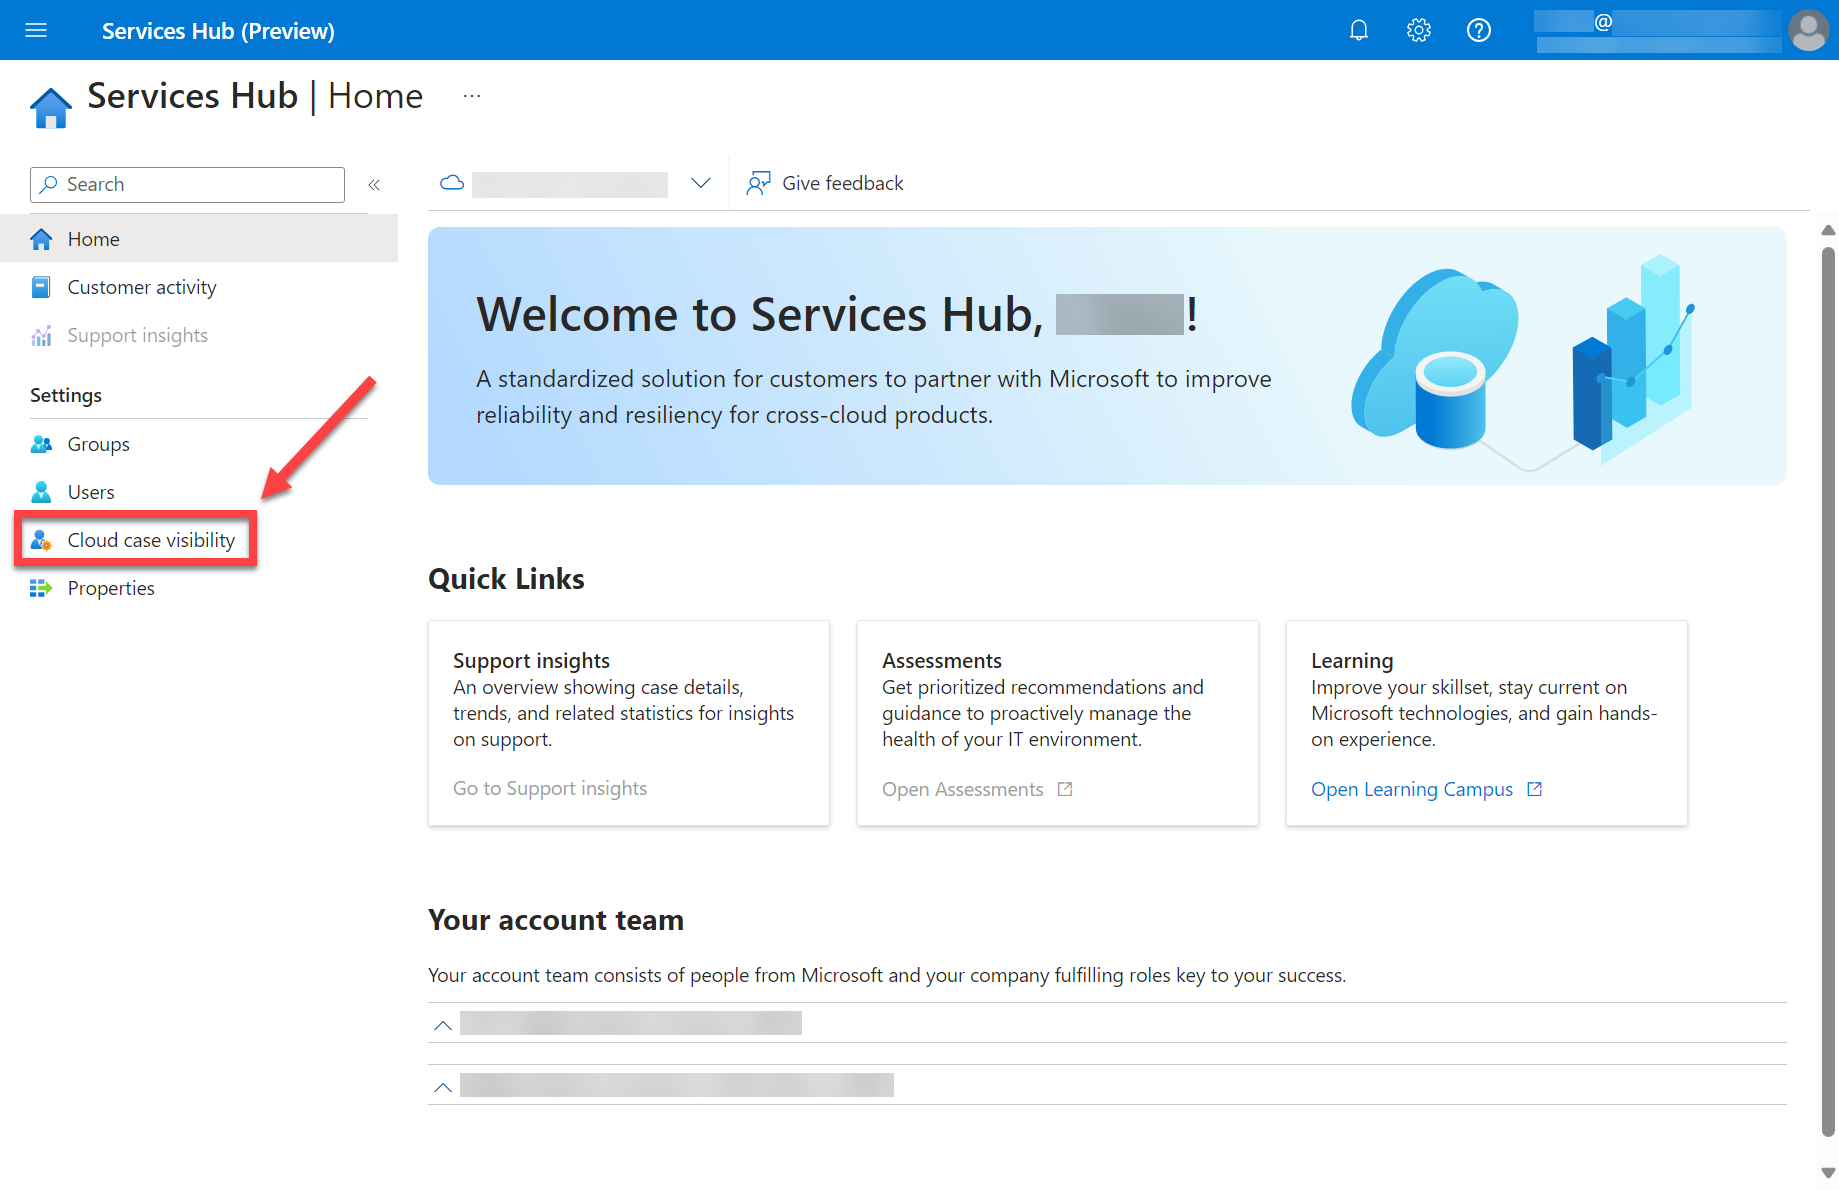
Navigate to the Cloud case visibility page
Sign in to the Services Hub preview.
In the left sidebar menu, select "Cloud case visibility".
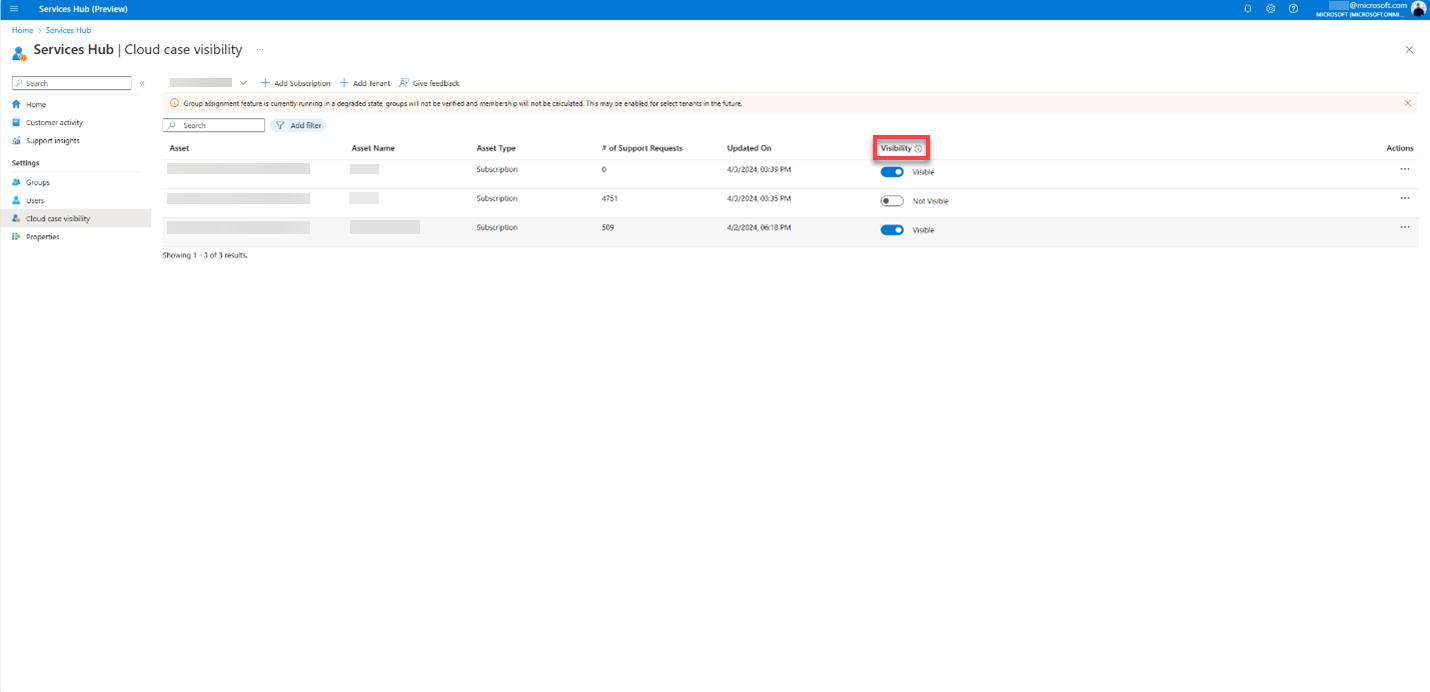
Change visibility
Select the "Visible" option in the column labeled "Visibility".
This enables you you toggle case visibility on and off for individual cloud assets.
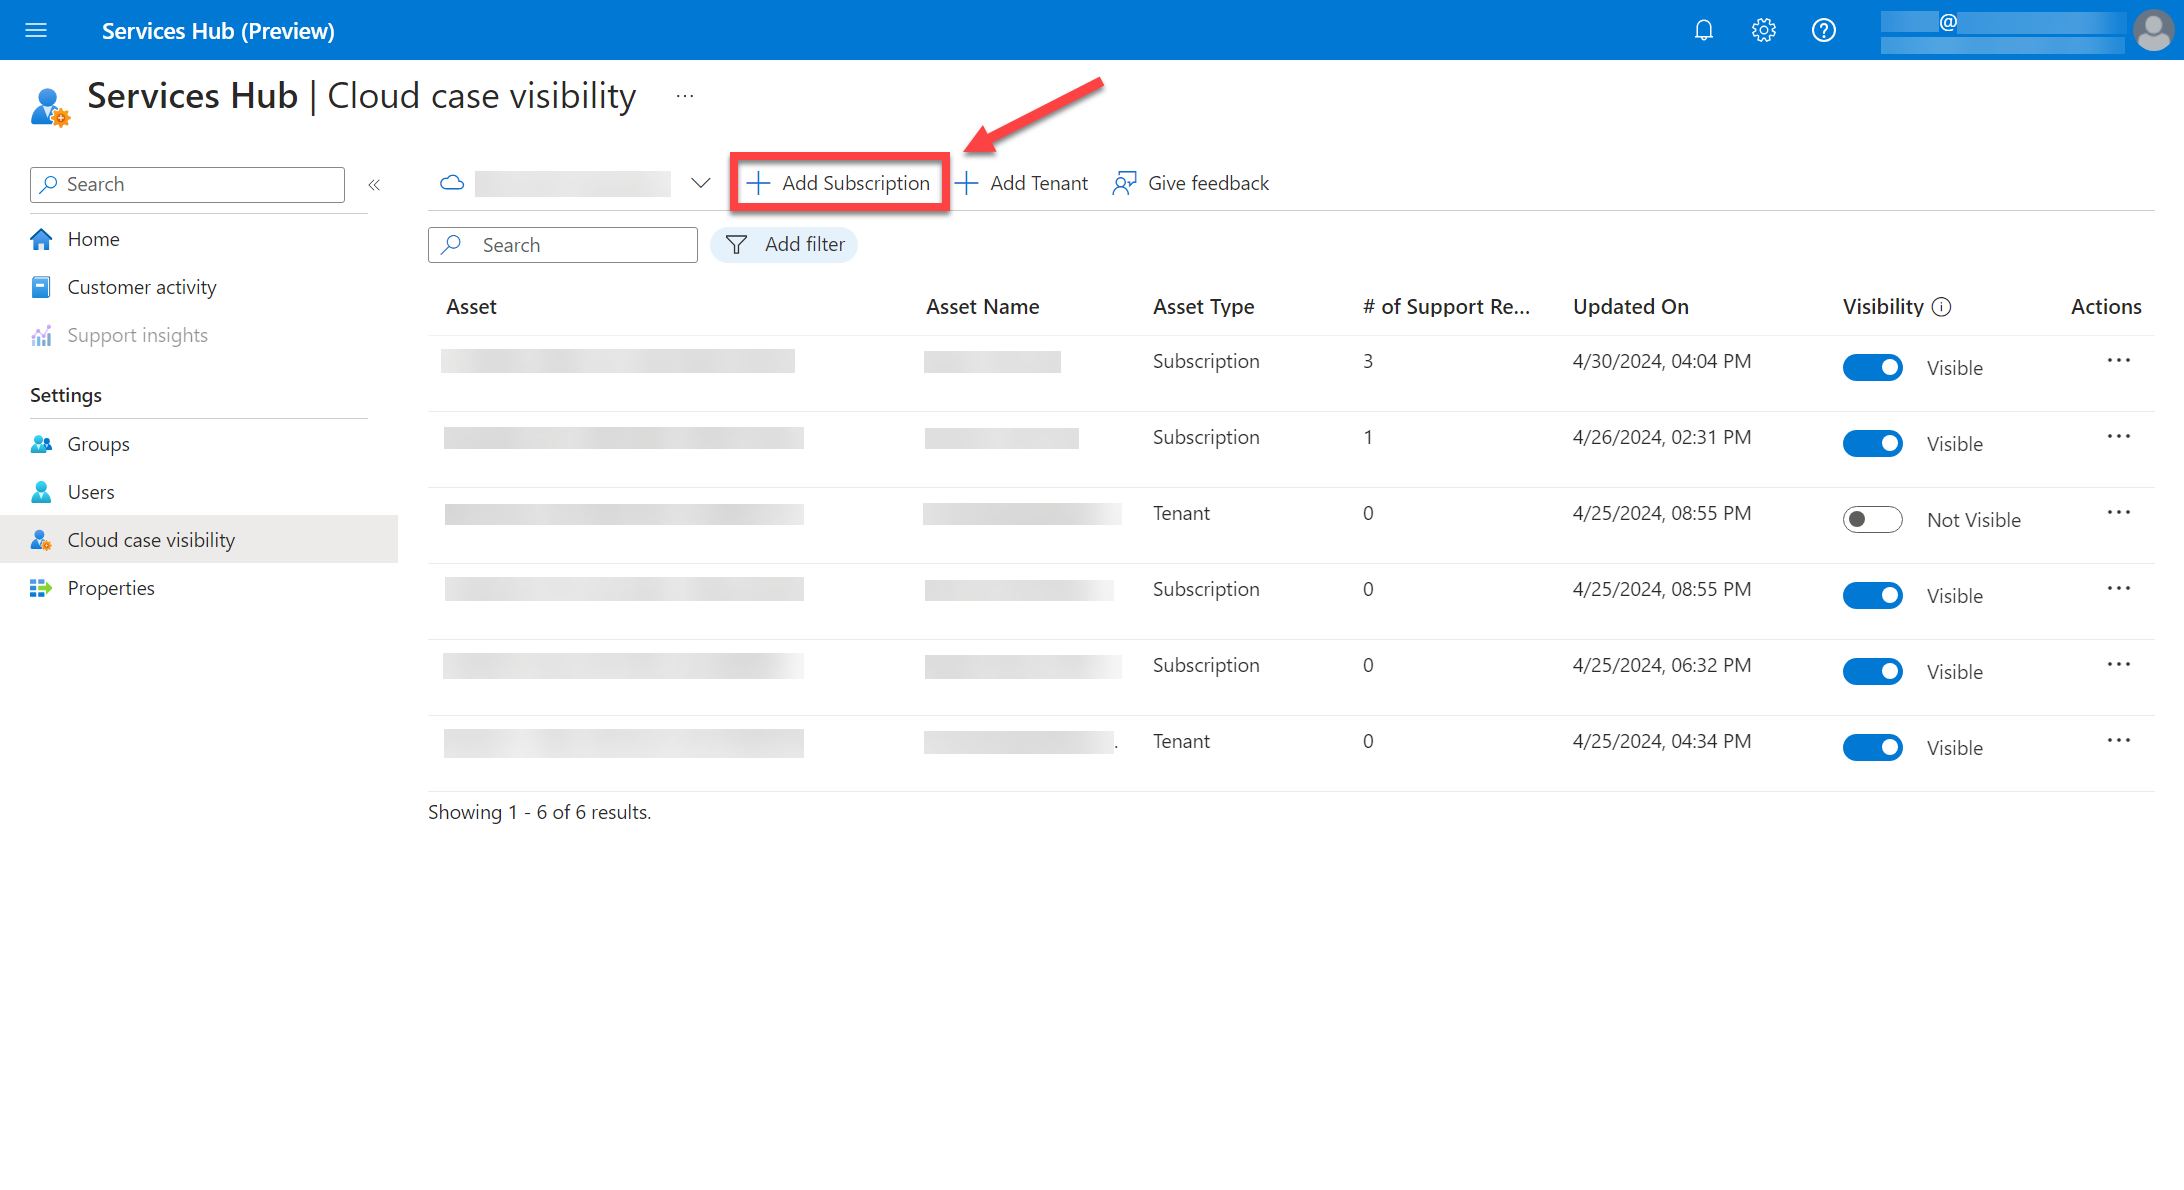
Add subscriptions
There are many ways you can get a list of your subscriptions, and each organization is different. Follow your organization's process for gathering information about the subscriptions you plan to add.
Note
When you upload a subscription, it automatically enables consent for the subscription. Uploading a duplicate subscription will enable consent and update any changes to the name and asset type.
Add a subscription
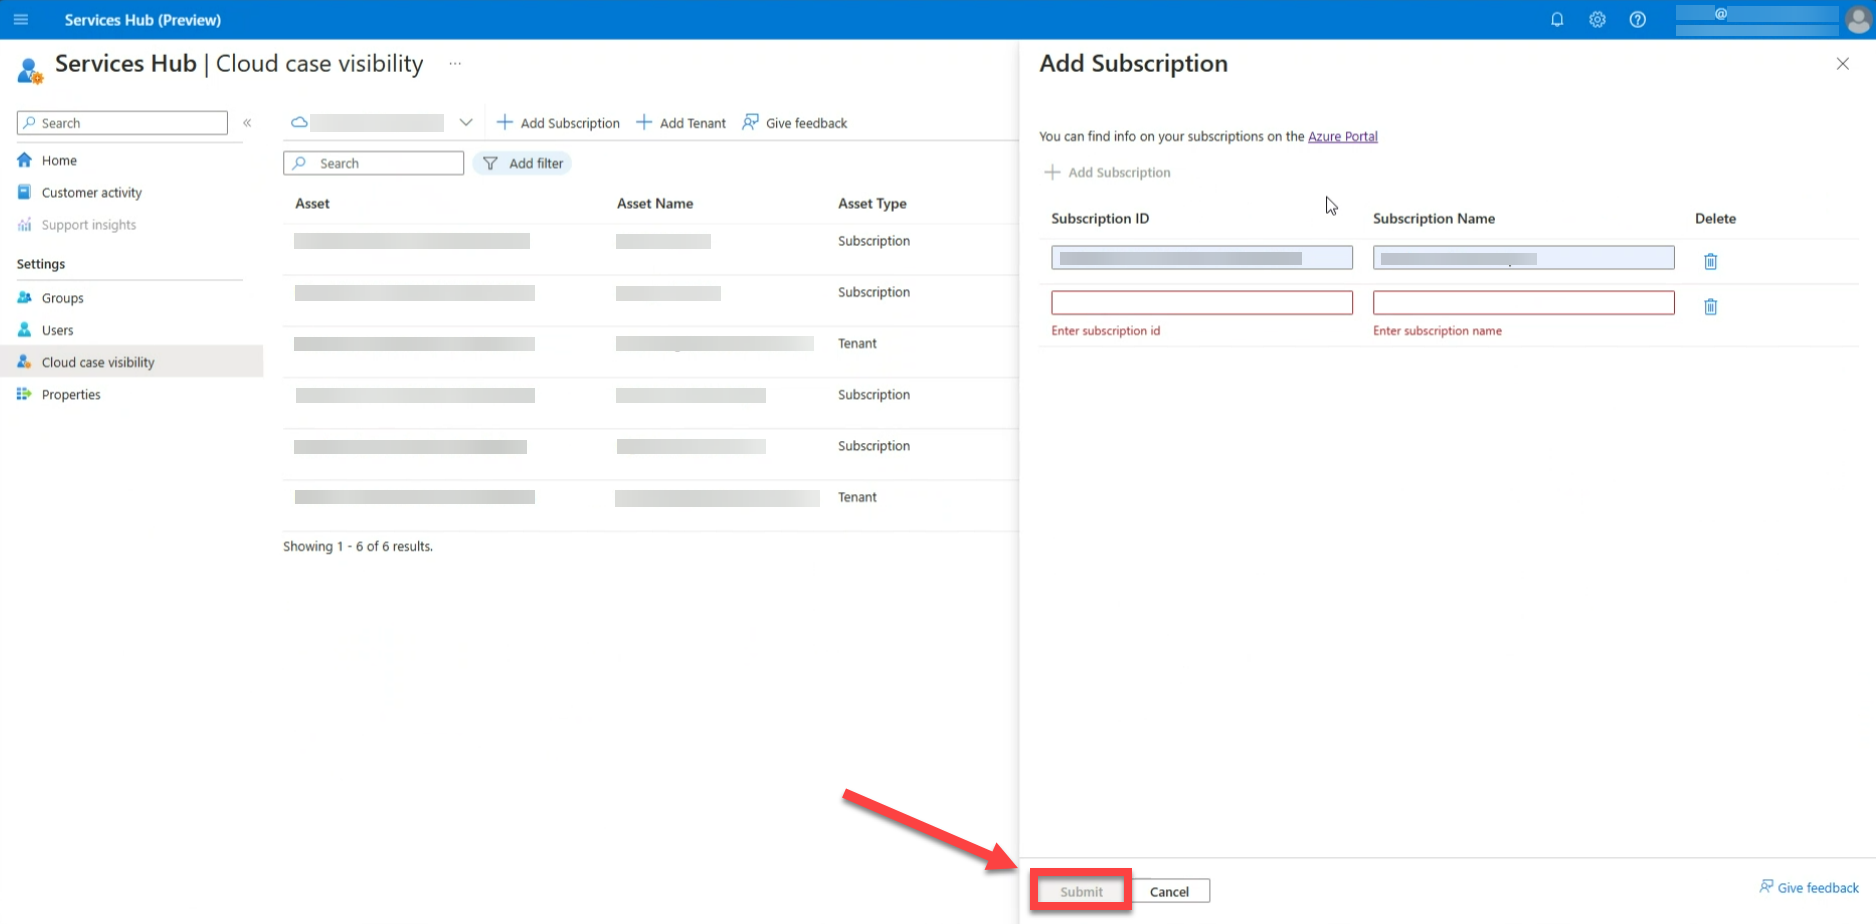
Select the button labeled "+ Add Subscription".
Input the subscription ID and name for the subscription you want to add. If you want to add additional subscriptions, select the button labeled "+ Add Subscription" and repeat the process.
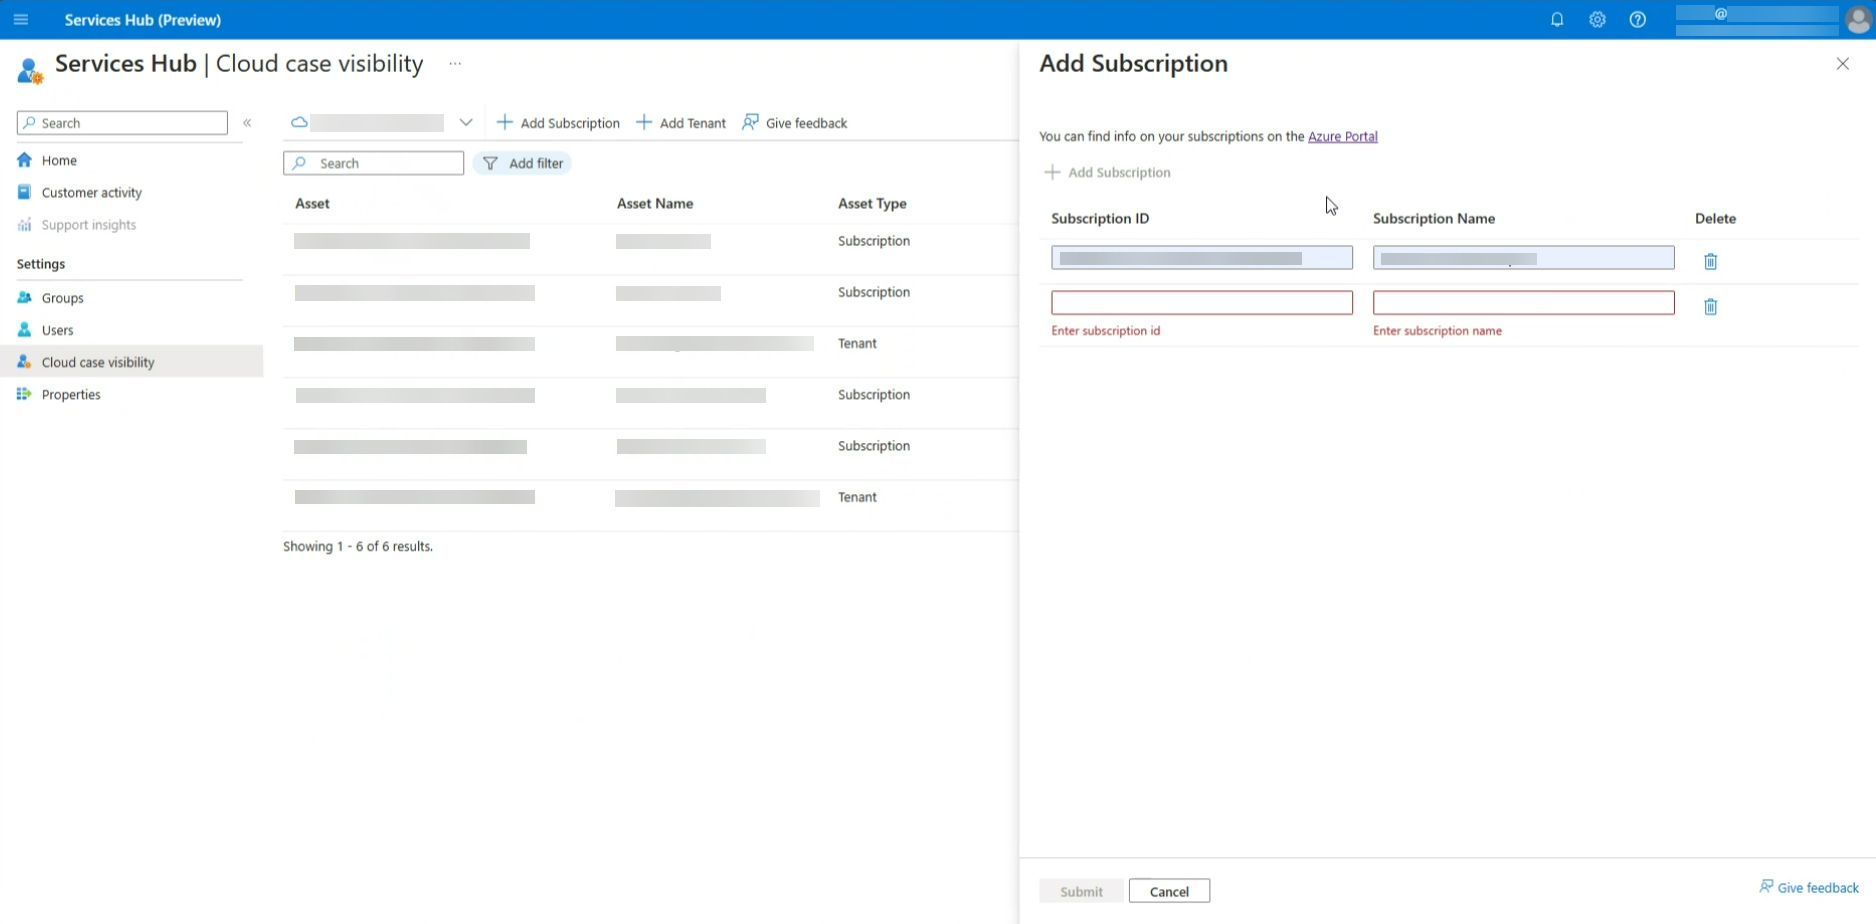
When you're ready to save your changes, select "Submit".
View the results.
Add tenants
There are many ways you can get a list of your tenants, and each organization is different. Follow your organization's process for gathering information about the tenants you plan to add.
Note
When you upload a tenant, it automatically enables consent for the tenant. Uploading a duplicate tenant will enable consent and update any changes to the name and asset type.
You can also follow this guide to find the tenant ID associated with your Azure AD Account.
Add a tenant
Select the button labeled "+ Add Tenant".
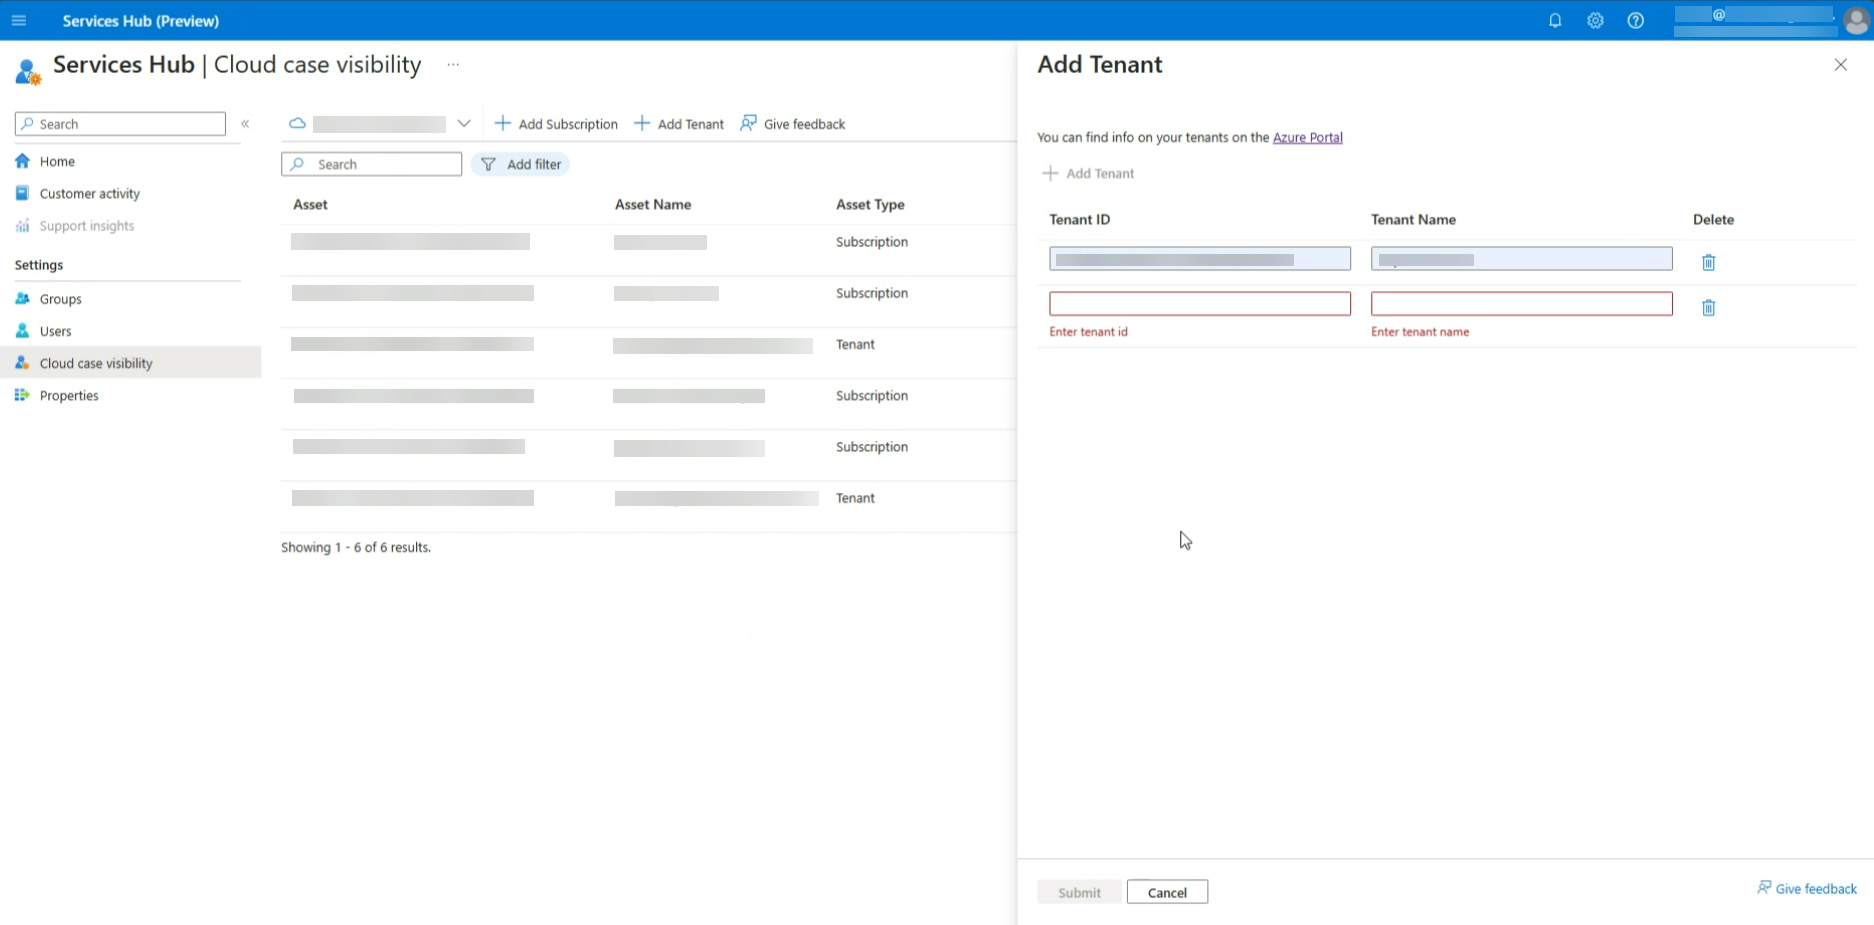
Input the tenant ID and name for the tenant you want to add. If you want to add additional tenants, select the button labeled “+ Add Tenant and repeat the process.
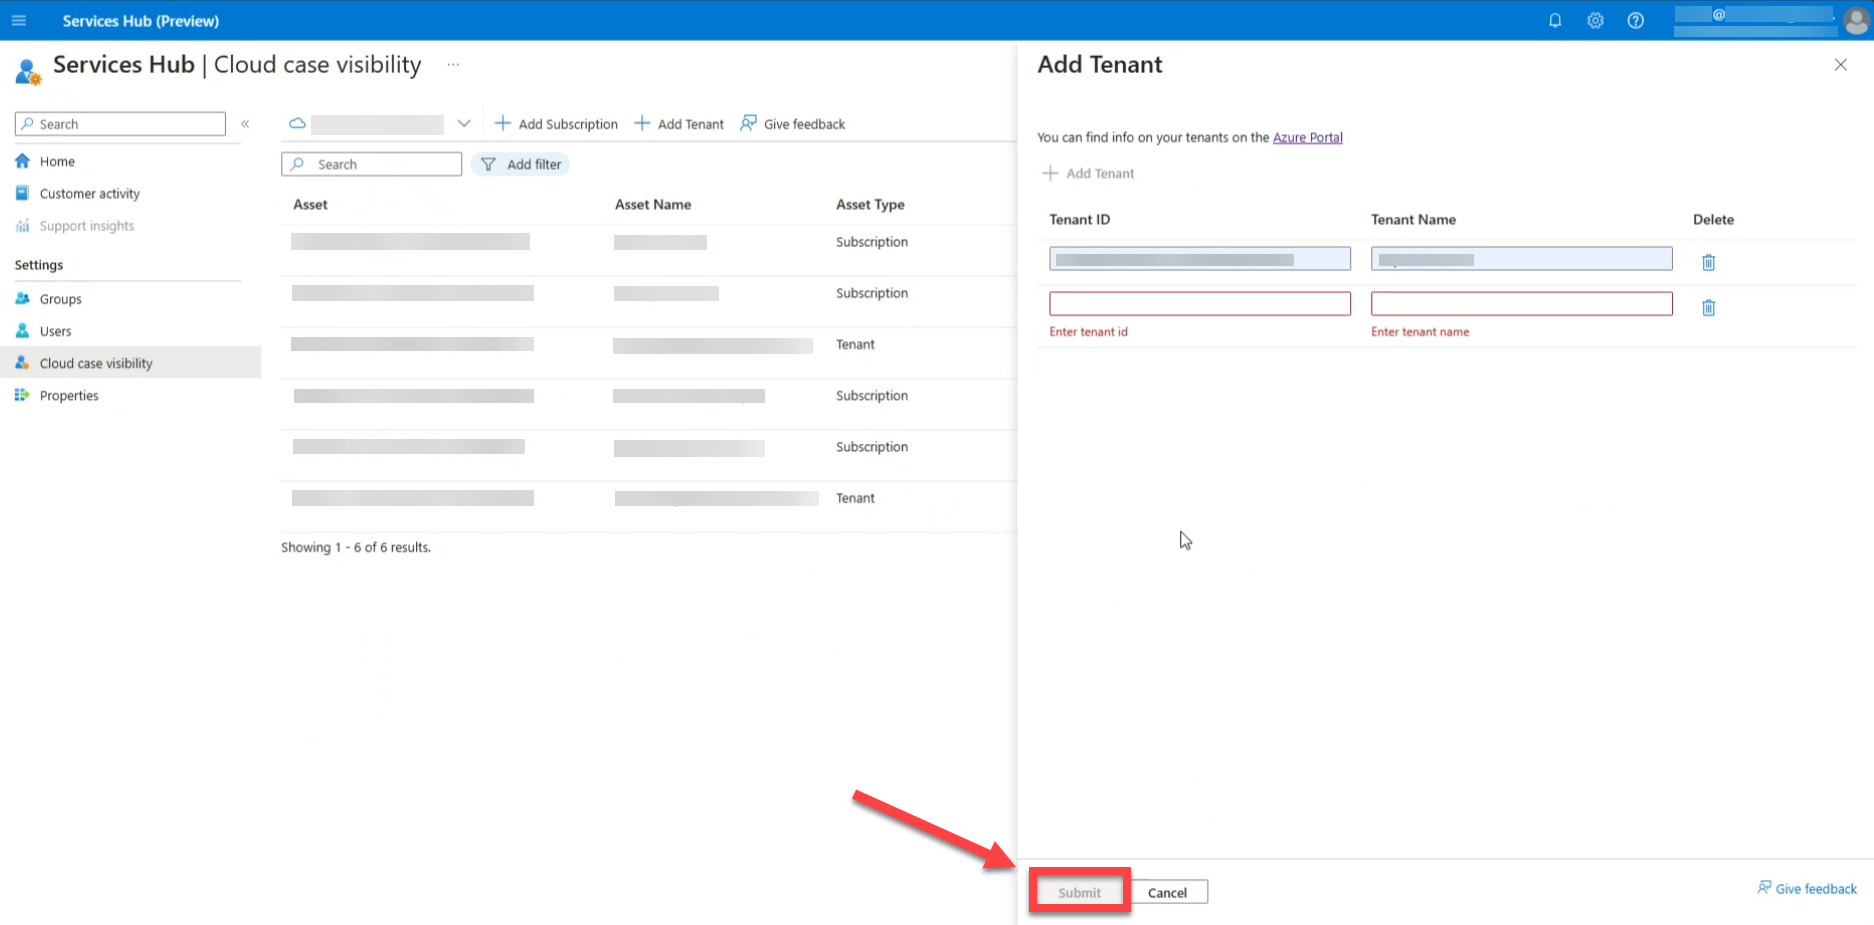
When you're ready to save your changes, select "Submit".
View the results.
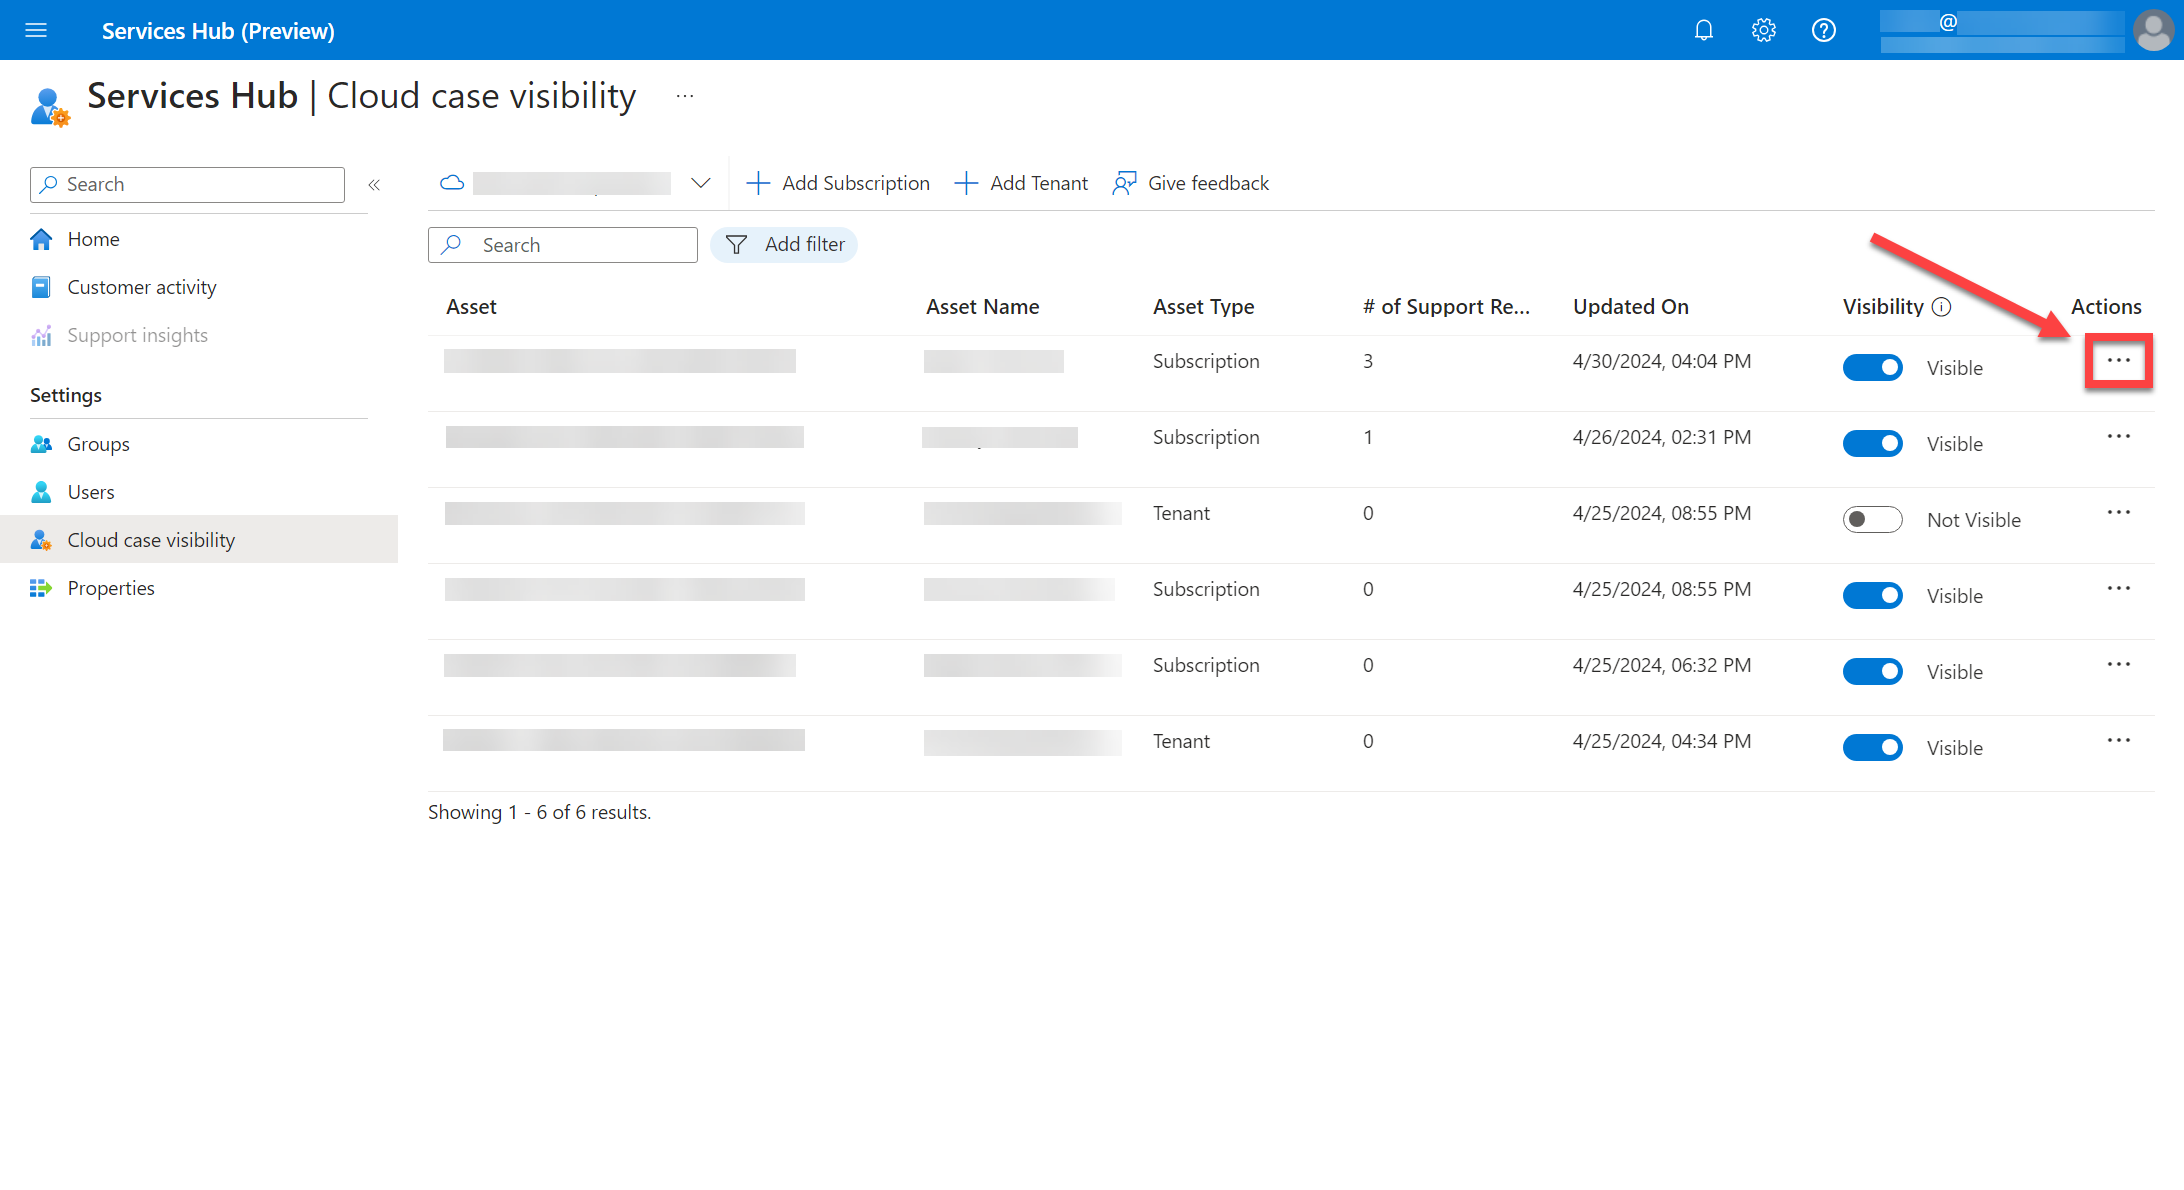
Remove subscriptions and tenants
Locate the column labeled "Actions".
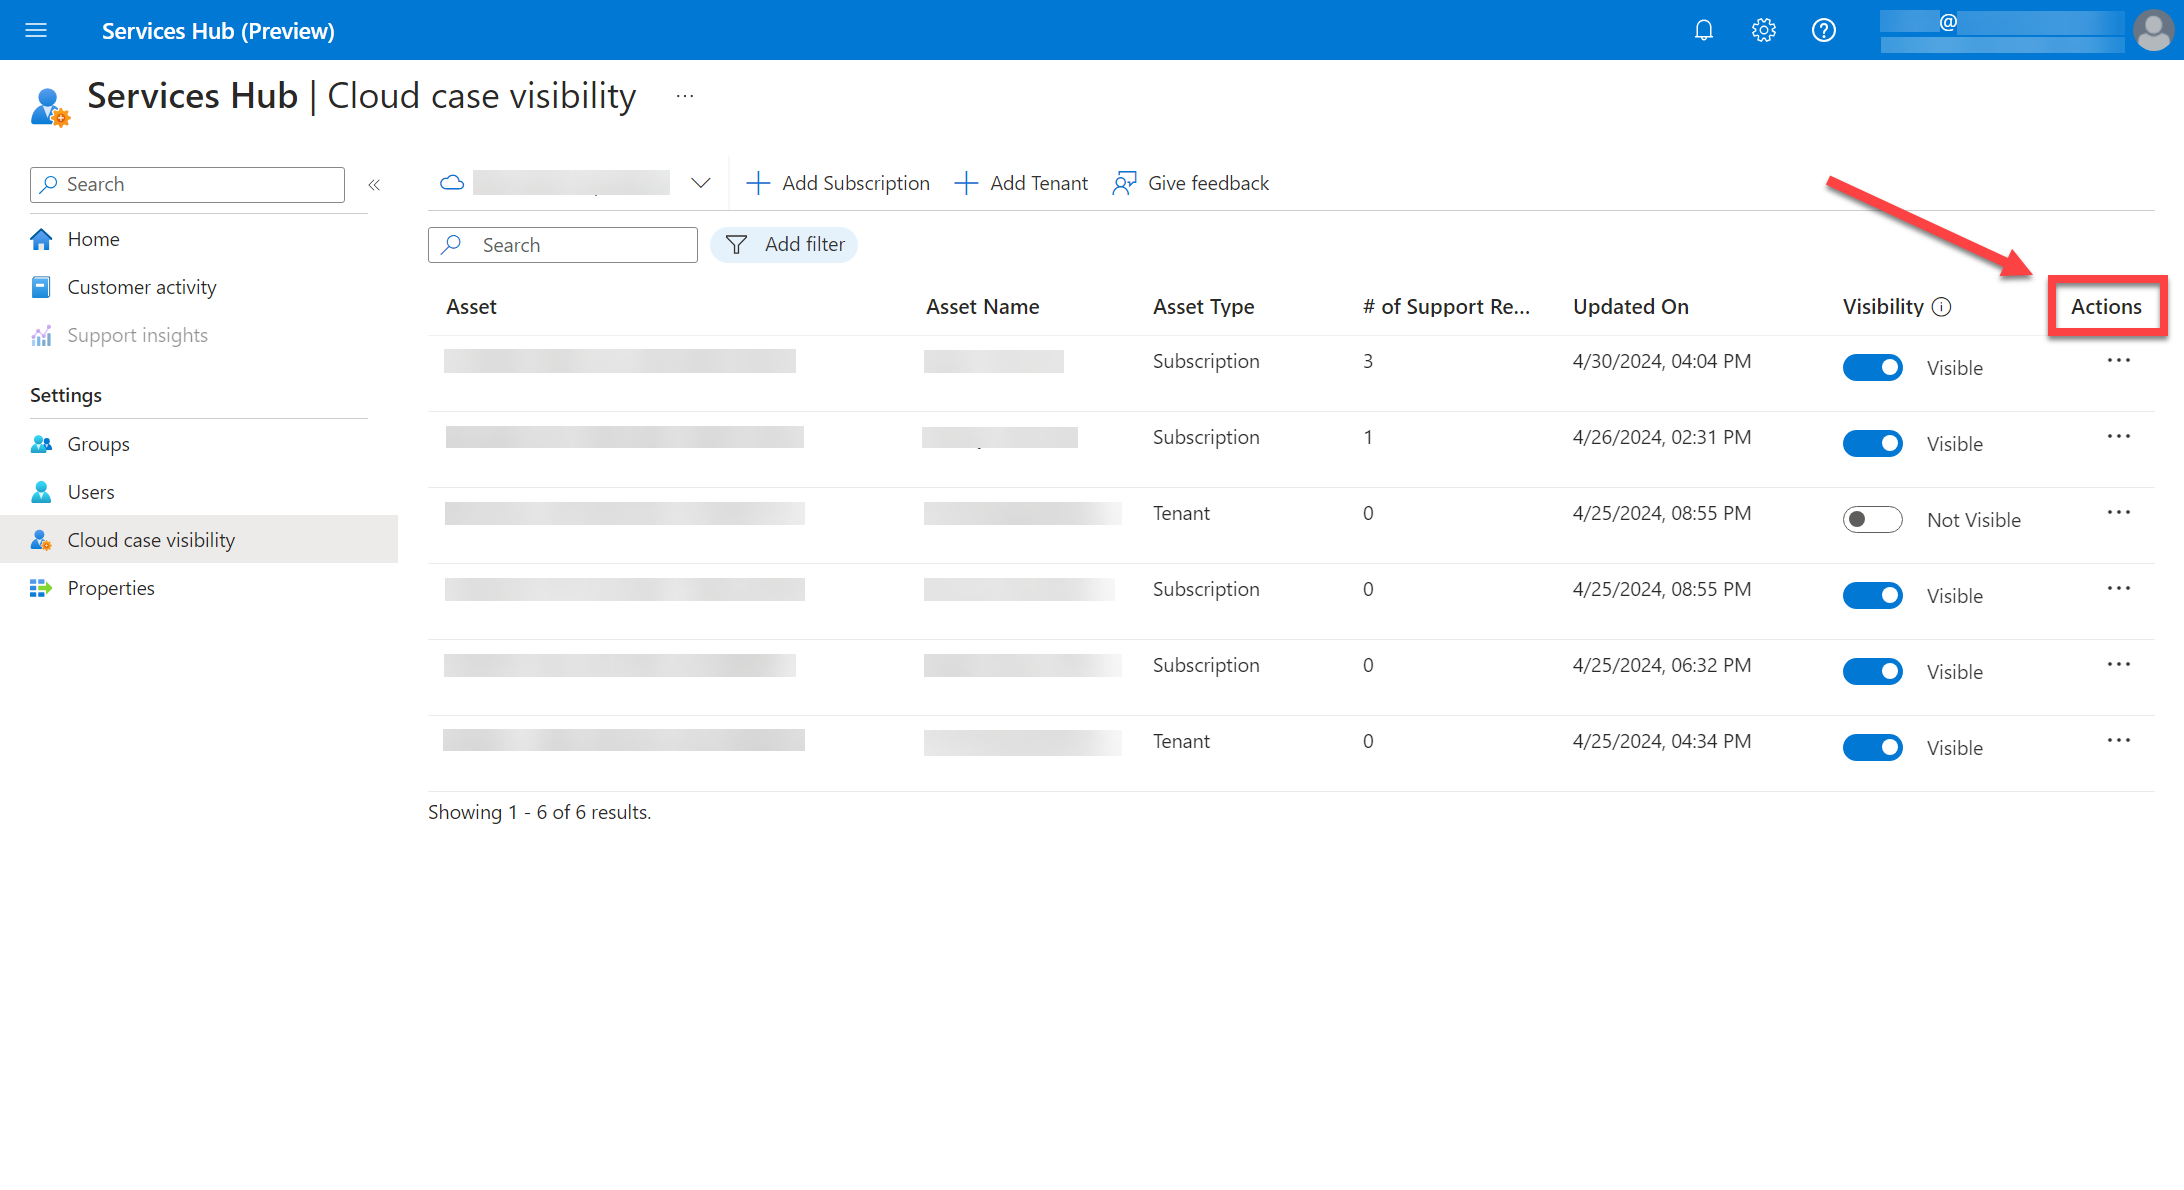
Hover over the item you want to remove.
Select the three horizontal dots next to the item's "Visible" or "Not visible" status.
Select "Delete".
When the dialog box with a warning appears, select "Delete".