Admin Center
Services Hub's Admin Center provides a central location for managing Services Hub settings across your organization.
To access the Admin Center:
Navigate to the Profile menu in the top right of the Services Hub.
Select Workspaces, then select your organization.

Your Admin Center page should be visible.
Settings are separated into two sections: Customer and Workspace.
Customer tab
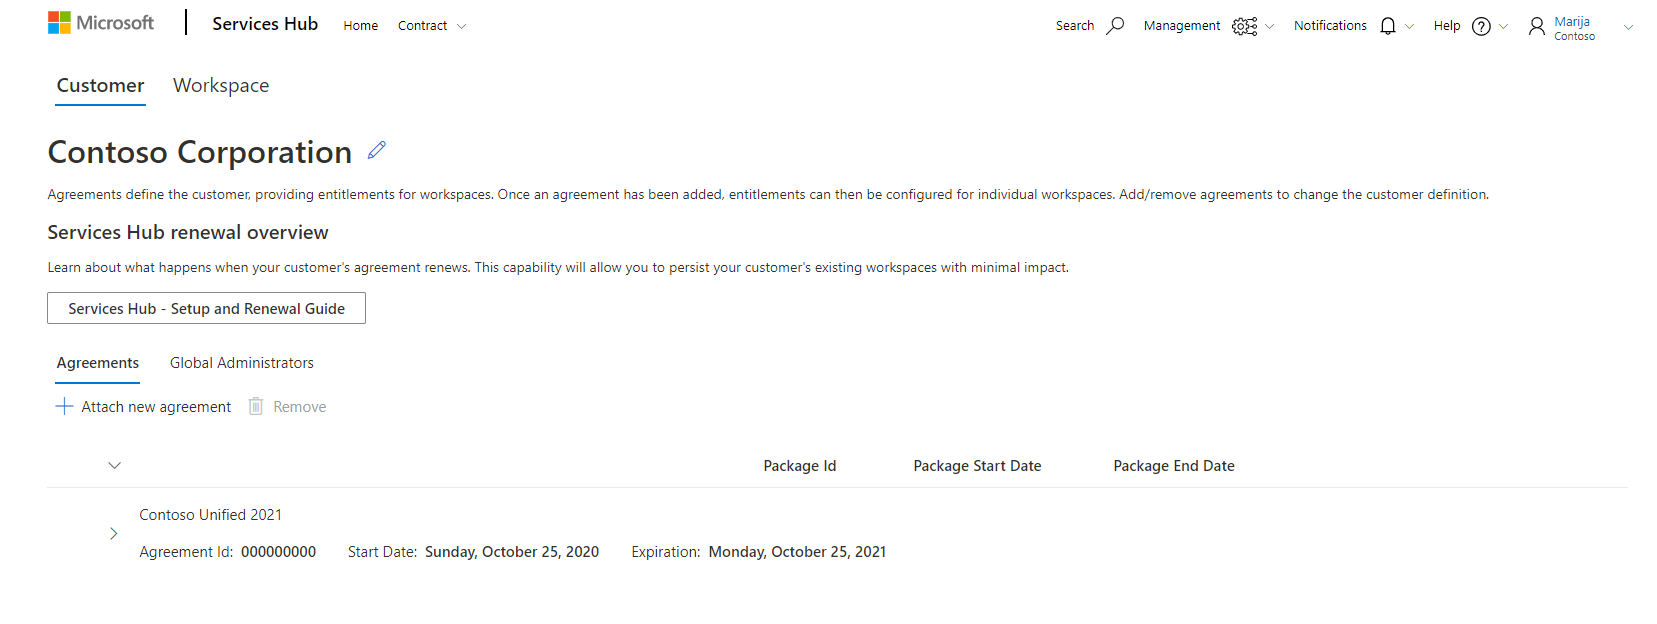
Within the Customer tab, you can set your company’s display name inside the Services Hub, view your agreement details, and set Services Hub Global Administrators for your organization.
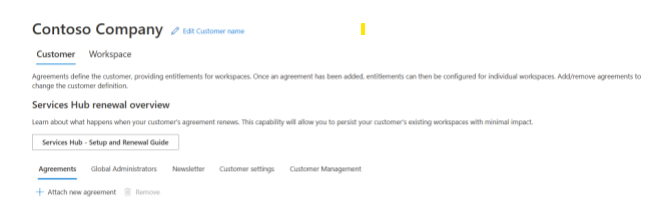
The Customer section itself contains multiple tabs:
- Agreements
- Global Administrators
- Newsletter
- Customer Settings
- Customer Management.
Note
To view a guide covering the workspace setup and renewal conversation, select the "Services Hub – Setup and Renewal Guide" button. You can also view the slideshow in presentation mode to hear an audio recording. This is only available to Microsoft employees.
The main section of the Customer tab is separated into two sections: Agreements and Global Administrators.
Agreements
All of the agreements tied to your organization are listed on the Agreements page. If you have an agreement that's unlisted, work with your CSAM to get it added to your experience.
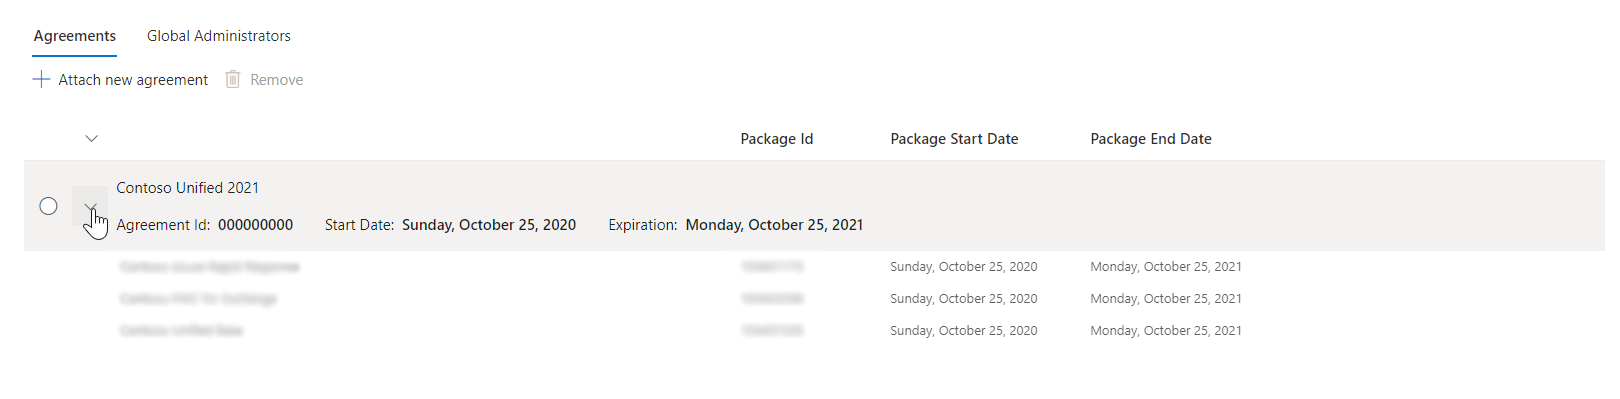
You can use the arrow to expand an agreement and view the agreement's included packages, each package's ID, and each package's start and end date.
Global Administrators
Note
Existing Services Hub Global Admins and CSAMs can manage your Admin Center and add new Services Hub Global Admins.
Services Hub Global Administrators have access to all information that's part of your Microsoft Support agreement, plus the ability view information across all customer workspaces.
You can view and manage your agreement's associated Global Administrators under the Global Administrators tab.
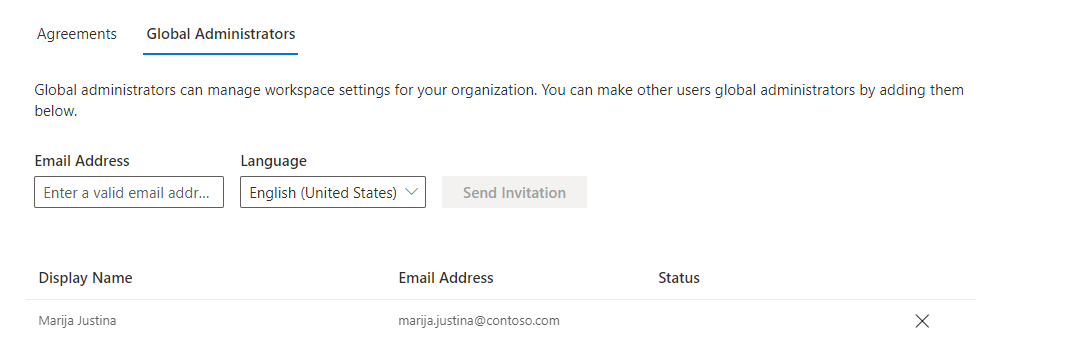
To add a Global Administrator:
Enter their email address.
Select their language.
Select the "Send Invitation" button.
Note
If an email address you enter isn't already a registered Services Hub user, they get invited to register for Services Hub.
To remove a Global Administrator, select the "X" at the end of the row associated with their name.
Newsletter Tab
As part of your organization's Unified Support or Premier Support agreement, your account team might provide product updates from Microsoft on diverse topics. If your organization is eligible, users can opt in to receive these updates automatically from Microsoft, based on the frequency of their communication. This way, individual users are able to manage their own communication preferences so that they stay informed of the topics relevant to them.
Manage Newsletters
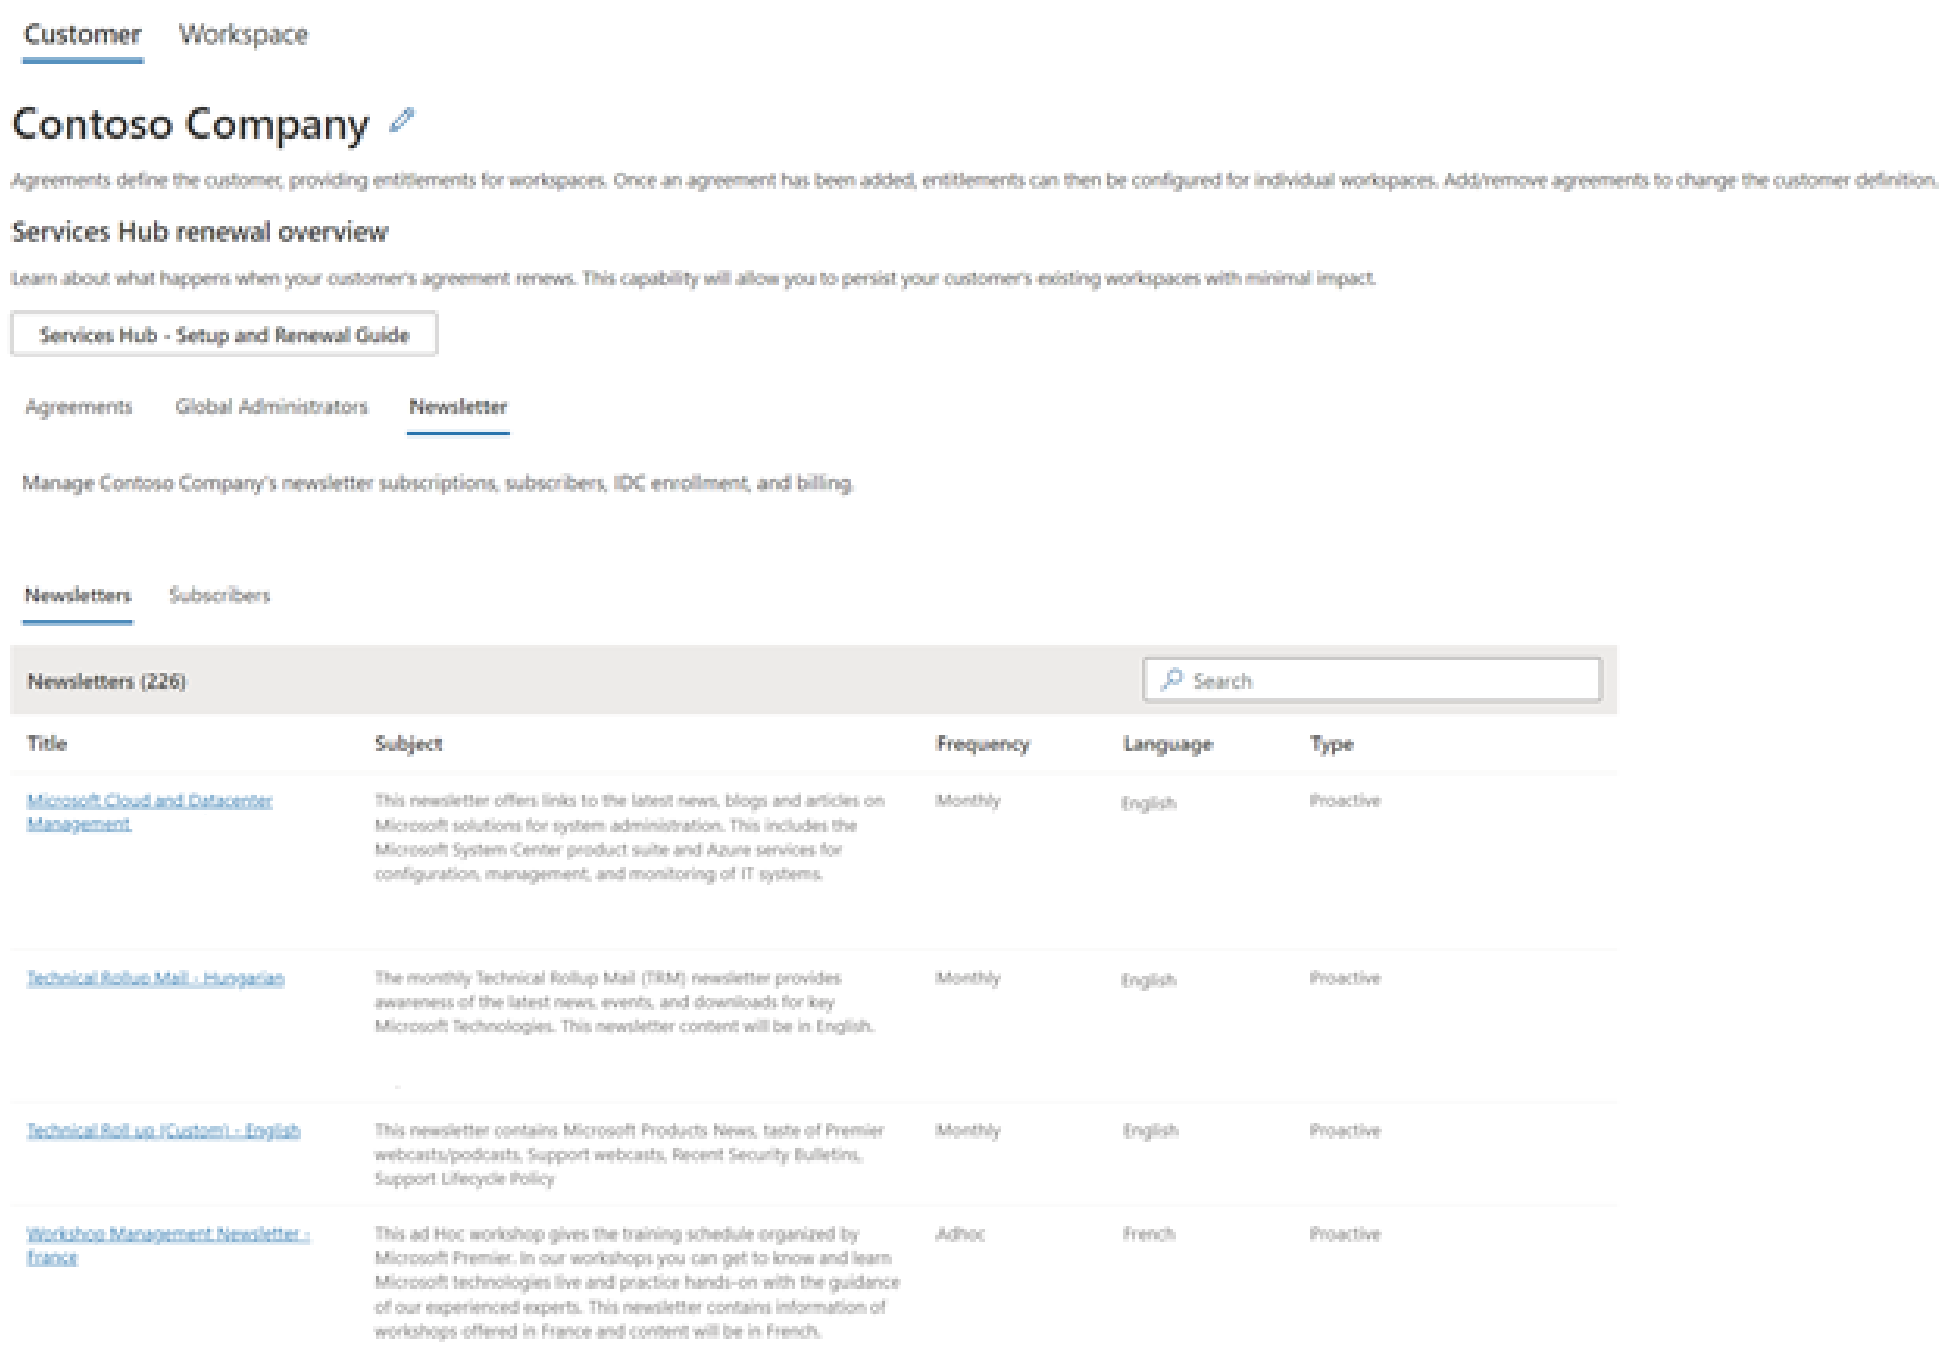
In the Admin Center, you can manage your workspace's newsletter preferences though the Newsletter tab. For more information, see Managing the newsletter preferences.
The Newsletters section is selected by default. You can see the details of which newsletters your workspace is subscribed to, and you can use the search bar to easily search for and locate newsletters. You can subscribe a user to a newsletter by adding their email address.
Managing Subscribers
In the Subscribers section, you can see who is subscribed to which newsletter. You can also edit user newsletter subscriptions individually.
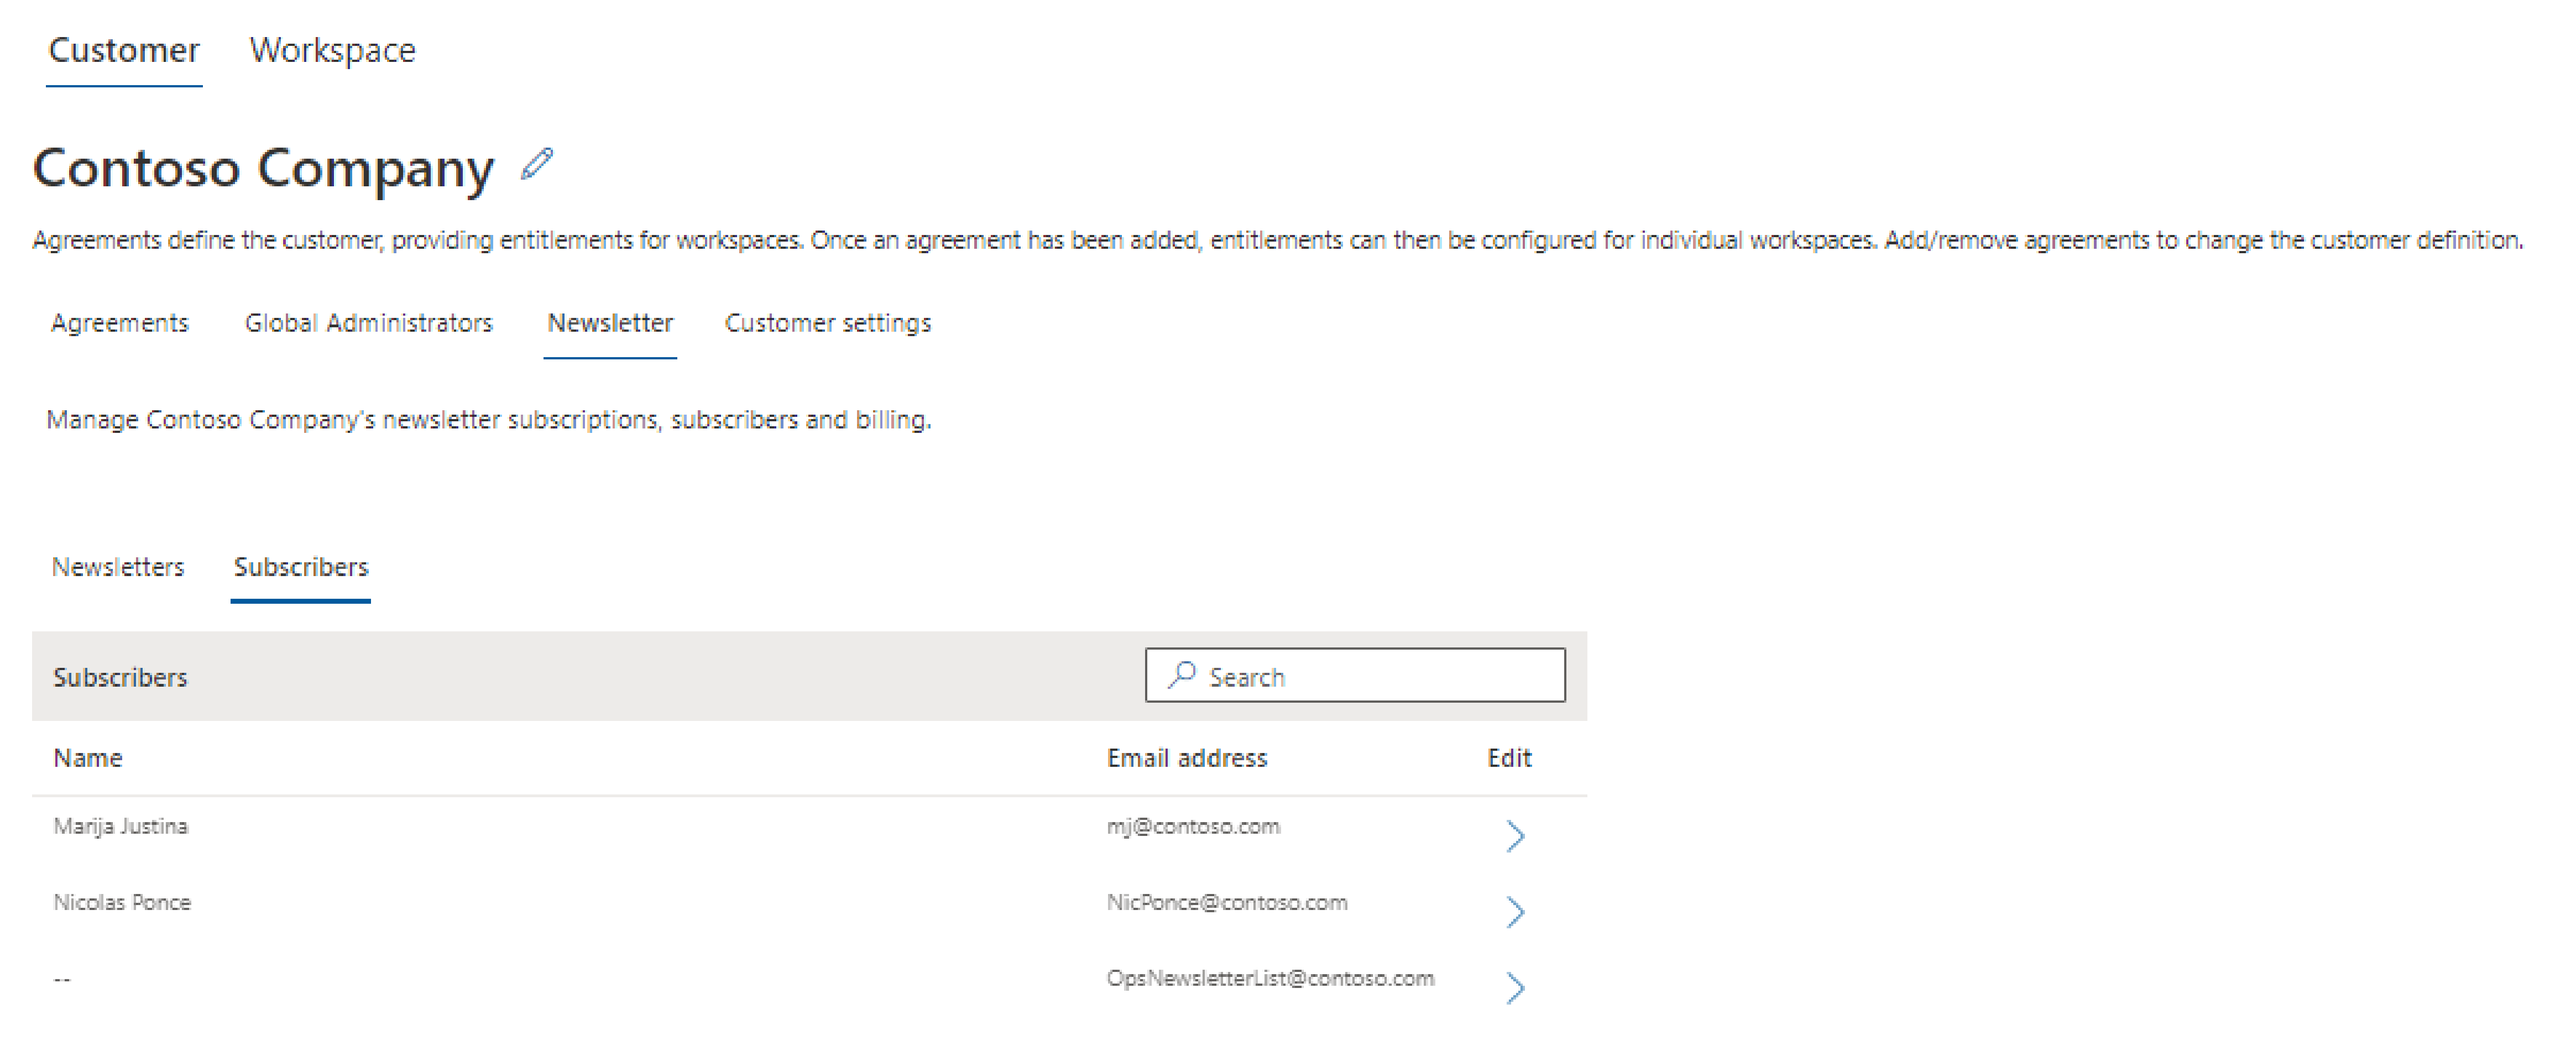
Note
If an email is displayed but has no associated name, that email address is not a registered Services Hub user, and it's most likely a customer distribution list.
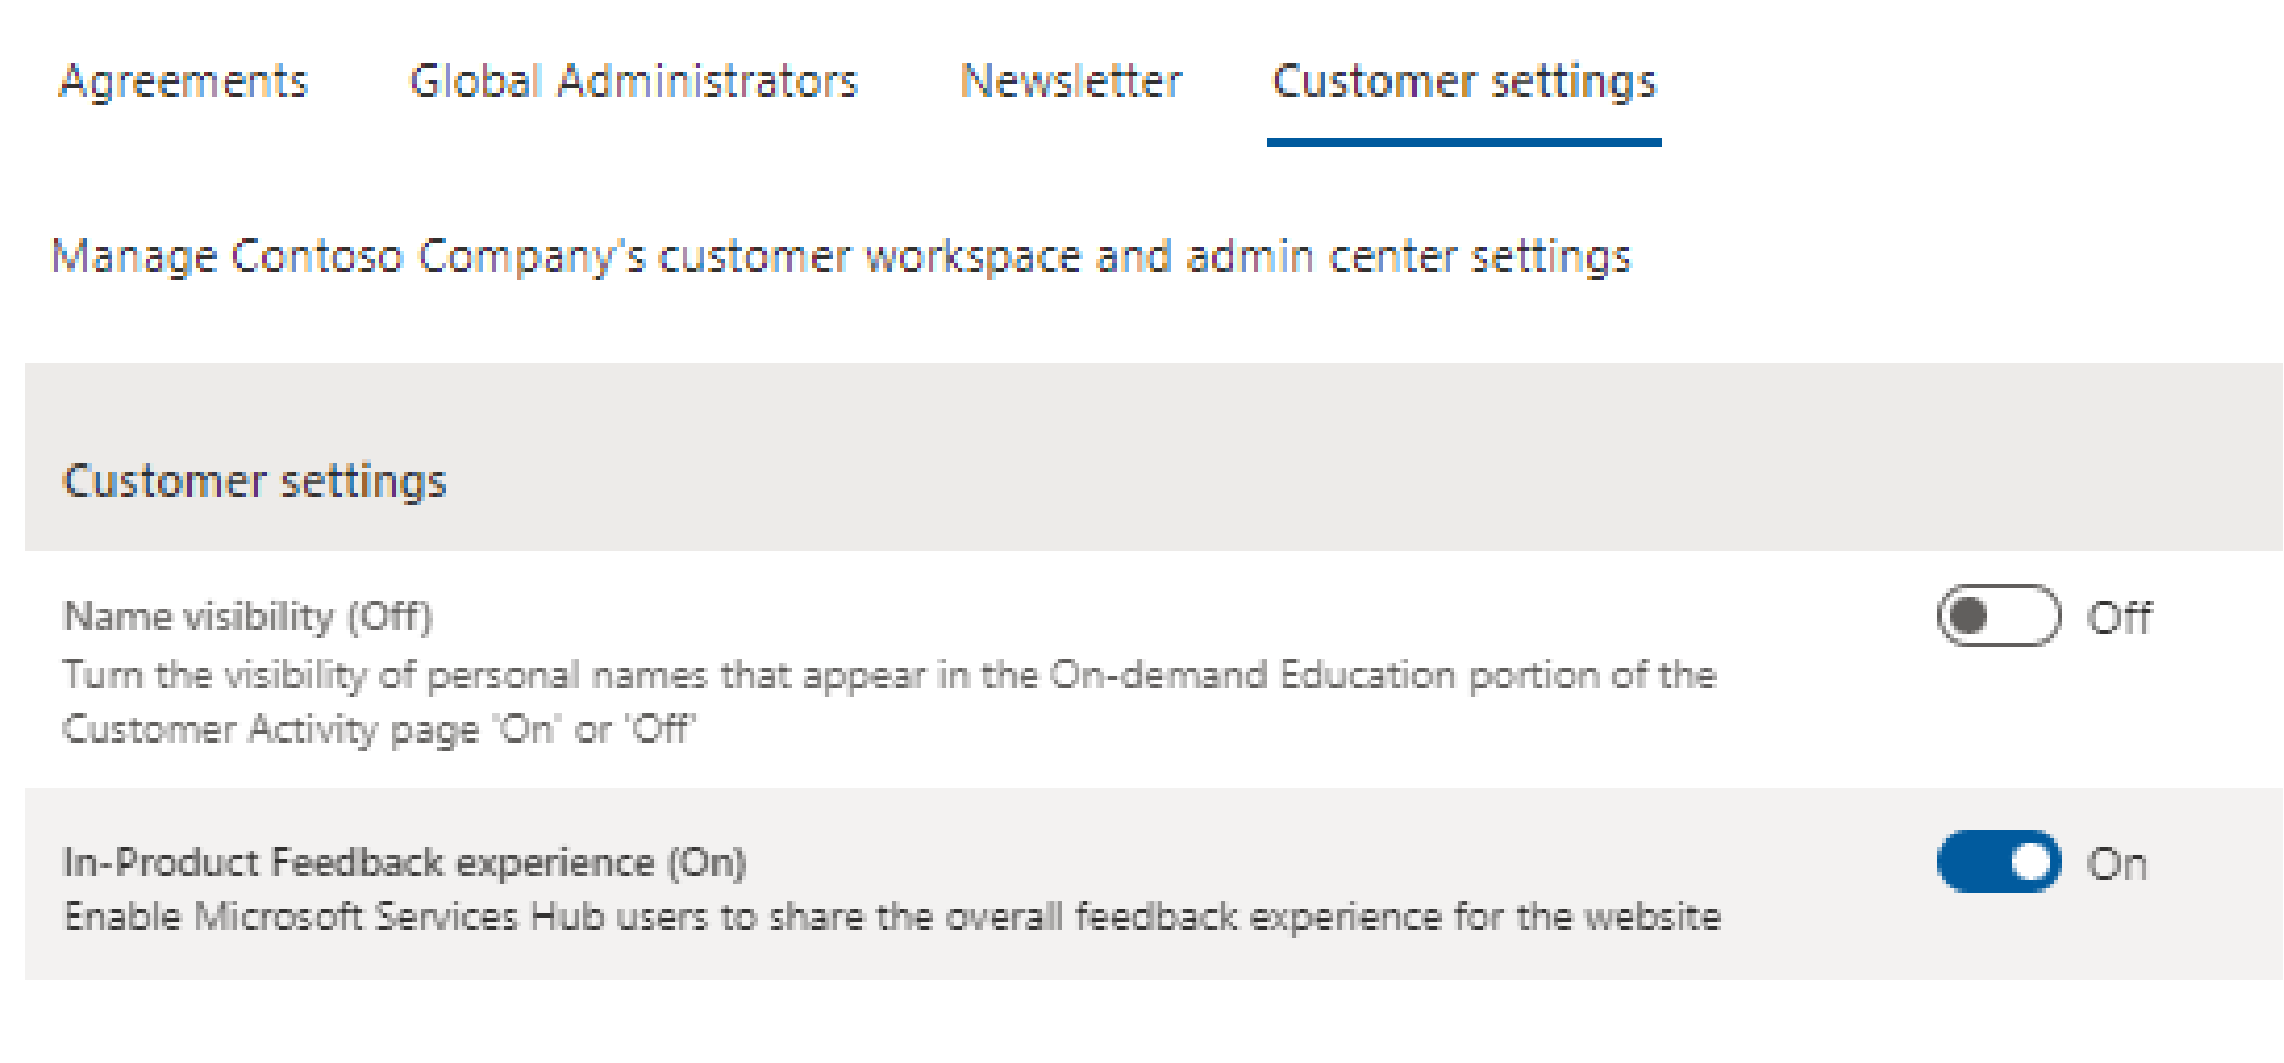
Customer Settings
Easily manage your settings, such as displaying names for On-demand Education section of Customer Activity and opt out of in-product feedback.
Customer Management
Services Hub Global administrators and CSAMs can use the Admin Center's Customer Management tab to invite users to features.
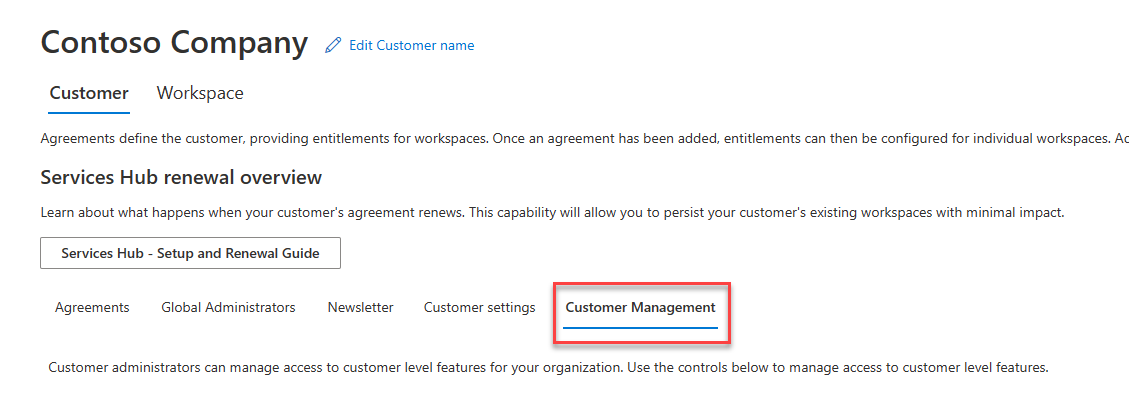
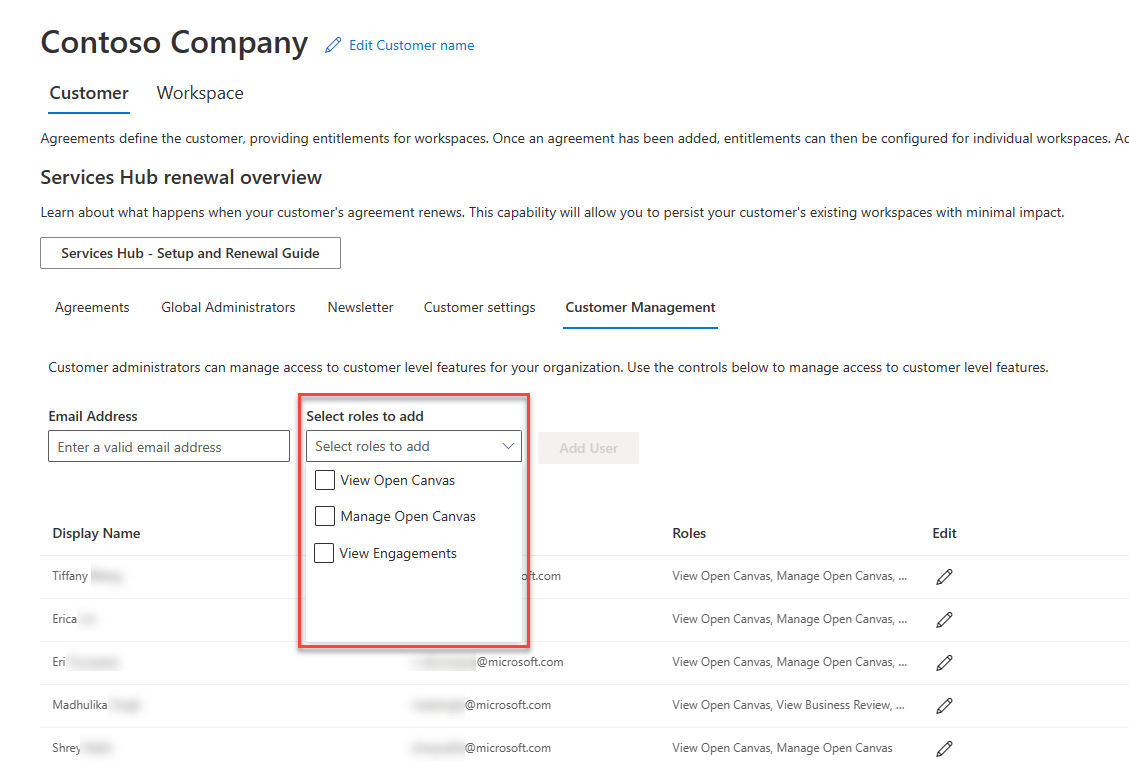
The Customer Management tab enables you to provide user access for:
- View Open Canvas
- Manage Open Canvas
- View Engagements
Provide access through the Customer Management tab
Global administrators can provide a user with access.
To provide user access:
Navigate to the Customer Management tab.
Type in the email address of a current/active Services User.
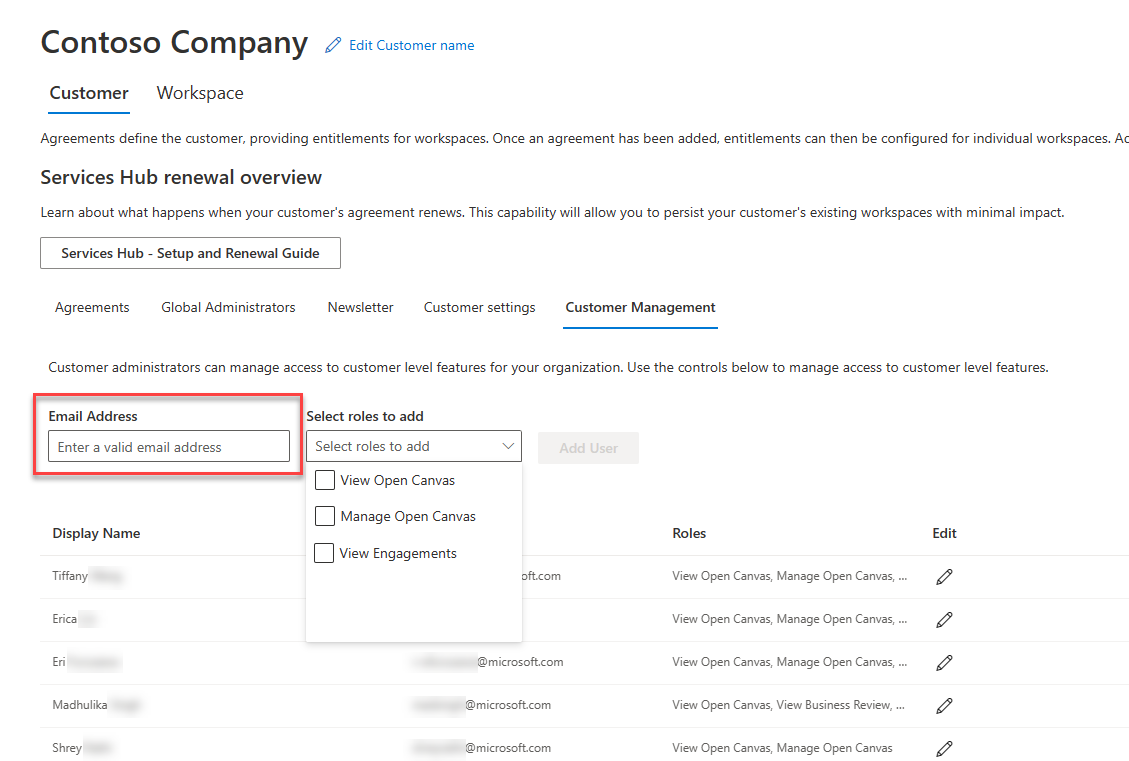
Choose the appropriate access you want the user to have, then select "Add User".
Note
No notification is sent to newly added users.
Edit or remove access
Global administrators can also edit or remove a user's access.
To edit or remove user access:
Navigate to the Customer Management tab.
Select the "Edit" icon in the user access list.
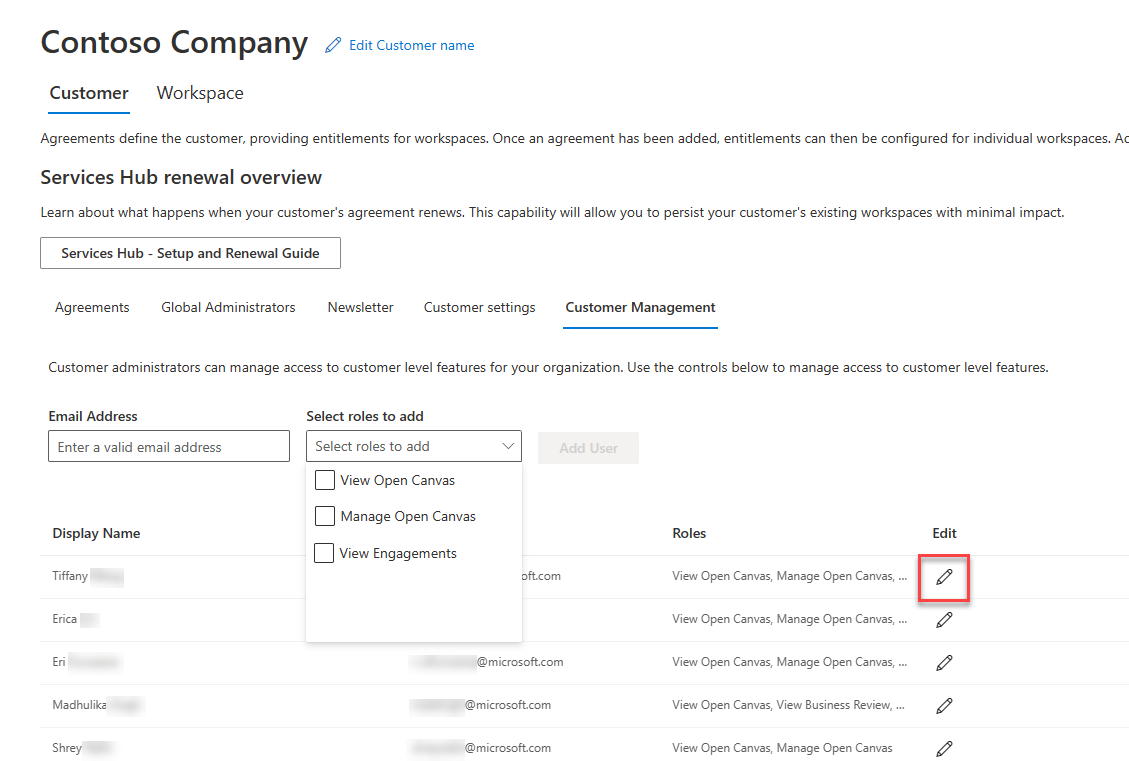
Make the appropriate edits, then select the "Submit" button.
Workspace tab
In the Workspace tab, you can create and manage workspaces to provide access to your organization's digital entitlements.
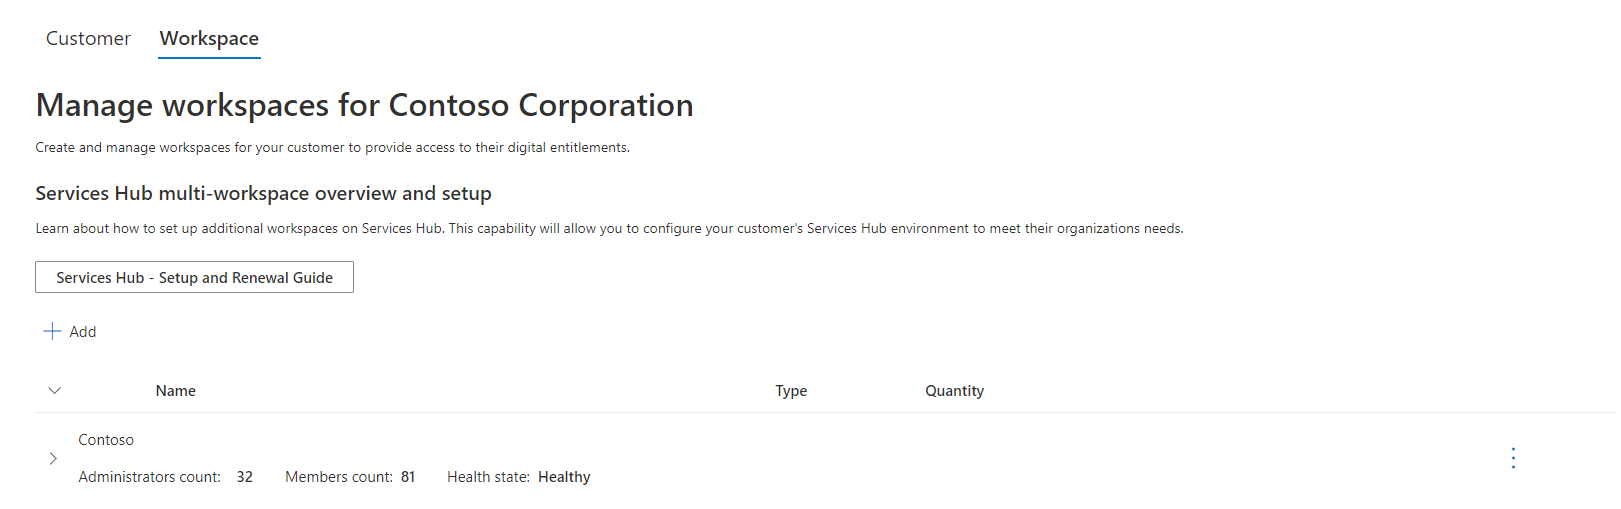
Create a new workspace
To create a new workspace:
Navigate to the Workspace tab.
Locate the "Services Hub Setup and Renewal Guide" button.
Select the "Add" button under the "Services Hub Setup and Renewal Guide button.
You can find workspace details through a single-pane-of-glass view. Information provided includes the number of Administrators, number of members, and the current health state of your workspace. You also can expand a workspace to see the agreements tied to that workspace, plus the agreement details.

Edit or delete a workspace
To edit or delete a workspace:
Navigate to the Workspace tab.
Select the ellipsis on the appropriate row you want to edit.

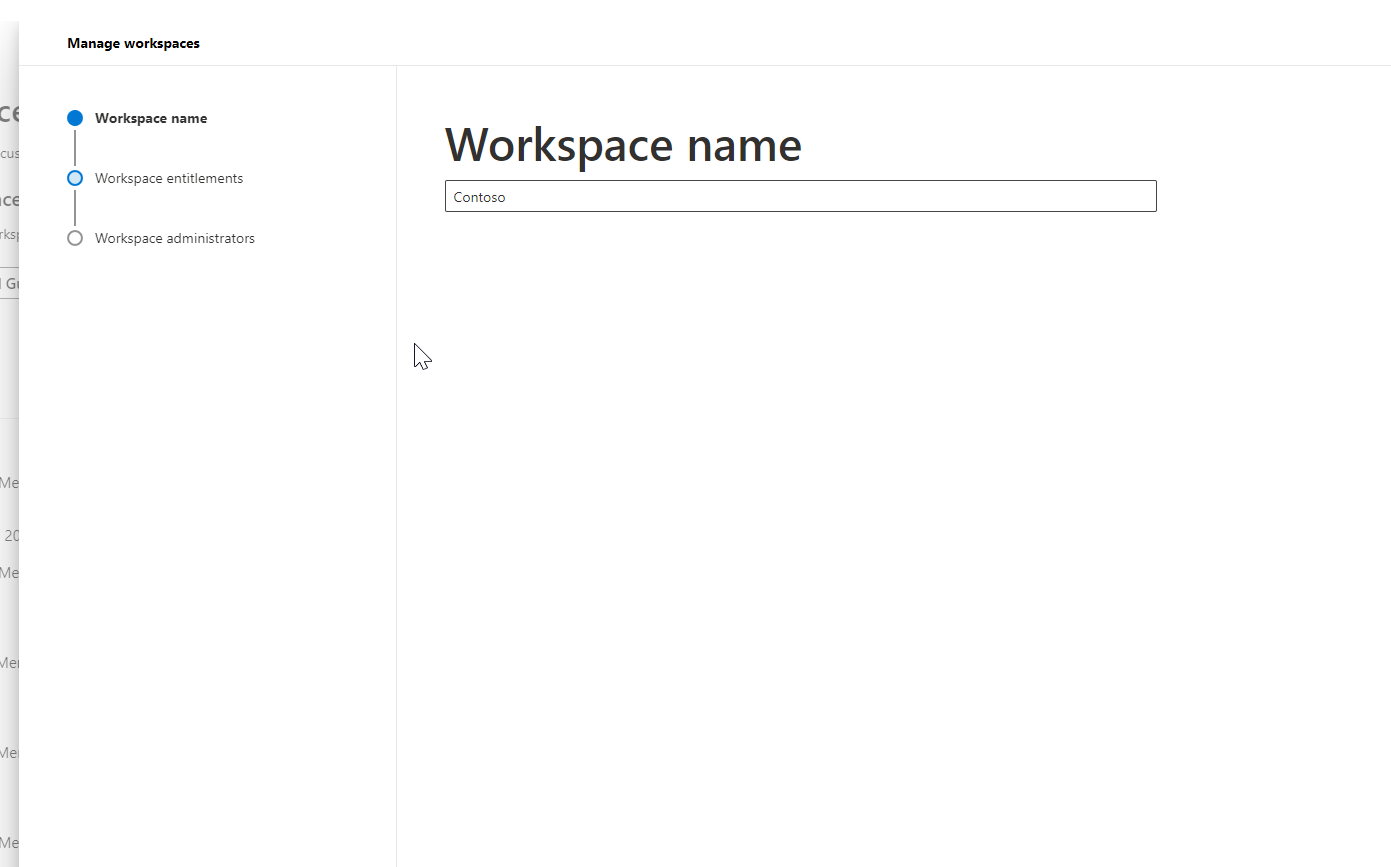
Select "Edit workspace".
Make your edits to or delete the workspace.
You can edit the workspace name, entitlements, and administrators all on one screen.