Replace & install compute cartridge on Surface Hub 2S
This article explains how to remove the Surface Hub 2S compute cartridge, pack it for shipment, and install a new compute cartridge.
| Step | Task | Illustration |
|---|---|---|
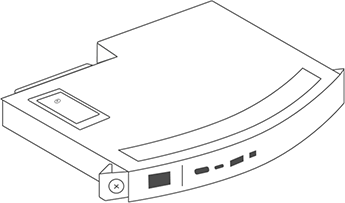
| 1. | Unplug all cables, slide the cover sideways, and unscrew the locking screw of the compute cartridge. | 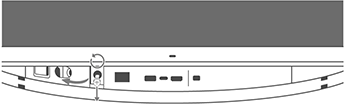 |
| 2. | Slide the compute cartridge out of the unit. | 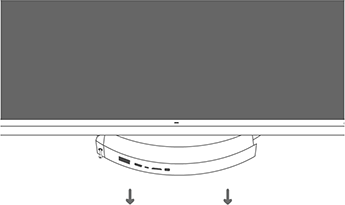 |
| 3. | You'll need the compute cartridge and a screwdriver. | 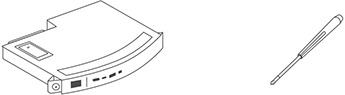 |
| 4. | Remove the cover screw and the cover from the compute cartridge, and then remove the solid state drive (SSD). When finished, replace the cover. | 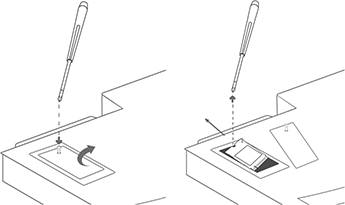 |
| 5. | You'll need the original packaging for your replacement compute cartridge. | 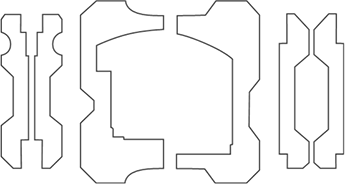 |
| 6. | Place the old compute cartridge in the packaging. | 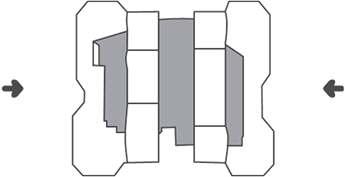 |
| 7. | Place the old compute cartridge and its packaging into the box that was used for the replacement compute cartridge. Reseal the box. | 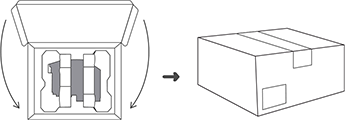 |
| 8. | Slide the replacement compute cartridge into the unit. | 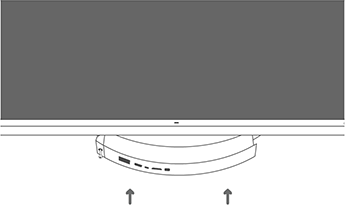 |
| 9. | Fasten the locking screw and slide the cover into place | 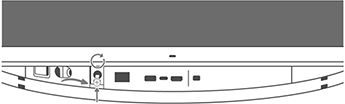 |