Set up a Microsoft Teams notification channel in System Center Operations Manager
This article describes how to set up a notification channel that sends alert notifications to subscribers by using Microsoft Teams.
Earlier versions of System Center Operations Manager supported integration with Skype for Business. Users could get alerts from System Center Operations Manager. All Skype for Business customers were encouraged to start using Microsoft Teams as their communications and collaboration service. Skype for Business was retired on July 31, 2021.
In line with the lifecycle, we now support System Center Operations Manager alerts on Microsoft Teams. Integrating Teams with System Center Operations Manager enhances productivity because you can get alerts directly in Teams, where you collaborate the most.
In System Center Operations Manager 2022, Microsoft Teams was added to the existing basic notification channels. You can set conditions for the channel to allow only certain types of alerts.
To configure alert notifications for System Center Operations Manager, you must enable a notification channel. For detailed information about notification channels, see Subscribe to alert notifications.
Note
Integrating System Center Operations Manager with Teams is supported for customers who use Office 365 GCC, Office 365 GCC High, and US Department of Defense (DoD) clouds.
Before you begin, make sure that you have the following items:
Teams tenant information.
Run As account. The delegated API type is used in Teams integration, and the Run As account credentials are used to authenticate. The Run As account should have the following characteristics. The account is:
A valid Microsoft Entra ID account (for example,
user@domain).Licensed to use Microsoft Teams.
A member of the target Microsoft Teams channel.
Not enabled for multifactor authentication.
For more information, see Create and configure the notification action account.
Link to the Teams channel you created. For more information about Teams channels, see Overview of teams and channels in Microsoft Teams.
Details of the newly created application in Azure. Instructions to register an application available at Register an application with the Microsoft identity platform.
For the newly created app, ensure that the Graph API permission is given as
ChannelMessage.Sendand that the Grant admin consent for Contoso checkbox is selected.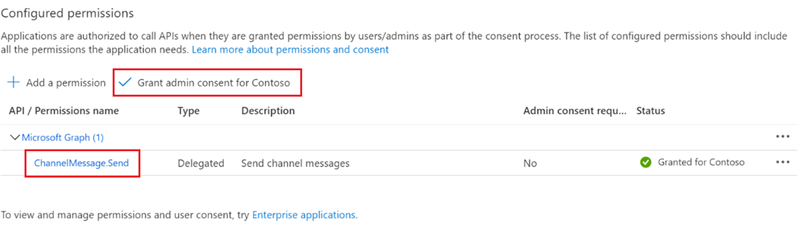
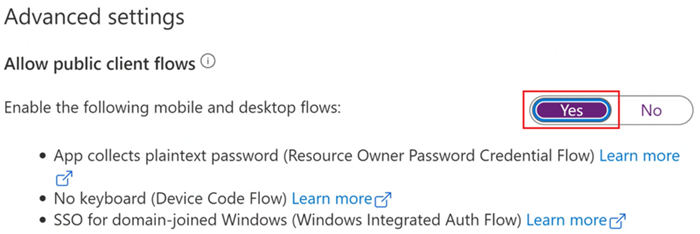
On Microsoft Entra ID admin center > Advanced settings, ensure that Allow public client flows is set to Yes.
Key descriptions for notification channels
For more detailed information about channels, subscribers, and subscriptions, see Subscribe to alert notifications.
| Parameters | Microsoft Teams |
|---|---|
Notifications Channel |
Provide Azure endpoints, Azure and Microsoft 365 authentication details such as application ID and tenant ID, and the format of notifications to send to Microsoft Teams. |
Notifications Subscriber |
Provide notification schedule and Microsoft Teams channel details to which to send notifications. |
Notifications Subscription |
Set criteria and scope on alerts to send as notifications to Microsoft Teams. Defines the criteria for sending a notification, the channel to use, and the subscribers that receive the notification. |
Integrate System Center Operations Manager with Microsoft Teams
To integrate System Center Operations Manager with Teams, set up a Teams channel, and then add a subscriber and a subscription.
Create and enable the Microsoft Teams notification channel
Sign in to the computer where the Operations Manager console is installed.
On the console under Notifications, right-click Channels and select New channel > Microsoft Teams.
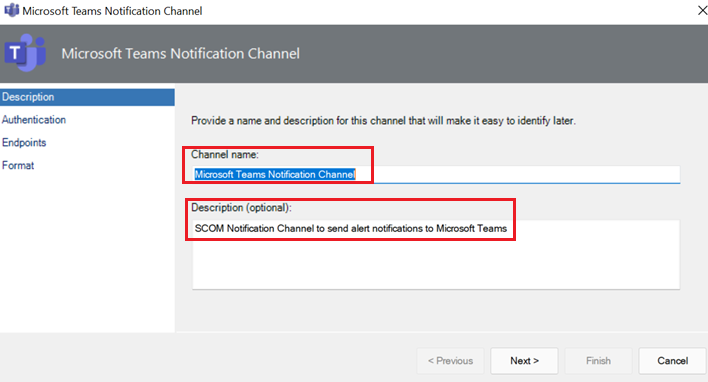
The Microsoft Teams Notification Channel wizard opens.
On Description, enter values for Channel name and Description (optional), and then select Next.
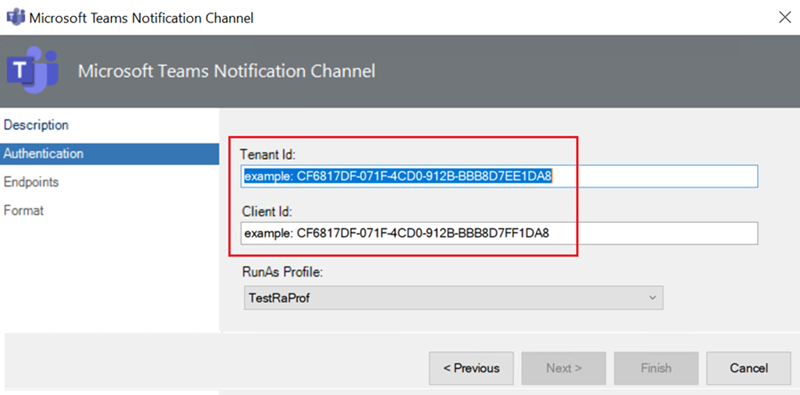
On Authentication, enter values for Tenant Id and Client Id from your Microsoft Entra ID app, and then select Next.
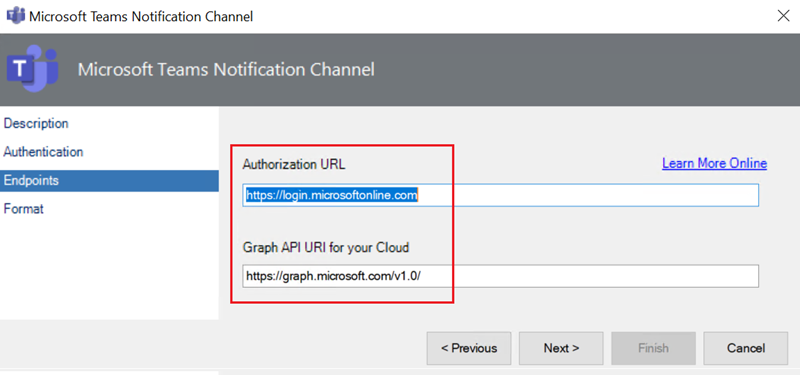
On Endpoints, values for Authorization URL and Graph API URL for your Cloud are set by default. Select Next. (If you aren't a public cloud user, see National cloud deployments for the endpoints to use.)
On Format, in Default Microsoft Teams Notifications Message Format, a default alert format uses Adaptive Cards to deliver rich alerts. Select Finish.
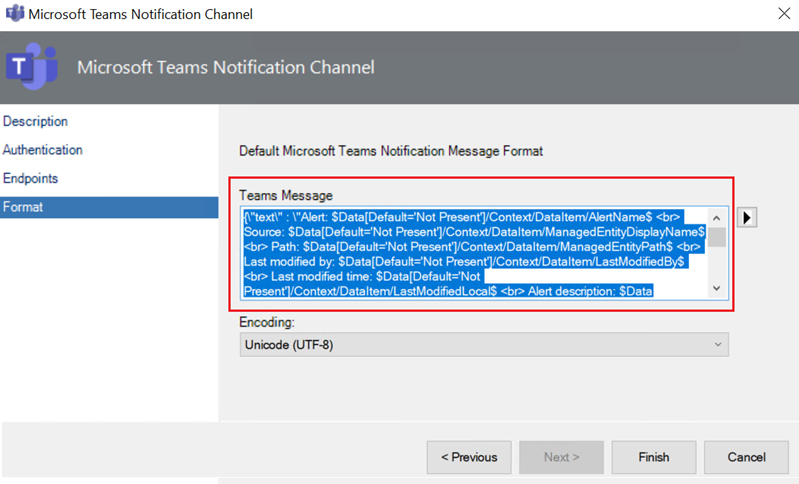
To customize the Teams message and for more information, see the Adaptive Cards overview and the Adaptive Cards reference.
The following table highlights the variables to use for various properties of the alert or links to the HTML content:
Alert property of the link Variable Alert Source$Data[Default='Not Present']/Context/DataItem/ManagedEntityPath$\$Data[Default='Not Present']/Context/DataItem/ManagedEntityDisplayName$Alert Name$Data[Default='Not Present']/Context/DataItem/AlertName$Alert Description$Data[Default='Not Present']/Context/DataItem/AlertDescription$Alert Severity$Data[Default='Not Present']/Context/DataItem/Severity$Alert Priority$Data[Default='Not Present']/Context/DataItem/Priority$Alert Category$Data[Default='Not Present']/Context/DataItem/Category$Alert Owner$Data[Default='Not Present']/Context/DataItem/AlertOwner$Alert Resolved By$Data[Default='Not Present']/Context/DataItem/ResolvedBy$Alert Raised Time$Data[Default='Not Present']/Context/DataItem/TimeRaisedLocal$Alert Last Modified Time$Data[Default='Not Present']/Context/DataItem/LastModifiedLocal$Alert Last Modified By$Data[Default='Not Present']/Context/DataItem/LastModifiedBy$Custom FieldN(N varies from 1 to 10)$Data[Default='Not Present']/Context/DataItem/CustomN$WebConsole Alert Link$Target/Property[Type=\"Notification!Microsoft.SystemCenter.AlertNotificationSubscriptionServer\"]/WebConsoleUrl$/#/monitoring/drilldown/alert/$UrlEncodeData/Context/DataItem/AlertId$WebConsole Alert Source Link$Target/Property[Type=\"Notification!Microsoft.SystemCenter.AlertNotificationSubscriptionServer\"]/WebConsoleUrl$/#/monitoring/drilldown/object/$UrlEncodeData/Context/DataItem/ManagedEntity$
Add a subscriber to the notification channel
Sign in to the computer where the System Center Operations Manager console is installed. In the console under Notifications, right-click Subscribers and select Microsoft Teams.
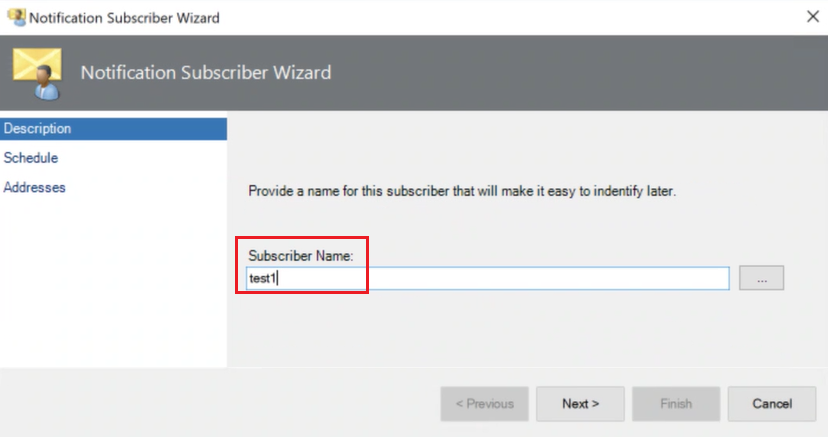
The Notification Subscriber Wizard opens.
On Description, for Subscriber Name, enter a subscriber name, and then select Next.
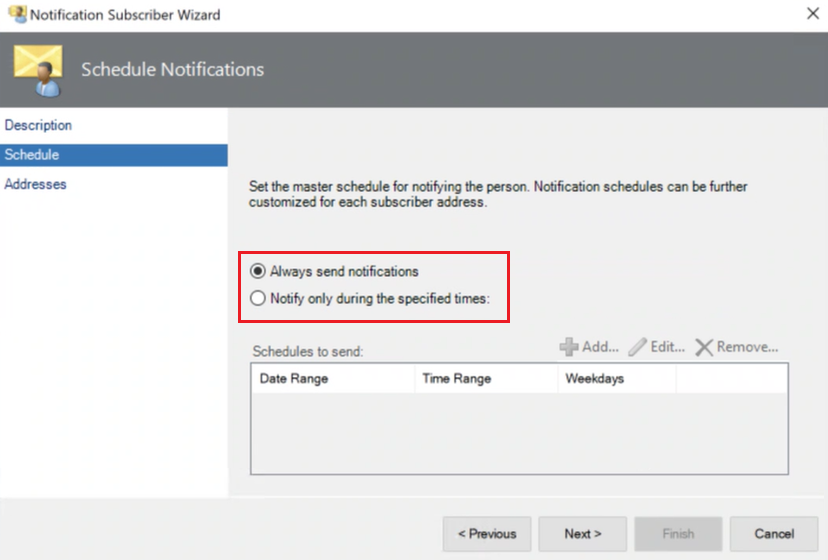
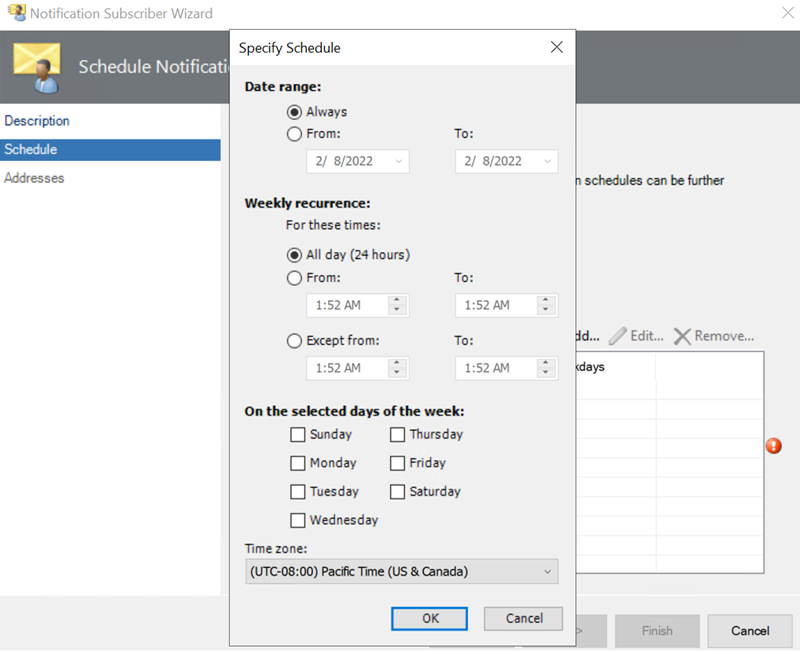
On Schedule, select any of the following options based on your requirements, and then select Next.
- Always send notifications: Sends notifications all the time.
- Notify only during the specified times: Sends notifications only at specific times.
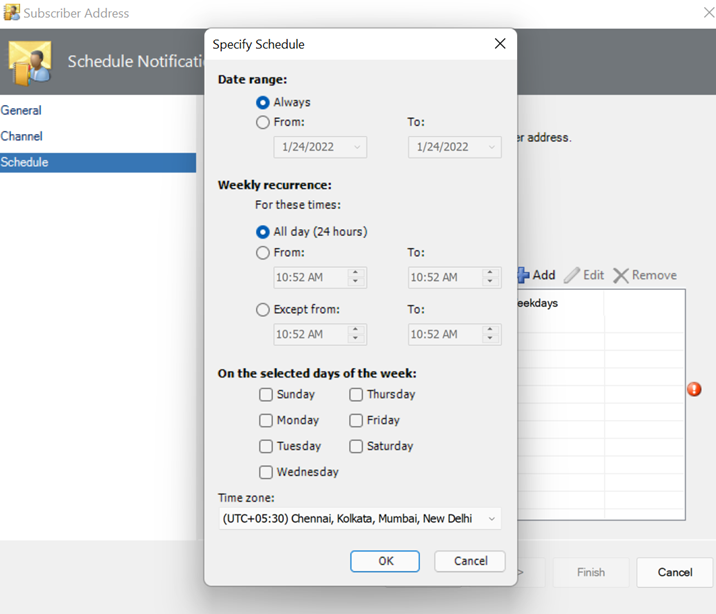
If you select the Notify only during the specified times checkbox, the Specify Schedule pane opens. Select values for Date range, Weekly recurrence, On the selected days of the week, and Time zone based on your requirements.
On Addresses, select Add.
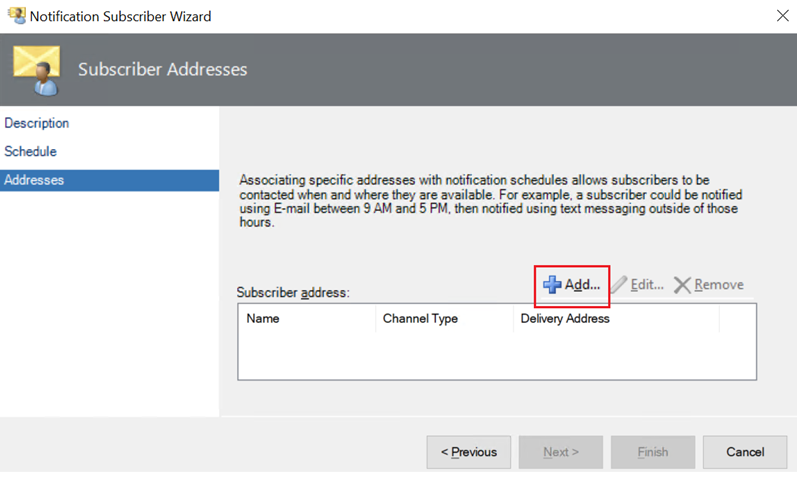
The Subscribers Address wizard opens.
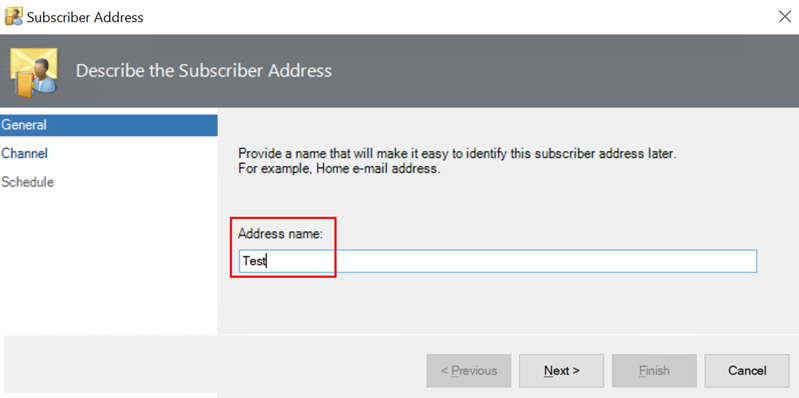
On General, for Address name, enter an address name to identify the subscriber. Then select Next.
On Channel, for Channel Type, enter Microsoft Teams. Then select Next.

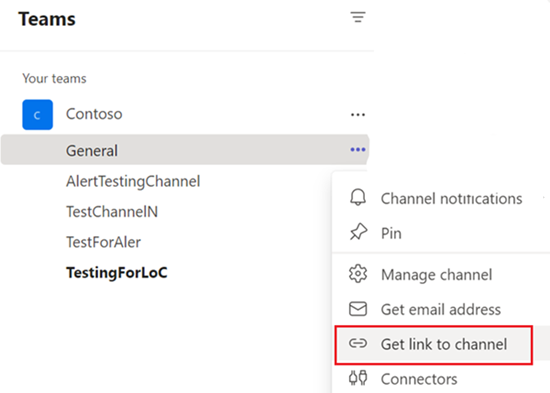
Right-click the channel where you want to send the notifications and select Get link to channel. Copy the URL, and then enter the URL in Delivery address for the selected channel:.
On Schedule, enter values for Date range, Weekly recurrence, On the selected days of the week, and Time zone based on your requirements. Select Finish.
Set up a notification subscription
Sign in to the computer where the Operations Manager console is installed.
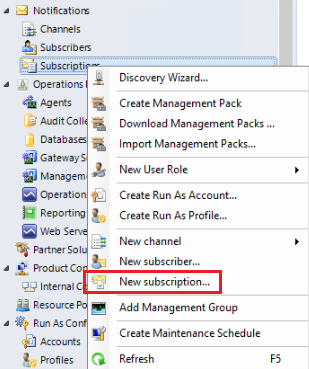
In the console under Notifications, right-click Subscriptions and select New subscription.
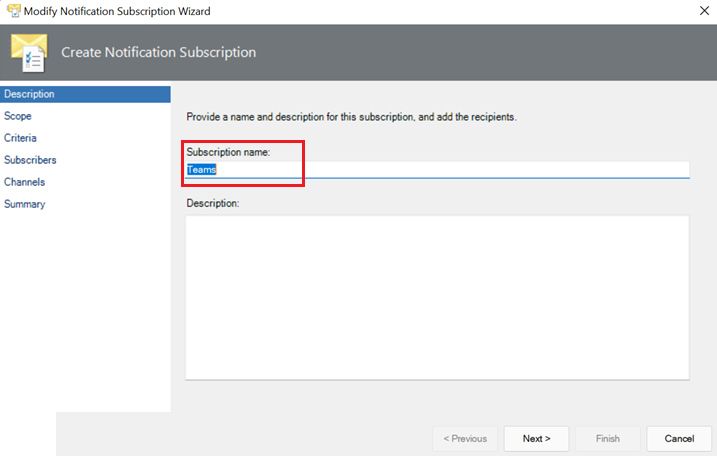
The Create Notification Subscription wizard opens.
On Description, enter a subscription name, and then select Next.
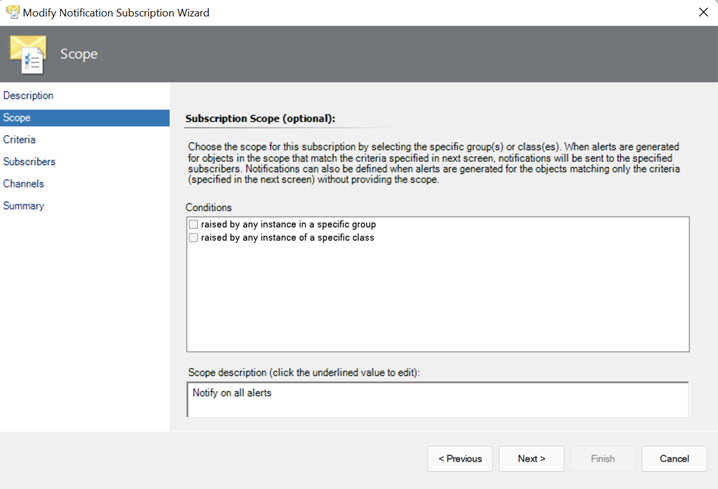
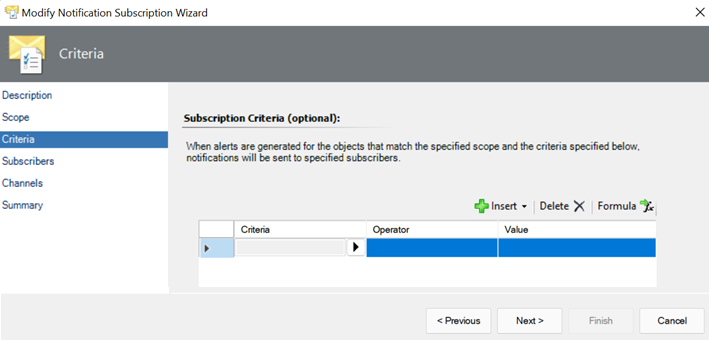
Set values for Scope and Criteria to define the type of alerts you want notifications for. Select Next.
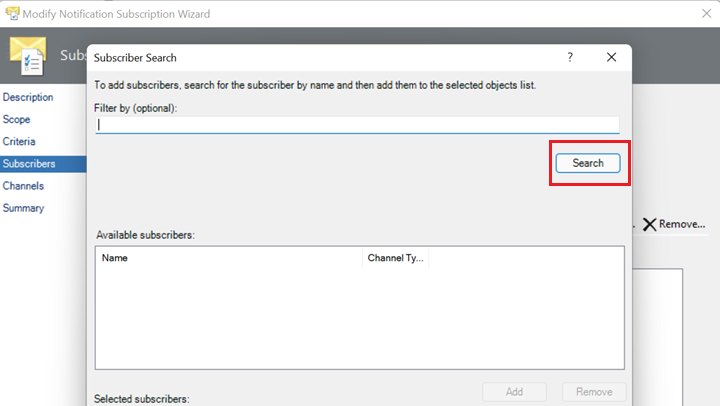
On Subscribers, select Search, select the subscriber, and then select Next.
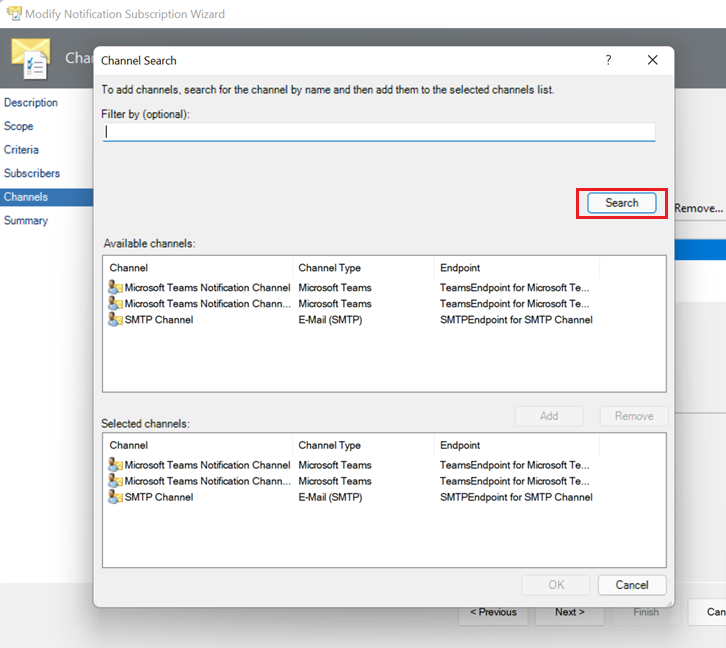
On Channels, select Search, select the notification channel to search for, and then select Next.
On Summary, review the summary, and then select Finish.
Related content
To create an email notification channel, see Enable an email notification channel.
To create a command channel notification, see Enable a command notification channel.
To create a text message (SMS) notification channel, see Enable an SMS notification channel.