Exercise - Create a Power Automate notification
With Microsoft Power Automate, you can automate a task, get or send notifications, and track the completion of tasks.
In this exercise, you create a notification when an emissions factor for fictitious business Company Cooling is recorded to have a CO2 calculation that's greater than 1,800 lb.
Sign in to Power Apps.
On the left pane, expand More, and then select Connections to create a connection to Microsoft Dataverse, Microsoft Teams, and Office 365 Outlook.
Select New connection.
Select the Microsoft Office 365 Outlook application from the list to make a connection, and then select Create.
Sign in with your credentials.
Select New connection.
Select the Microsoft Dataverse application from the list to make a connection, and then select Create.
Sign in with your credentials.
Select New connection.
Select the Microsoft Teams application from the list to make a connection, and then select Create.
Sign in with your credentials.
On the left pane, select Flows.
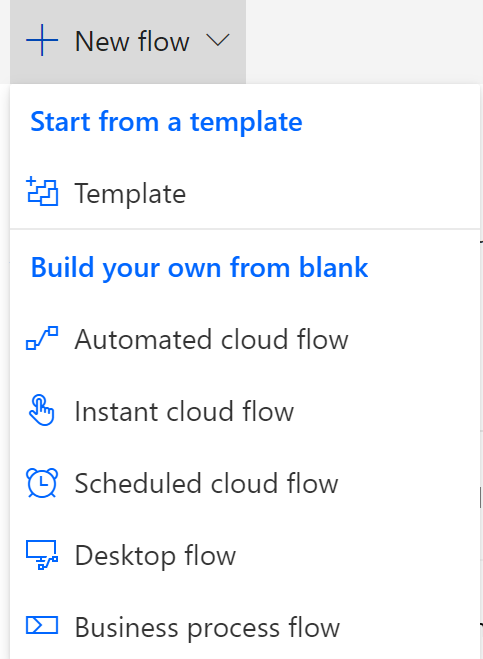
Select New flow, and then select Automated cloud flow.
In the Flow name box, enter a name for the flow.
For your flow's trigger, select When a row is added, modified, or deleted for Microsoft Dataverse, and then select Create.
In the When a row is added, modified, or deleted dropdown lists, do the following:
a. For Change type, select Added.
b. For Table name, select Emissions.
c. For Scope, select Organization.Select New step.
Select Condition.
Enter the condition, Emission contains Purchased cooling.
In the If yes action condition, you can select the Send Office 365 email action.
Add recipient’s email in the To field.
Add Subject.
Add variables in the email body.
Save the flow.


