Exercise - Configure File Sync tools on Windows Server
After you deploy the Azure resources, you need to register your on-premises Windows file server with the sync group. Then connect to your Windows Server computer and install the Azure File Sync agent. After your server is registered, add it as a server endpoint in your Azure subscription.
In this exercise, change the security setting so it allows you to download the Azure File Sync agent. You then install and run the agent to register the server with the Azure sync group.
The following video shows you how set up your on-premises server to work with Azure File Sync. Complete the steps in this exercise to continue following along in your Azure subscription.
Disable IE Enhanced Security Configuration
If you closed your Remote Desktop connection, follow these steps to connect to the virtual machine (VM):
- Sign in to the Azure portal.
- Go to Virtual machines > FileServerLocal.
- Select Connect and then select Native RDP.
- Select Download RDP File, and then open the RDP file.
- In the Windows Security window, select More choices > Use a different account.
- Enter the username learnadmin and the password you used when you created the VM.
In your Remote Desktop connection, on the toolbar, select Server Manager > Local Server.
In the Properties pane, under IE Enhanced Security Configuration, select On.
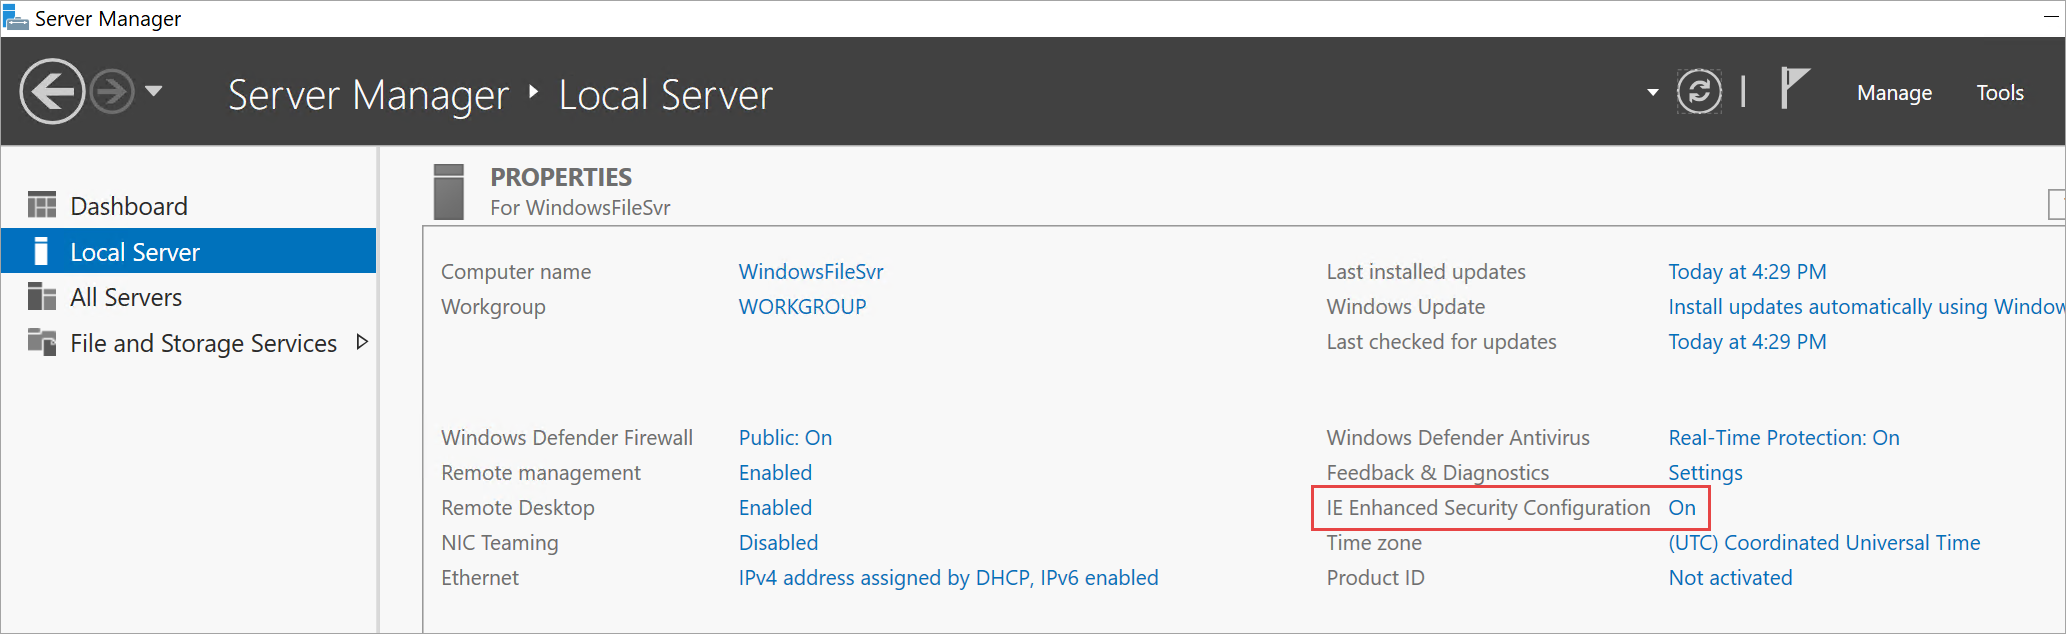
Select Off for Administrators and Users, and then select OK.
Install Azure File Sync agent
From the toolbar in the VM, open Internet Explorer.
Go to
https://www.microsoft.com/edgeand select Accept and download.Select Run. Wait for Microsoft Edge to install.
Select Start without your data and then Continue without this data.
Select Confirm and continue and then Confirm and start browsing.
Open the Microsoft Download Center page for Azure File Sync by going to
https://go.microsoft.com/fwlink/?linkid=858257.Select Download.
Select StorageSyncAgent_WS2019.msi, then select Download.
When the download is complete, run the installer.
Go through the Storage Sync Agent Setup Wizard and accept the defaults to install the Storage Sync Agent and complete setup.
The agent automatically runs and shows the Azure File Sync - Agent Update window. Complete any updates that are necessary.
Register Windows Server
On Azure File Sync - Server Registration, select Sign in. If the server registration process doesn't start automatically, open the app from
C:\Program Files\Azure\StorageSyncAgent\ServerRegistration.exe.Sign in by using your Azure credentials.
Enter the following values for each setting.
Setting Value Azure Subscription Subscription where you created the Azure File Sync resources Resource Group learn-file-sync-rg Storage Sync Service CADSyncService Select Register.
You should see that the registration is successful. Select Close to close the window.
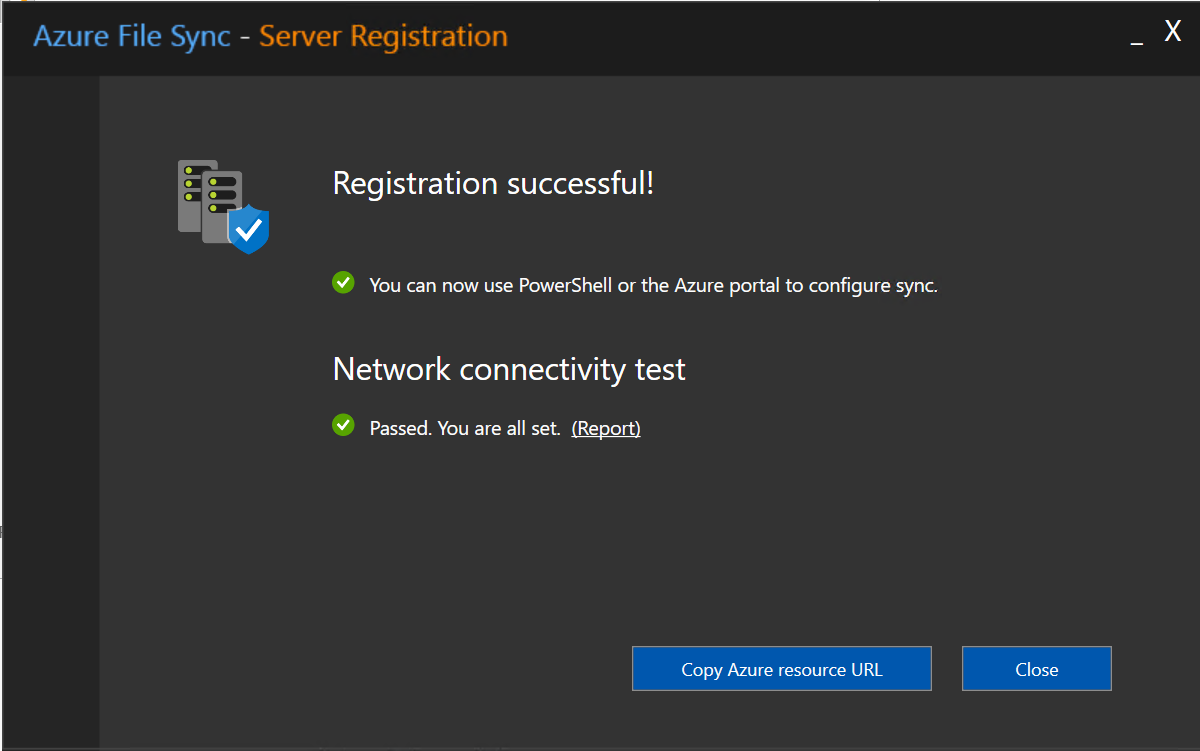
Leave your Remote Desktop connection open for the next exercise.
Add the server endpoint
On your local computer, sign in to the Azure portal.
Go to the CADFiles sync group you created earlier by going to Storage Sync Services > CADSyncService > Sync groups > CADFiles. Your CADFiles pane for your Sync group appears.
Select + Add server endpoint.
Enter the following values for each setting.
Setting Value Registered Server FileServerLocal Path D:\CADFolder 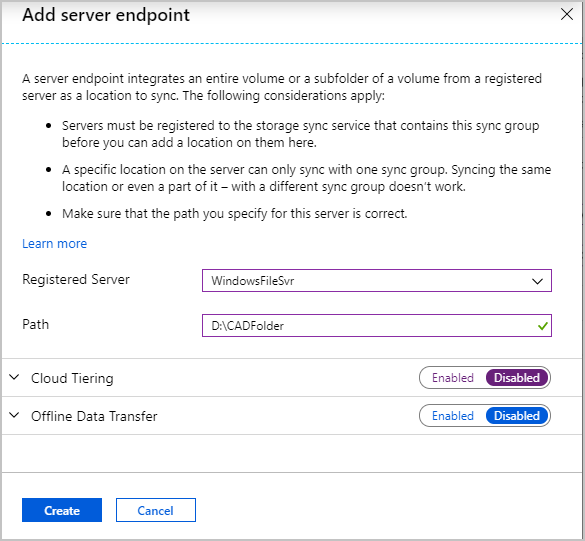
For Cloud Tiering, select Enabled.
Accept the defaults for the rest of the values.
Select Create.
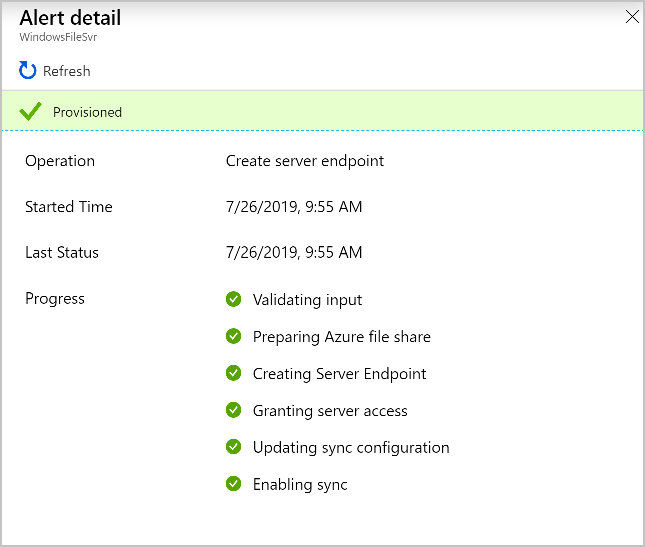
When the endpoint is created, the file sync process begins. This process might take a few minutes.