Basic expense entries
You can capture your expenses so that you can submit them to the approver:
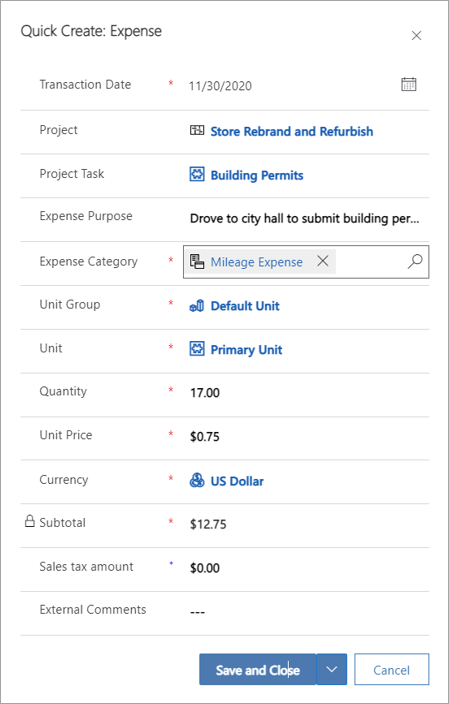
- Go to Expenses and then select New.
- On the New Expense page, enter the required expense information and then select Save.

Submit a basic expense
After you've finished capturing your expenses, and when you're ready to have them approved, you must submit them.
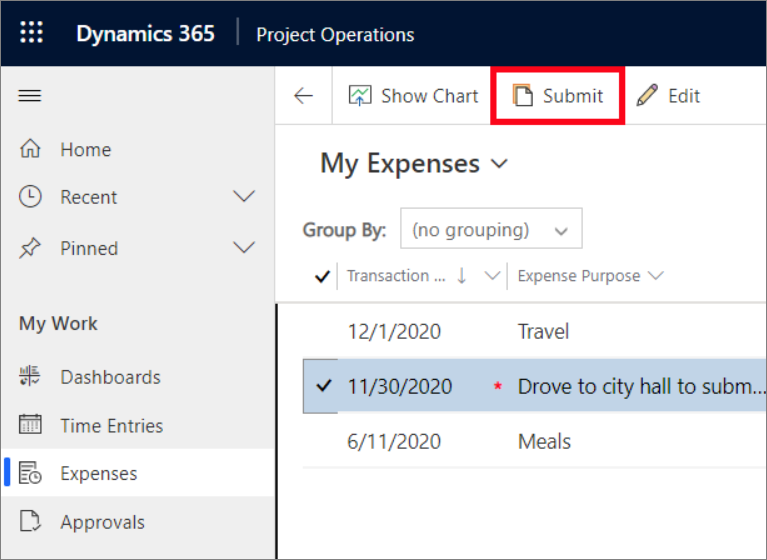
- Go to Expenses and select an expense, or you can select all expenses by using the check box on the header.
- Select Submit. The system processes the selected entries and then creates expense approval requests.

Add an attachment
You might have to provide the approver with additional documentation about your expense. You can attach a receipt in the timeline of the expense entry. Select Edit in the Timeline section and then select the paperclip icon to attach your receipt.
Recall an expense
When you submit an expense by mistake, you can recall it. The time that is required to recall an expense entry depends on its approval stage. If the approver hasn't yet approved the entry, the recall can occur immediately. However, if the entry has already been approved, the approver is asked to approve the recall and reverse the transactions.
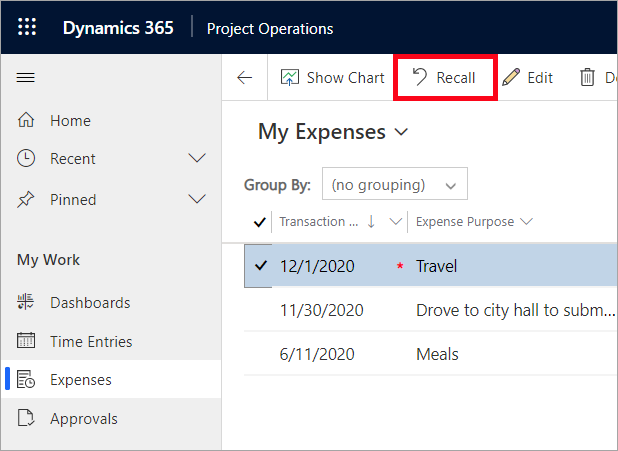
- Go to Expenses and then, in the list of expenses, select the expense to recall.
- Select Recall. If the expense entry hasn't yet been approved, the system immediately recalls it. If the expense entry has already been approved, a recall request is created to notify the approver that you want to reverse the expense. The approver will then confirm that the reversal can be done, and the entry will be returned.

Delete a basic expense
Expenses that haven't yet been submitted can be deleted. To delete an expense that has already been submitted, you must first recall it.
Approval
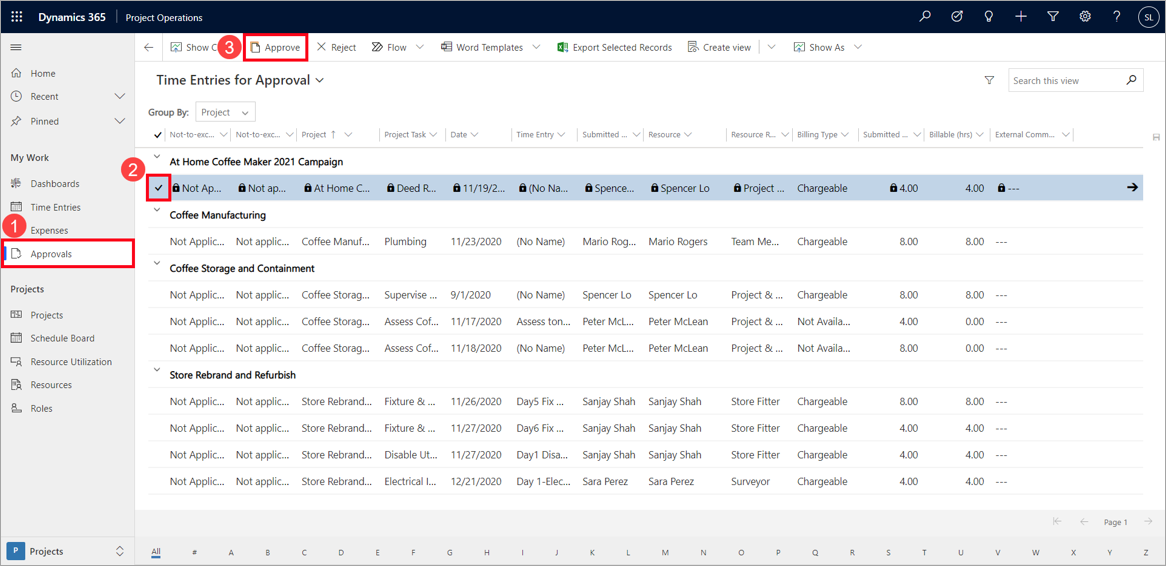
Depending on your organization's expense approval policies, more than one person might be required to approve a submitted expense report. When you set up the workflow process for expense report approval, you can add workflow elements that include tasks or steps for one or more expense report approvers.
For example, you might require that all expense reports be approved by two separate people: the manager of the employee who submitted the report and the Accounts payable coordinator.
If you decide to require multiple expense report approvers, you can add the workflow elements in any of the following ways:
Add one approval element that has one step. For example, the step might require that an expense report be assigned to a user group and that it be approved by 50 percent of the user group's members.
Add one approval element that has multiple steps. For example, the approval element might have the following steps:
The manager of the employee who submitted the expense report approves it.
The Accounts payable clerk verifies the receipts and the expense report items.
The budget owner approves the expense report.
Add multiple approval elements, each having one step. For example, you might add a separate approval element for each of the following steps:
The employee's manager approves the expense report.
The budget owner approves the expense report.
