Exercise - Manipulate 3D objects using bounds control
The ObjectManipulator script makes an object movable, scalable, and rotatable using one or two hands. This script supports the direct manipulation input model because it enables the user to touch holograms directly with their hands. Here, use ObjectManipulator to enable hand interactions so that you can move, scale, and rotate the rover explorer.
Additionally, you'll configure the Rover Explorer so that you can place the rover parts onto the Rover to make it a complete rover assembly. In the Hierarchy pane, expand the RoverExplorer > RoverParts object and select all its child rover part objects and the RoverAssembly object, then in the Inspector pane, use the Add Component button to add the following components to all the selected objects:
- Object Manipulator (Script) component
- Part Assembly Controller (Script) component
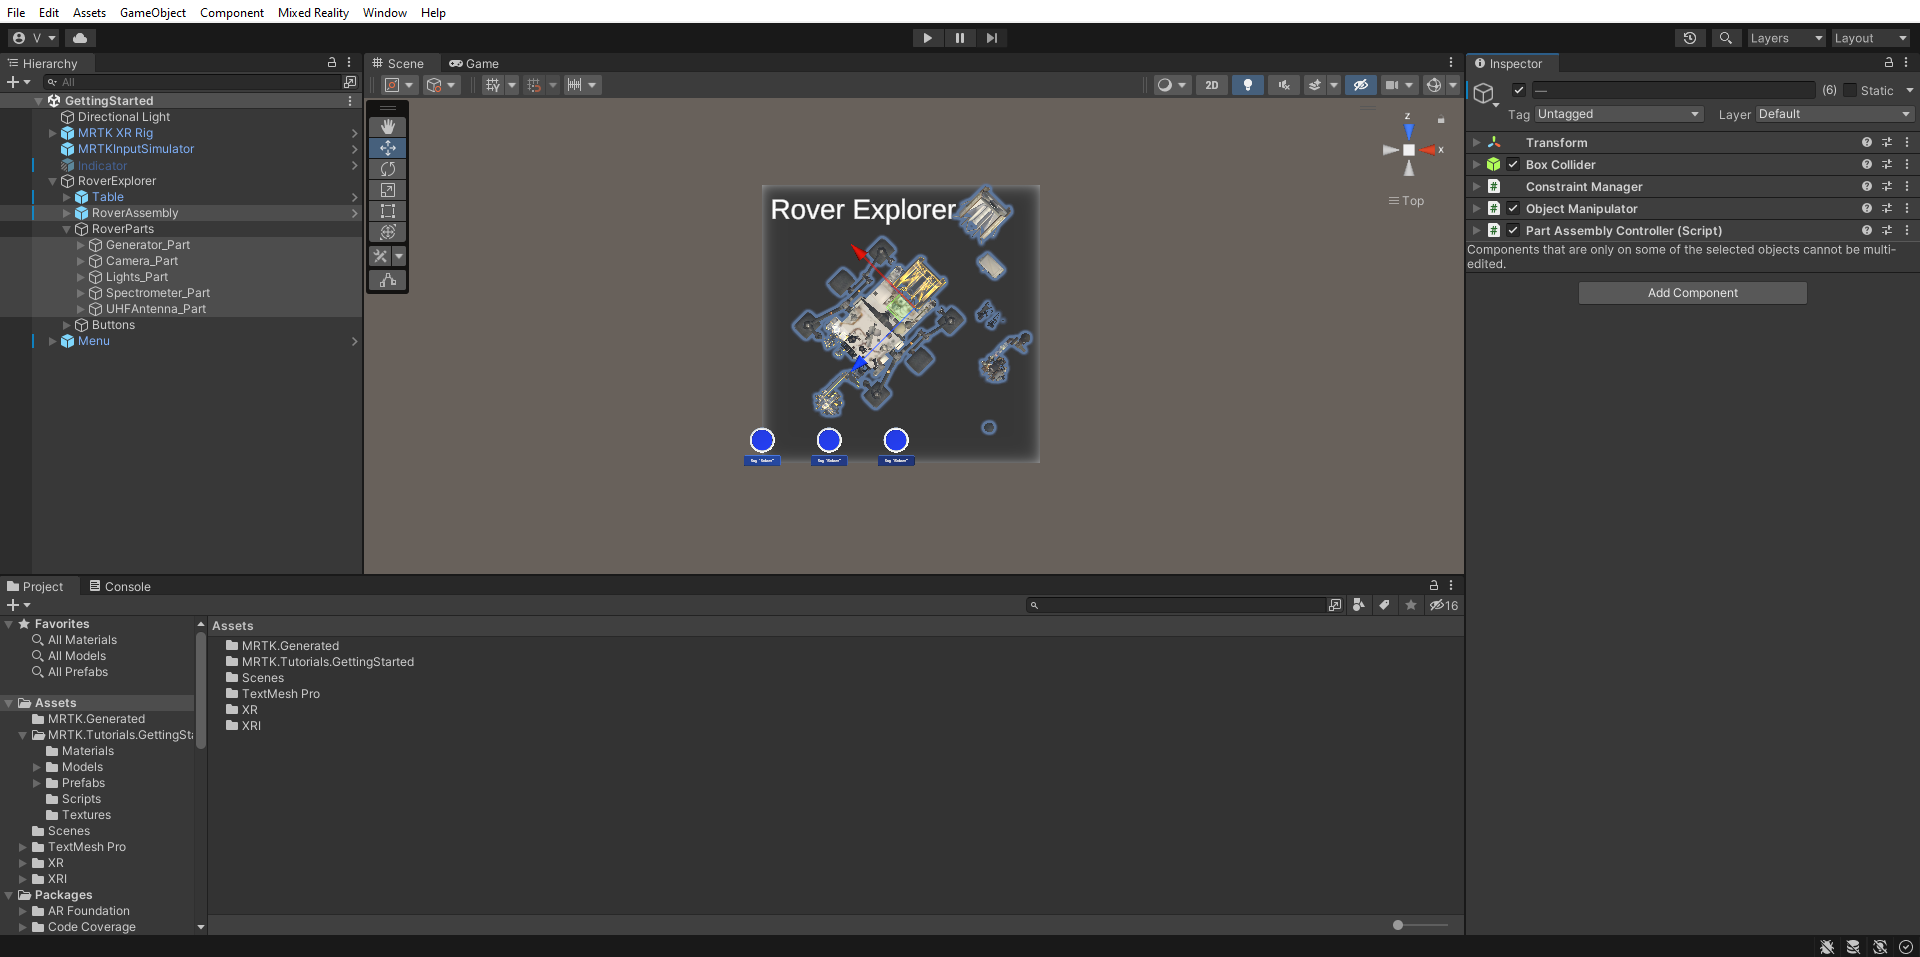
With all the rover part objects and the RoverAssembly object still selected, in the Inspector pane, configure the Object Manipulator (Script) component as follows:
Under Base Interactable Settings, locate the On Clicked () event. Select the + icon to add a new event. Configure the event as follows:
a. Assign the RoverAssembly object as a listener for the On Clicked () event, by dragging it from Hierarchy into the None (Object) field.
b. From the No Function dropdown list, select TapToPlace > StartPlacement() to call this method when the event is triggered.
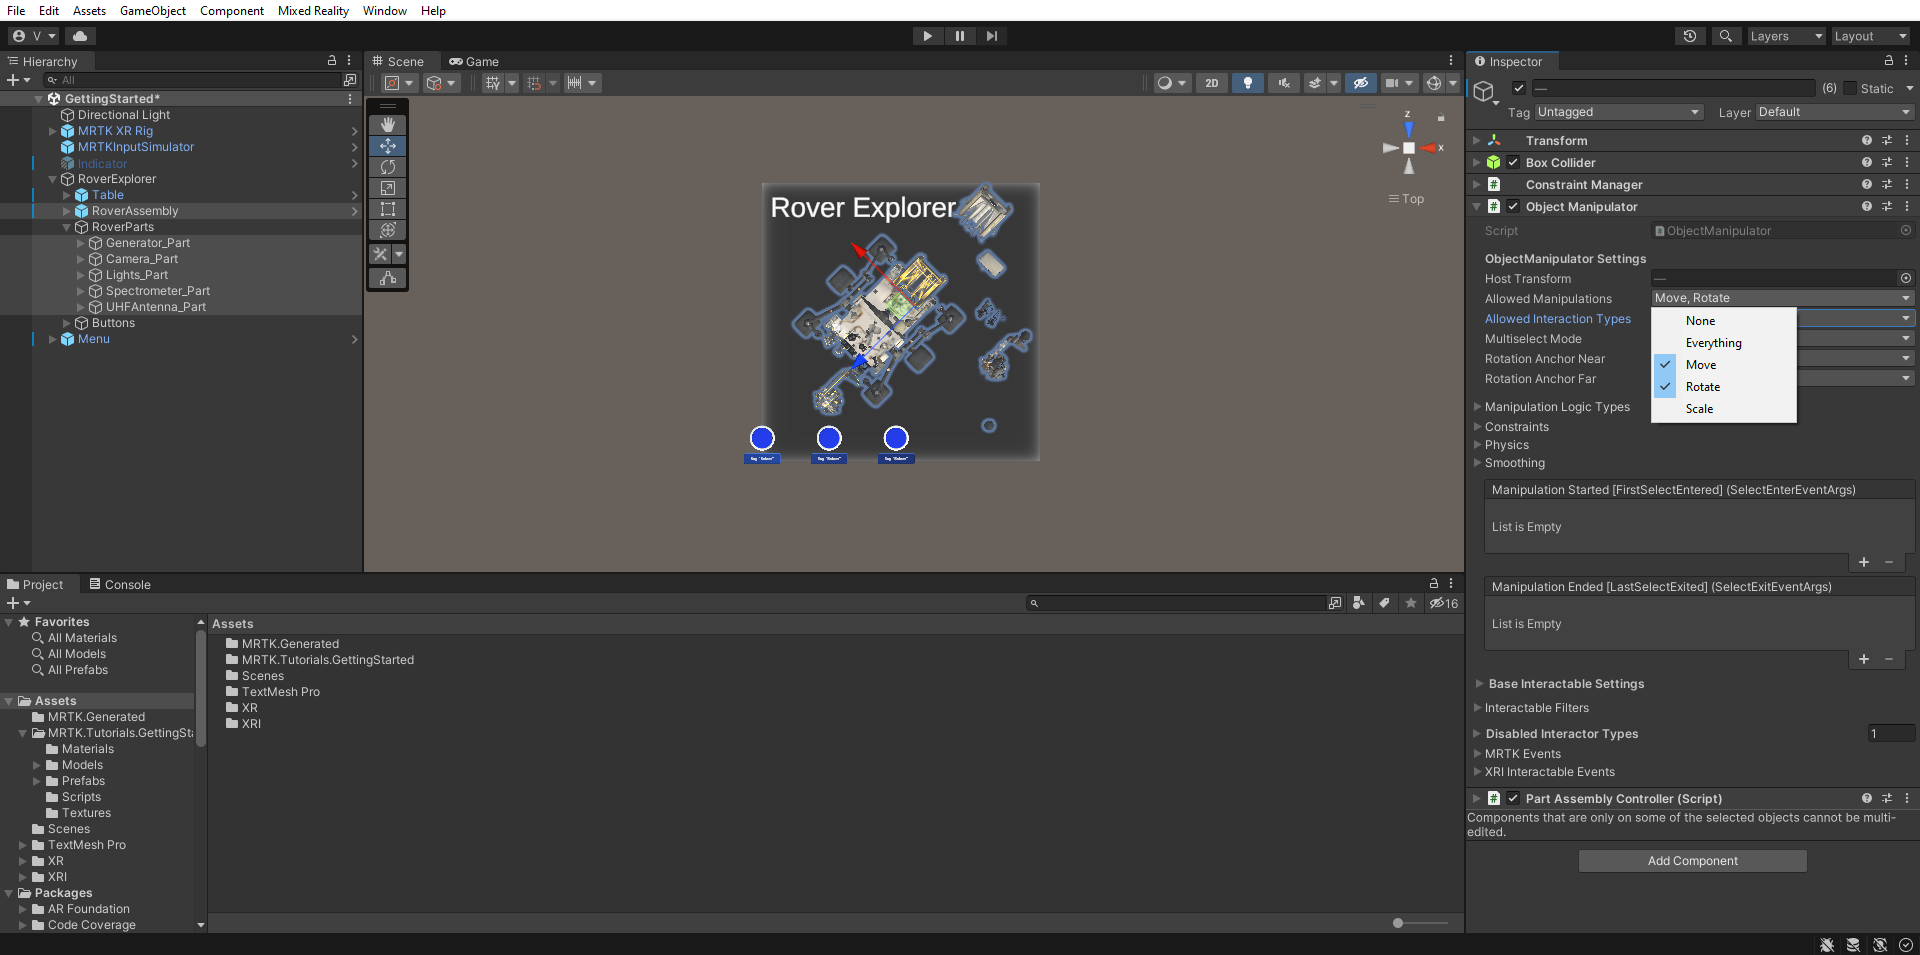
From the Allowed Manipulation Type dropdown list, clear the Scale checkbox, so only Move and Rotate are enabled:
Select only the RoverAssembly object and remove the Stateful Interactable component on it, if there is one. Select the three dots on the far right of the component, then select Remove Component.
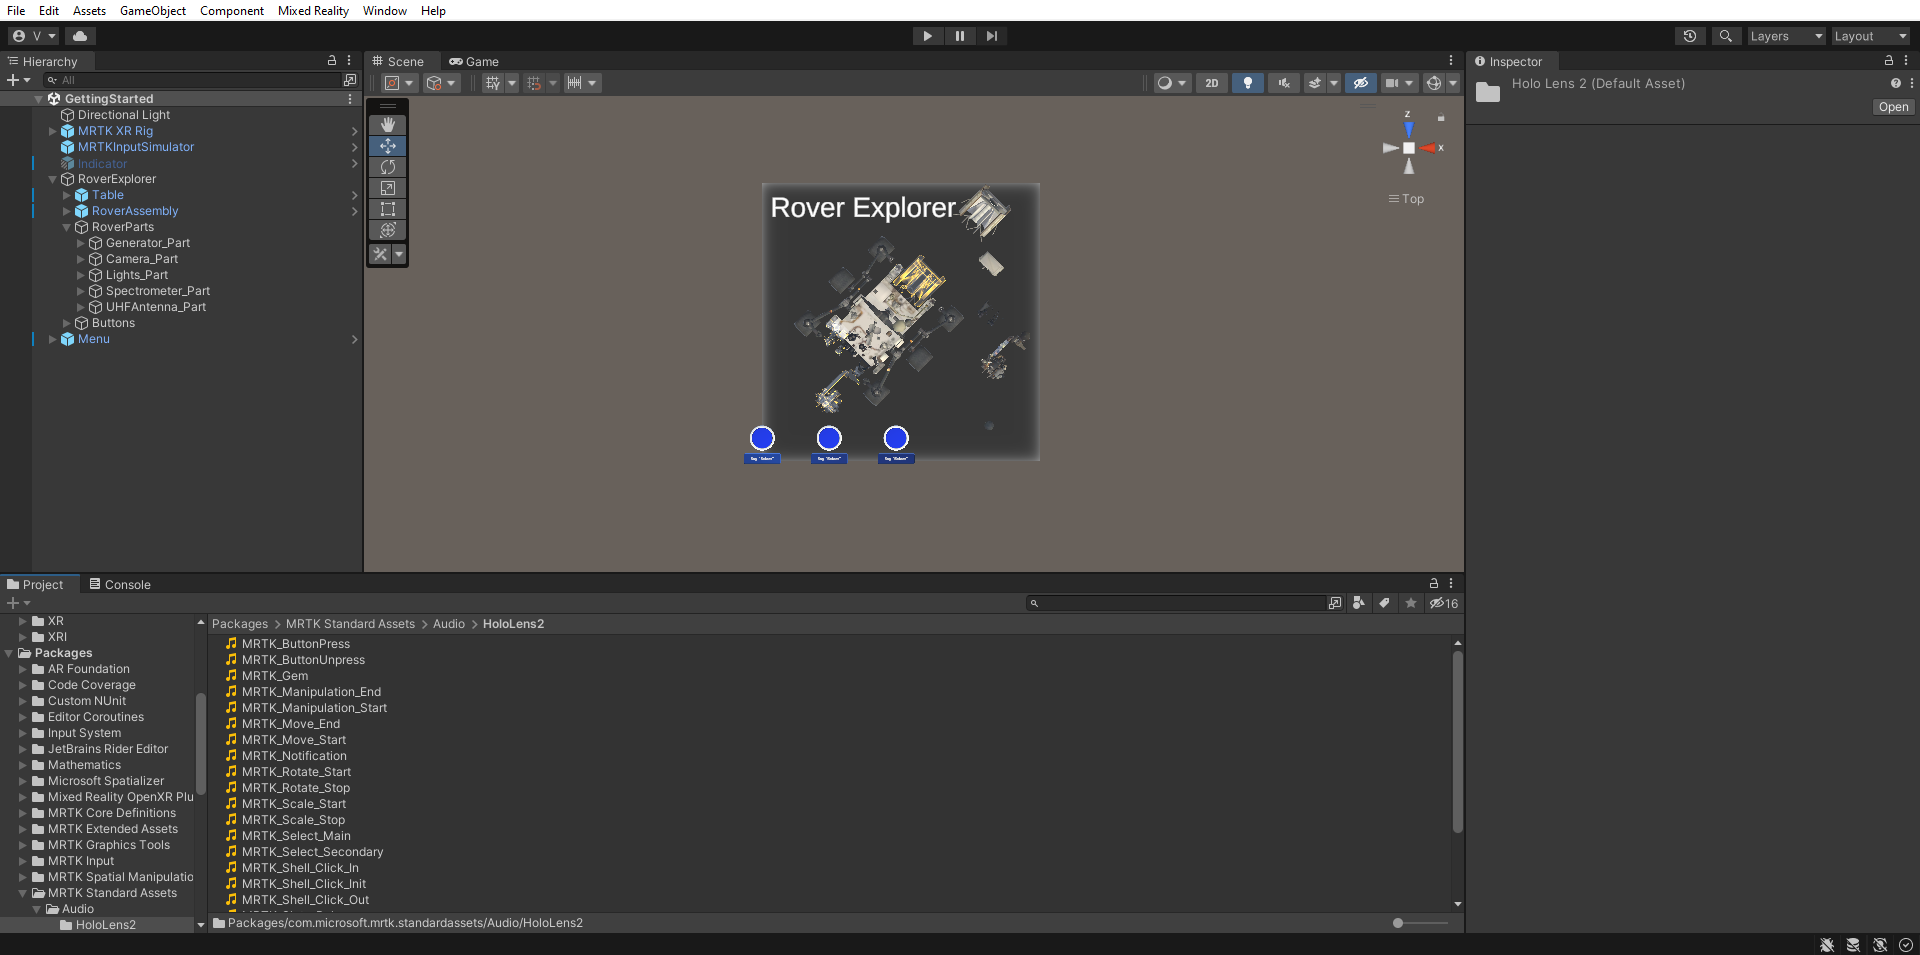
In the Project pane, navigate to Packages > MRTK Standard Assets > Audio > HoloLens2 folder to locate the audio clips:
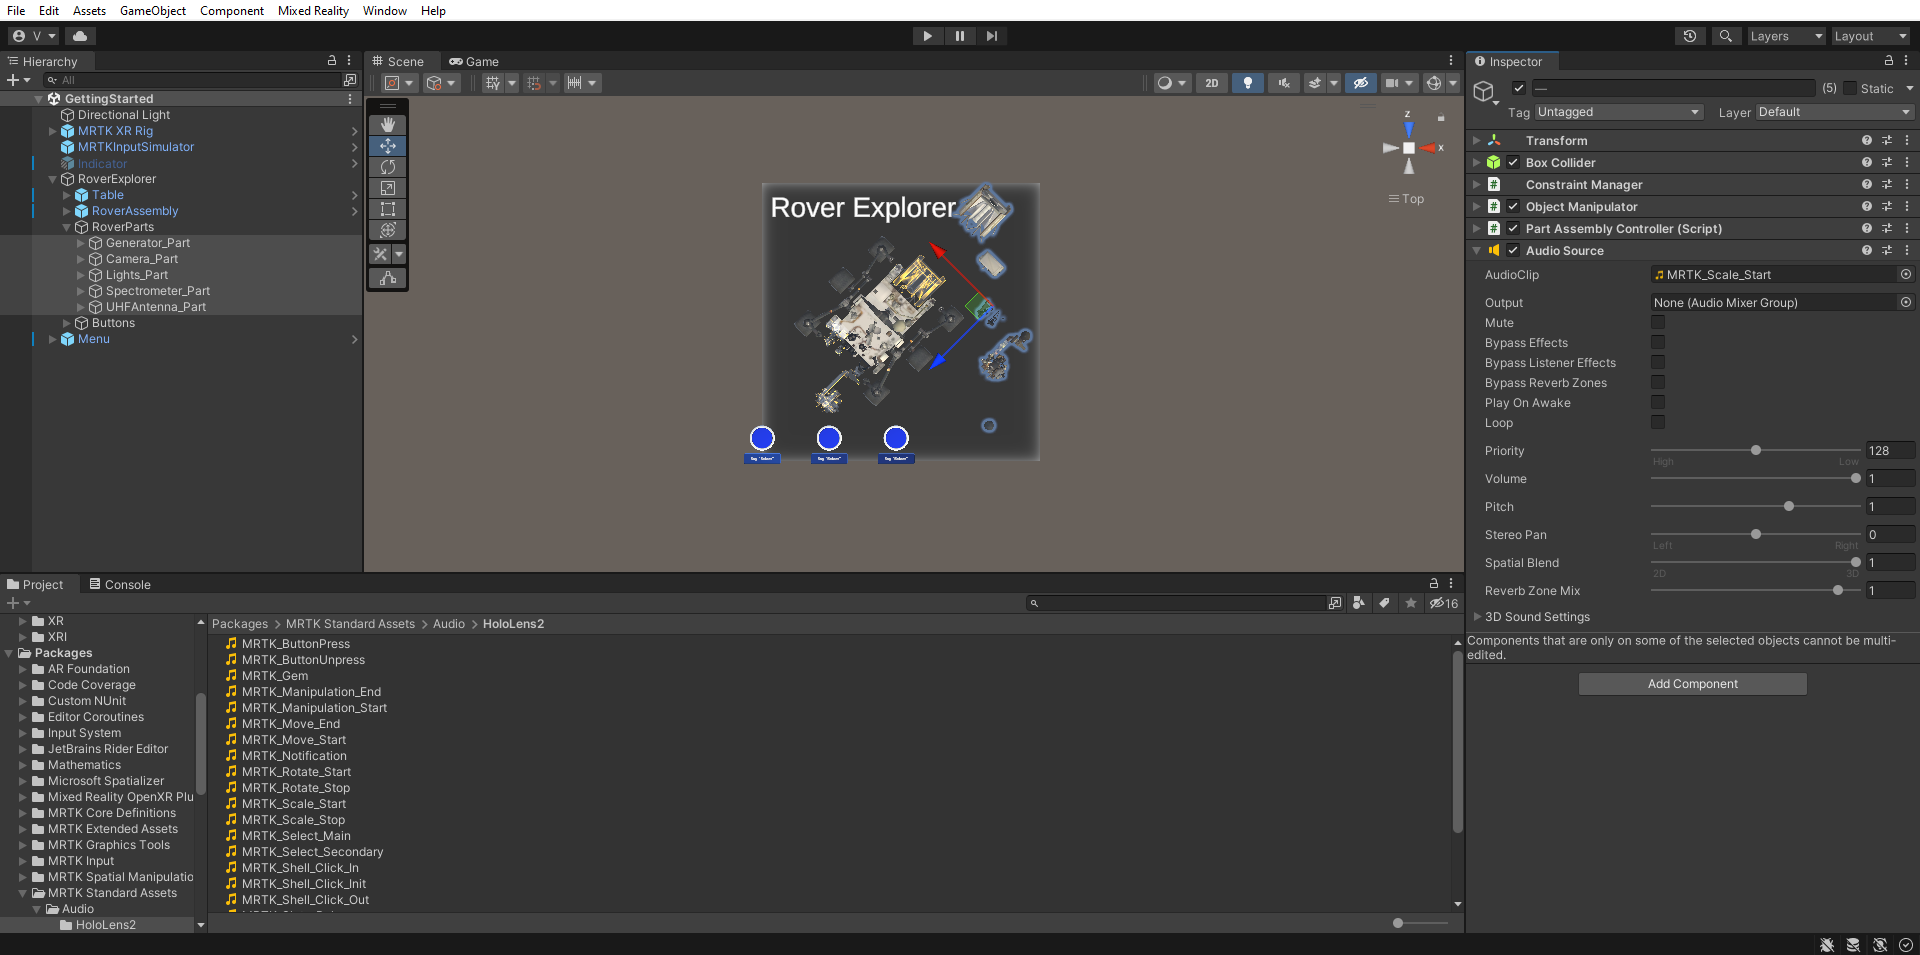
In the Hierarchy pane, reselect all the rover part objects, then in the Inspector pane, select Add Component to add the Audio Sources component and configure it as follows:
- Assign the MRTK_Scale_Start audio clip to the AudioClip field
- Uncheck the Play On Awake checkbox
- Change Spatial Blend to 1
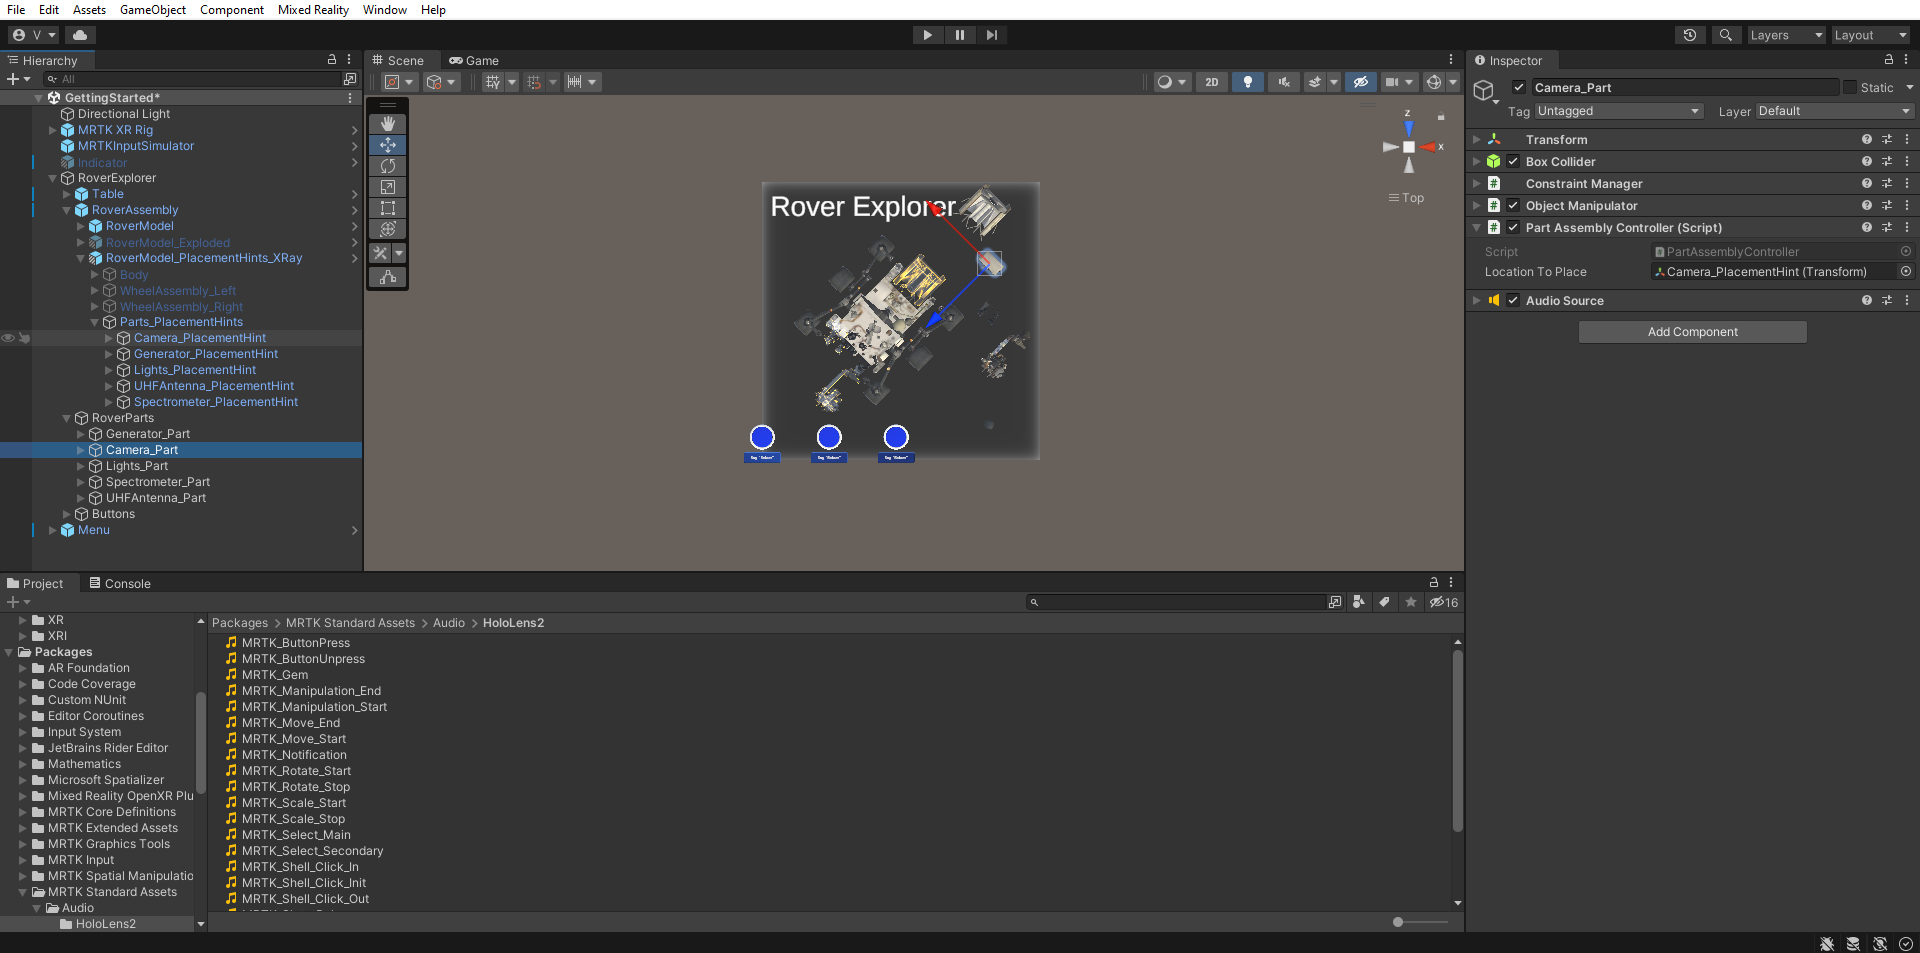
In the Hierarchy pane, expand the RoverAssembly > RoverModel_PlacementHints_XRay > Parts_PlacementHints object to reveal all of the placement hint objects, then select the first rover part, RoverParts > Camera_Part, and configure the Part Assembly Controller (Script) component as follows:
- Assign the Camera_PlacementHint object to the Location To Place field
Repeat step 5 for each of the remaining rover part objects and the RoverAssembly object to configure the Part Assembly Controller (Script) component as follows:
- For the Generator_Part, assign the Generator_PlacementHint object to the Location To Place field
- For the Lights_Part, assign the Lights_PlacementHint object to the Location To Place field
- For the UHFAntenna_Part, assign the UHFAntenna_PlacementHint object to the Location To Place field
- For the Spectrometer_Part, assign the Spectrometer_PlacementHint object to the Location To Place field
- For the RoverAssembly, assign the object itself, that is, the same RoverAssembly object, to the Location To Place field
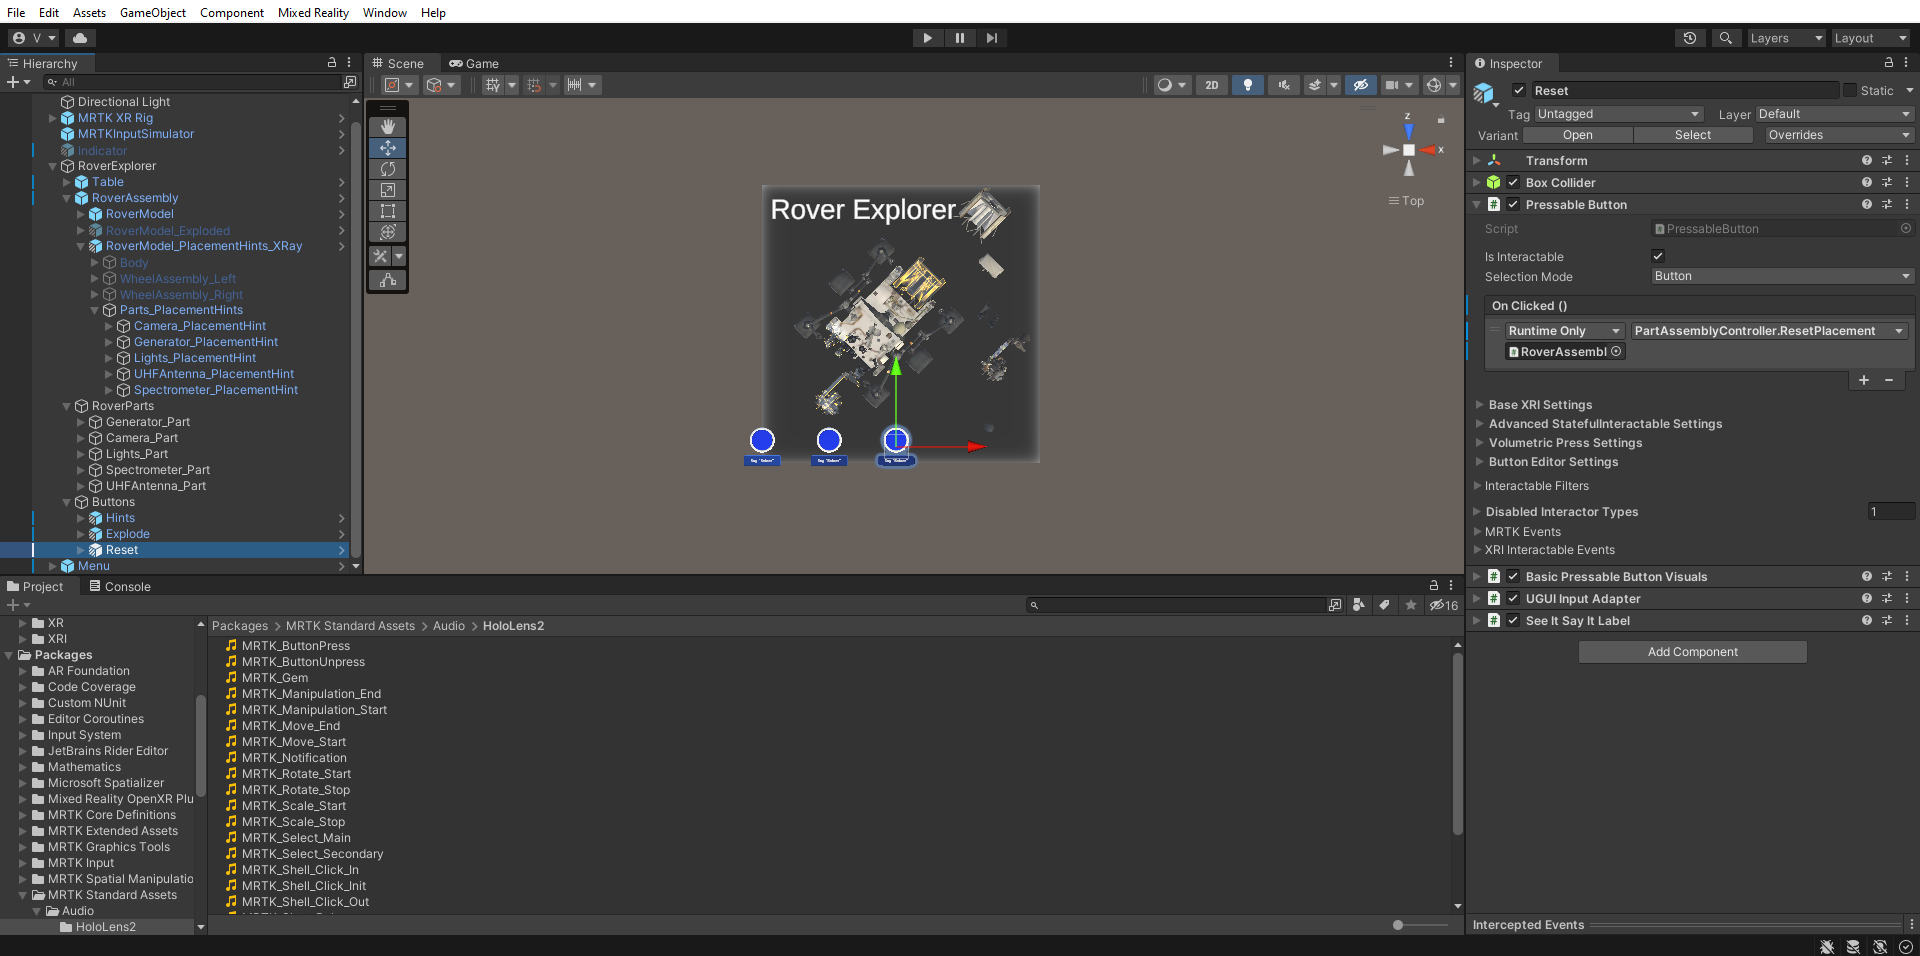
In the Hierarchy pane, select the RoverExplorer > Buttons > Reset button object, then in the Inspector pane, configure the PressableButton OnClicked () event as follows:
- Assign the RoverAssembly object to the None (Object) field
- From the No Function dropdown list, select PartAssemblyController > ResetPlacement () to set this function as the action to be run when the event is triggered
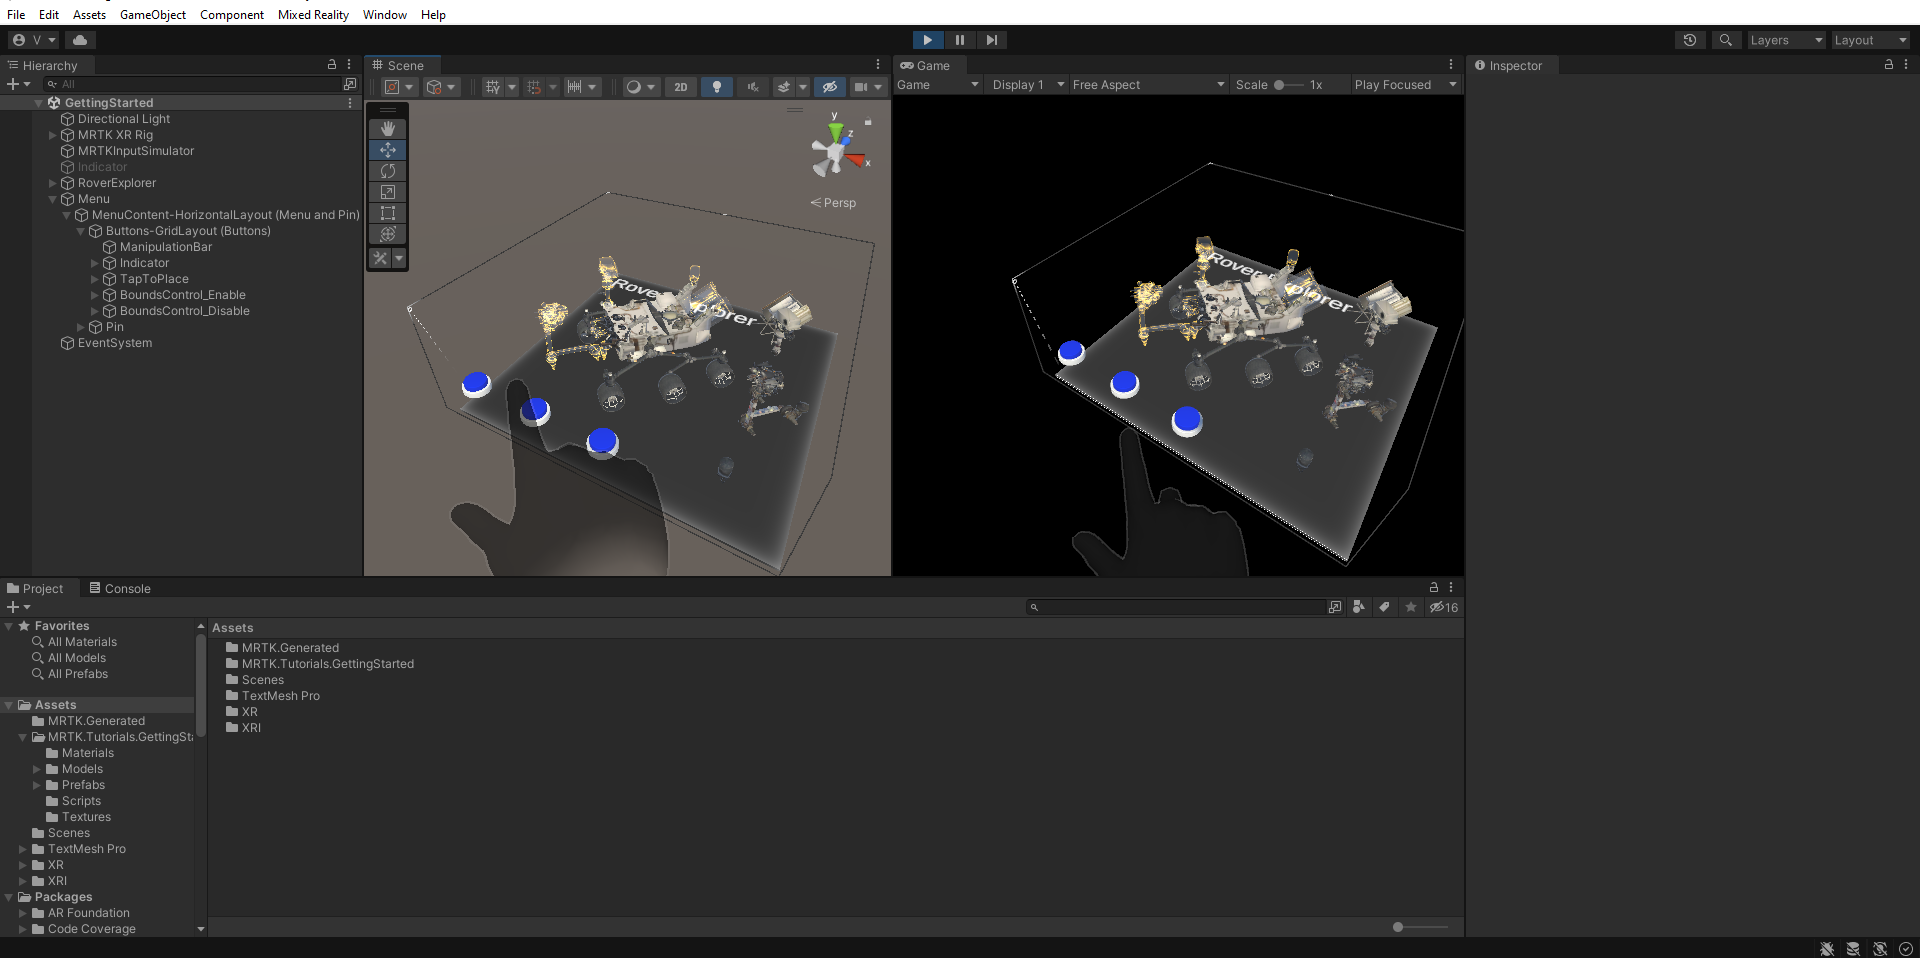
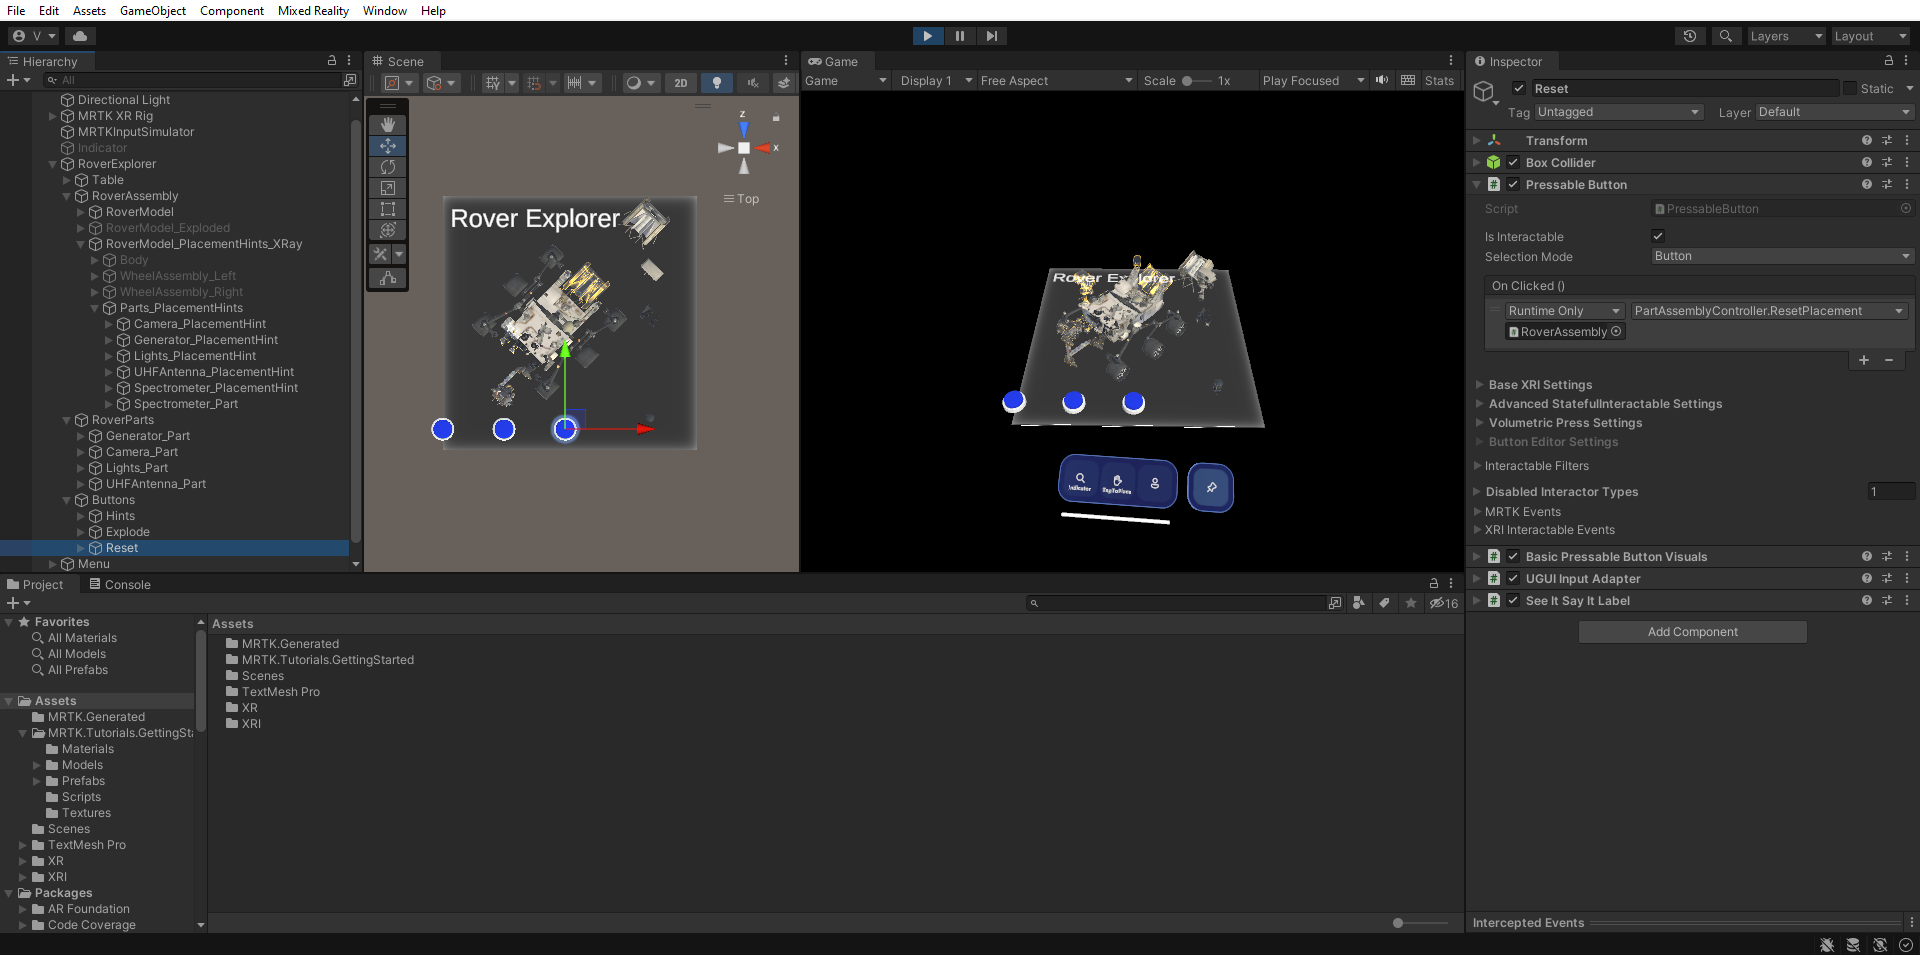
If you now enter Game mode, you can use near or far interaction to place the rover parts onto the Rover. Once the part is close to the corresponding placement hint, it will snap into place and become part of the Rover. To reset the placements, you can press the Reset button:


Add bounds control
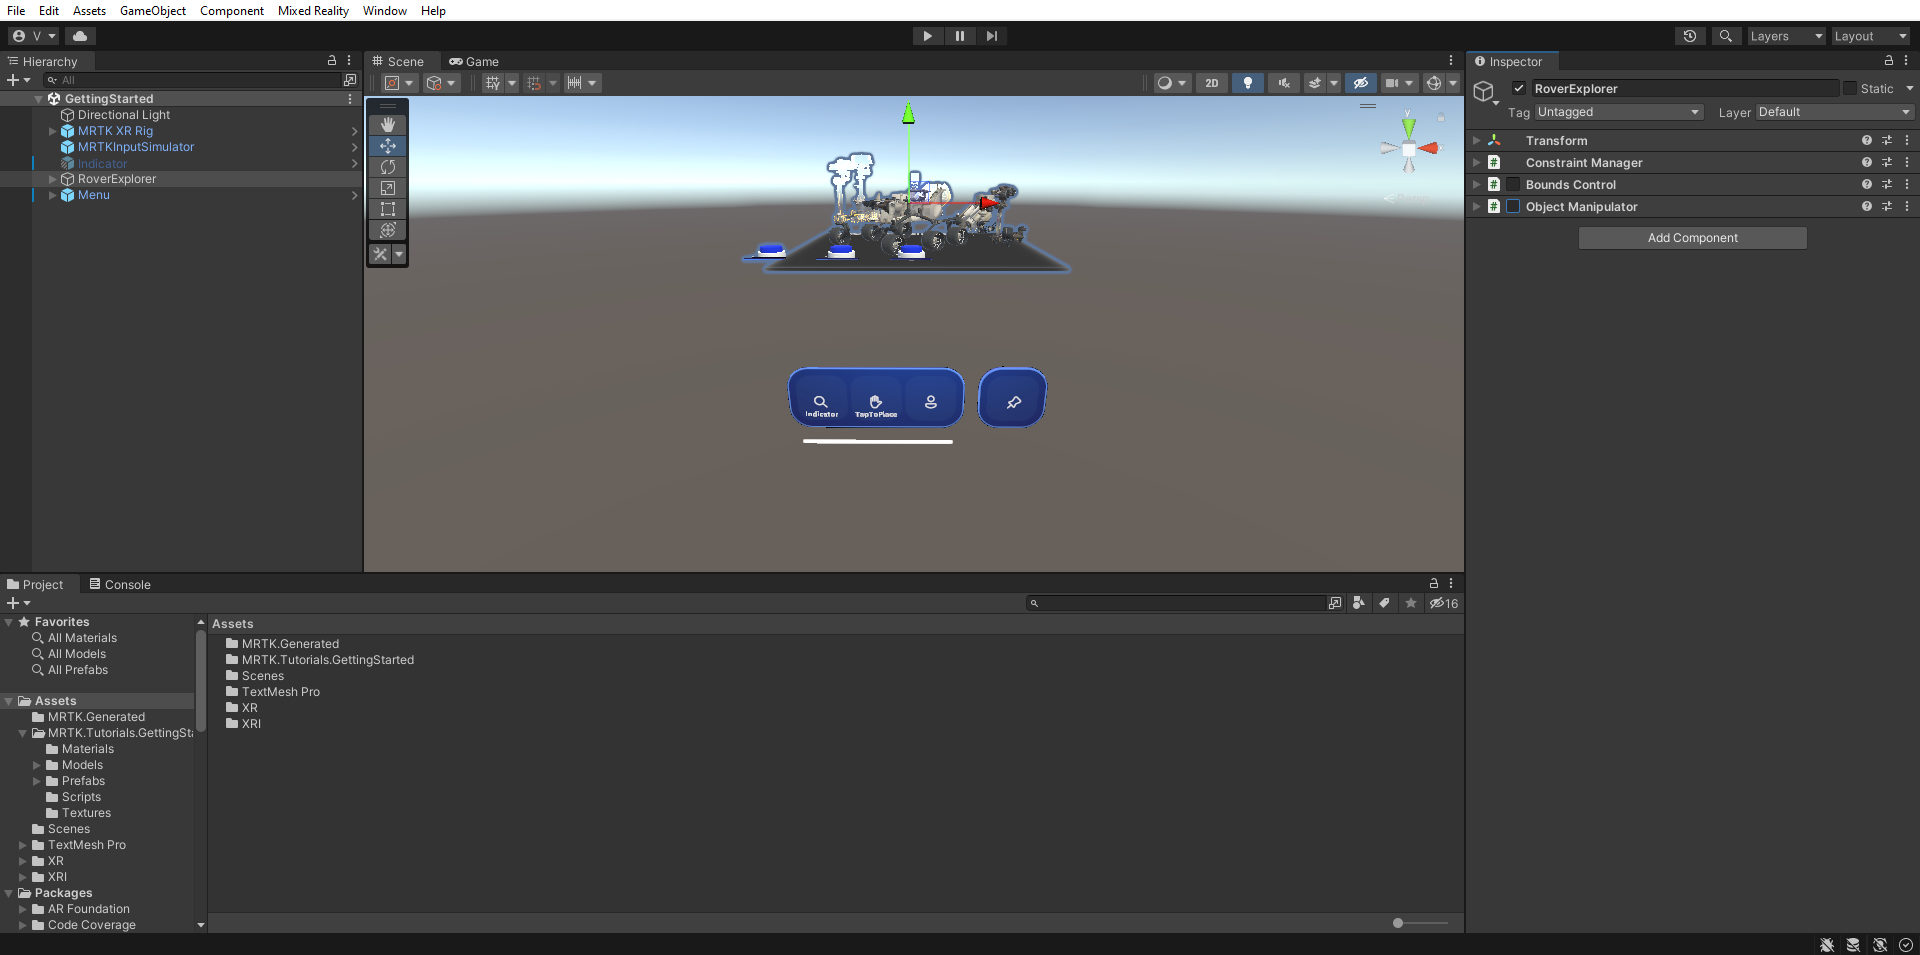
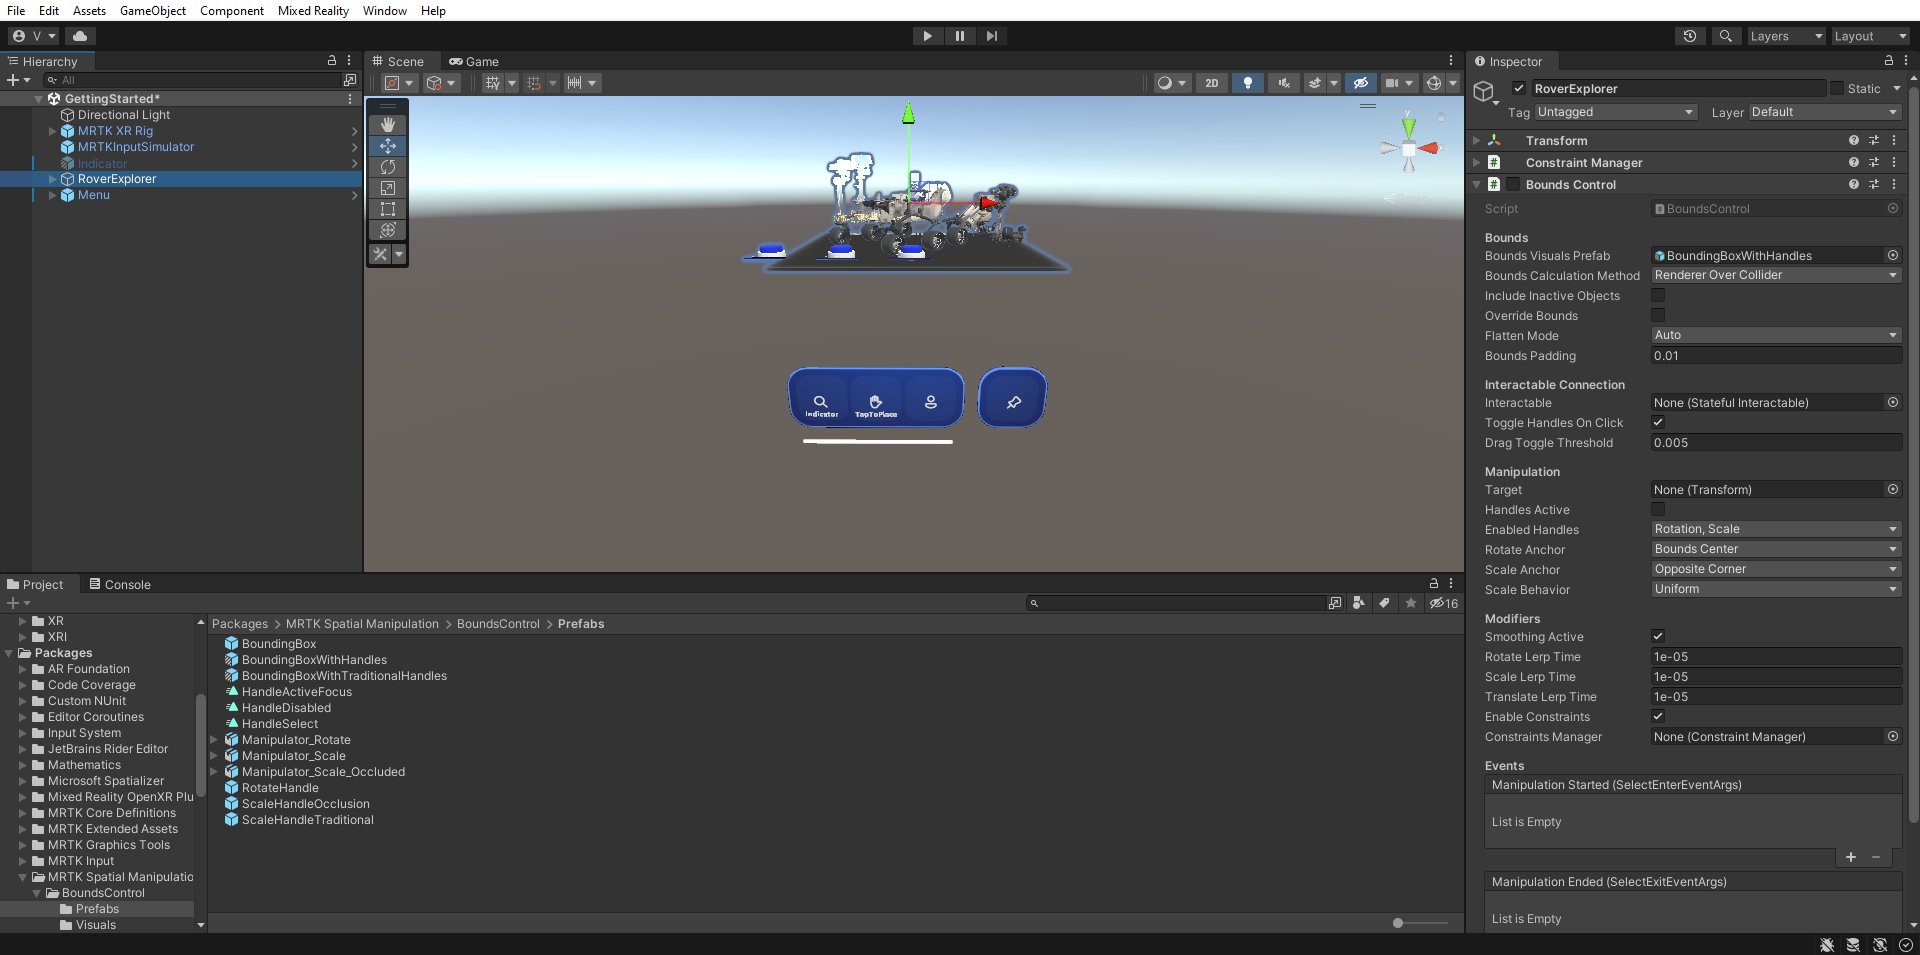
In the Hierarchy window, select the RoverExplorer object, then in the Inspector window, use the Add Component button to add the BoundsControl component. Uncheck the checkbox next to the component to disable it by default:
In the Project window, navigate to the Packages > MRTK Spatial Manipulation > BoundsControl > Prefabs folder, click-and-drag the BoundingBoxWithHandles prefab the Bounds Visuals Prefab field of the Bounds Control component.
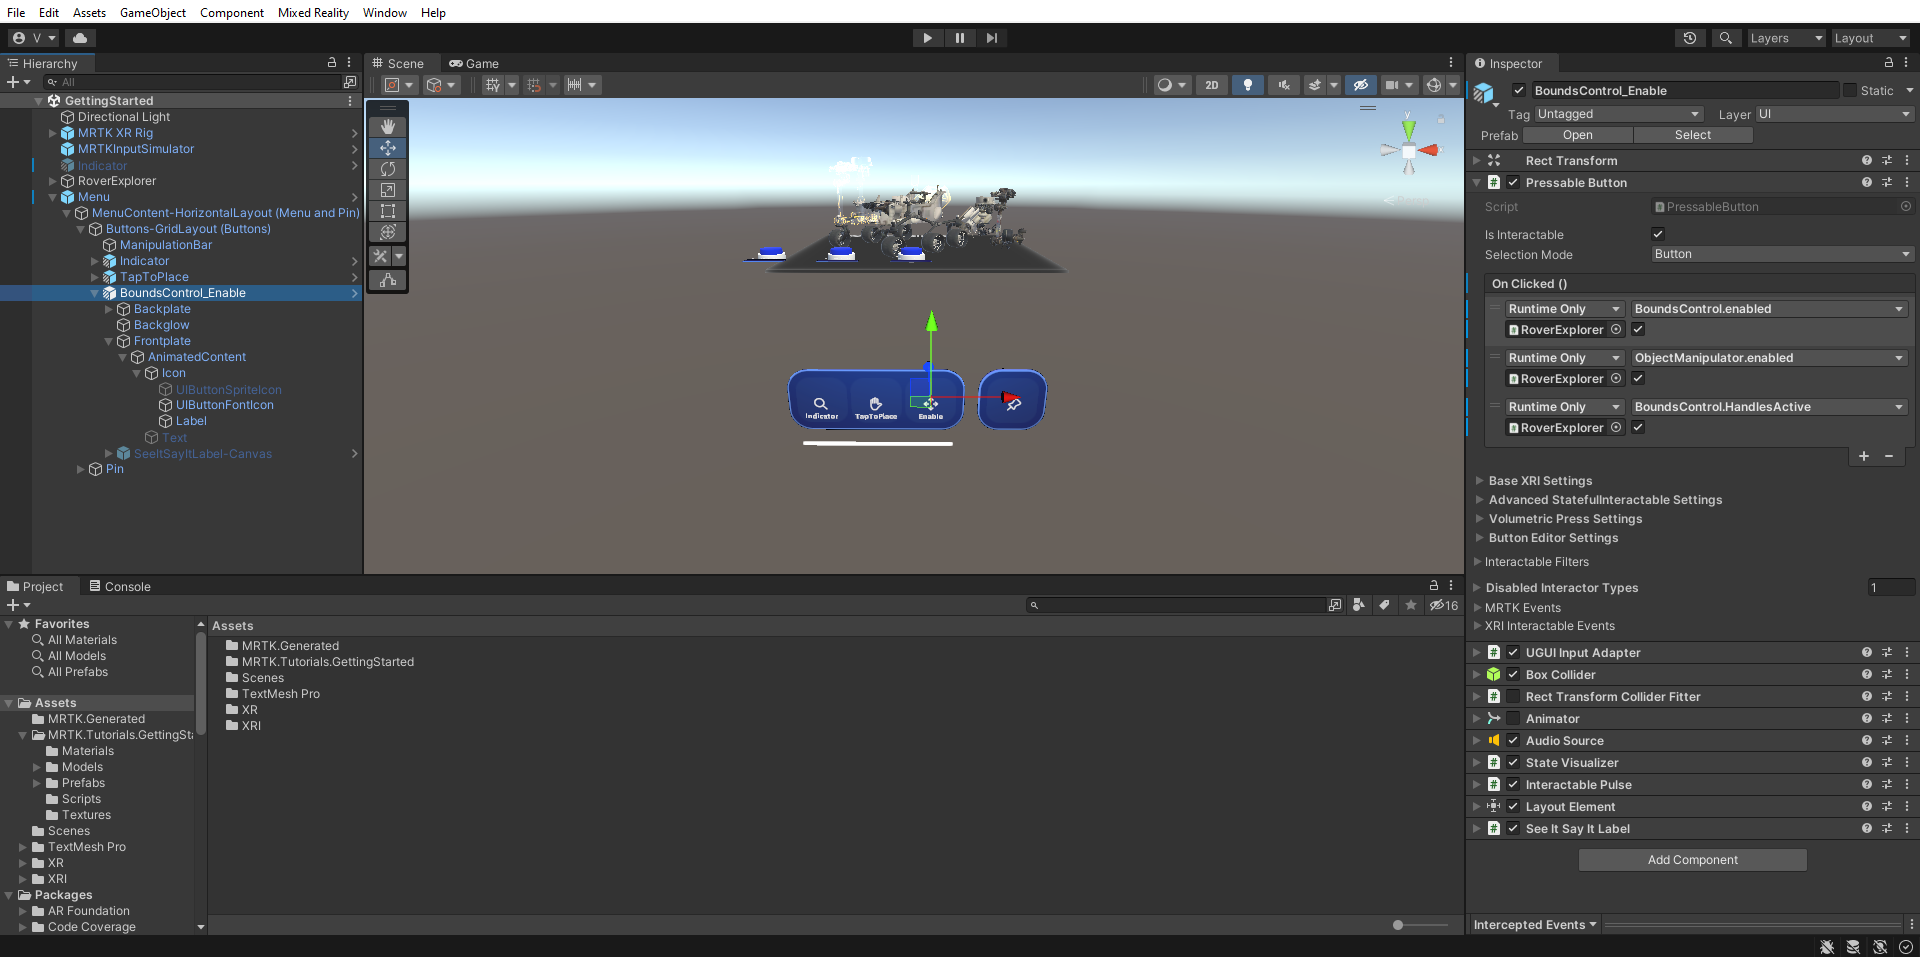
In the Hierarchy pane, expand the Menu > Buttons-GridLayout (Buttons) object to reveal the three buttons, rename the third button to BoundsControl_Enable, and then in the Hierarchy window, configure the BoundsControl_Enable game object as follows:
- Select the Frontplate > AnimatedContent > Icon > Label object and change the TextMeshPro component to Enable. Make sure the Label object is activated in the hierarchy
- Configure the PressableButton.OnClicked() event by assigning the RoverExplorer object to the None (Object) field and selecting BoundsControl > bool Enabled from the No Function dropdown (verify that the argument checkbox is checked)
- Select the small + icon to add another event
- Assign the RoverExplorer object to the None (Object) field
- From the No Function dropdown list, select ObjectManipulator > bool Enabled to update this property value when the event is triggered and verify that the argument checkbox is checked
- Select the small + icon to add another event
- Assign the RoverExplorer object to the None (Object) field
- From the No Function dropdown list, select BoundsControl > bool HandlesActive to update this property value when the event is triggered and verify that the argument checkbox is checked
- Select the Frontplate > AnimatedContent > Icon > UIButtonFontIcon object and change the Icon to the four arrows icon on the Font Icon Selector component. You can find this in the list of icons, or set ** Current Icon Name** to 'Icon 40'
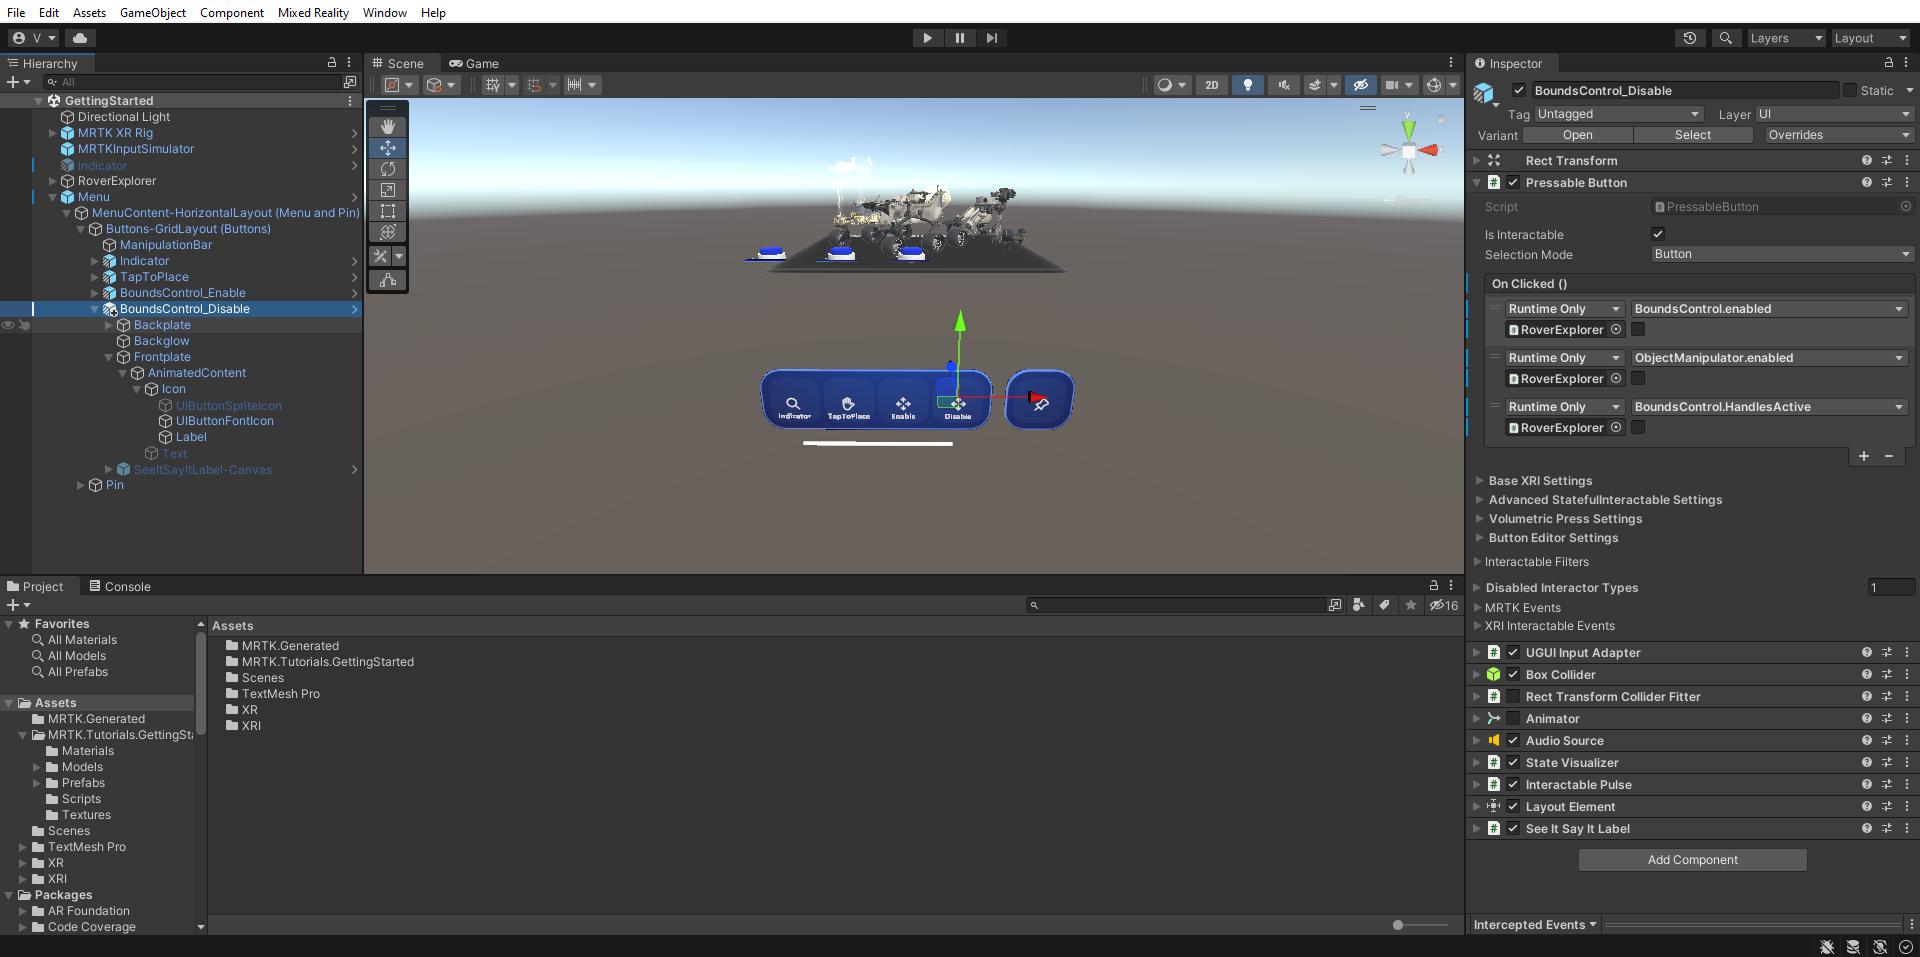
Duplicate the BoundsControl_Enable button and rename it to BoundsControl_Disable, and then in the Inspector pane, configure the Button Config Helper (Script) component as follows:
- Select the Frontplate > AnimatedContent > Icon > Label object and change the TextMeshPro component to Disable
- Configure the PressableButton.OnClicked() event by making sure all of the checkboxes under the events are unchecked
If you now enter Game mode and select Enable to enable Bounds Control, you can use near or far interaction to move, rotate, and scale Bounds Control, and select Disable to disable the Bounds Control again: