Create, assign, and interpret security policies and initiatives in Azure Policy
When it comes to securing your Azure environment, you’ll encounter two essential tools: Azure Security Policies and Azure Security Initiatives. Both play critical roles in maintaining compliance, but they serve different purposes. Let’s break down their features and use cases.
Azure Security Policies:
Definition: Azure Policy is like a diligent guardian that ensures your resources adhere to specific rules. It allows you to define and enforce policies across your Azure environment.
Components:
- Policy Definition: Specifies the conditions you want to control (e.g., resource types allowed, mandatory tags).
- Policy Assignment: Determines where the policy takes effect (individual resources, resource groups, management groups).
- Policy Parameters: Customizes policy behavior (e.g., Virtual Machine Stock Keeping Units, location).
Use Cases:
- Enforcing specific rules consistently.
- Ensuring uniform tagging.
- Controlling resource types.
Azure Security Initiatives:
Definition: Think of Azure Initiatives as policy bundles. They group related Azure policy definitions together for a specific purpose.
Components:
- Definitions (Policies): A collection of policies bundled into a single item.
- Assignment: Initiatives are applied to a scope (e.g., subscription, resource group).
- Parameters: Customize initiative behavior.
Use Cases:
- Achieving broader compliance goals (e.g., Payment Card Industry Data Security Standard, Health Insurance Portability and Accountability Act).
- Managing related policies cohesively.
When to Use Which:
Azure Policy:
- Use it for individual policies when specific rules need enforcement.
- Sometimes a single policy suffices.
Azure Initiatives:
- Recommended even for a single policy because it simplifies management.
- Initiatives allow you to manage multiple policies as a cohesive unit.
- Example: Instead of handling 20 separate policies for PCI-DSS compliance, use an initiative that evaluates them all simultaneously.
Azure Security Policies focus on granular control, while Azure Security Initiatives provide a consolidated approach. Choose wisely based on your organization’s needs and compliance complexity. Both are essential tools in your Azure security toolbox.
Create and manage policies to enforce compliance
Understanding how to create and manage policies in Azure is important for staying compliant with your corporate standards and service-level agreements. In this example, you learn to use Azure Policy to do some of the more common tasks related to creating, assigning, and managing policies across your organization, such as:
- Assign a policy to enforce a condition for resources you create in the future
- Create and assign an initiative definition to track compliance for multiple resources
- Resolve a non-compliant or denied resource
- Implement a new policy across an organization
Prerequisites
If you don't have an Azure subscription, create a free account before you begin.
Assign a policy
The first step in enforcing compliance with Azure Policy is to assign a policy definition. A policy definition defines under what condition a policy is enforced and what effect to take. In this example, assign the built-in policy definition called Inherit a tag from the resource group if missing adding the specified tag with its value from the parent resource group to new or updated resources missing the tag.
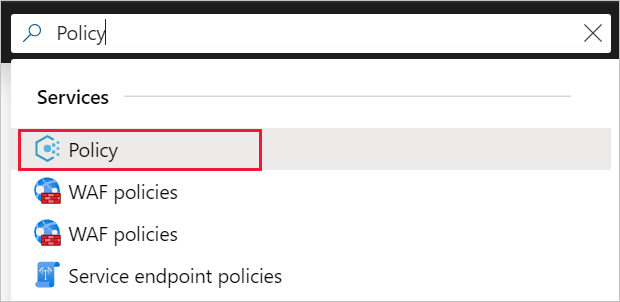
- Go to the Azure portal, to assign policies. Search for and select Policy.
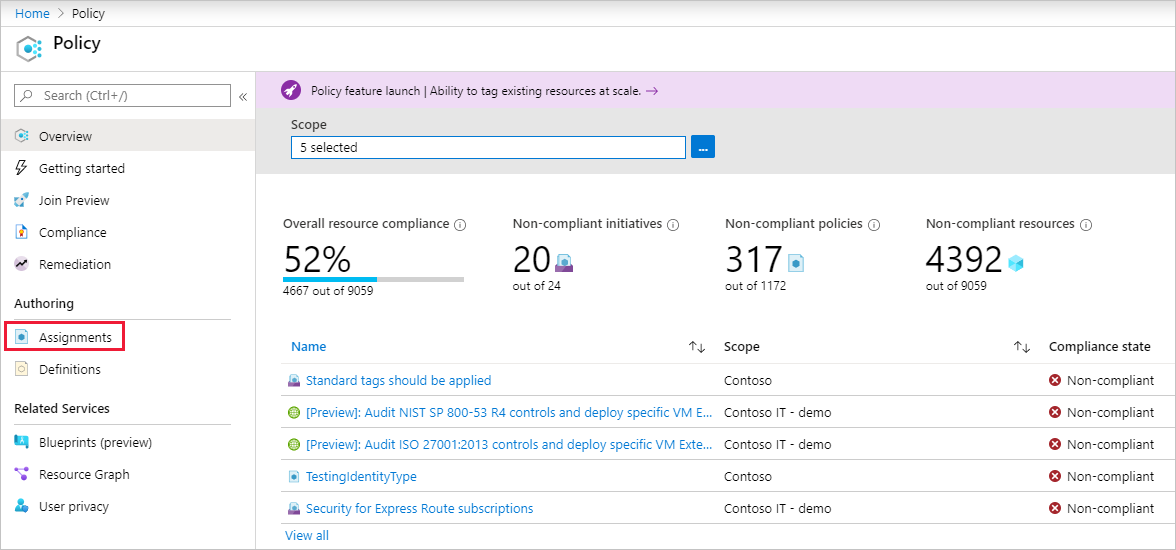
- Select Assignments on the left side of the Azure Policy page. An assignment is a policy that has been assigned to take place within a specific scope.
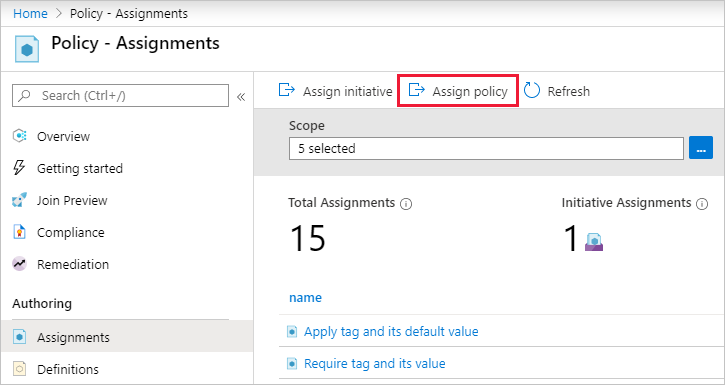
- Select Assign Policy from the top of the Policy - Assignments page.
- On the Assign Policy page and Basics tab, select the Scope by selecting the ellipsis and selecting either a management group or subscription. Optionally, select a resource group. A scope determines what resources or grouping of resources the policy assignment gets enforced on. Then click Select at the bottom of the Scope page. This example uses the Contoso subscription. Your subscription will differ.
- Resources can be excluded based on the Scope. Exclusions start at one level lower than the level of the Scope. Exclusions are optional, so leave it blank for now.
- Select the Policy definition ellipsis to open the list of available definitions. You can filter the policy definition Type to Built in to view all and read their descriptions.
- Select Inherit a tag from the resource group if missing. If you can't find it right away, type inherit a tag into the search box and then press ENTER or select out of the search box. Click Select at the bottom of the AvailableDefinitions page once you have found and selected the policy definition.

- The Assignment name is automatically populated with the policy name you selected, but you can change it. For this example, leave Inherit a tag from the resource group if missing. You can also add an optional Description. The description provides details about this policy assignment.
- Leave Policy enforcement as Enabled. When Disabled, this setting allows testing the outcome of the policy without triggering the effect. For more information, see enforcement mode.
- Assigned by is automatically filled based on who is logged in. This field is optional, so custom values can be entered.
- Select the Parameters tab at the top of the wizard.
- For Tag Name, enter Environment.
- Select the Remediation tab at the top of the wizard.
- Leave Create a remediation task unchecked. This box allows you to create a task to alter existing resources in addition to new or updated resources.
- Create a Managed Identity is automatically checked since this policy definition uses the modify effect. Permissions is set to Contributor automatically based on the policy definition. For more information, see managed identities and how remediation access control works.
- Select the Non-compliance messages tab at the top of the wizard.
- Set the Non-compliance message to This resource doesn't have the required tag. This custom message is displayed when a resource is denied or for non-compliant resources during regular evaluation.
- Select the Review + create tab at the top of the wizard.
- Review your selections, then select Create at the bottom of the page.