Configure Microsoft Defender for Containers components
Microsoft Defender for Containers is the cloud-native solution for securing your containers.
Defender for Containers protects your clusters whether they're running in:
- Azure Kubernetes Service (AKS) - Microsoft's managed service for developing, deploying, and managing containerized applications.
- Amazon Elastic Kubernetes Service (EKS) in a connected Amazon Web Services (AWS) account - Amazon's managed service for running Kubernetes on AWS without needing to install, operate, and maintain your own Kubernetes control plane or nodes.
- Google Kubernetes Engine (GKE) in a connected Google Cloud Platform (GCP) project - Google’s managed environment for deploying, managing, and scaling applications using GCP infrastructure.
- Other Kubernetes distributions (using Azure Arc-enabled Kubernetes) - Cloud Native Computing Foundation (CNCF) certified Kubernetes clusters hosted on-premises or on IaaS.
Network requirements
Validate the following endpoints are configured for outbound access so that the Defender agent can connect to Microsoft Defender for Cloud to send security data and events:
- Validate fully qualified domain name (FQDN)/application rules for Microsoft Defender for Containers.
- By default, AKS clusters have unrestricted outbound (egress) internet access.
Enable the plan
To enable the plan:
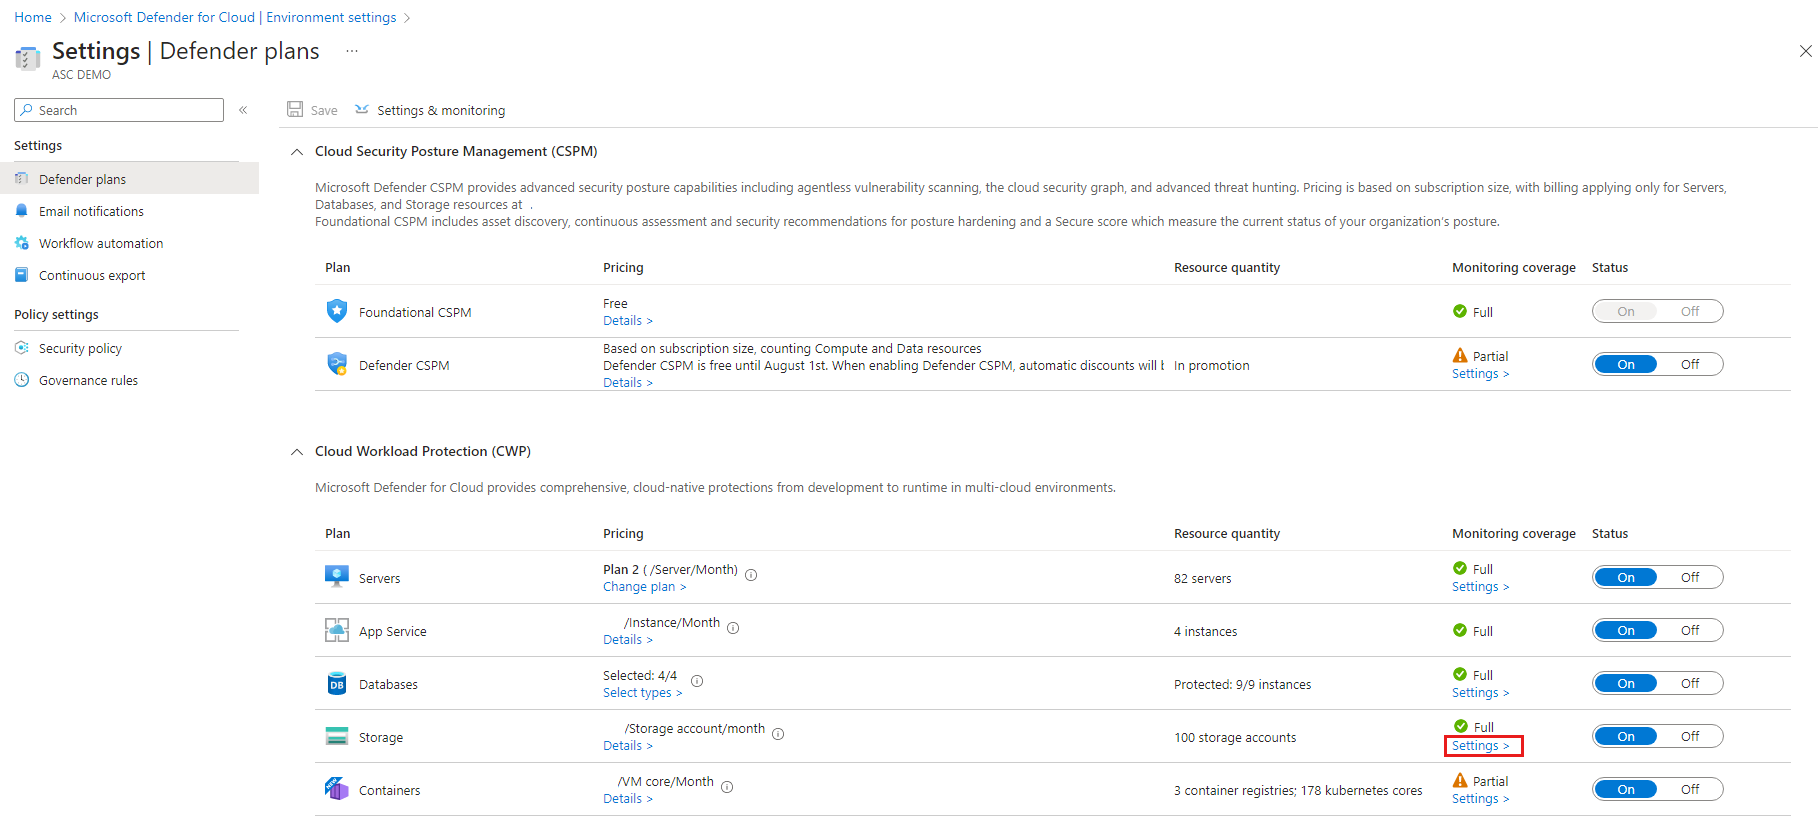
From Defender for Cloud's menu, open the Settings page and select the relevant subscription.
In the Defender plans page, select Defender for Containers and select Settings.
Tip
If the subscription already has Defender for Kubernetes and/or Defender for container registries enabled, an update notice is shown. Otherwise, the only option will be Defender for Containers.
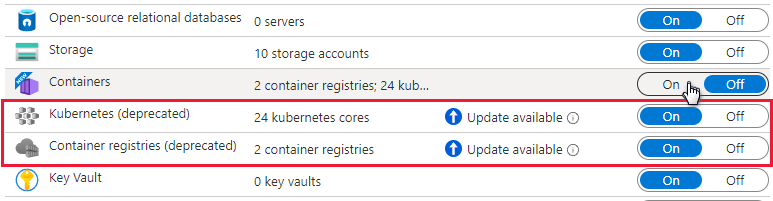
Turn the relevant component on to enable it.
Note
Defenders for Containers customers who joined before August 2023 and don't have Agentless discovery for Kubernetes enabled as part of Defender CSPM when they enabled the plan, must manually enable the Agentless discovery for Kubernetes extension within the Defender for Containers plan.
When you turn off Defender for Containers, the components are set to off and are not deployed to any more containers but they are not removed from containers that they are already installed on.
Enablement method per capability
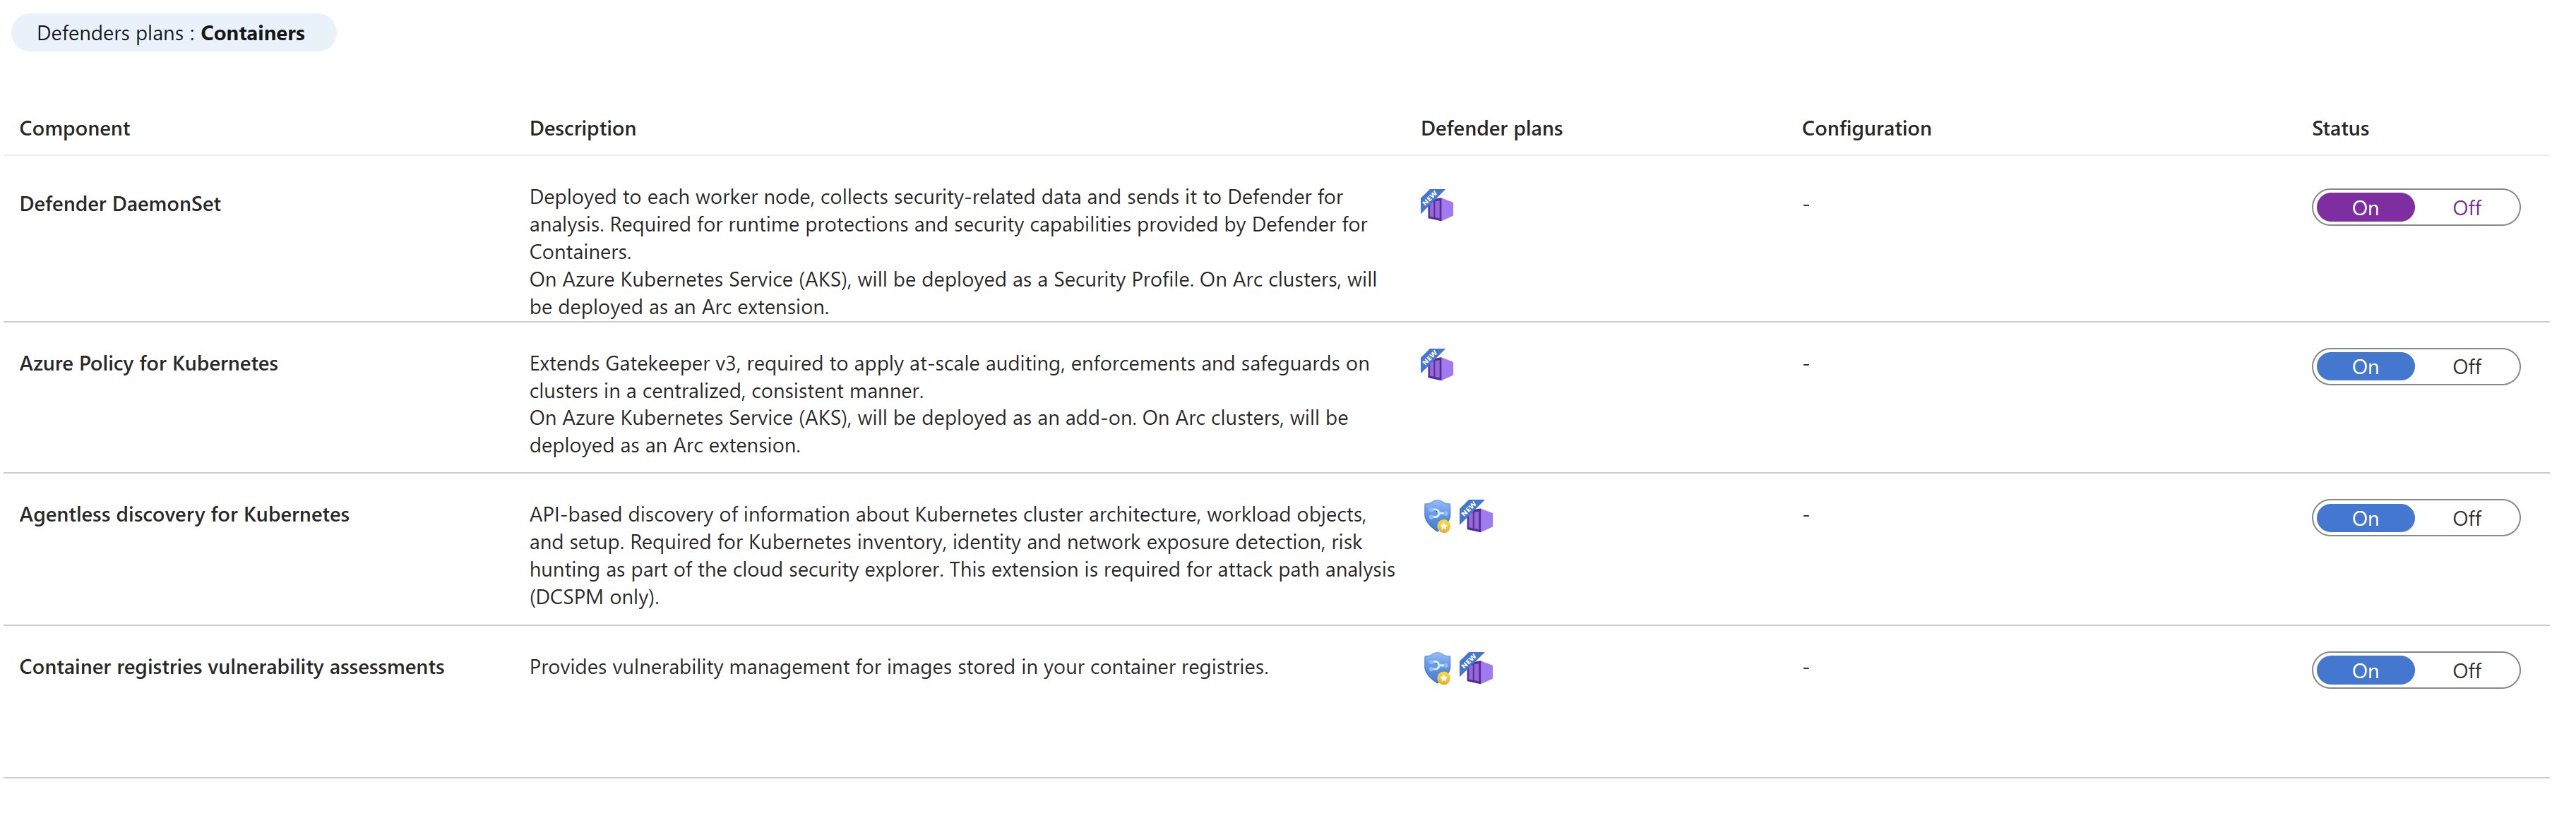
By default, when enabling the plan through the Azure portal, Microsoft Defender for Containers is configured to automatically enable all capabilities and install all required components to provide the protections offered by the plan, including the assignment of a default workspace.
If you don't want to enable all capabilities of the plans, you can manually select which specific capabilities to enable by selecting Edit configuration for the Containers plan. Then, in the Settings & monitoring page, select the capabilities you want to enable. In addition, you can modify this configuration from the Defender plans page after initial configuration of the plan.
Assigning custom workspace for Defender agent
You can assign a custom workspace through Azure Policy.
Manual deployment of Defender agent or Azure policy agent without auto-provisioning using recommendations
Capabilities that require agent installation can also be deployed on one or more Kubernetes clusters, using the appropriate recommendation:
| Agent | Recommendation |
|---|---|
| Defender Agent for Kubernetes | Azure Kubernetes Service clusters should have Defender profile enabled |
| Defender Agent for Arc-enabled Kubernetes | Azure Arc-enabled Kubernetes clusters should have the Defender extension installed |
| Azure policy agent for Kubernetes | Azure Kubernetes Service clusters should have the Azure Policy Add-on for Kubernetes installed |
| Azure policy agent for Arc-enabled Kubernetes | Azure Arc-enabled Kubernetes clusters should have the Azure Policy extension installed |
Perform the following steps to perform deployment of the Defender agent on specific clusters:
- From Microsoft Defender for Cloud's recommendations page, open the Enable enhanced security control or search directly for one of the above recommendations (or use the above links to open the recommendation directly)
- View all clusters without an agent via the unhealthy tab.
- Select the clusters to deploy the desired agent on and select Fix.
- Select Fix X resources.
- Visibility about which of your clusters has the Defender agent deployed
- Fix button to deploy it to those clusters without the agent
- Workspace: DefaultWorkspace-[subscription-ID]-[geo]
- Resource Group: DefaultResourceGroup-[geo]
- Enabling auto provisioning, potentially impacts existing and future machines.
- Disabling auto provisioning for an extension, only affects the future machines - nothing is uninstalled by disabling auto provisioning.
Deploying Defender agent - all options
You can enable the Defender for Containers plan and deploy all of the relevant components from the Azure portal, the REST API, or with a Resource Manager template. For detailed steps, select the relevant tab.
Once the Defender agent has been deployed, a default workspace is automatically assigned. You can assign a custom workspace in place of the default workspace through Azure Policy.
Use the fix button from the Defender for Cloud recommendation
A streamlined, frictionless, process lets you use the Azure portal pages to enable the Defender for Cloud plan and setup auto provisioning of all the necessary components for defending your Kubernetes clusters at scale.
A dedicated Defender for Cloud recommendation provides:
From Microsoft Defender for Cloud's recommendations page, open the Enable enhanced security control.
Use the filter to find the recommendation named Azure Kubernetes Service clusters should have Defender profile enabled.
Note
Notice the Fix icon in the actions column
Select the clusters to see the details of the healthy and unhealthy resources - clusters with and without the agent.
From the unhealthy resources list, select a cluster and select Remediate to open the pane with the remediation confirmation.
Select Fix X resources.
Simulate security alerts from Microsoft Defender for Containers
To simulate a security alert, run the following command from the cluster:
kubectl get pods --namespace=asc-alerttest-662jfi039nThe expected response is
No resource found.Within 30 minutes, Defender for Cloud detects this activity and trigger a security alert.
Note
To simulate agentless alerts for Defender for Containers, Azure Arc isn't a prerequisite.
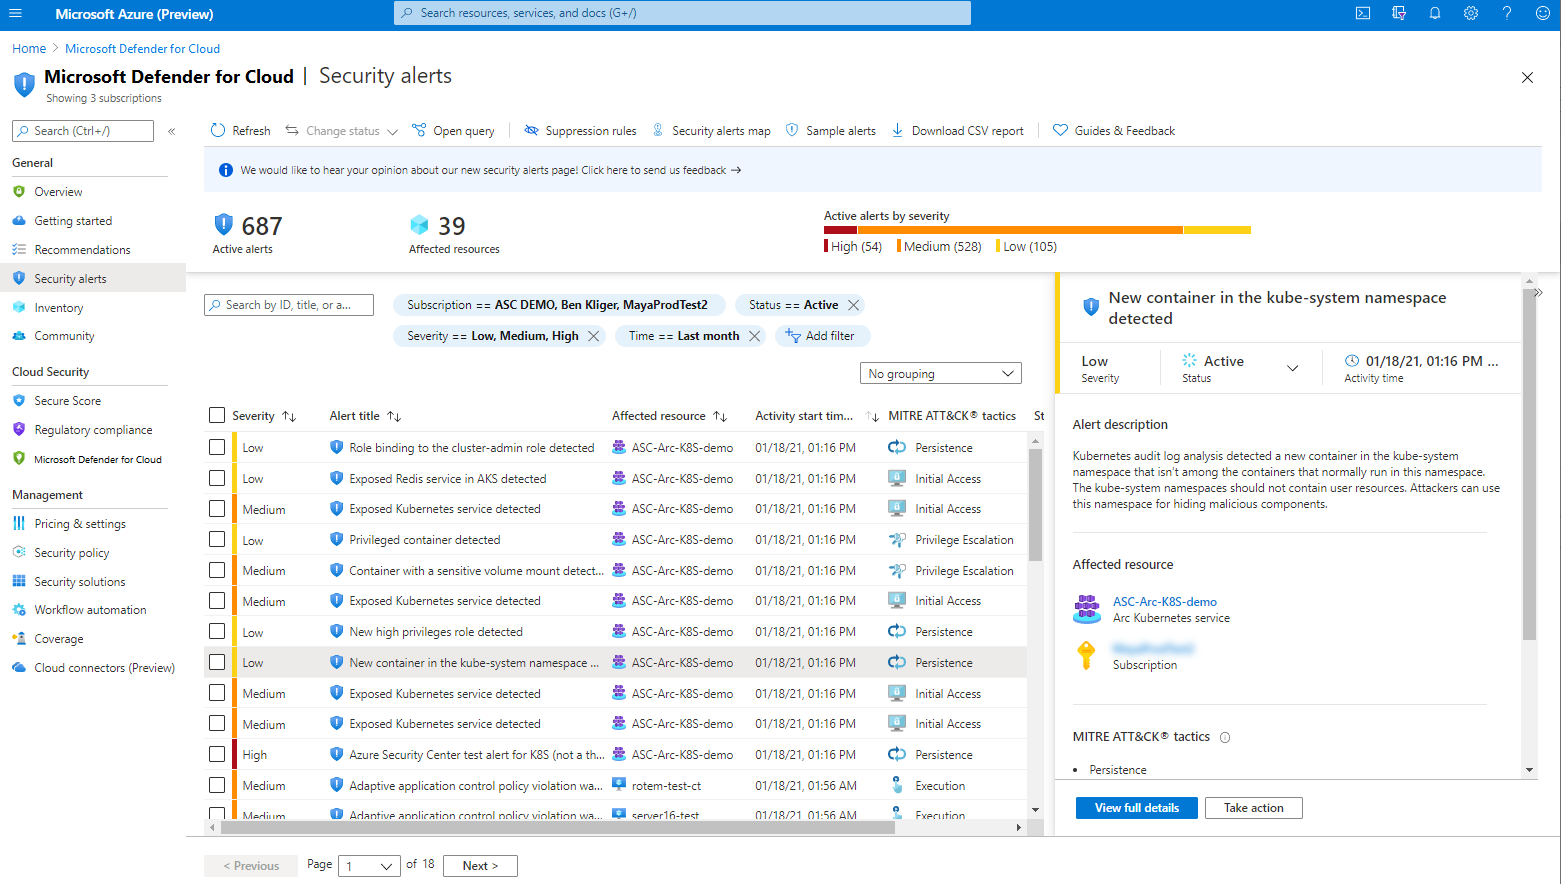
In the Azure portal, open Microsoft Defender for Cloud's security alerts page and look for the alert on the relevant resource:
Default Log Analytics workspace for AKS
The Log Analytics workspace is used by the Defender agent as a data pipeline to send data from the cluster to Defender for Cloud without retaining any data in the Log Analytics workspace itself. As a result, users won't be billed in this use case.
The Defender agent uses a default Log Analytics workspace. If you don't already have a default Log Analytics workspace, Defender for Cloud will create a new resource group and default workspace when the Defender agent is installed. The default workspace is created based on your region.
The naming convention for the default Log Analytics workspace and resource group is:
Assign a custom workspace
When you enable the auto-provision option, a default workspace will be automatically assigned. You can assign a custom workspace through Azure Policy.
To check if you have a workspace assigned:
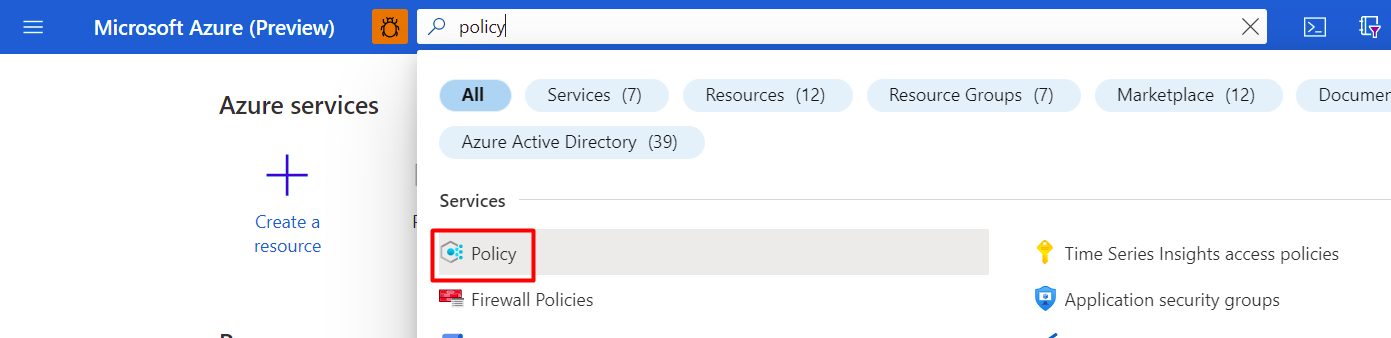
Sign in to the Azure portal.
Search for and select Policy.
Select Definitions.
Search for policy ID
64def556-fbad-4622-930e-72d1d5589bf5.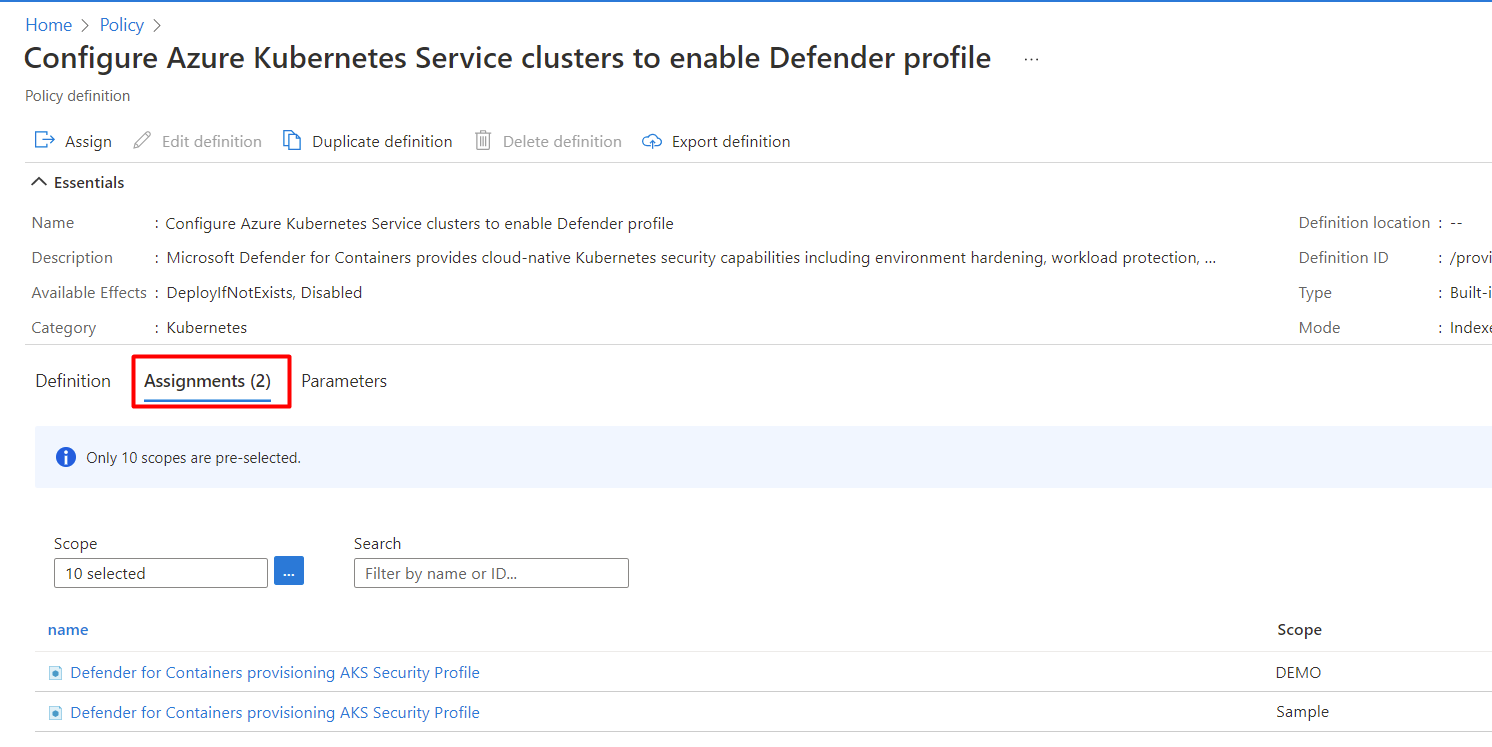 5. Follow the Create a new assignment with custom workspace if the policy hasn't yet been assigned to the relevant scope. Or, follow the Update assignment with custom workspace if the policy is already assigned and you want to change it to use a custom workspace.
Create a new assignment with custom workspace
If the policy hasn't been assigned, you'll see Assignments (0).
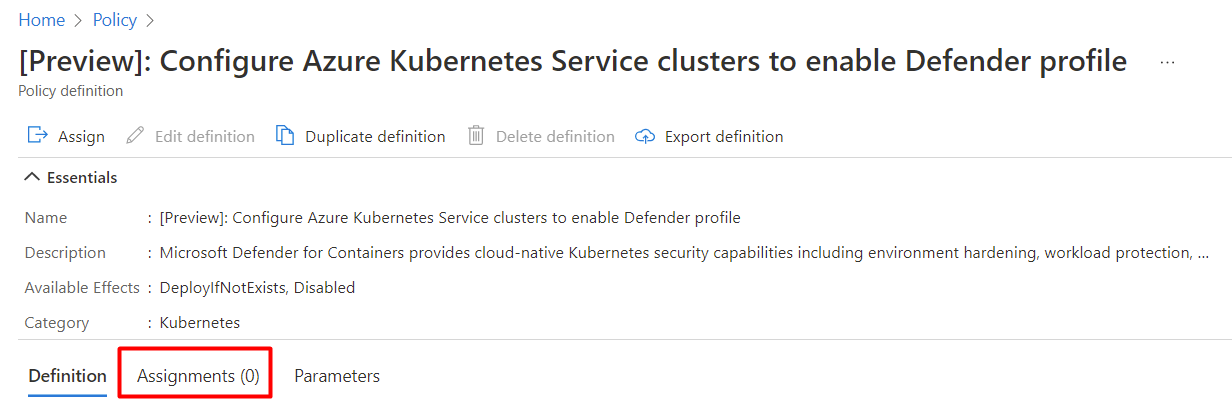 To assign custom workspace:
Select Assign.
In the Parameters tab, deselect the Only show parameters that need input or review option.
Select a LogAnalyticsWorkspaceResource ID from the dropdown menu.
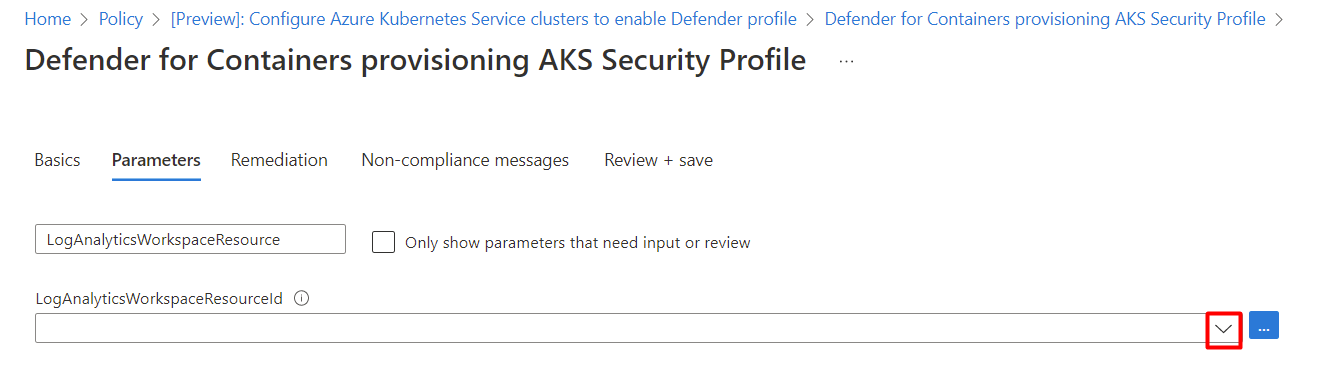
Select Review + create.
Select Create.
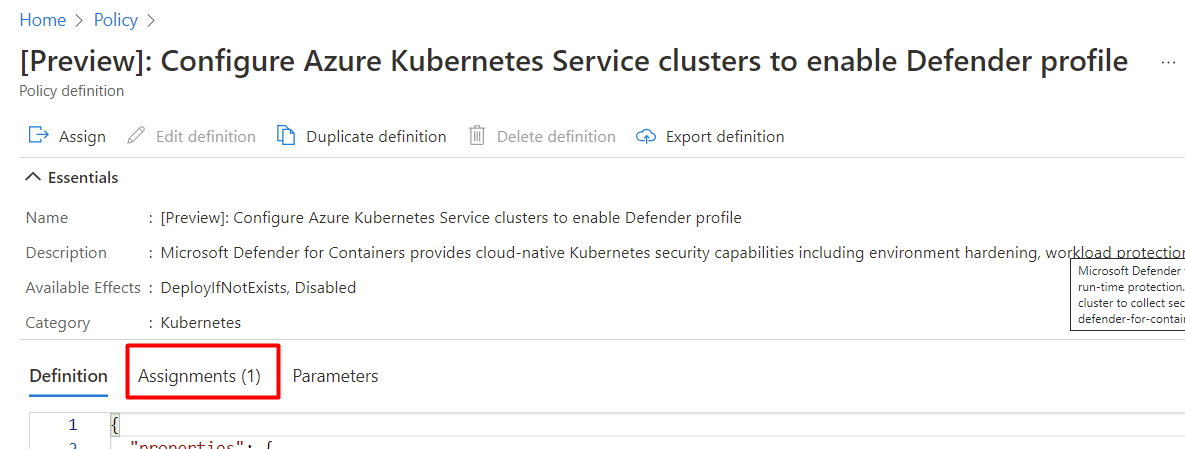
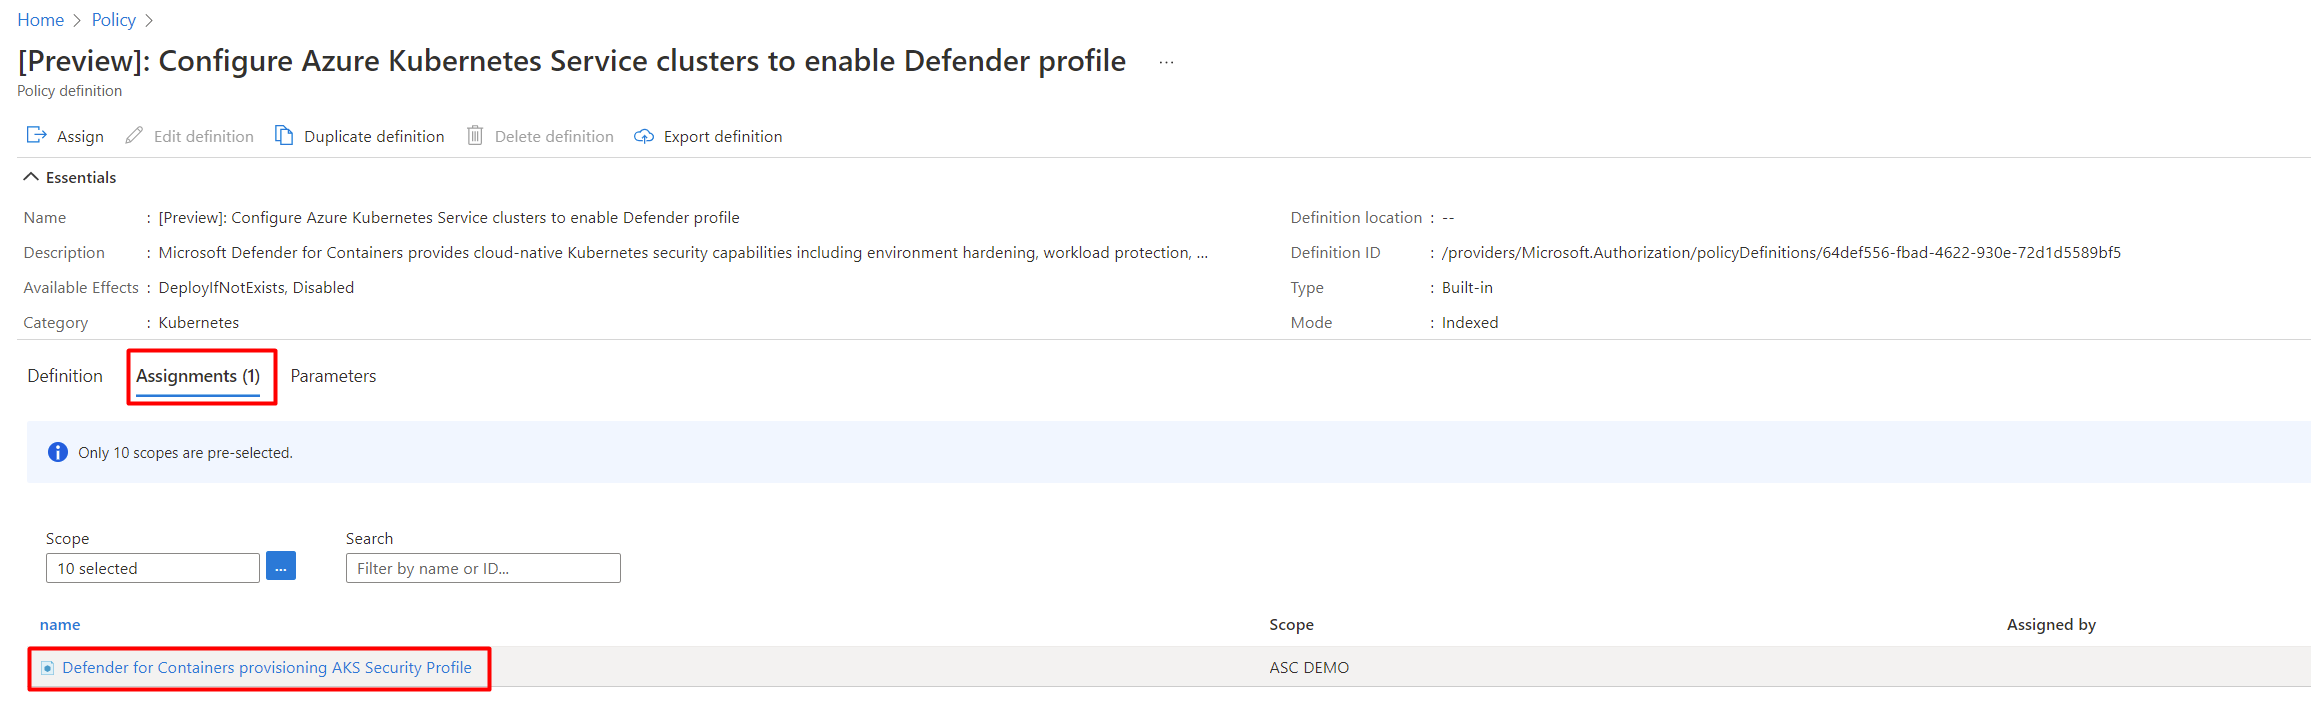
Update assignment with custom workspace
If the policy has already been assigned to a workspace, you'll seeAssignments (1).
Note
If you have more than one subscription the number might be higher.
To assign custom workspace:
Select the relevant assignment.
Select Edit assignment.
In the Parameters tab, deselect the Only show parameters that need input or review option.
Select a LogAnalyticsWorkspaceResource ID from the dropdown menu.

Select Review + save.
Select Save.
Remove the Defender sensor
To remove this - or any - Defender for Cloud extension, it's not enough to turn off auto provisioning:
To turn off the Defender for Containers plan entirely, go to Environment settings and disable the Microsoft Defender for Containers plan.
Nevertheless, to ensure the Defender for Containers components aren't automatically provisioned to your resources from now on, disable auto provisioning of the extensions as explained in Configure auto provisioning for agents and extensions from Microsoft Defender for Cloud.
You can remove the extension using the REST API or a Resource Manager template as explained in the tabs below.
Use Azure CLI to remove the Defender sensor
Remove the Microsoft Defender for with the following commands:
az login az account set --subscription <subscription-id> az aks update --disable-defender --resource-group <your-resource-group> --name <your-cluster-name>Removing the extension might take a few minutes.
To verify that the extension was successfully removed, run the following command:
kubectl get pods -n kube-system | grep microsoft-defenderWhen the extension is removed, you should see that no pods are returned in the get pods command. It might take a few minutes for the pods to be deleted.