Exercise - Set an alert in your Log Analytics workspace and view alerts
In this exercise, you create an alert from your activity log data, and then you view a saved alert.
Note
This exercise is optional. If you don't have an Azure account, you can read through the following instructions to understand how to use Log Analytics and alerts.
If you want to complete this exercise but you don't have an Azure subscription or prefer not to use your own account, you can create a free account before you begin.
Create an alert from your activity log data
First, set an alert for all administrative operations:
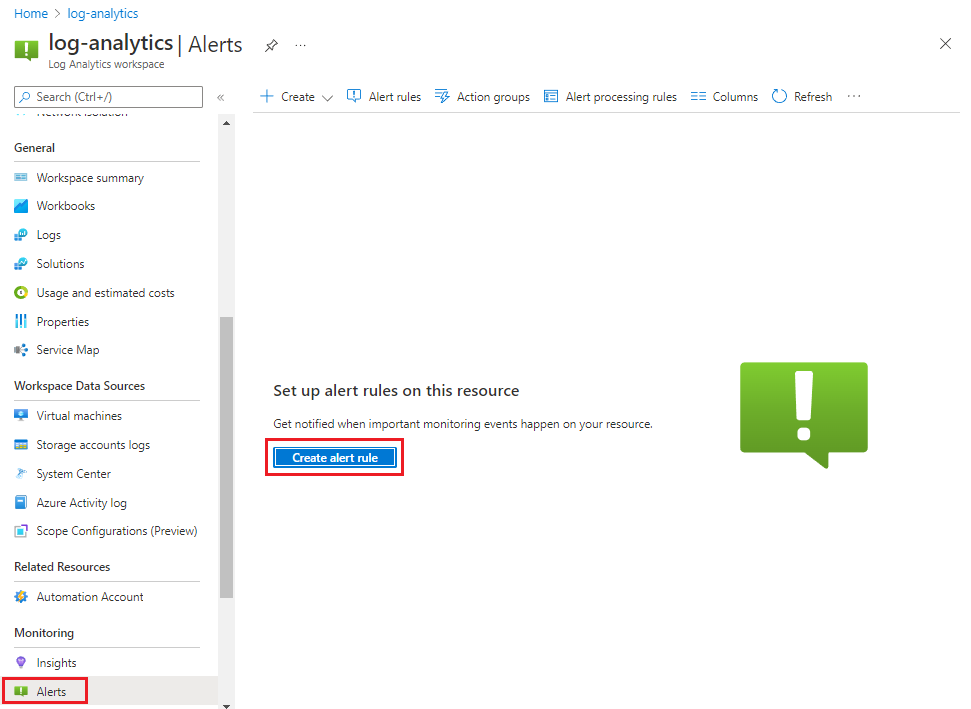
In the Azure portal, go to your Log Analytics workspace.
In the left menu under Monitoring, select Alerts, and then select Create alert rule. Scope is automatically set to your Log Analytics workspace.
Select the Condition tab.
In the Select a signal pane, for Signal type, select Activity Log.
In Signal name, for this exercise, select All administrative operations.
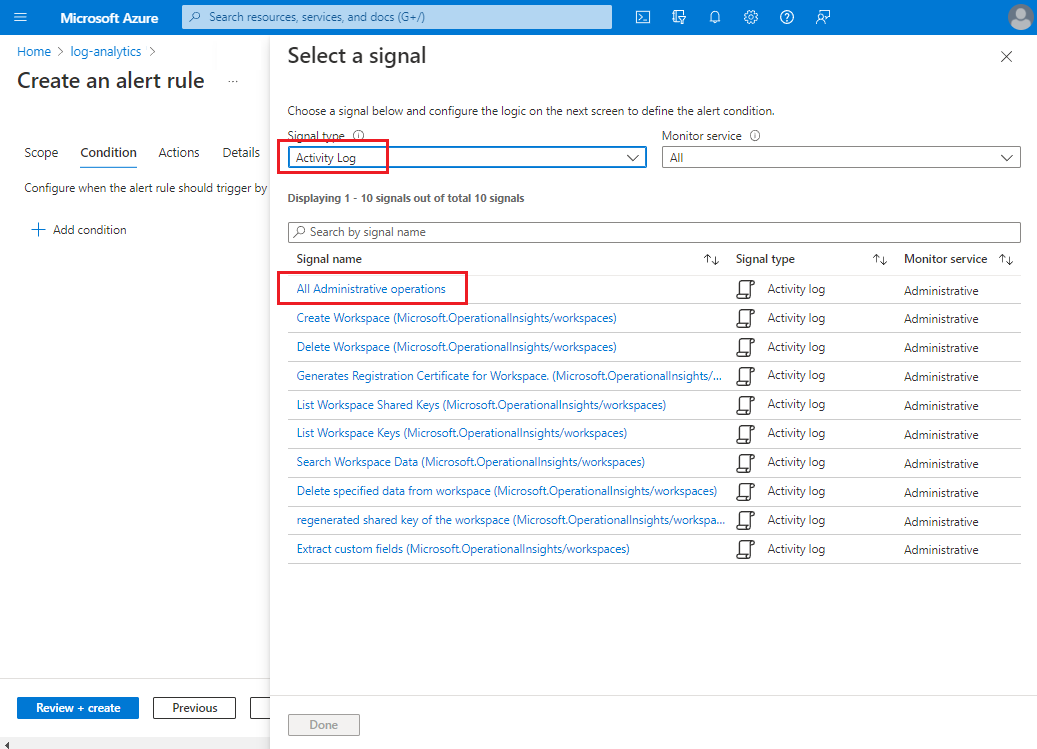
Then select Next: Actions >, and select Next: Details >.
On the Details tab, select a subscription and resource group for the alert rule. Enter an alert rule name and optionally enter a description of the alert rule. Then, select Review + create.
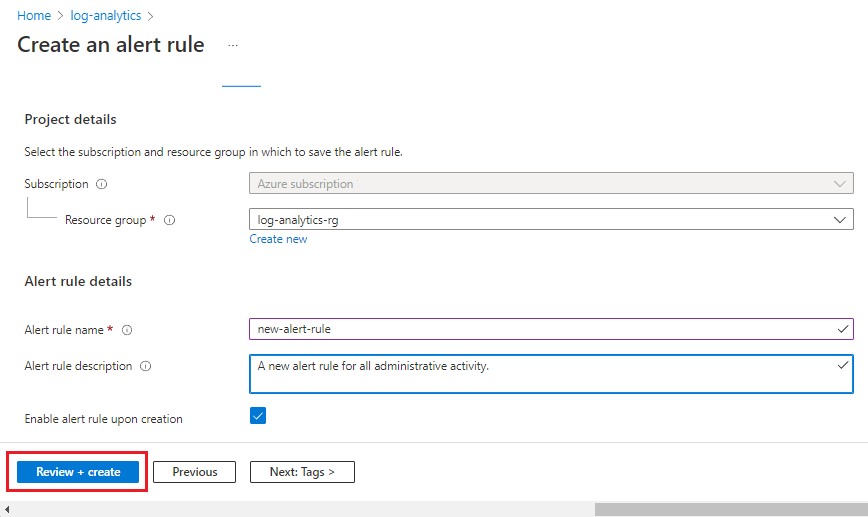
Review the new alert details, and then select Create.
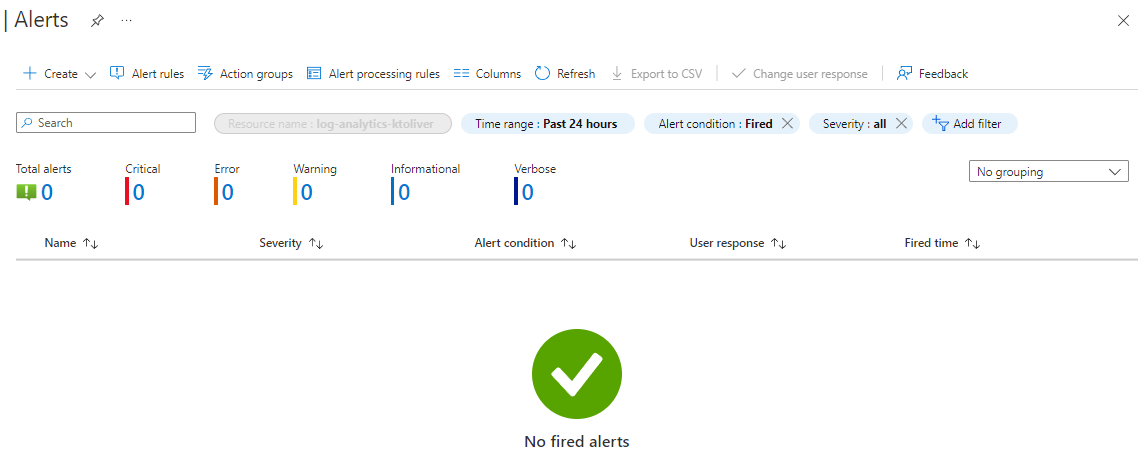
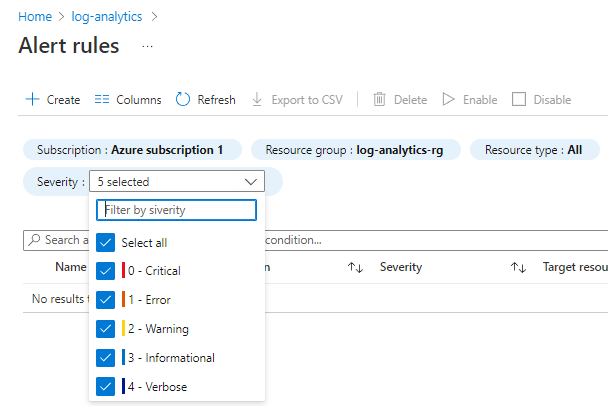
View alert rules
Next, view the alert in your Log Analytics workspace in the Azure portal:
In the left menu under Monitoring, select Alerts.
To view alerts that have that severity, select a severity:
To view details about an alert, select the name of the alert: