Create a workbook that queries your resources
Workbooks provide a canvas for creating interactive visual reports. In this exercise, you'll create a new workbook, add some descriptive text and a parameter to query all of the resources in a selected subscription. By the end of this unit, you'll have a report that shows the distribution of your resources on a map.
Deploy resources for the exercise using the Azure CLI
The first thing we'll do is activate the Azure sandbox and deploy an ARM template containing all the Azure resources we need for this exercise.
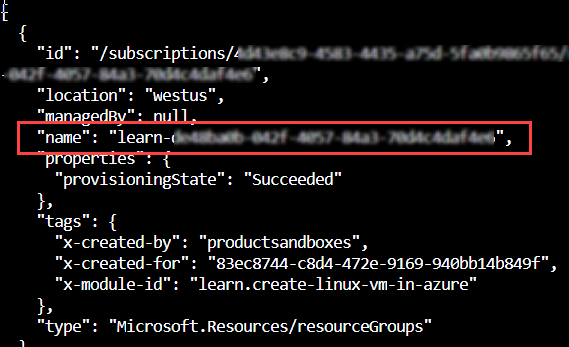
Activate the Azure sandbox. When the sandbox is activated, a resource group with the name
learn-{guid}is created for you to use. This resource group will be visible in the Azure portal, or through CLI commands such asaz group list.In the Azure Cloud Shell, get the name of the resource group that was generated for your sandbox.
az group listThe output contains a row with the name of the resource group. The name starts with "learn-".
Copy the name of the resource group by right-clicking on the name and selecting Copy.
Enter this command to define the resource group. (Right-click and select Paste to paste the resource group name. You may have to remove any extra characters around the resource group name.)
resourceGroup="<your resource group name>"Run these commands to deploy the Azure resource group and resources:
   git clone https://github.com/MicrosoftDocs/ms-learn-azure-monitor-workbooks.git
   cd ms-learn-azure-monitor-workbooks/Resources/
   az deployment group create --resource-group $resourceGroup --template-file deploy-resources.bicep
When you're prompted for a password, enter a password that complies with the password requirements. For example, enter "Learn@123456". The password must:
- Be at least 12 characters long
- Contain at least 3 out of the following four characteristics:
- one lower case letter
- one upper case letter
- one number
- one special character, not including \ or -.
Wait while the resources that you need for the module are deployed. This will take a few minutes.
You can sign into the Azure portal to see the resources deployed in your sandbox for this learn module.
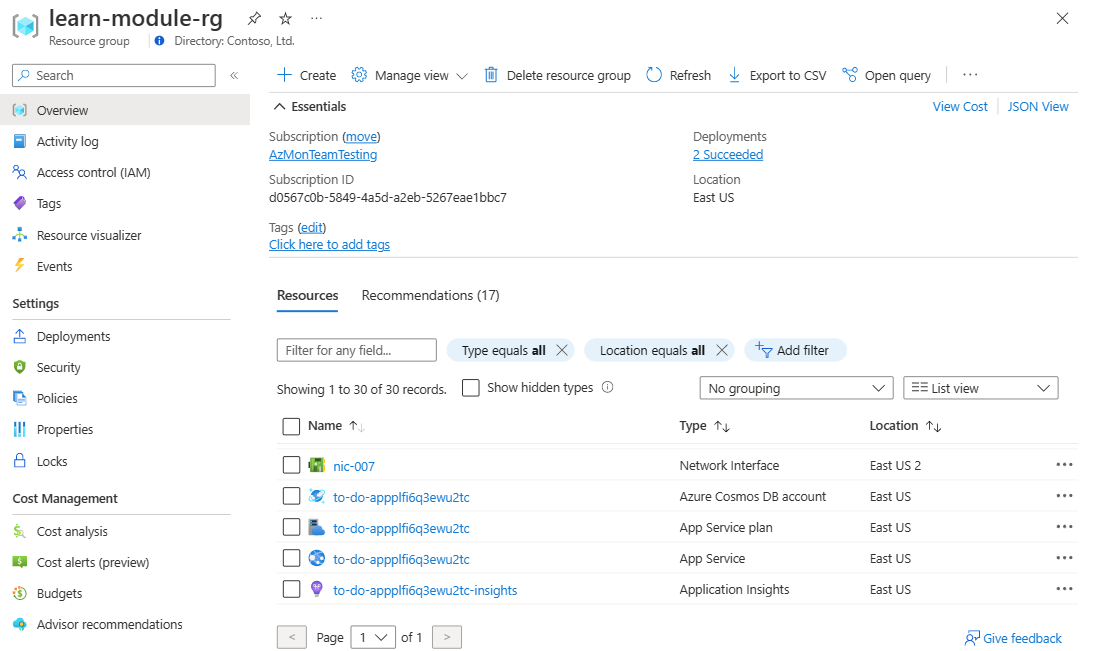
On the Home page, select Resource groups, or search for "Resource groups" in the search bar at the top of the page.
Select the "learn" resource group created when the sandbox was activated.
Look through the list of resources and see the resources created for this exercise.
Create a new workbook
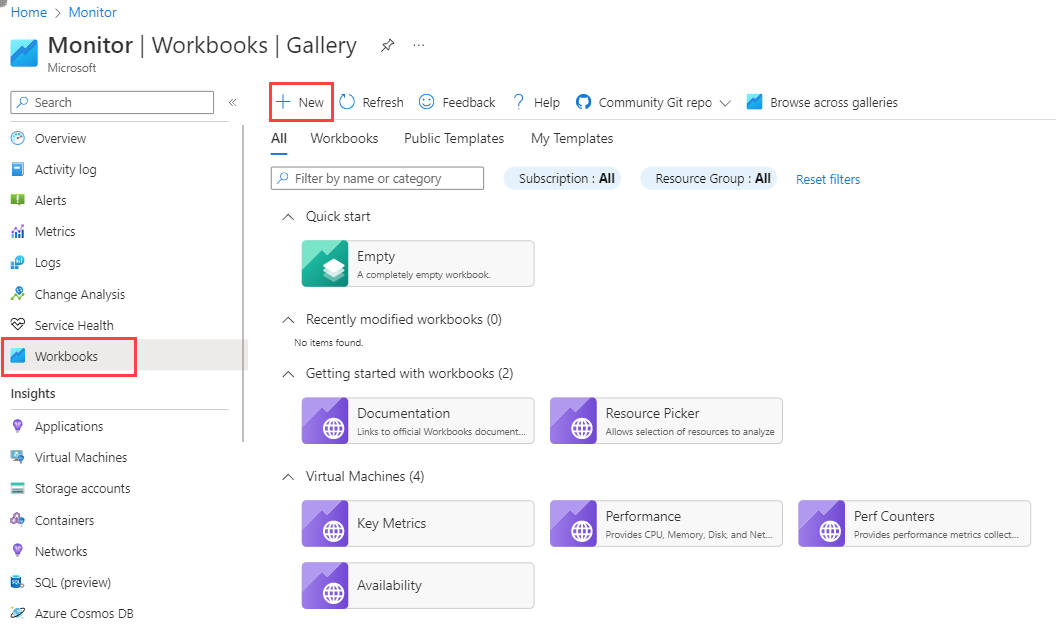
From the Azure portal home page, search for and select Monitor.
Select Workbooks from the left pane.
Select + New from the top toolbar.
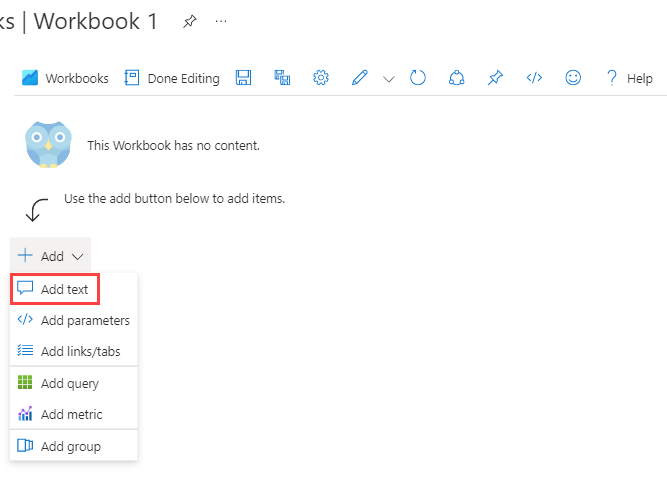
Add descriptive text to the top of the workbook:
Select Add and then Add Text.
The Azure Workbook text editor uses markdown format. Enter text into the editor. You can copy this text if you would like.
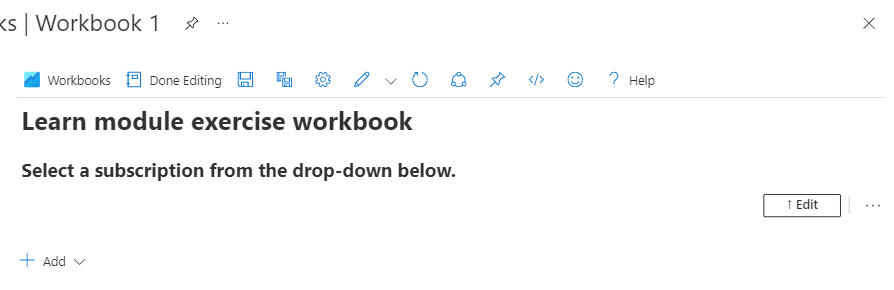
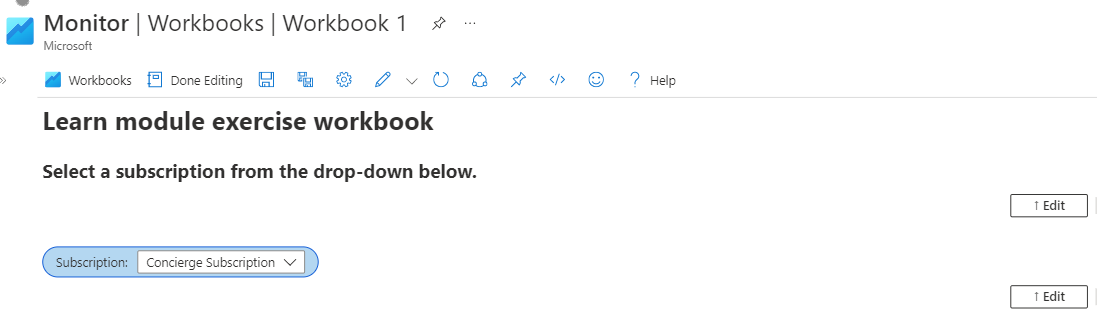
    # Learn module exercise workbook
    **Select a subscription from the drop-down below.**
Select Done editing. You now have a simple workbook with text.
Add a subscription picker to your workbook
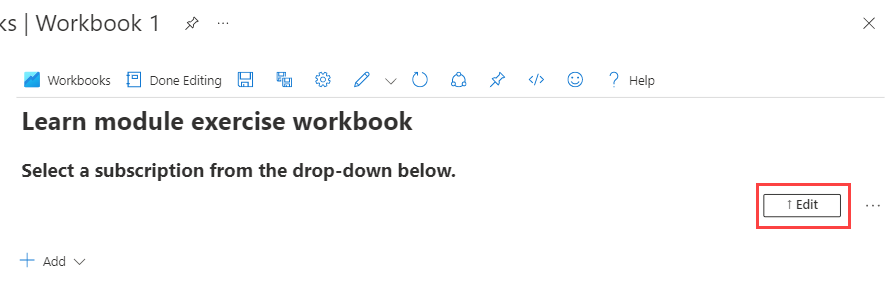
Select Edit from the right side of the section you created.
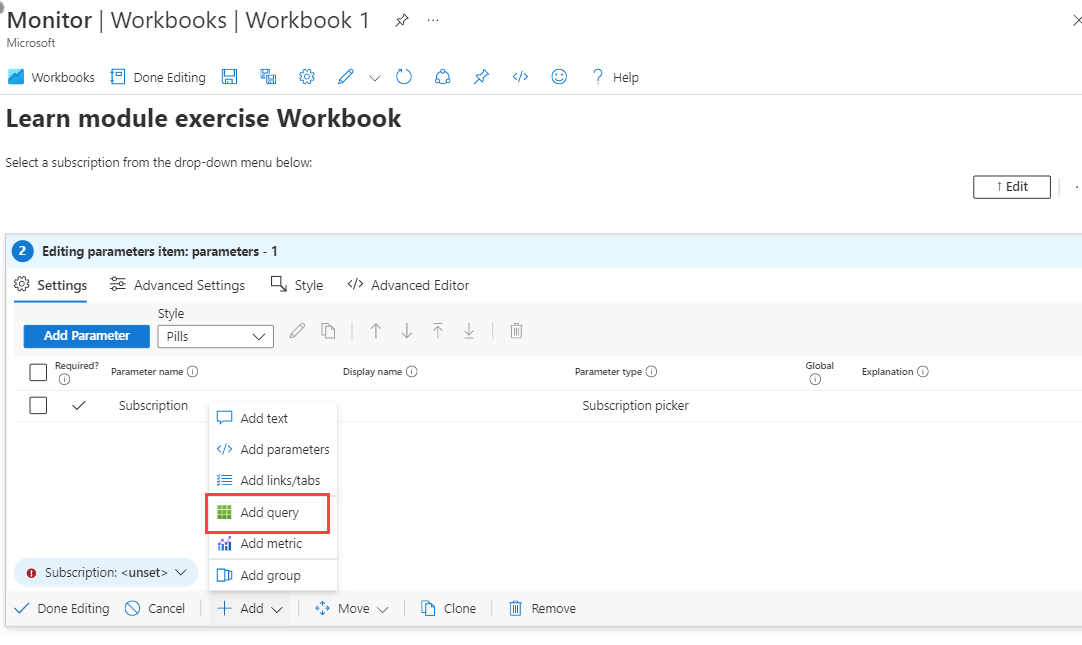
Select Add, and then Add parameters.
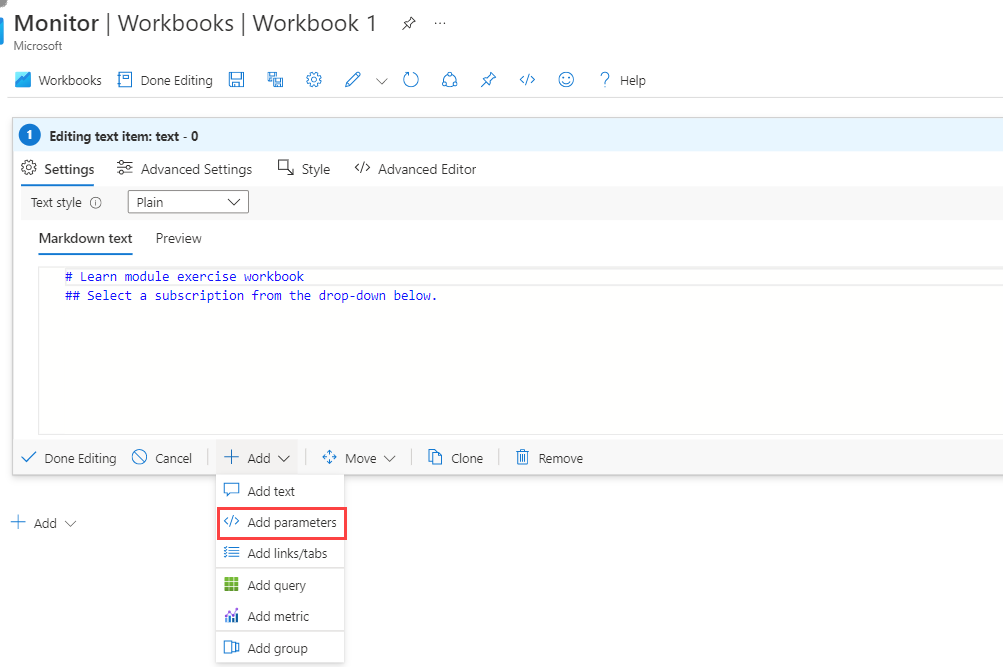
Select Add Parameter.
In the New Parameter window:
- In both the Parameter name and Display name fields, enter "Subscription".
- In the Parameter type field, select Subscription picker.
- Select the Required checkbox.
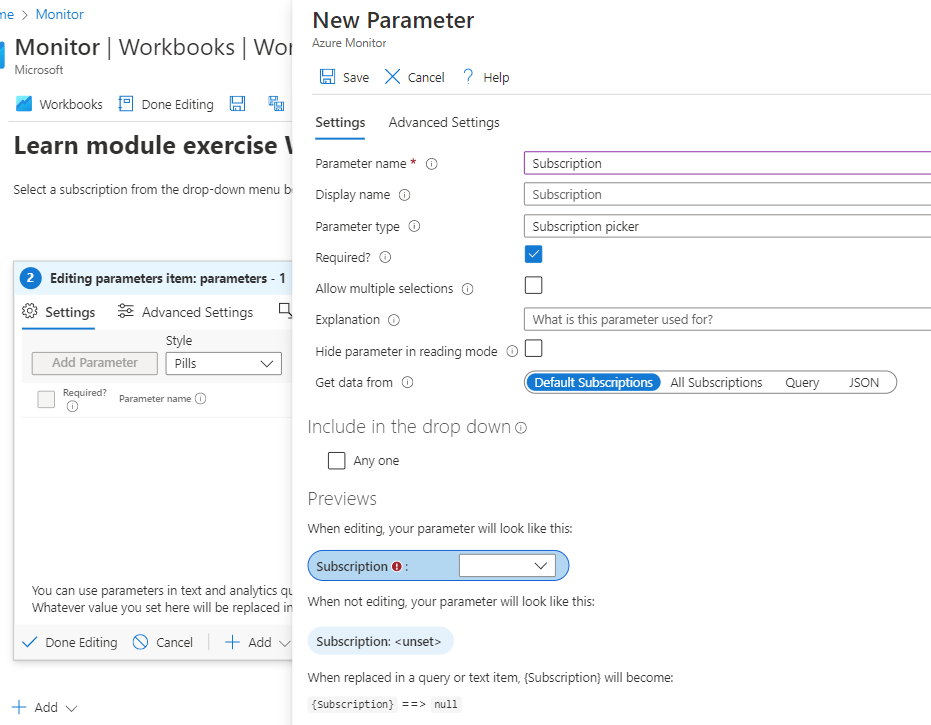
- Select Save, and then Done editing.
Select Done editing again. You now have a workbook with a Subscription drop-down picker.
Add a map to show the distribution of the subscription's resources
Select Edit from the top toolbar.
Select the subscription from the Subscription drop-down.
Select Add Query.
In the Data source field, select Azure Resource Graph.
In the Subscription field, under Resource parameters, select the Subscription checkbox.
Add this query to the Subscriptions Azure Resource Graph Query section:
    resources
   | summarize count() by location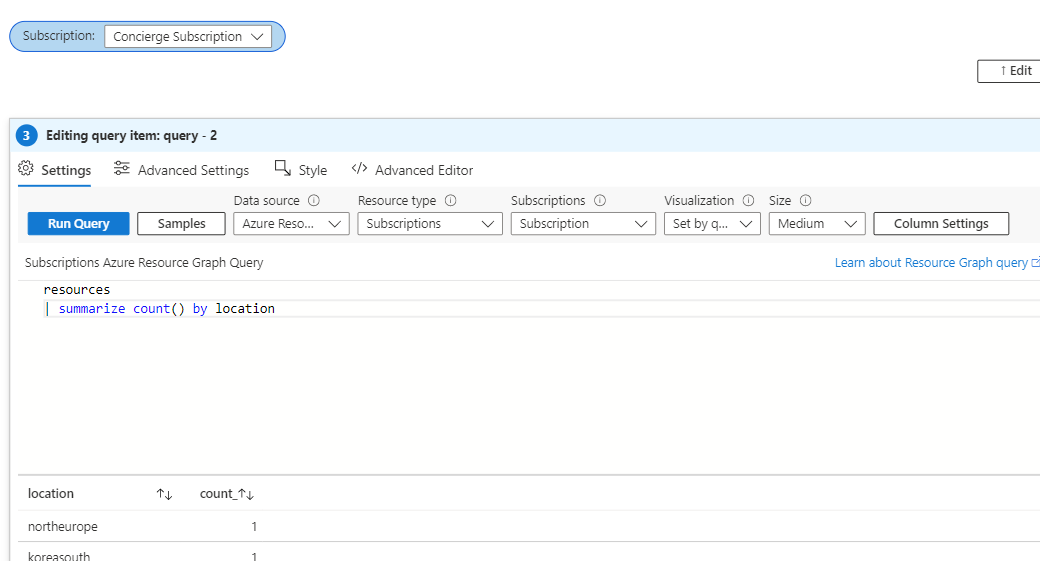
Select Run Query.
You'll see the results of your query in a table below the query.
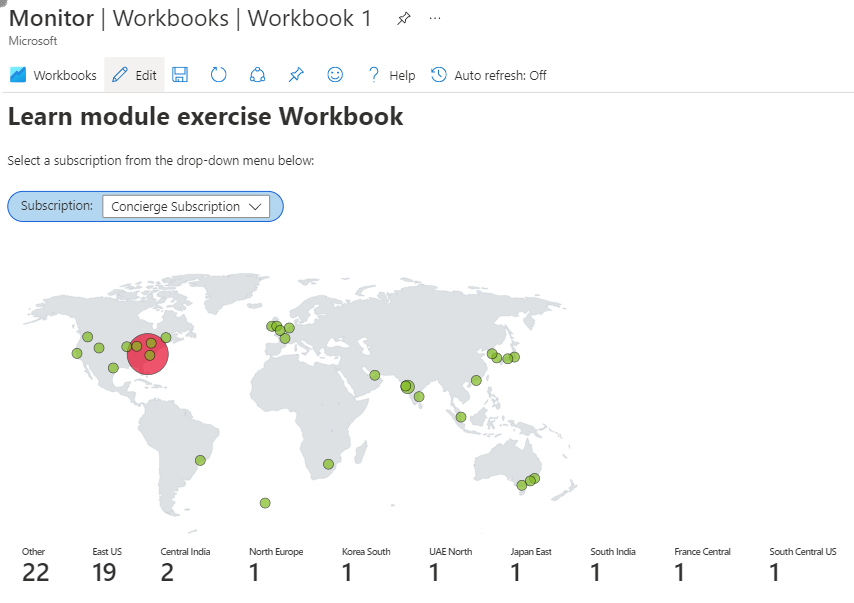
To show your resources in a map, in the Visualization field on top of the query, select Map.
In the Map Settings window, keep the default map settings, and select Save and close.
Select Advanced settings at the top of the query, and enter "Resource distribution per region" in the Chart title.
Select Done editing. You now have a workbook that lets the user select a subscription and displays all of the resources in that subscription in a map.
Select Save As.
Enter a Name for your workbook, select the Subscription and Resource group, and select Apply.