Share printers using Azure Portal
In Universal Print, "sharing" a printer makes that printer accessible to users. Before a user can print to a printer, it must be shared and that user must be granted access.
Tip
Best practice: Use groups instead of selecting individual users. If multiple printers should be accessed by the same people, create a Microsoft Entra ID group for those users first, then share printers with that group. This has two important benefits:
- Bulk edits are easier: When you need to make changes to the access control list, you can do it for all printers at once by just updating the group.
- Avoid running into limits: Microsoft Entra ID limits the number of group memberships users can have. If you have thousands of printers, assigning individual access to users can exceed these limits.
Share a printer (create a printer share)
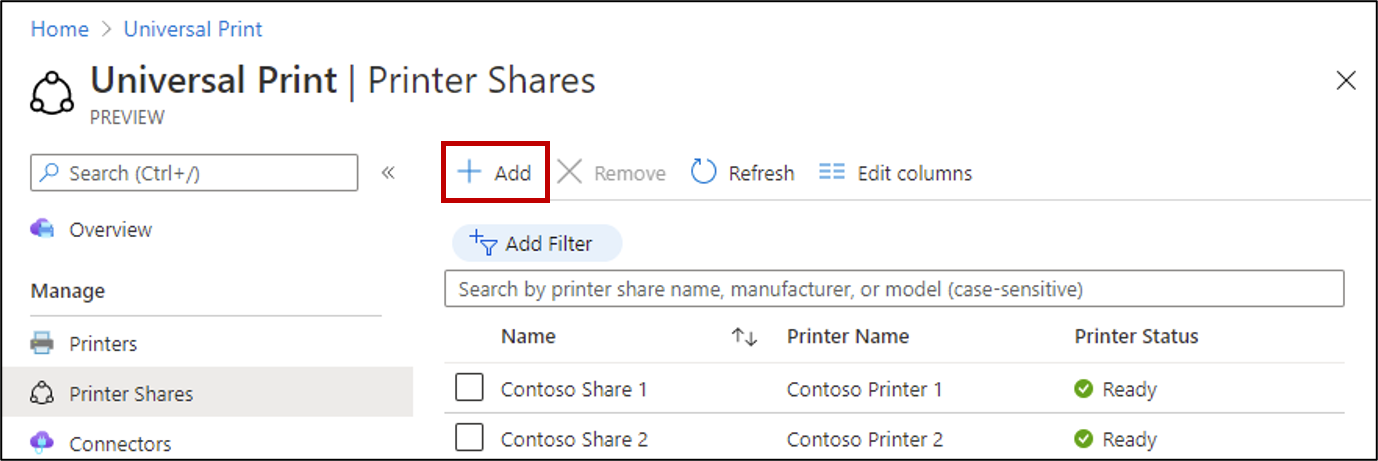
To share a single printer navigating to the Printer Shares list and click Add.
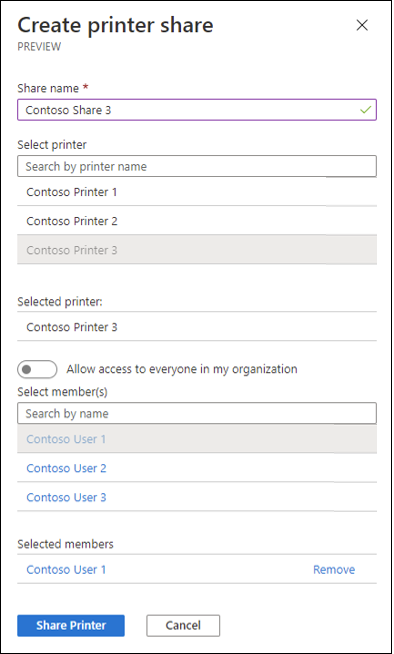
Specify a share name, select a printer to share, and indicate which users and groups should have access.
Share multiple printers simultaneously
If a set of printers need to be shared with the same people, you can save time by sharing them in bulk. Head over to the Printers list and follow the below steps:
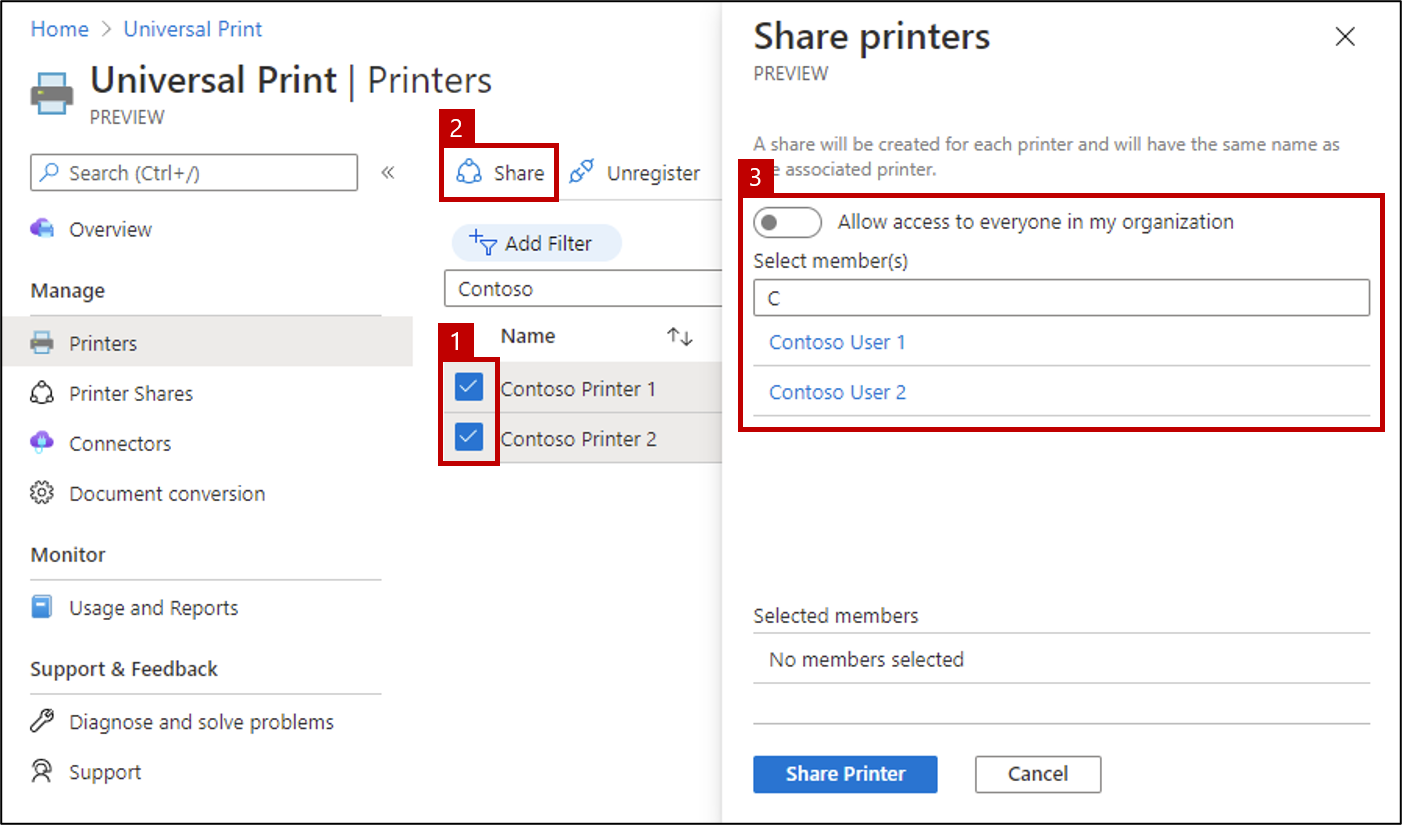
- Select two or more printers in the printer list
- Click Share
- Select which users and groups should have access to the newly created printer shares (the same access settings will be applied to all printer shares)
If sharing fails for any of the printers because a share with a selected printer name already exists, share that printer individually and enter a unique name.
Stop sharing a printer (delete a printer share)
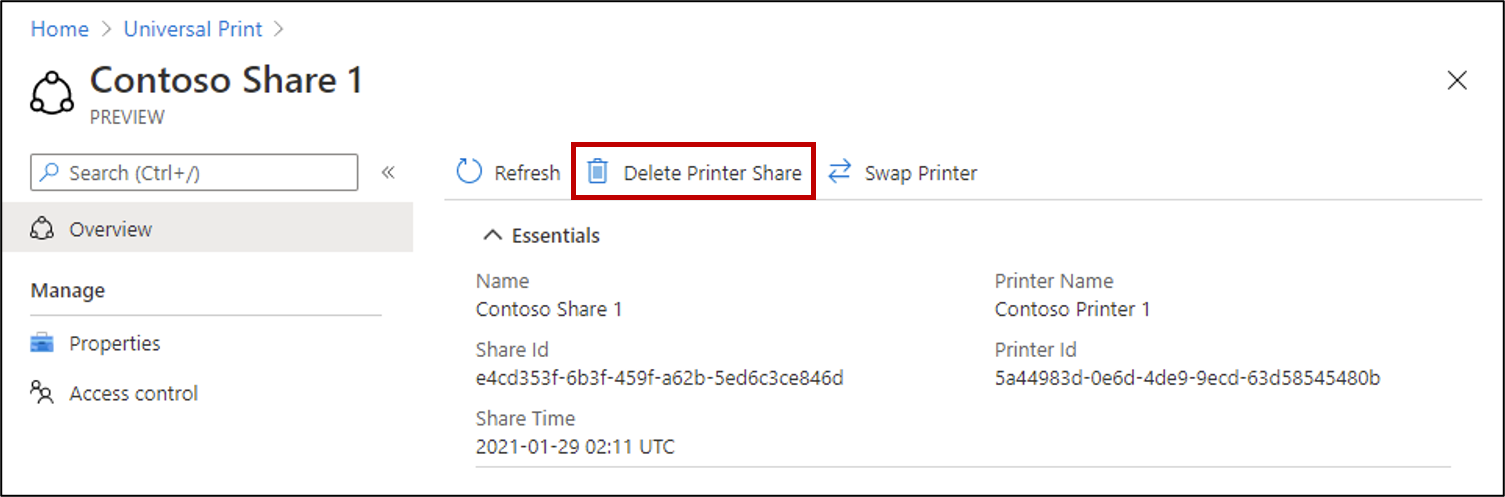
To stop sharing a printer navigate to the printer share you want to delete and click Delete Printer Share.
Deleting a printer share and re-creating it later will force users to reinstall the printer on their Windows devices. If you're replacing a broken or old printer device with a new one, use the Swap Printer feature instead, which will prevent breaking users' printer installations.
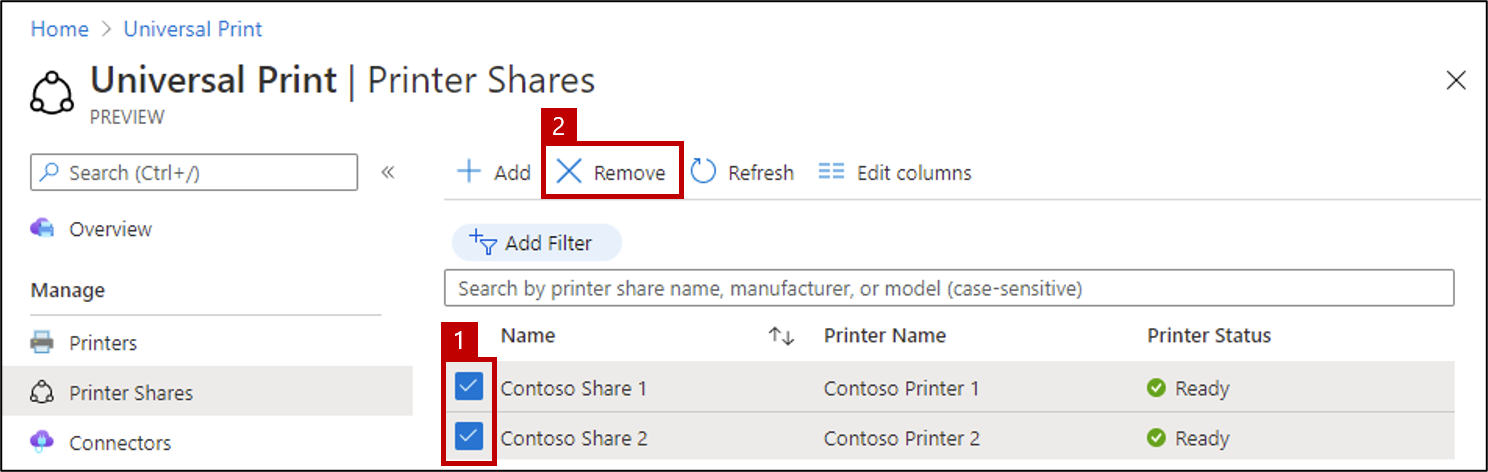
Stop sharing multiple printers simultaneously
To stop sharing multiple printers, navigate to the Printer Shares list, select the shares you want to delete, and click Remove.
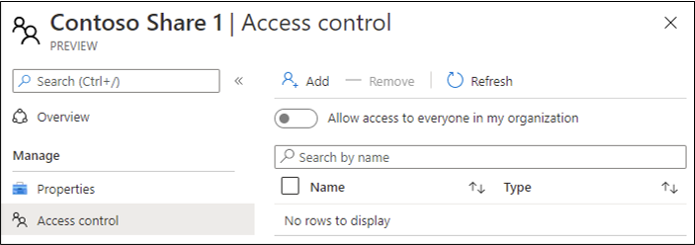
Configure user permissions for a printer share
If you need to change permission settings after sharing a printer, navigate to the printer share in Azure Portal and click Access control.
- To share the printer with all users in your organization, enable "Allow access to everyone in my organization". This will override any individual users or groups selected below.
- To share the printer with specific people, add or remove users/groups from the permission list.
See also
- Read Navigate Universal Print in Azure Portal to learn about other Universal Print features in Azure Portal
- Learn how to Share printers using PowerShell