Set up Viva Glint User Roles
Admins can assign multiple roles with specific permissions - access to different segments of data and filters - in User Roles.
Glint User Role template
Use the template as a planning tool to define permissions for roles, according to these three filter distinctions:
- Report filters: Attributes the role can use to filter results
- Report sections: Attributes the role can use to add sections in reports
- Comment filters: Attributes the role can use as filters to review comments
The User Roles and Access template includes prepopulated example roles and instructions for defining permissions.
Not all User Roles and prepopulated attributes and permissions in the template may apply to your organization. Use your Employee Attribute File for attributes specific to your organization to customize your template.
Tip
To protect confidentiality, give managers access to only one filterable attribute. Assigning more than one filterable attribute increases the chance that a manager can deduce the origin of individual responses.
Default User Roles
The following roles are preconfigured in Glint and can't be edited. Create a new User Role with a new name if you want to edit these attributes and permissions.
- Company Admin: Employees who are granted ALL permission; can't be edited. Includes Advanced Configuration access.
- Active Employees: Not intended to have data access.
- Inactive Employees: Not intended to have data access.
- Managers: Doesn't allow edits, create a different manager role to change permissions and attributes
- Support Users: External users who have advanced access; can't be edited.
Enable User Roles
Admins can specify the employee population and attributes their leaders can view on their dashboard for each User Role. Defining roles is important for data cuts, access permissions, and program integrity.
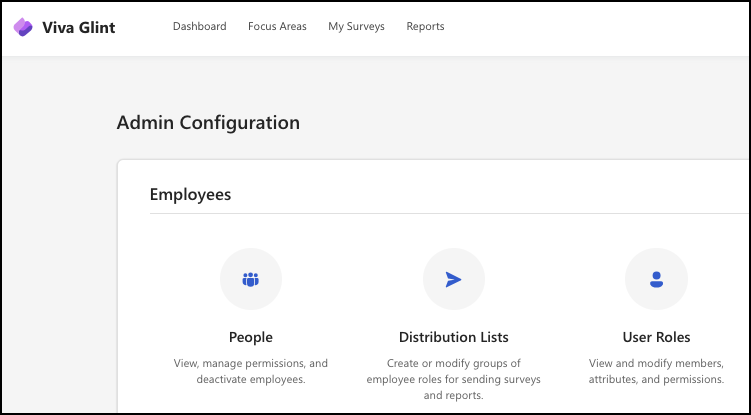
Select the Configuration symbol.
In the Employees section, select User Roles.
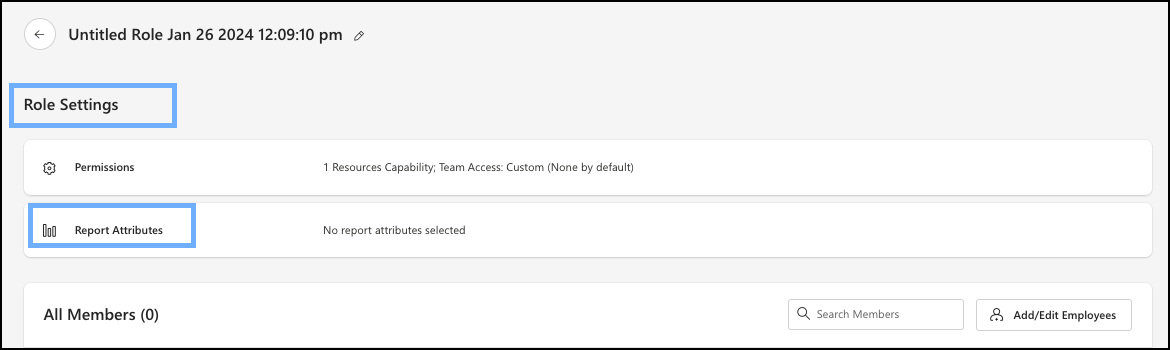
Select +New Role. The Role Settings page displays.
Enter a role name in the Untitled Role field by selecting the pencil symbol.
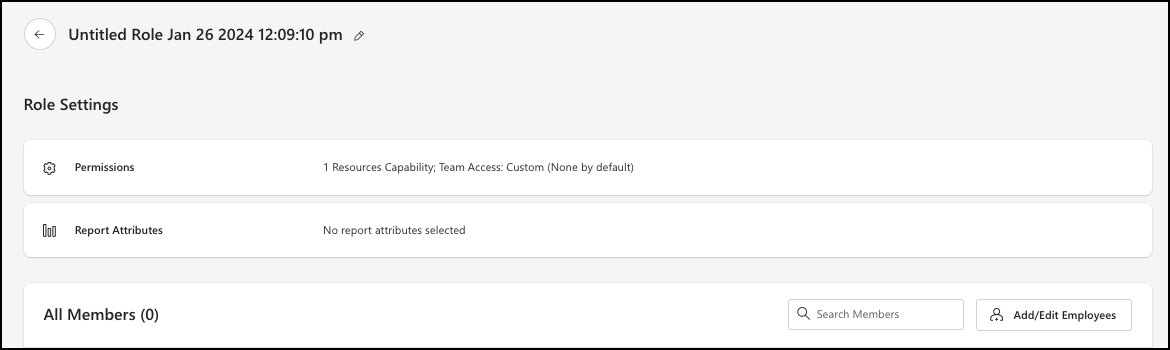
Select Permissions.
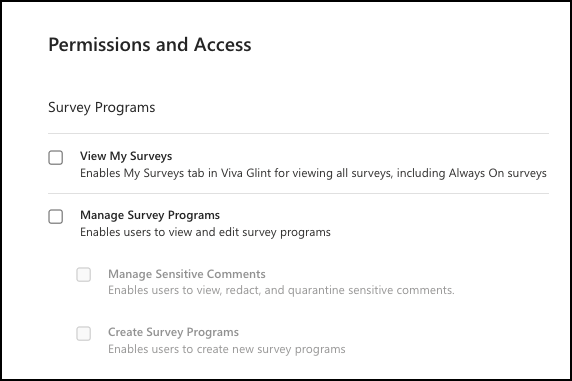
Make choices for these sections based on decisions in your User Role template:
Survey Programs
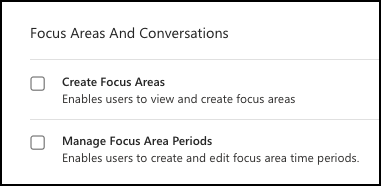
Focus Areas and Conversations
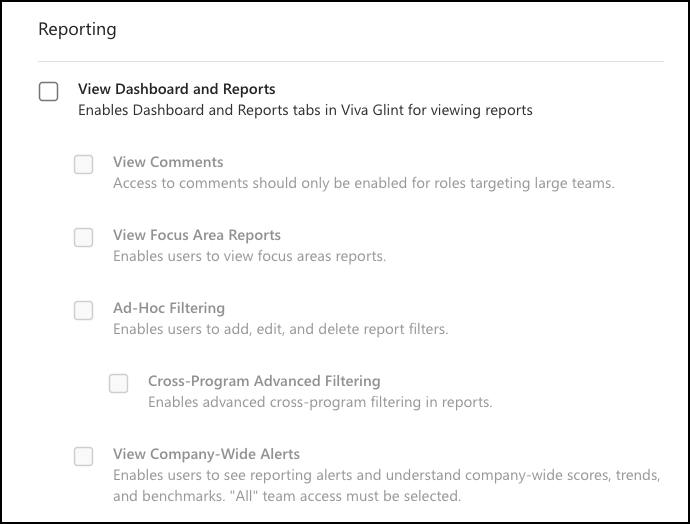
Reporting
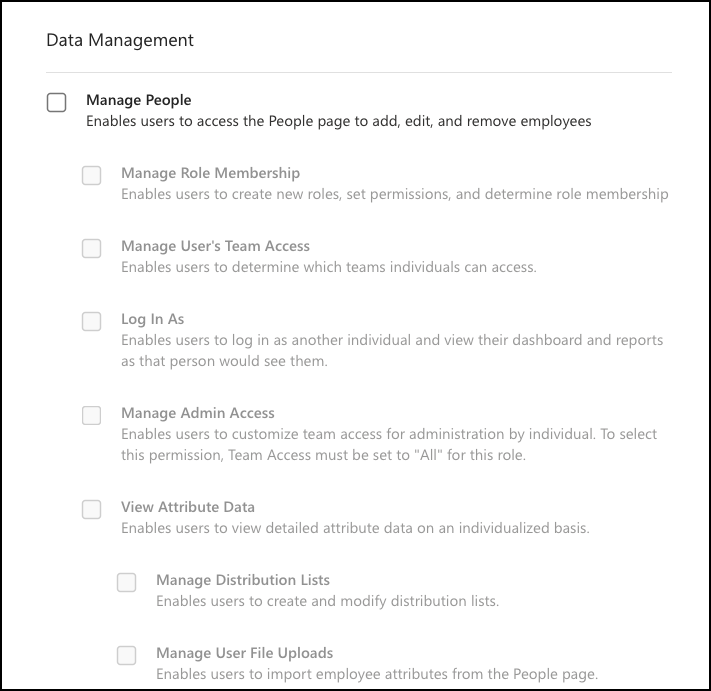
Data Management
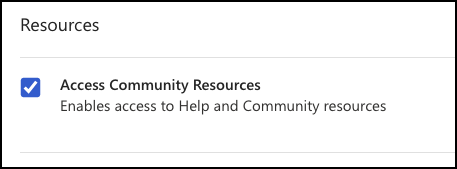
Resources
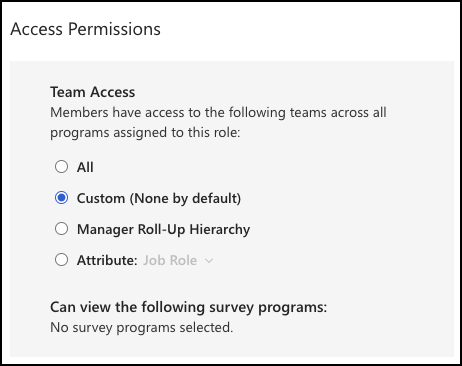
Access Permissions
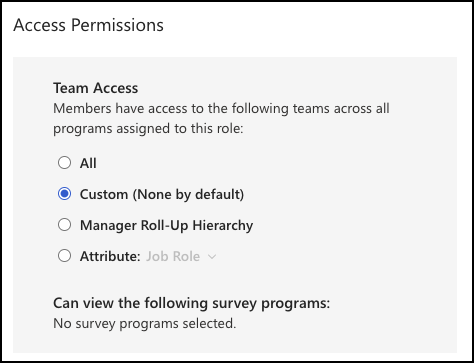
Select Save Changes.
On the Role Settings page, select Report Attributes.
Attributes are separated into sections:
- Standard
- Manager Hierarchy: Select all levels, for roles with Manager Hierarchy-based access, users see only their team
- Other Reporting Hierarchies: For instance, Location or Department Hierarchy
Select all attributes and hierarchies that this role should be allowed to view:
- Report filters
- Report sections
- Comment filters
Select Save Changes.
Tip
Filtering through results across too many attributes makes identifying survey respondents easier. For this reason, it's best to give access to only one attribute per manager role.
Add or edit employees in a role
Select the Add/Edit Employees button. The Choose a way to add employees window opens.
Add members to a User Role by choosing from these options:
- Attribute Rules: User rules like Location or Department to populate a User Role. This dynamically changes with your employee data uploads.
- Import: Use a CSV or XLSX file to import employees for this User Role.
Important
- Switching from Attribute Rules to Import removes attribute rules.
- Switching from Import to Attribute Rules overrides any employees uploaded.
Attribute rule-based User Roles
From your admin dashboard, choose the Configure symbol and then select User Roles.
Choose any role - excluding preconfigured roles.
Select Add/Edit Employees.
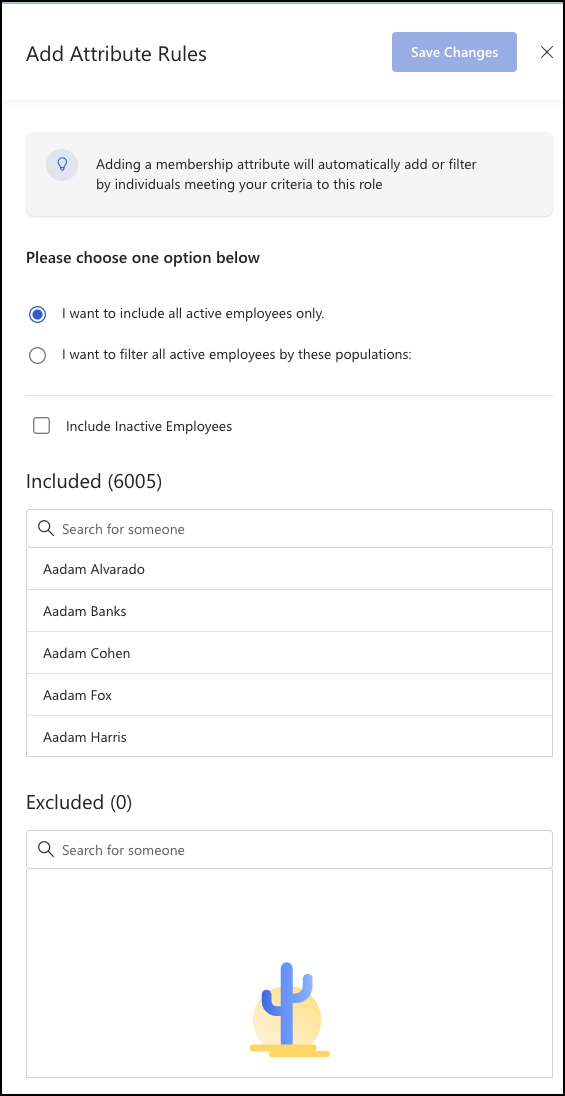
In the new display window, choose either:
- I want to include all active employees only, or
- I want to filter all active employees by the following populations
To add users based on a filtered population, select I want to filter all active employees by the following populations.
Select + New Population.
Select + Add Filter to select an attribute to filter your employee list. Your attribute list is unique to your organization based on your Employee Attribute File.
Select Done.
To exclude someone, search their name and select Exclude.
To remove someone from the Excluded list, search their name and select Remove.
Confirm list for User Role and select Save Changes.
Import User Roles in bulk
When you need to assign many individuals to a specific User Role, use the bulk import feature.
- From your admin dashboard, choose the Configure symbol and then select User Roles.
- On the Role Settings page, select Export. In the window that opens, make your selections and select Export.
- Open the downloaded CSV file and delete all columns except the column with email addresses.
- Add or delete email addresses, as needed. This can be a full replacement for the existing file, so you won't need to have an Add or Remove column.
- Save your file.
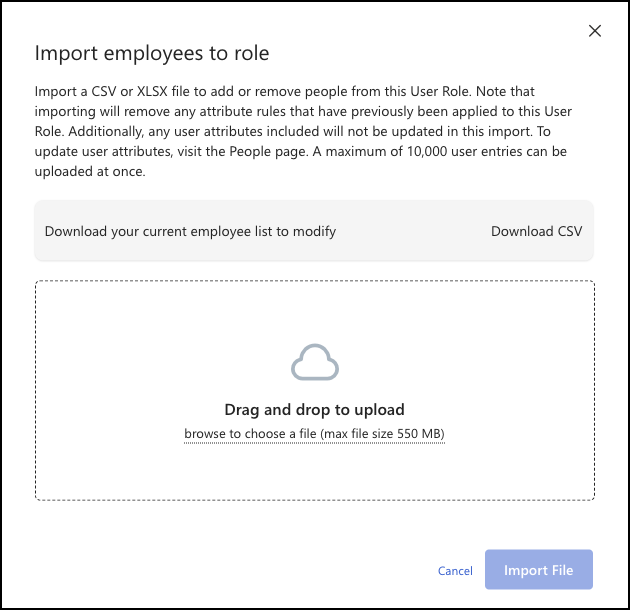
- Return to the Role Settings page and select Import.
- Select the checkbox to indicate if you only added users.
- Drag and drop your file, or browse to select your file, into the area indicated.
- Select Import File.
- Confirm your import and select Confirm Import.
Remove a user from a User Role
- Hover over a user's name.
- Select the trash can symbol.
- Select Yes, Remove.
View and edit attribute rules for a User Role
This functionality works for roles which already have filters and/or populations applied to them.
- From the User Roles page, select a role to view or edit.
- On the Role Settings page, the number of members of this group displays and the attribute rule applies. (Example: Includes: Gender: Female)
- To change, select Edit Attribute Rules.
- In the new display window, choose from:
- I want to include all active employees only, or
- I want to filter all active employees by the following populations
- Add new populations and filters, as desired.
- Choose whether to include inactive employees or to exclude any employees.
- Select Save Changes.
Change a User Role status
To change a User Role from ACTIVE to INACTIVE or vice versa, include the users in an upload file with their status changed to "ACTIVE" or "INACTIVE." This edit can't be made within the User Roles feature.
Grant custom access
Custom access is intended for users who need to have their default access overridden or are in a role that is so specific, it needs to be per user rather than at the User Role level. For example, use custom access for HRBPs who serve unique combinations of employee groups in your organization. To grant custom access in bulk to multiple users for survey, Focus Area, and Admin access, see: Advanced Configuration uploads.