Forms-based Authentication on a Claim-based Web App
When creating web app in SharePoint 2010, we can only choose to use Windows Authentication if we choose to use Classic mode. If we want to use any other authentication method, like FBA, we much choose to use Claim mode. (Although FBA is able to be selected in Classic mode in Beta 2, it would not be available in RTM).
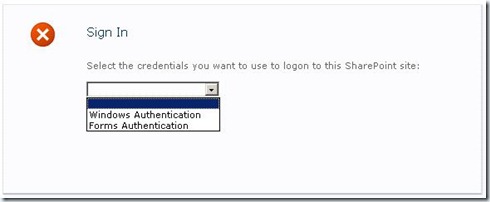
With Claim mode authentication, no matter whether we use Windows Authentication, FBA or the authentication based on other trusted identity providers, the identity is finally converted to claim identity. So now if we want to use different authentication methods for a single web app, we don’t need to extend the web app to get multiple authentication providers. A single authentication provider with Claim mode authentication is all what we need.
The configuration of FBA in Claim mode is a little different from the way we use for MOSS 2007. The following are the steps.
First of all, we must enable Claim mode. If this is a new web app, choose Claim mode when it is created. If this is an existing one, there is no UI to change it (or maybe I didn’t find it on UI). The following PowerShell script can be used:
$w = Get-SPWebApplication "https://<Url>/"
$w.UseClaimsAuthentication = True;
$w.Update()
$w.ProvisionGlobally()
Enable both Windows Authentication and FBA on the page of Authentication Provider settings. Specify the name of the membership and role providers.
Modify web.config of this web app. Add Membership and Role provider, just like what we did for MOSS 2007. Don’t change defaultProvider setting because it is used by the provider of Claim.
Logon to the web site with Windows Authentication. Add an FBA user. Check whether the user name can be resolved. If not, review the providers’ settings.
Although the FBA user name can be resolved now, FBA doesn’t work. This is because SharePoint 2010 uses SecurityTokenService to convert FBA identities to Claim identities. We must tell this service how to verify FBA users. So the next step is important.
There is a Service Application for SecurityTokenService. Modify web.config of this Service App and add our Membership and Role provider. Providers’ name and configuration should be the same as the settings in our previous web app. The folder of SecurityTokenServiceApplication can be found via IIS manager.
FBA should work now. If we need to resolve FBA users in Central Admin, the configuration of the providers must be added to web.config of Central Admin too.
Reference: https://technet.microsoft.com/en-us/library/ee806882(office.14).aspx
