Move and Store Operations Management Suite (OMS) Log Analytics Data to Azure SQL Data Warehouse using Azure Data Factory – Part 2
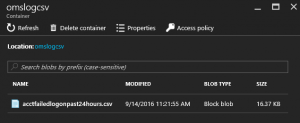
So let’s pick up where we left of in part 1 of this series. If everything was done correctly, you should now have a CSV file in your storage container like I’m showing below. If you do not have your CSV file in your storage container, please do so before continuing.
Step 6: Create an Azure Data Factory Service and Create Linked Services to Azure Storage Blob and Azure SQL Data Warehouse
Setting up the Azure Data Factory service is actually very simple to do. Follow this post Build your first Azure data factory using Azure portal and run through all 7 steps to set it up.
After you have the Azure Data Factory service up, now we just need to setup the connected resources to connect our Azure Storage account where the OMS Log Search CSV file is located, and the Azure SQL Data Warehouse database is located. Be sure to have your storage account name, storage account container name, storage account access key, data warehouse name, data warehouse user name and password, data warehouse table name created earlier, and the OMS log search csv name.
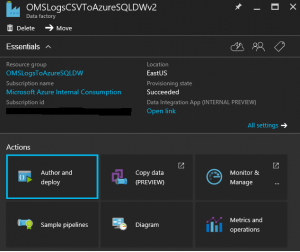
Go to your newly created Azure Data Factory service and click on the Author and deploy tile.
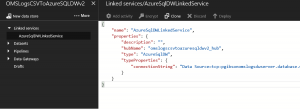
Select 'New Data Store', and then 'Azure SQL Data Warehouse'. Fill in the connectionstring property of the JSON file with the information for your Azure SQL Data Warehouse, then click 'Deploy'.

Select 'New Data Store', and then 'Azure Storage. Fill in the connectionstring property of the JSON file with the information for your Azure Storage Acouunt, then click 'Deploy'.
Step 7: Use the Data Factory Copy Wizard to create a Pipeline from Azure Storage to Azure SQL Data Warehouse
The Azure Data Factory Copy Wizard will create a pipeline activity that will read our CSV file on Azure Storage, then move its data contents over to the Azure SQL Data Warehouse database table we created earlier. The beauty about the Azure Data Factory Copy Wizard is that there is essentially no code to create, and provides a wizard based approach. Once you use it you'll start to see how easy it can be utilized for other tasks of moving data around in your environment. One thing to note is I've created this solution many times and have different sets of screen shots that I'm using. So please ignore the fact that some of my naming conventions are not exact throughout these post. Just ensure yours are correct and the solution will work for you. For more detailed information on using the Data Factory Copy Wizard check out the following post for a tutorial and please refer to it if you find things not working correctly https://azure.microsoft.com/en-us/documentation/articles/data-factory-copy-data-wizard-tutorial/.
Go to your Azure Data Factory service and click on the 'Copy data (Preview)' tile.
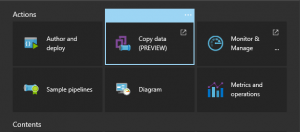
This will launch the Data Factory Copy Data web page.
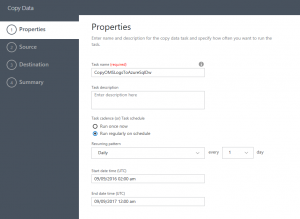
On the Properties page:
- Enter a the task name like 'CopyOMSLogsToAzureSqlDw'.
- Enter a description (optional)
- Choose the task cadence to run regularly on schedule and choose Daily once a day.
- Select a start time in the past and then set a stop time in the future. For testing I did put a value of yesterday and then ended it a year in the future. The key thing with the time is that you want to sync this to after your Azure Automation schedule will make the CSV file available. We'll discuss that in more detail later.
- Click 'Next'.
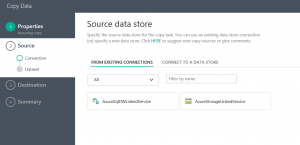
On the Source data store page click on 'From Existing Connections', then select the Azure Storage linked service you created and click 'Next'.
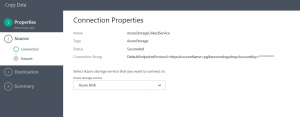
On the Connection Properties page, just ensure the Azure storage service is set to Azure Blob and click 'Next'.
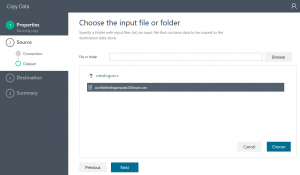
On the Choose the input file or folder page, double click on the storage container and then choose the CSV file from the OMS log search results. Click 'Choose' and click 'Next'.
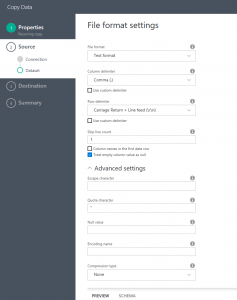
On the File format settings page, most of the setting should be auto-detected. Make sure you enter 1 for the Skip line count. Also expand Advanced settings and enter a quote <"> in the Quote character field.. Click 'Next'.
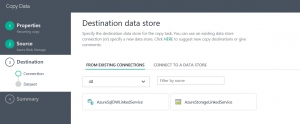
On the Destination data store page, again choose 'From Existing Linked Services' and then select the Azure SQL Data Warehouse linked service you created and click 'Next'.
Click 'Next' on the Connection Properties page.
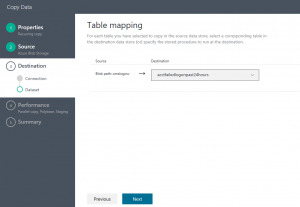
On the Table mapping page, choose the table we created in the database. Click 'Next'.
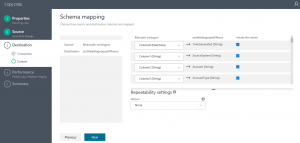
On the Schema mapping page, just ensure that the data type from the CSV file detected is the same data type being mapped over to the database table. You could experience errors when the pipeline runs if the data types do not match up. Click 'Next'.
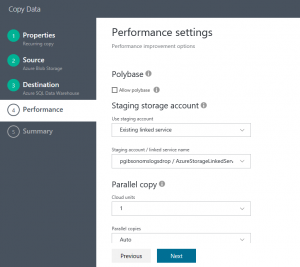
On the Performance setting page, uncheck the 'Allow polybase'. For this test we will not need it. This is something you can revisit when you start building your production solution. Click 'Next'.
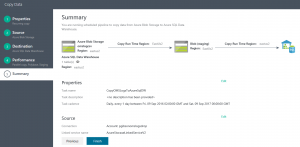
Click 'Finish' on the Summary page once everything looks correct. This will start the build of the pipeline.
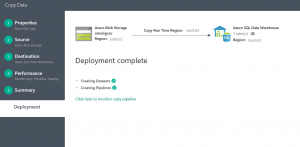
Your deployment should now show complete.
Step 8: View Your Data in the Azure SQL Data Warehouse
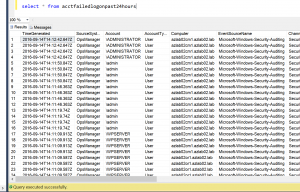
Finally we've made it to the final step. If everything went as planned, the pipeline should execute with no issues. You can view the pipeline status in the Azure console as well as using PowerShell cmdlets. You can now connect to your Azure SQL Data Warehouse and see the exact same data from the CSV file loaded into the database table like below.
Final Thoughts
So this was a quick tutorial on how to archive OMS Log Analytics data in a Azure SQL Data Warehouse leveraging Azure Data Factory. Hopefully this activity has sparked some solutions you could utilize OMS Log Analytics and Azure Data Factory for as it has done for me.
Phil Gibson
Cloud Solutions Specialist | MCSD: Azure Solutions Architect