Nano Server Image Builder
Hello folks,
I was looking at some questions i got in my last user group sessions where we were discussing Microsoft Windows Server 2016. i was going to answer one of them in this post. “how do you hardcode an IP address in Nano server?”.
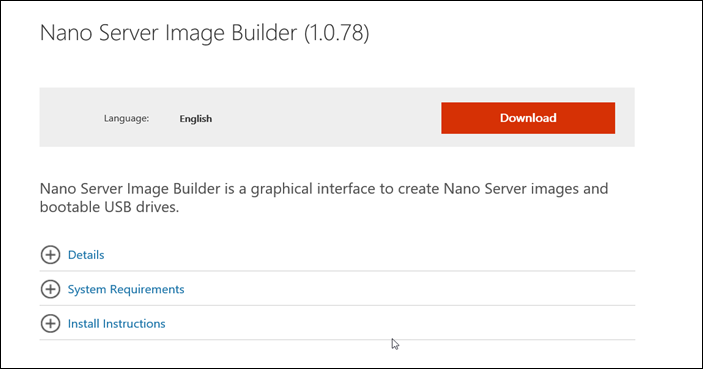
BUT, i decided at the last minutes to switch my topic to talk about a tool that was released in mid October to make it REALLY easy to create your Nano server images. The Nano Server Image Builder. You can find it here. It’s a graphical interface to create Nano Server images, bootable USB drives and ISO files. It will also allow you to automate your installation of Nano Server because it also gives you complete reusable PowerShell scripts based on your GUI choices.
You can run in on either Windows 10, Windows Server 2012 R2 and Windows Server 2016. The prerequisites are simple. It only requires the Windows ADK to be installed. This is a free tool. Check it out!
The tools can help you create customized Nano Server images in VHD, VHDX or ISO formats and can create bootable USB media to deploy Nano server or detect the hardware configuration of a server. Let’s create one.
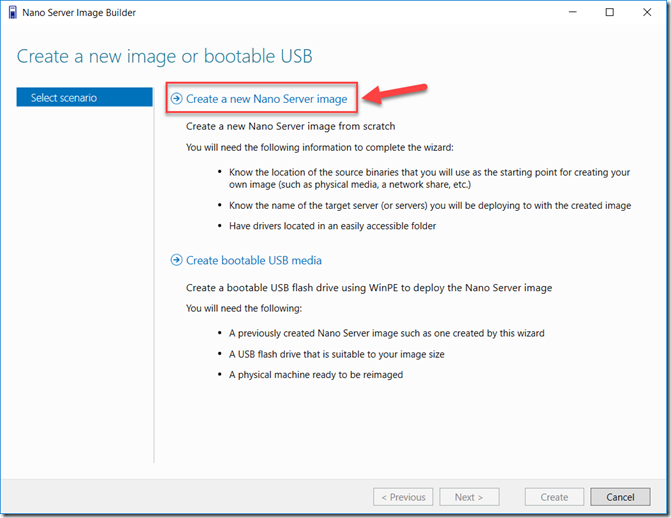
1- First, once you started the tool. Pick the process you’re looking for. Build am image? or a USB bootable key. I picked and image.
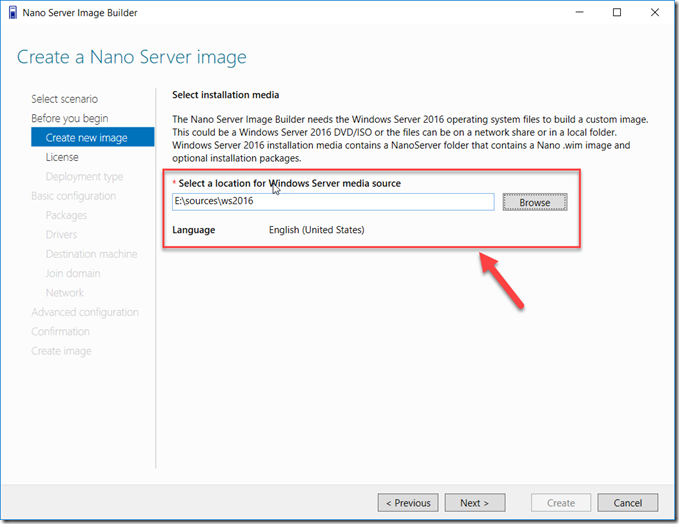
2- After you’ve gone through the “before you begin” screen, provide the location of the source files. you can point that to a DVD, a flat file structure somewhere, or the IOS file. In my case I pointed to a flat file structure on my machine.
3- Review and accept the license terms in the next screen before you proceed to selecting the deployment type.
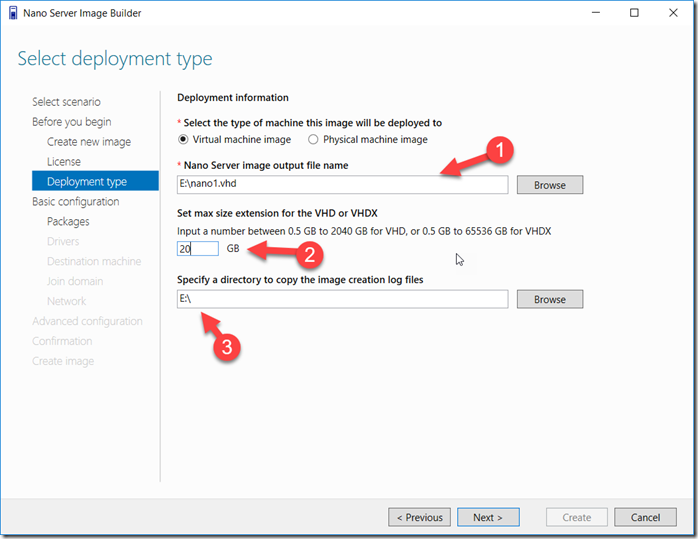
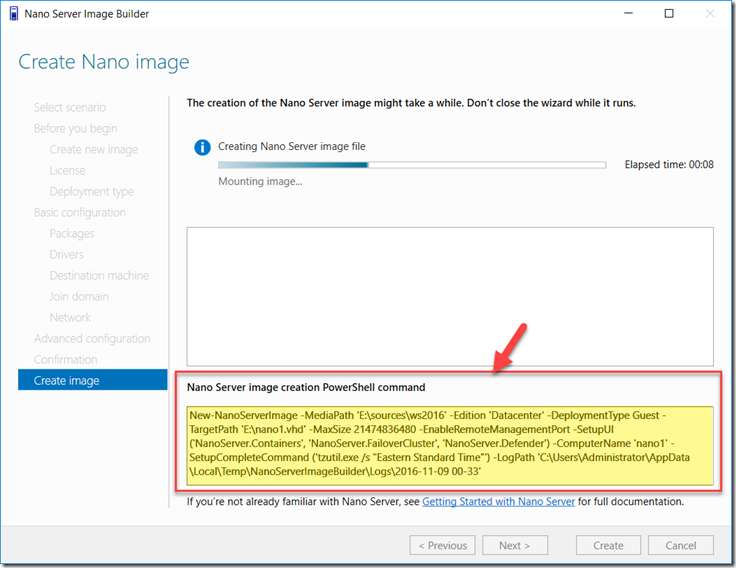
in my case i selected a Virtual Machine Image, provided a location for the VHD, its size, and where to store the logs. I plan on using this image and upload it to Azure so i kept it a VHD since a VHDX is not supported in Azure.
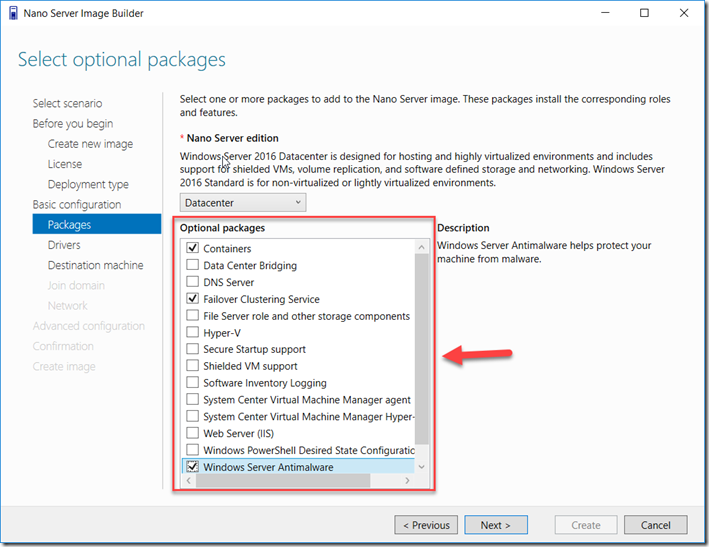
4- After the “Basic Installation” information screen we move on to selecting the packages that this server will have. That in effect is what role will this box run. I selected The Containers package, the Failover Clustering Service package and the Antimalware package.
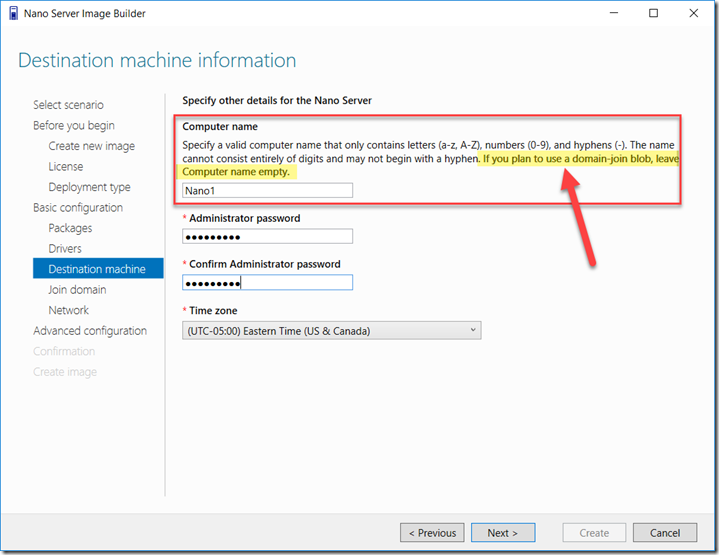
5- the next screen will give you the opportunity to inject device drivers in your image. i have none in my case, so i moved on to specifying the machine name, and the password for the administrator account. Please note the write up on domain joining this server. If you are planning to join a domain by using a harvested domain-join blob leave the name blank!!
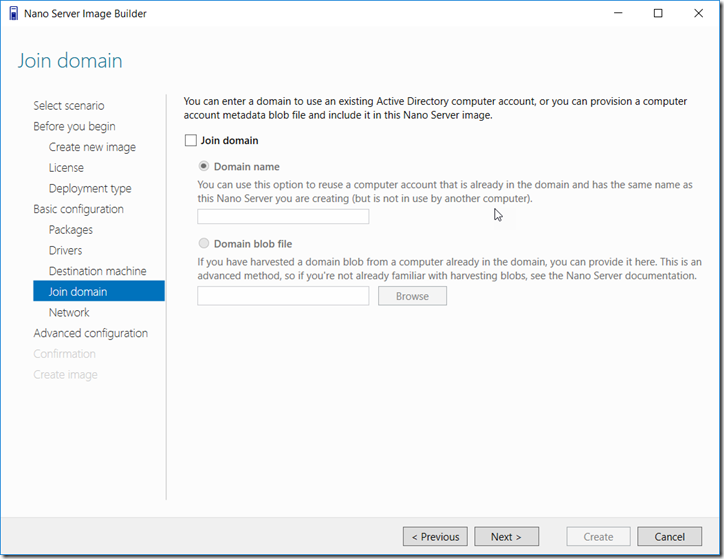
6- The next screen is where you specify the domain info. I do not have a domain on my test machine, so i left this blank. If you need info on how to create a domain join blob, i covered that in an older post when i discussed Step-By-Step: deploying Nano Server using WDS. Check it out.
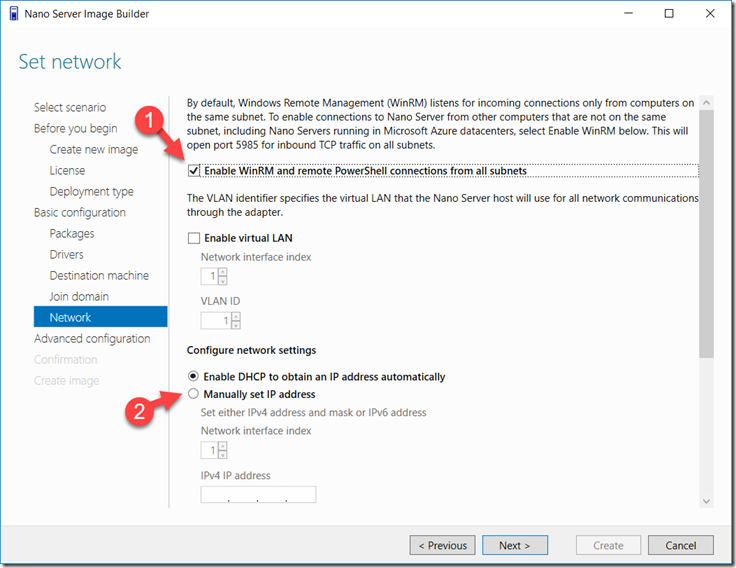
7- Next i setup WinRM to insure i can remotely manage the Nano server once it’s deployed. You can also hardcode the IP address on this next screen. (I guess i answered the original question after all…. LOL )
8- You’re pretty much done! let the wizard complete the tasks and you’ll have your image. and copy the PowerShell script that way you can automate creations of new machines.
That’s it!
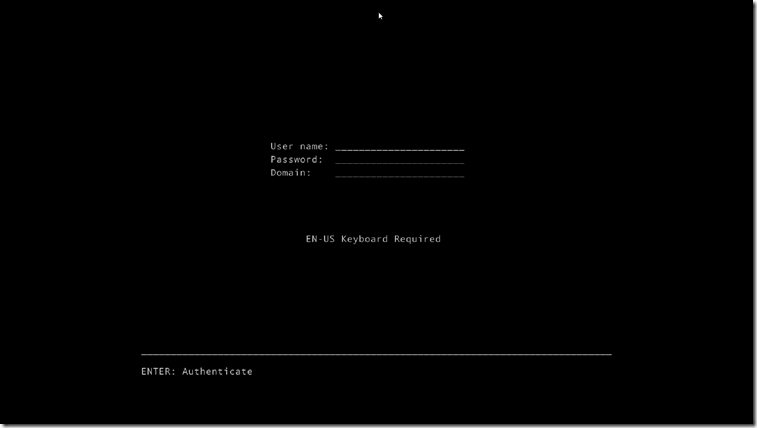
You have your image. I create a virtual machine in Hyper-v on my laptop and now I've got a Nano server ready to support a container cluster.
I hope this was useful!
Cheers!
Pierre Roman
@pierreroman
