Management Agent Configuration – Part 4: Delimited Text File Management Agent
This is Part 4 in a series of commonly used management agents. In Part 1 we looked at configuration of an Active Directory Management Agent (ADMA); in Part 2 we looked at the configuration of the FIM Service Management Agent (FIMMA), and in Part 3 we looked at the configuration of a Microsoft SQL Management Agent (SQLMA). With this post, we’ll take a look at delimited text file management agents.
As before, to begin navigate to your Synchronization server.
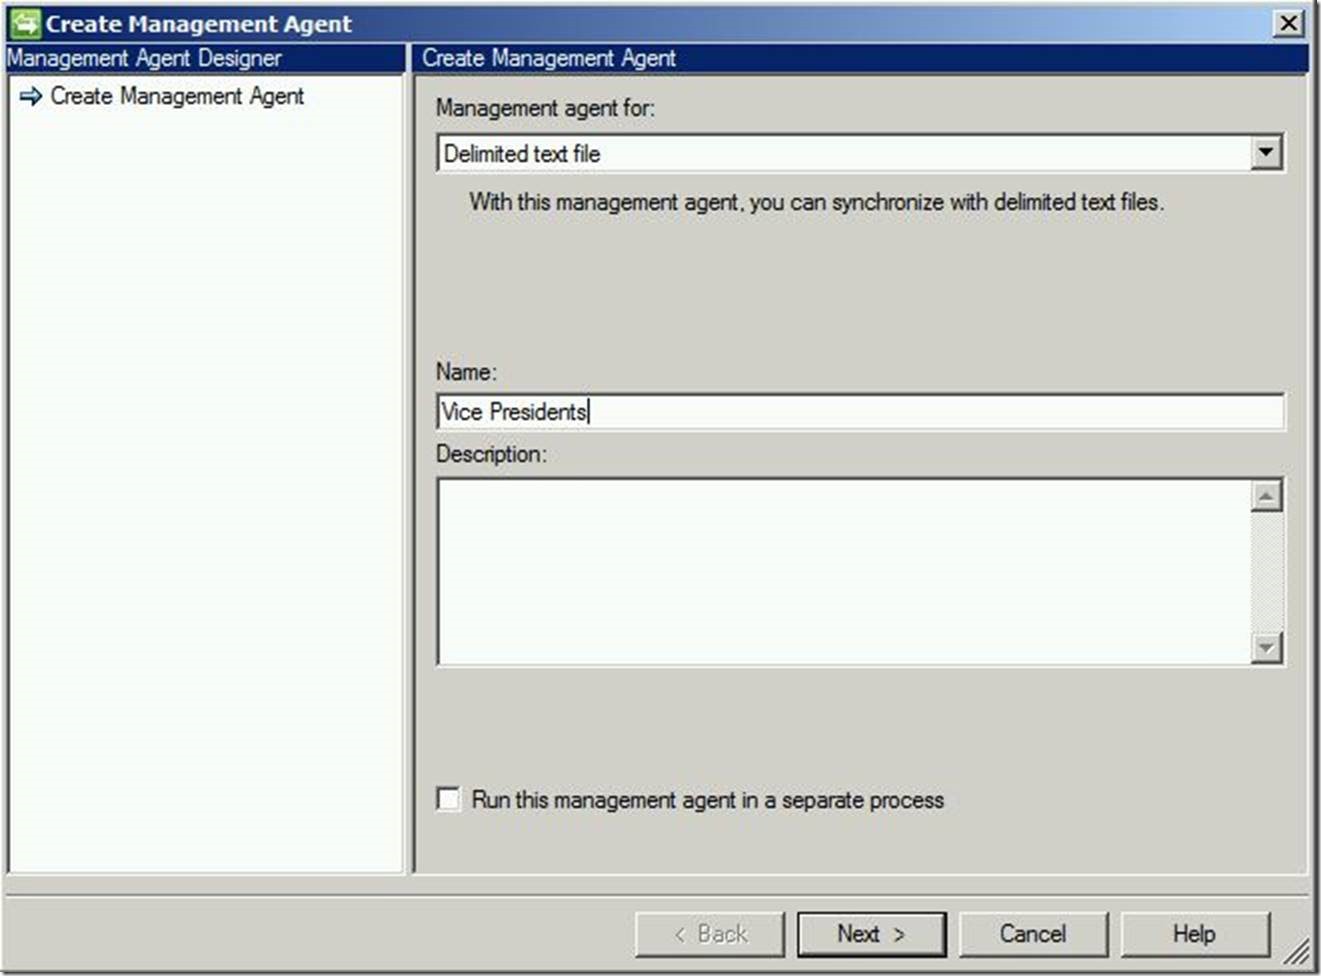
From here, click “Create”. Using the “Management agent for:” drop down menu, select “Delimited text file”. Enter a name, then click “Next”.
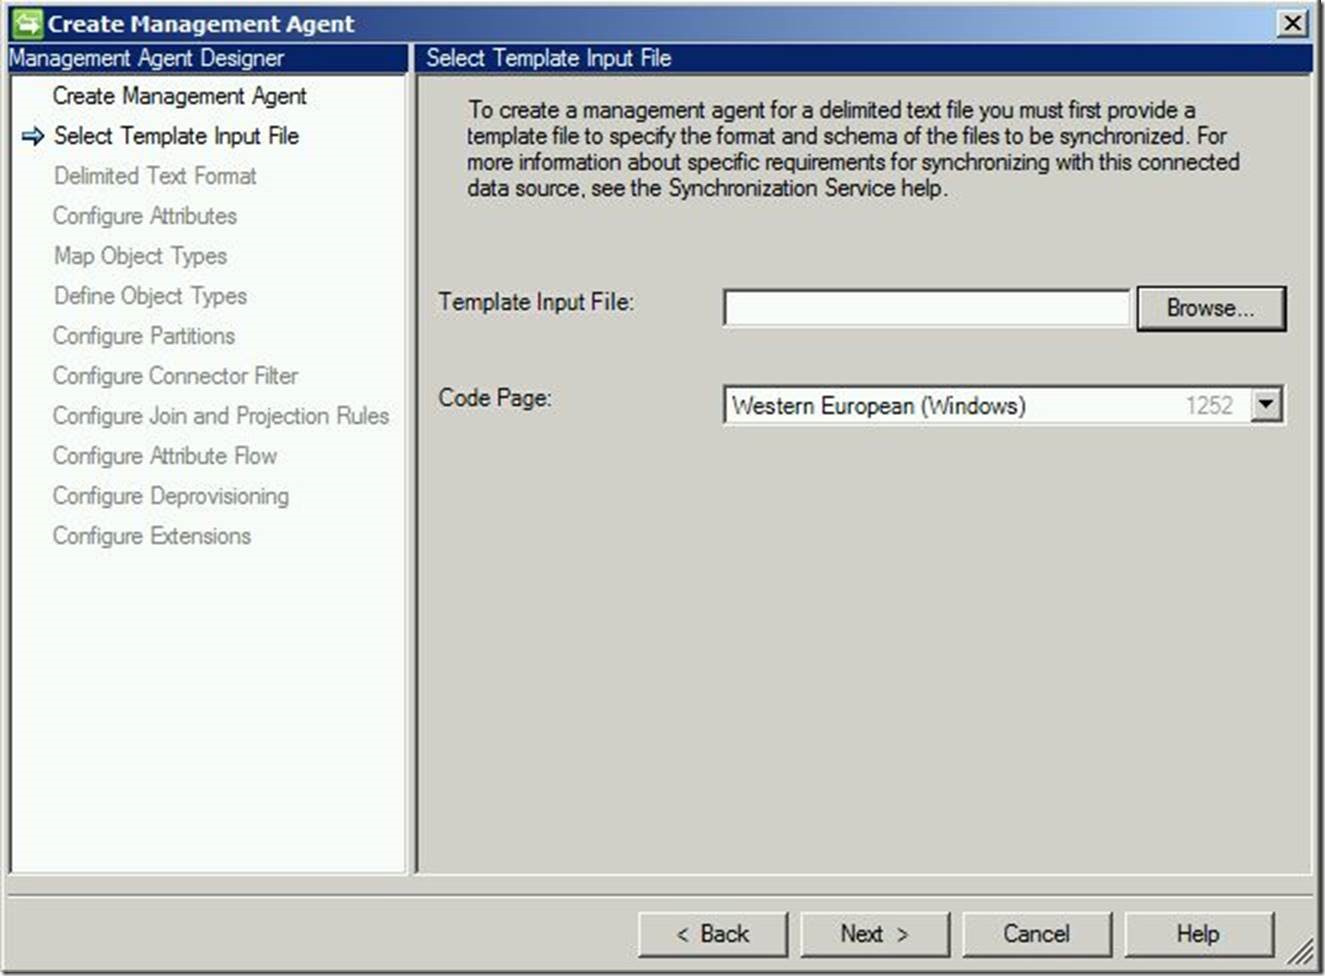
It is necessary to input a “template” file so that FIM may know the formatting. It is perfectly acceptable here to use the actual user data containing file as the template. To locate it, click “Browse”.
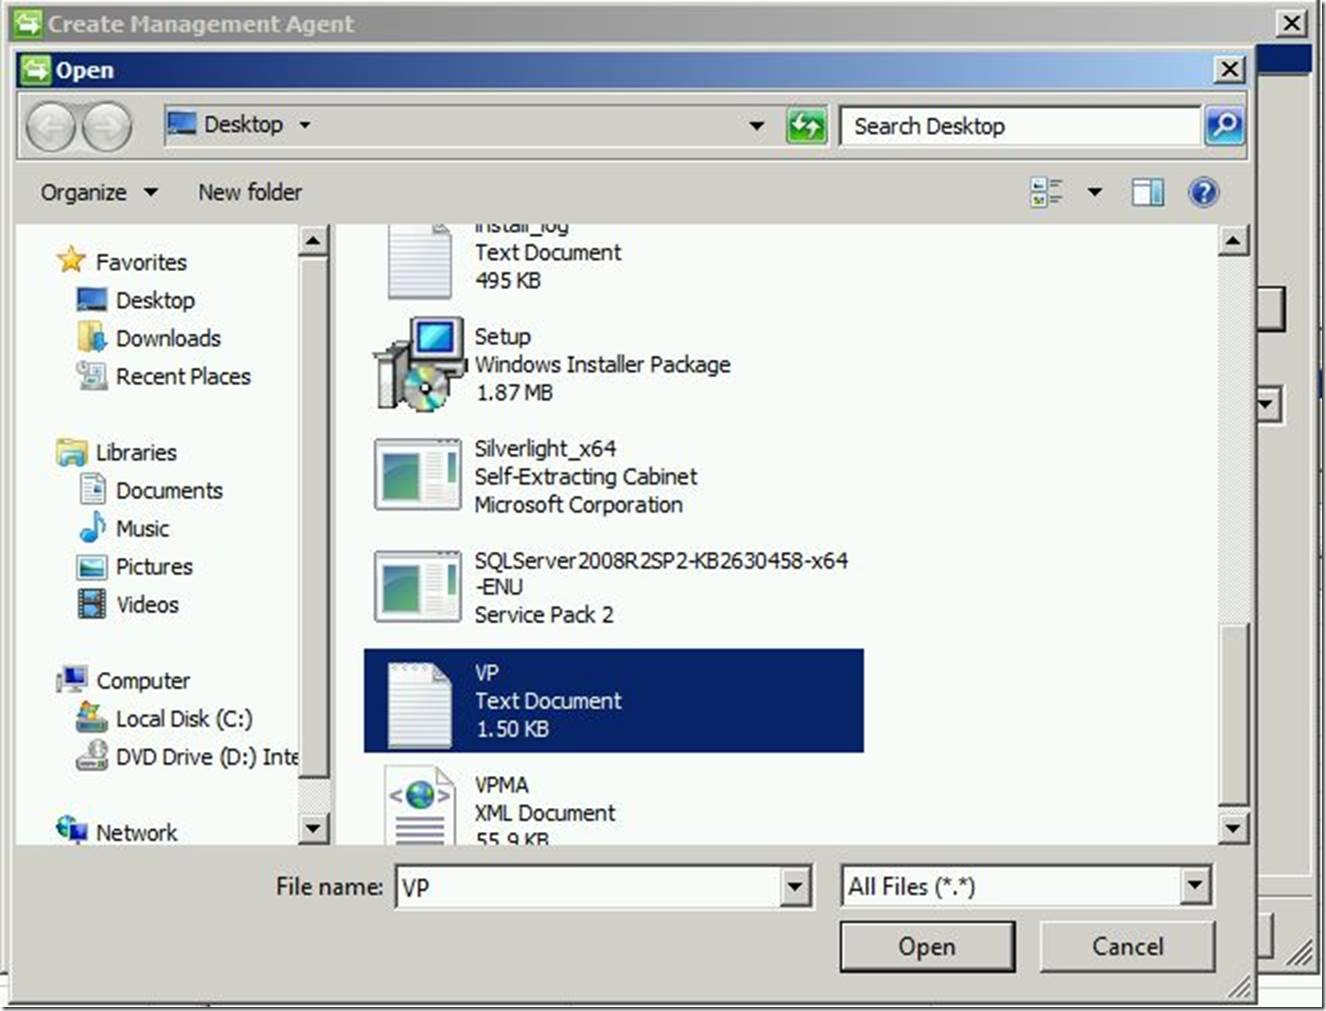
Select the text file you wish to use and click “Open”, then click “Next” to continue.
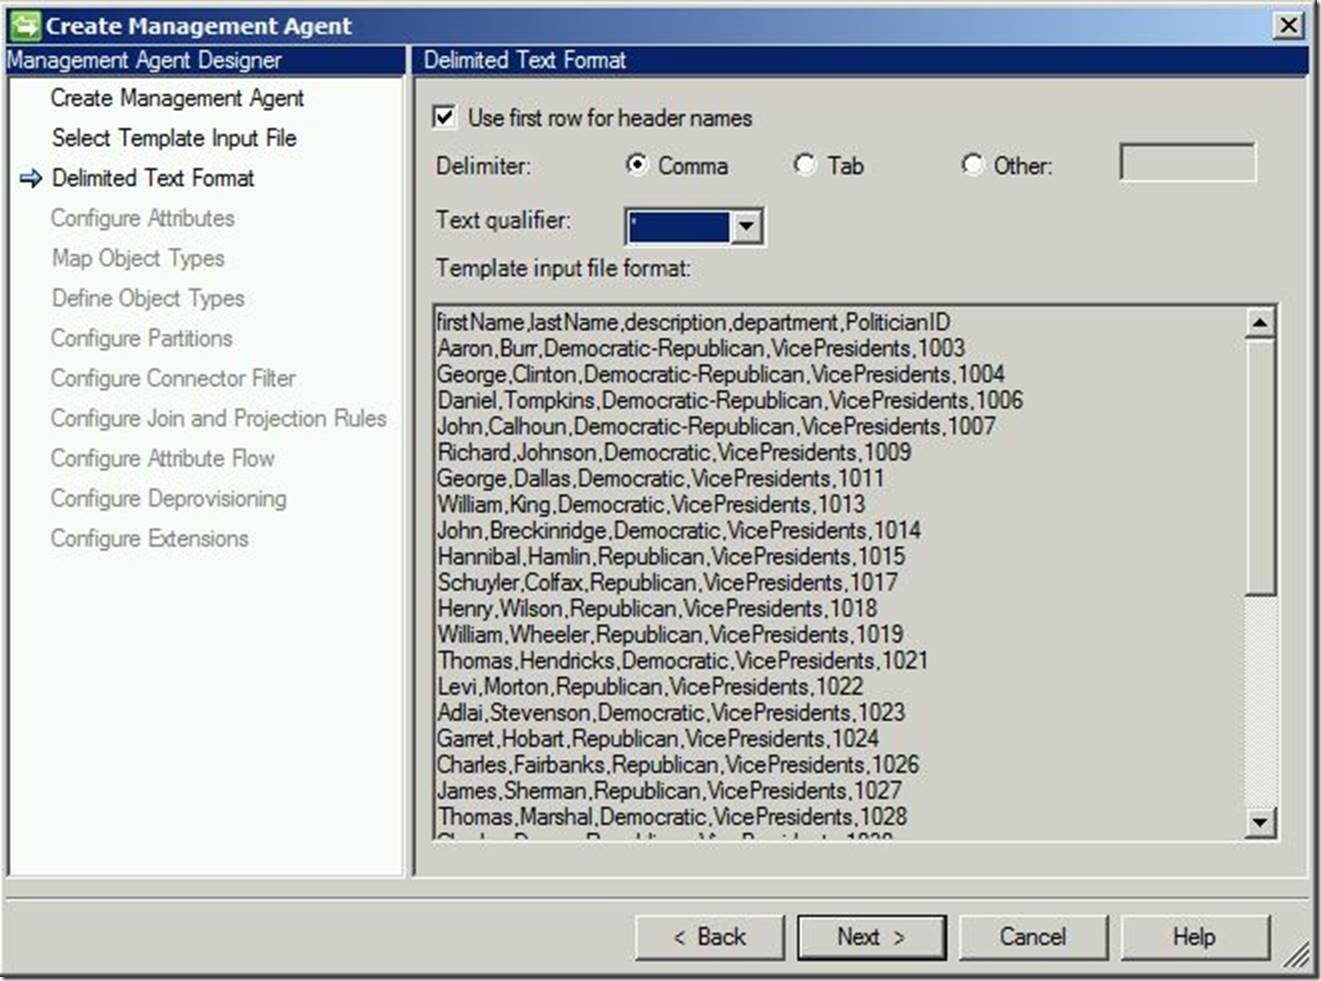
If your input text file has a header row (such as the below example), place a check in the box next to “Use first row for header names”. Select the delimiter type and text qualifier. In this scenario, we are delimiting with commas and using an apostrophe as a qualifier. Click “Next” to continue.
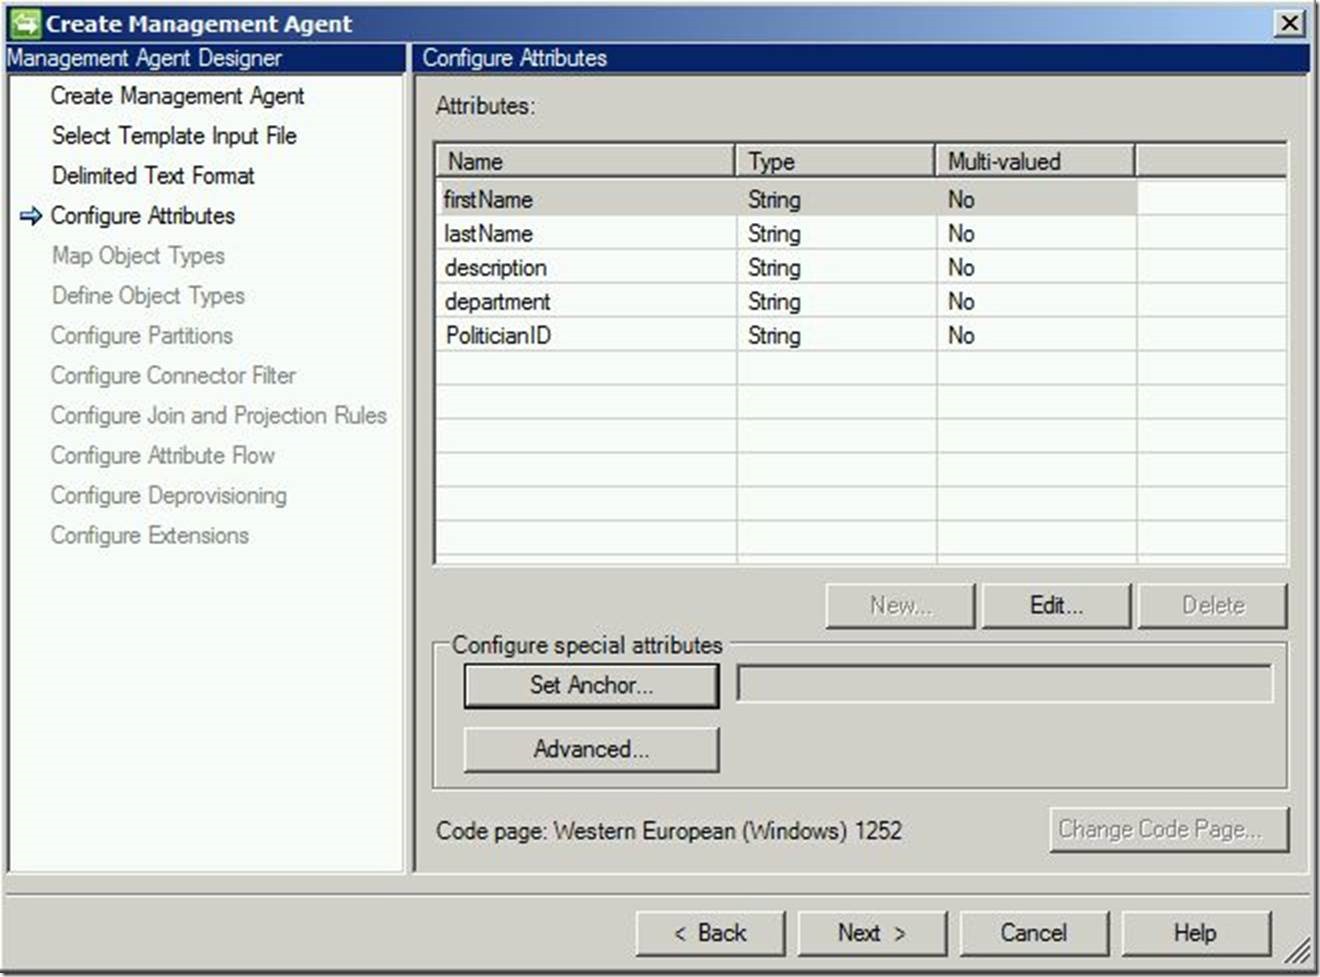
Here we should see all the attributes being read in from the file. If any of these are multi-valued and need to be changed, select “Edit”. Also, under “Configure special attributes”, select “Set Anchor…”
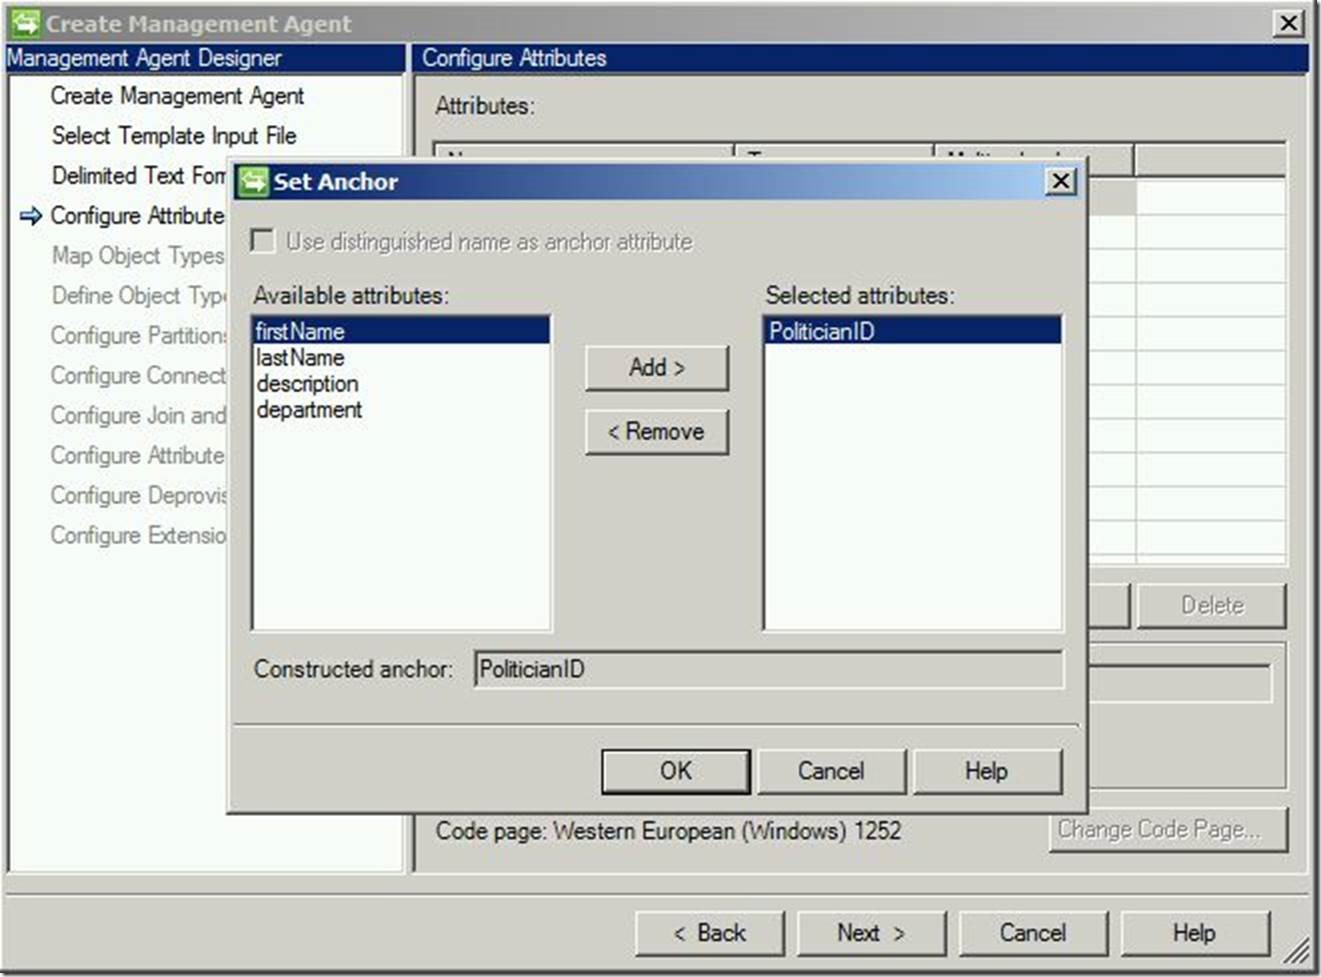
This will display the “Set Anchor” dialogue. Select an anchor attribute from the left-hand list and click “Add”. Note that an anchor attribute must be present and unique on each side (i.e. text file as well as inside FIM). Once selected, click “OK”.
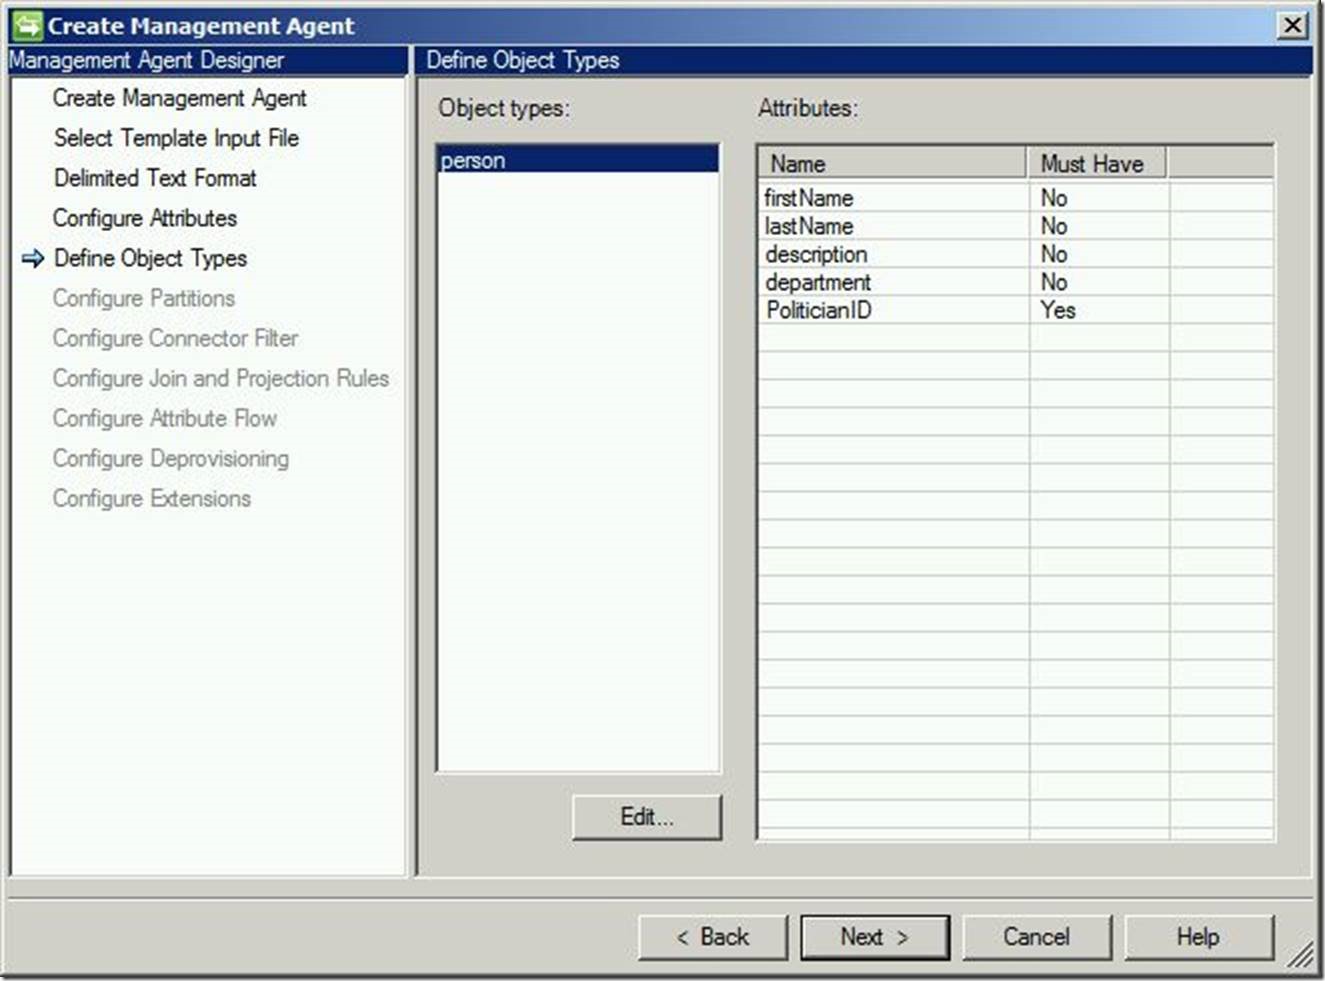
For “Define Object Types”, we may leave these default. Click “Next” to continue.
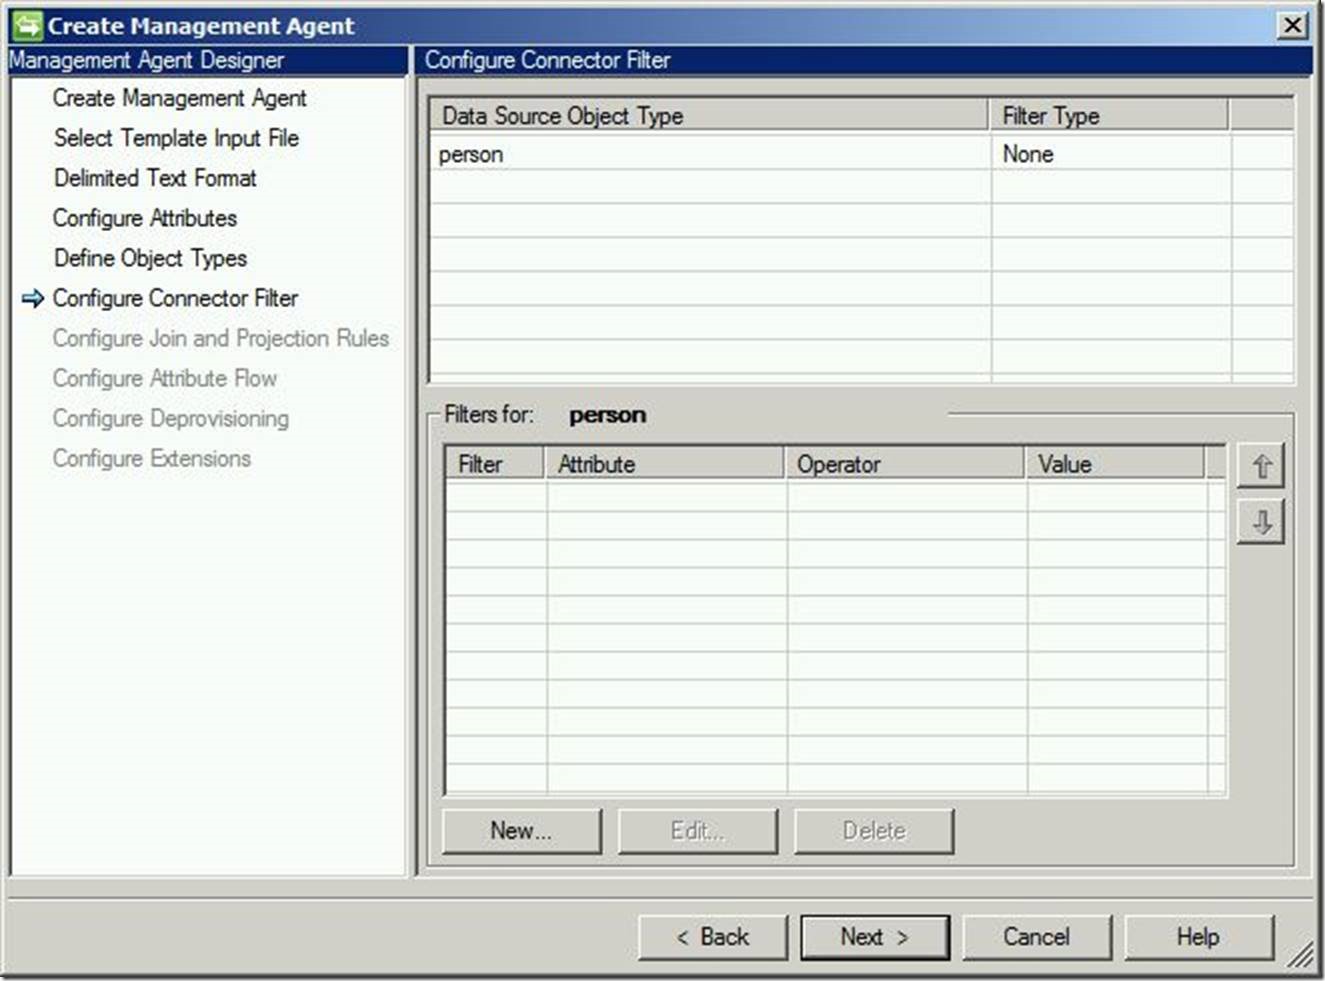
For “Configure Connector Filter”, we will leave these default. Click “Next” to continue.
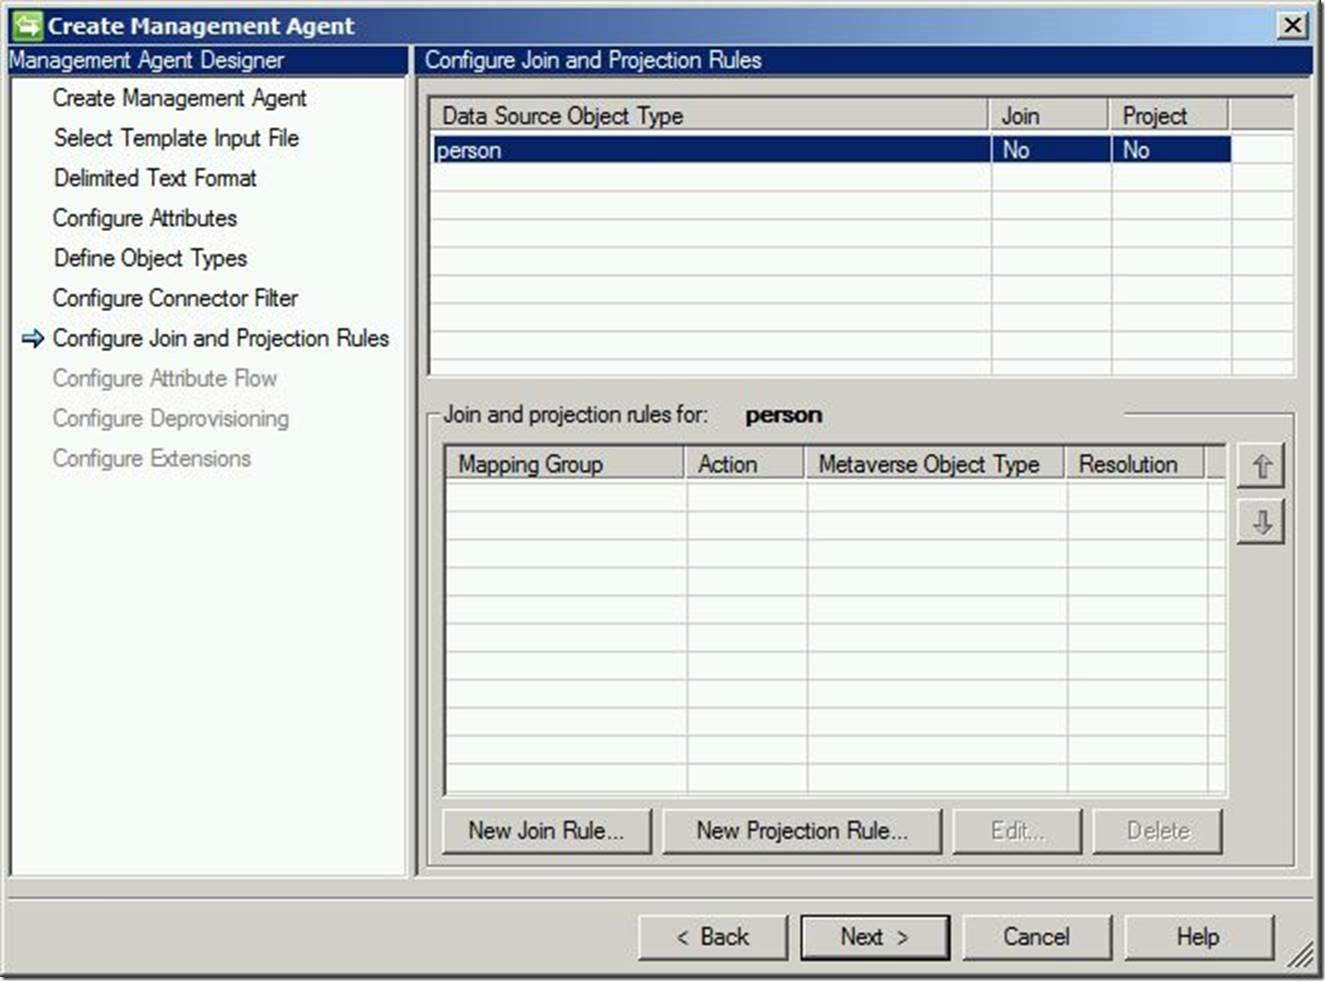
For “Configure Join and Projection Rules”, you may wish to include join logic. If so, click “New Join Rule..”
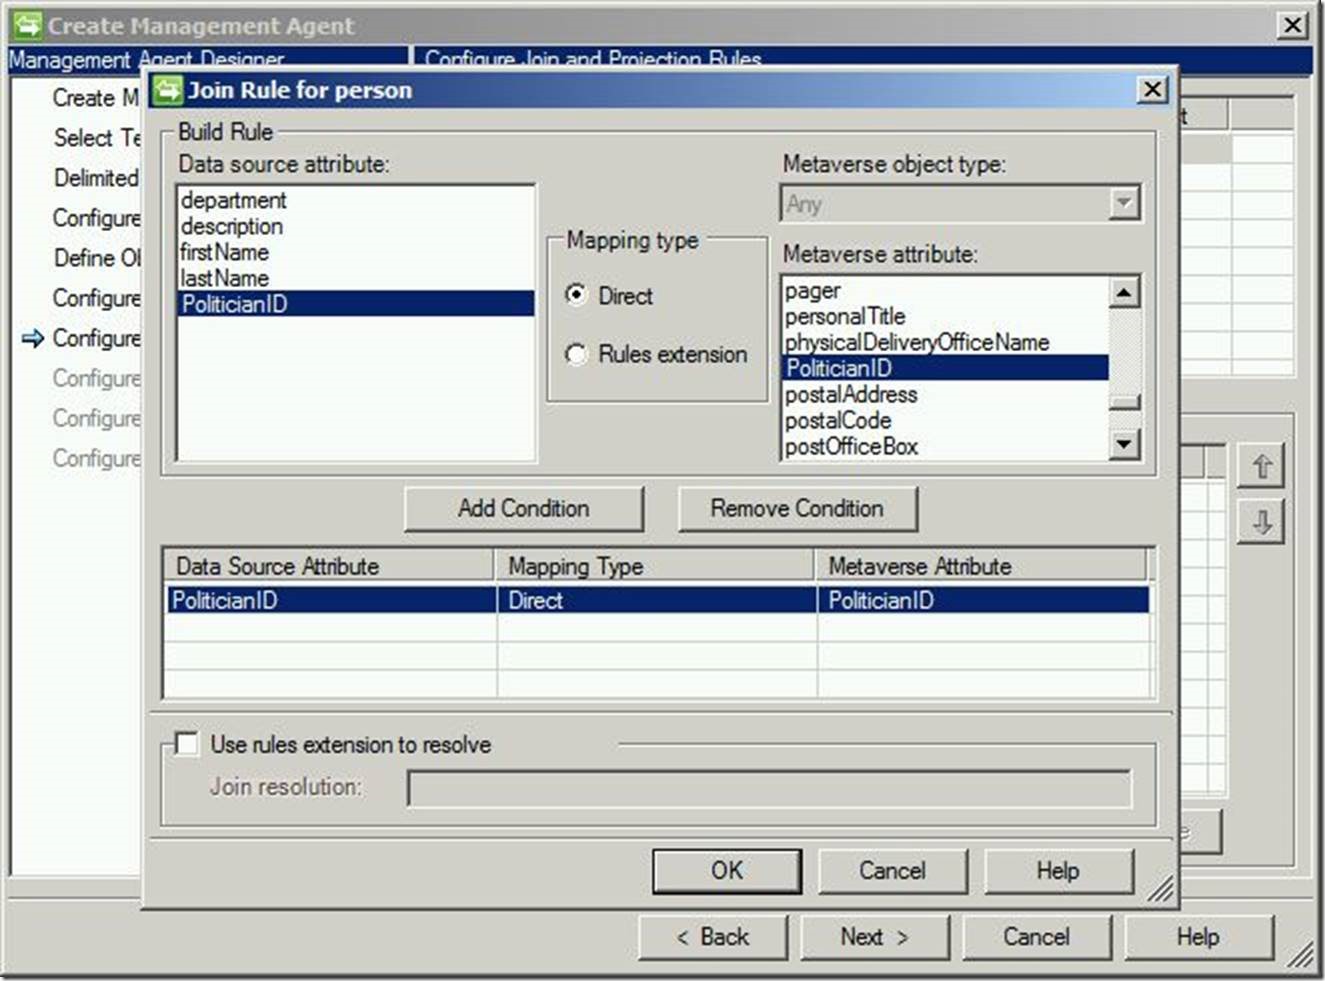
In this scenario, I am creating a “Direct” join mapping of “PoliticianID” to “PoliticianID”. This is because I know (in this environment) it is unique for every user object. Click on “Add Condition” and then click “OK”. Click “Next” to continue.
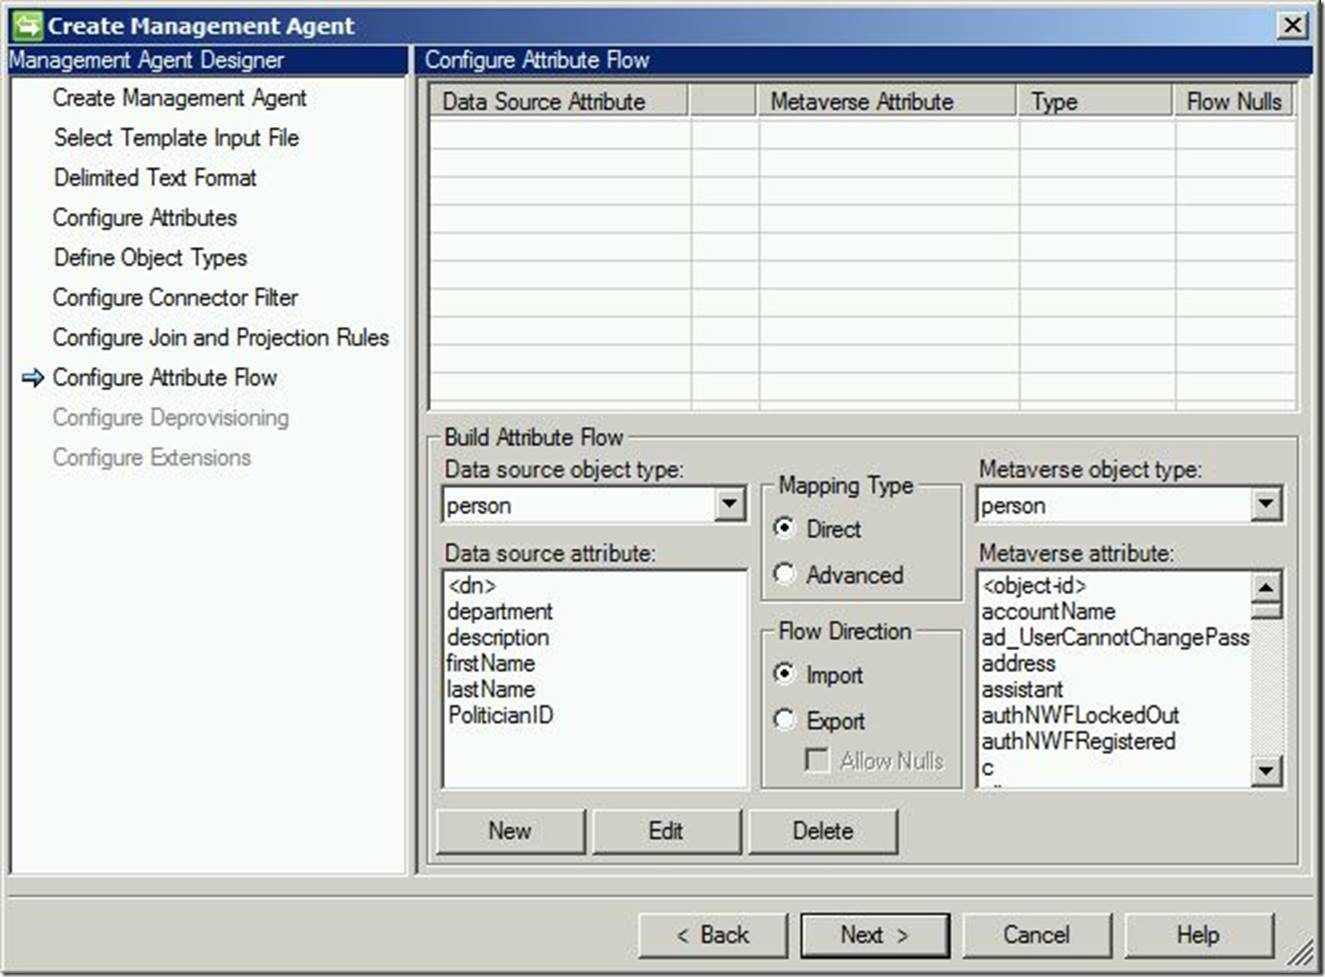
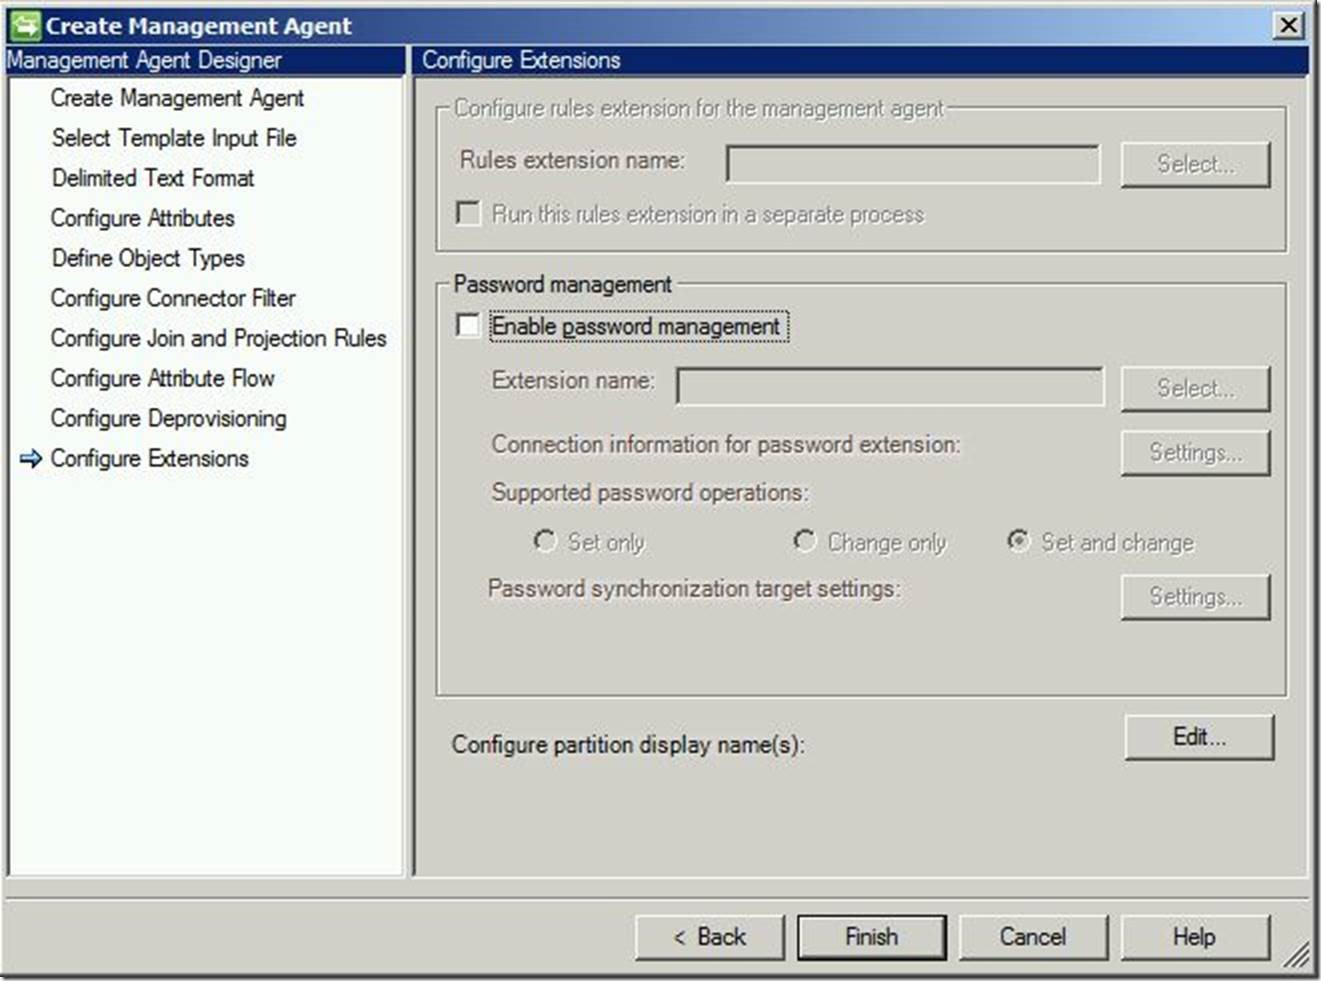
For “Configure Attribute Flow”, we will leave this default. By doing so, we will pull all available attributes from the source file into FIM and then manipulate them there (based on workflows, sets and synchronization rules). Click “Next” to continue.
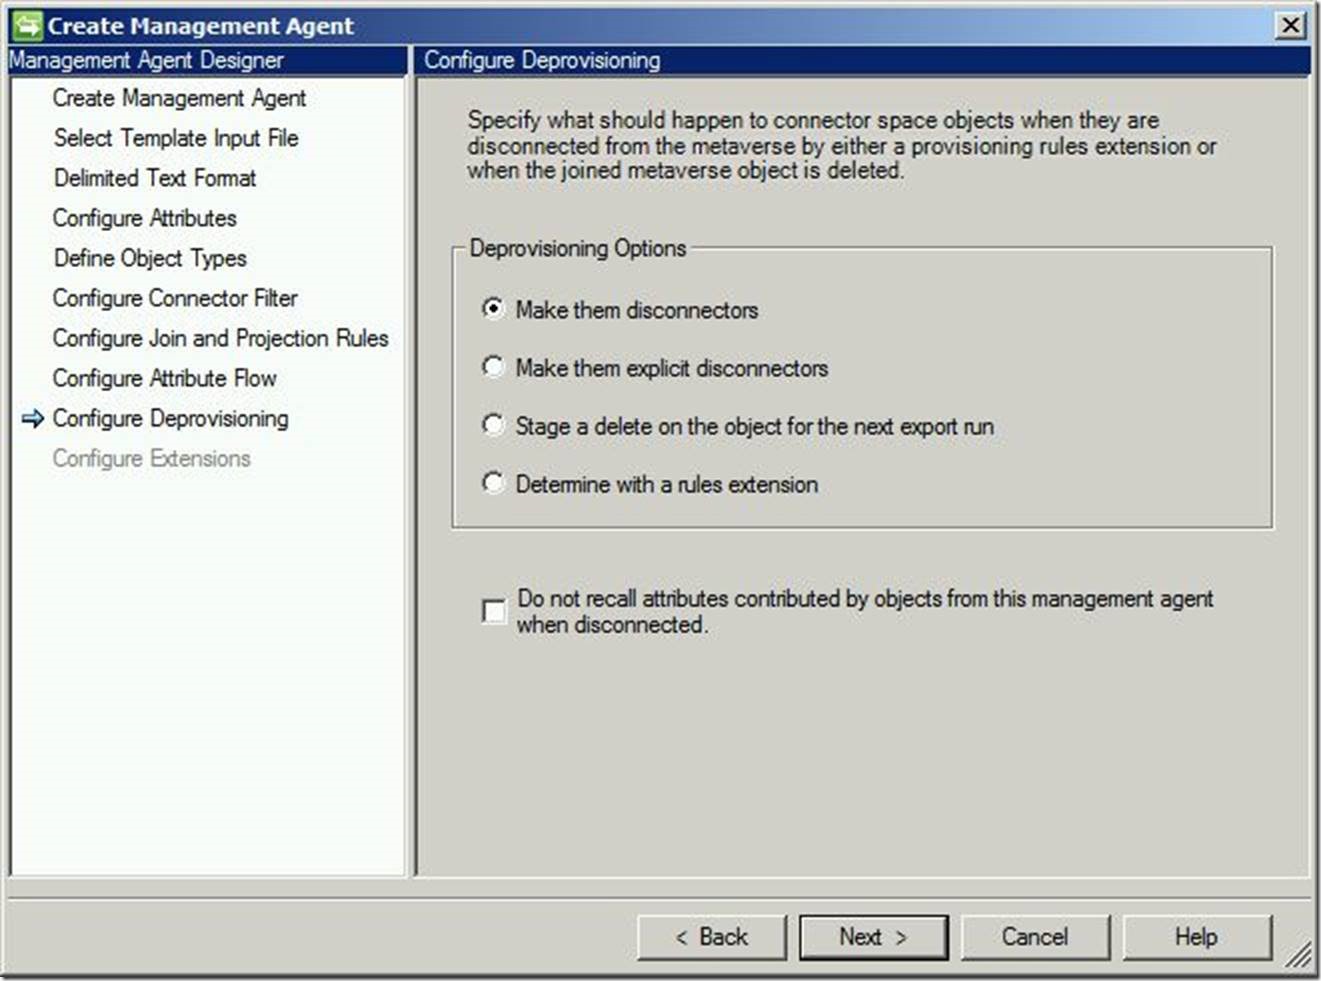
For “Configure Deprovisioning”, we may leave this default or select another option based on your environment. Click “Next” to continue.
For an explanation of these options, please see this post for disconnections, this post for explicit disconnections and this post for deletions.
Click “Finish” to complete.
We should now see our newly created management agent.
Questions? Comments? Love FIM/MIM so much you can’t even stand it?
>WE WANT TO HEAR FROM YOU<
## https://blogs.msdn.microsoft.com/connector_space# #
Comments
- Anonymous
May 18, 2017
i am facing configuration file error, when tries to create run profile for delimited text file connector- Anonymous
November 23, 2018
@Shashidar - The configuration file is actually the CSV or delimited Text file which your MA has to talk to. The description seems miss guiding. Hope this helps
- Anonymous
- Anonymous
May 23, 2017
@shashidhar can you detail the error a bit more? does the file have a header row? what character are you using to delimit your values?

