Backup SQL Server 2014 CTP1 using System Center Data Protection Manager 2012 R2 and Windows Azure Backup
In this step-by-step guide I will explain how to protect a SQL Server 2014 CTP1 server instance using System Center Data Protection Manager 2012 R2 and Windows Azure Backup. For the purpose of this blog post, I will use an environment completely cloud based, but consider that this will also work in an on-premises scenario in the same way. Communication between the Recovery Services and the Data Protection Manager virtual machine is possible using digital certificates.
STEP 1
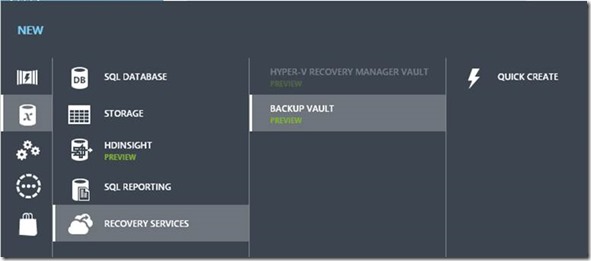
Register for a Windows Azure trial subscription, then enable and configure Windows Azure Backup feature.
For the detailed steps of Recovery Services configuration, you can visit this page.
STEP 2
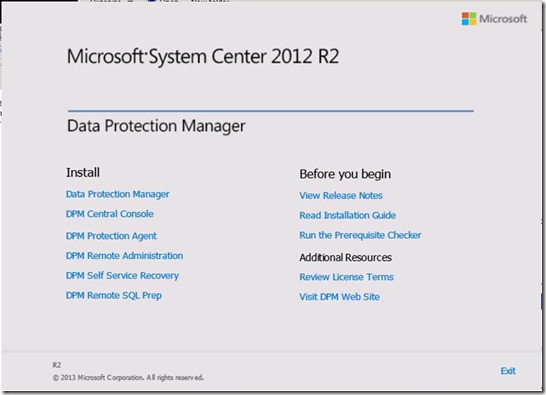
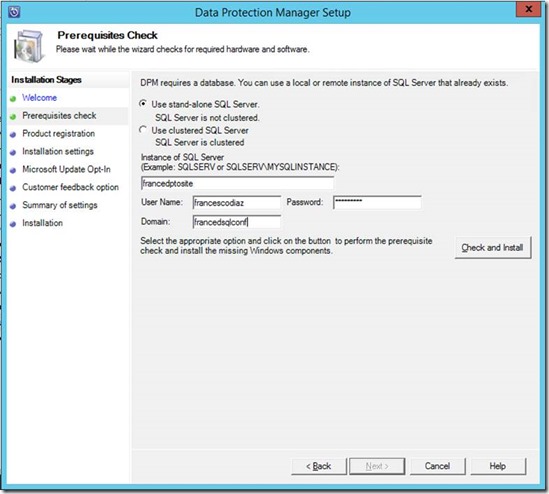
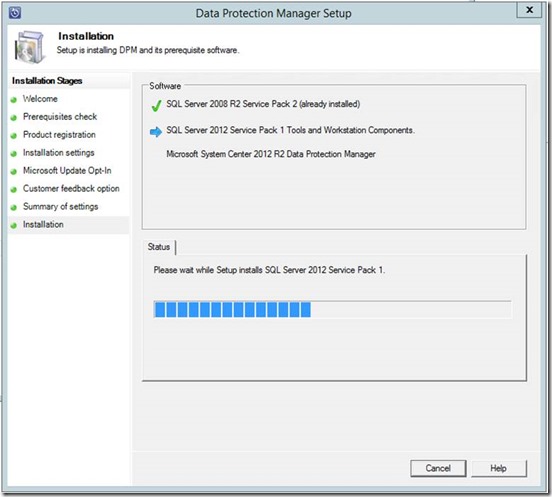
Install System Center Data Protection Manager 2012 R2. The setup of DPM is simple; you need a SQL Server instance to host the DPM database. To prepare the instance you need to run the DPM Remote SQL Prep command from the DPM setup screen. After that the SQL Instance is ready you need to prepare the DPM Server, using the Data Protection Manager option.
To have a virtual machine ready in a few minutes you can use the Windows Azure image gallery which contains ready-to-use templates, even with the latest beta builds.
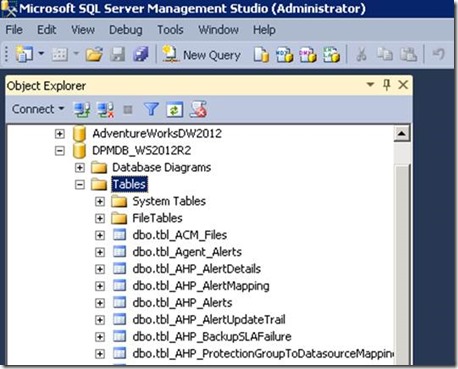
The setup installs a database named DPMDB_[computername]
STEP 3
DPM 2012 R2 configuration.
The management console gives you the list of suggested steps to do in order to have the basic configuration up and running.
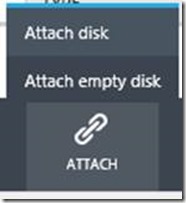
I have attached and empty disk to the virtual machine in order to configure a storage pool. Formatting the disk is not required.
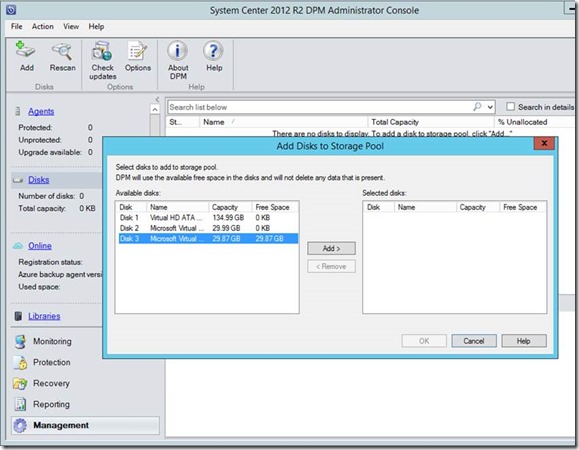
From the Management tab, you can use the Add button to add the disk to the storage pool.
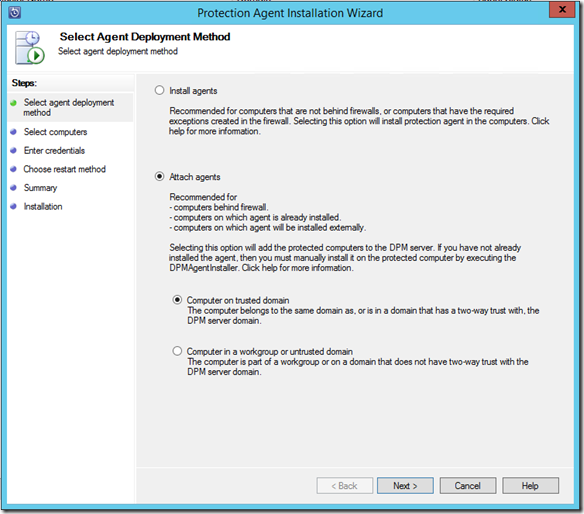
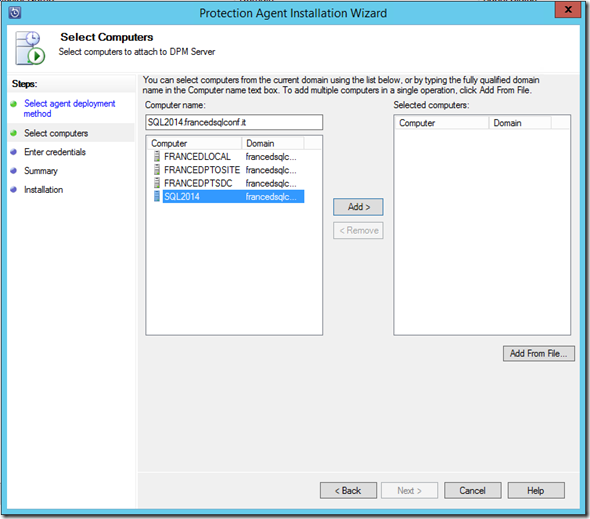
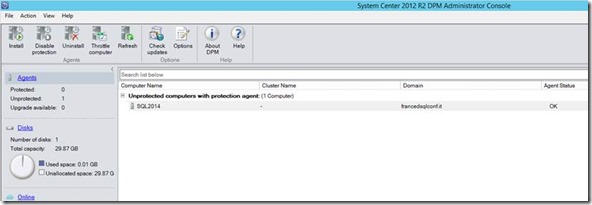
Now we need to register the SQL Server server. The Agent deployment wizard accomplishes this task.
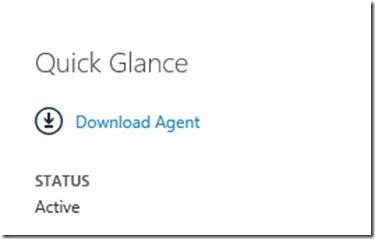
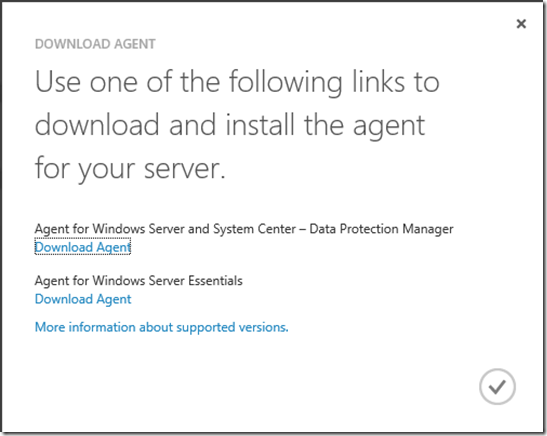
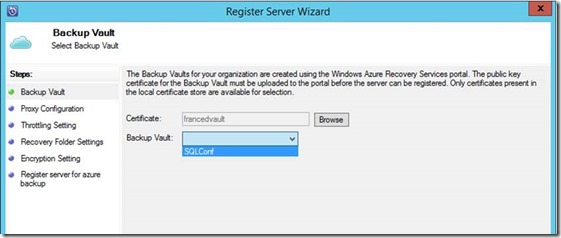
Now we need to register the DPM server in Windows Azure Backup. The Windows Azure Backup agent can be download from the Azure Management Portal.
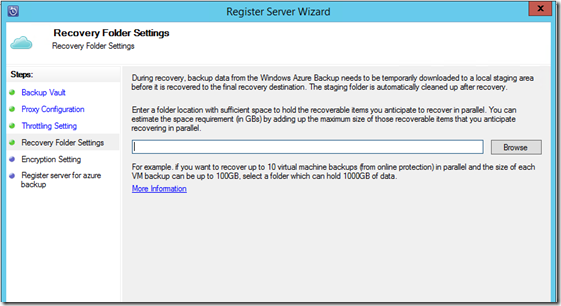
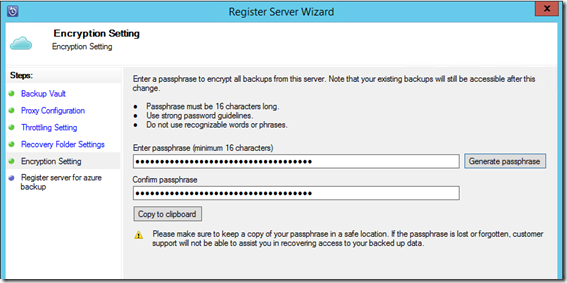
Click on the register button to start the registration process. This task is very straightforward; we just need a temp recovery folder and a passphrase used for backups encryption.
STEP 4
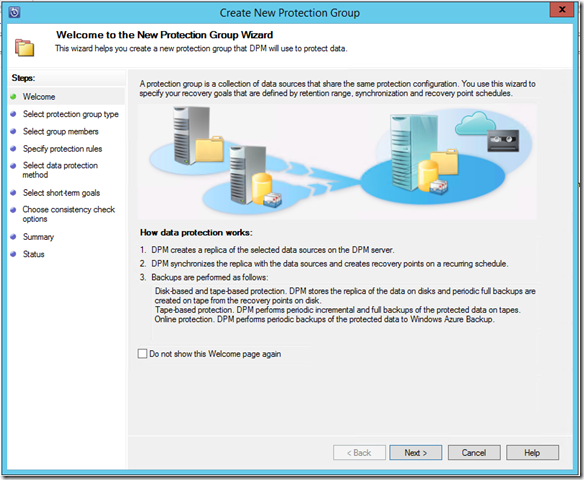
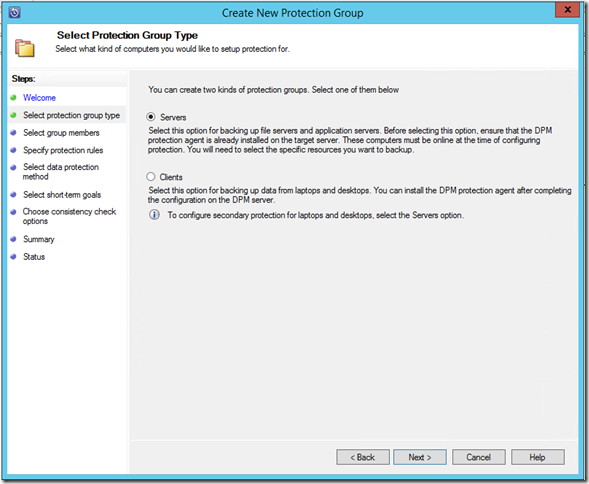
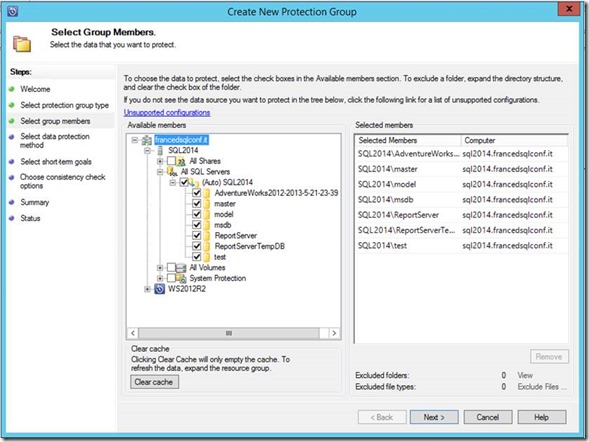
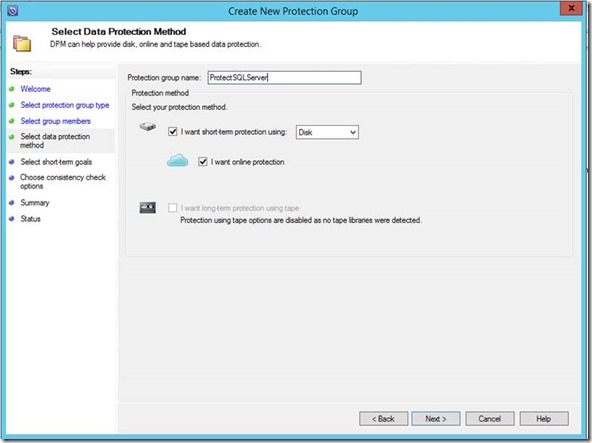
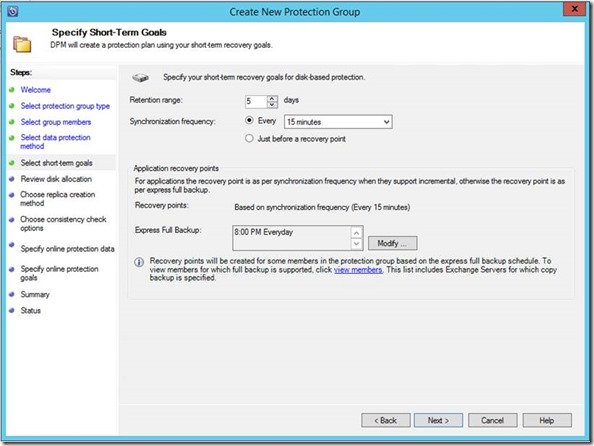
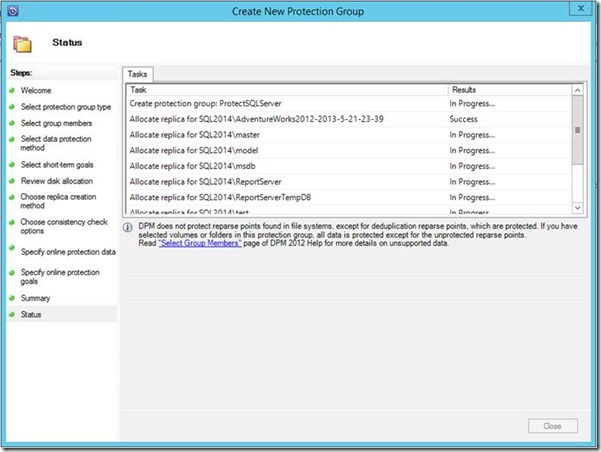
Create a protection group to protect our SQL Server instance.
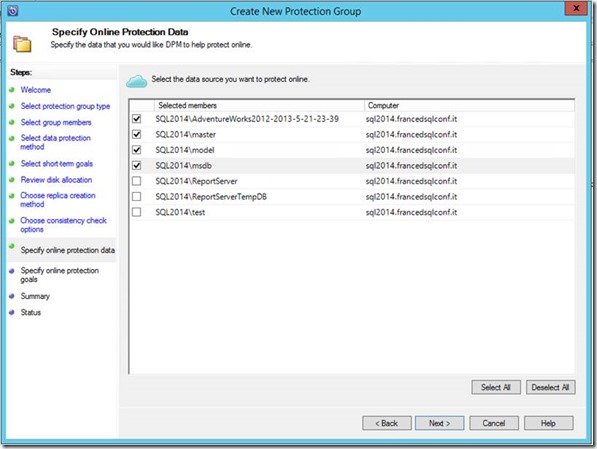
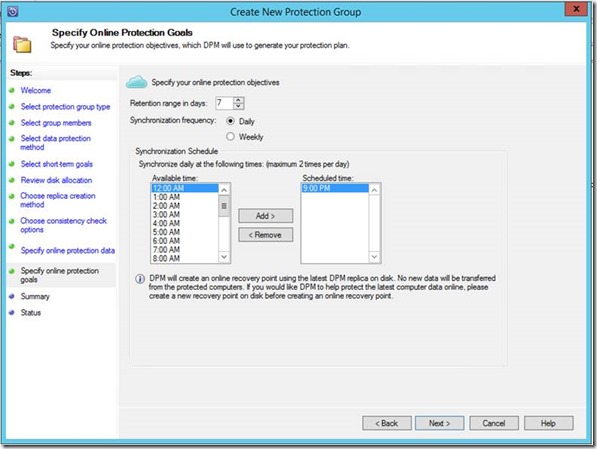
During the wizard steps I have to specify that I want to use Azure Online Protection.
I can also specify the list of the databases that I want to protect online.
STEP 5
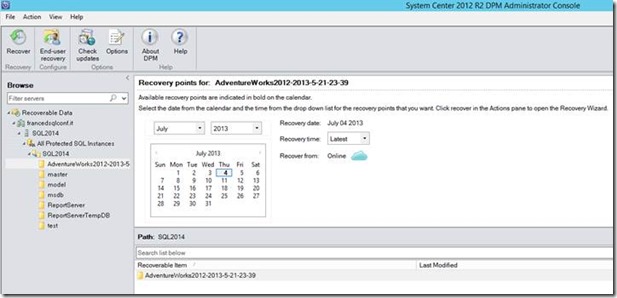
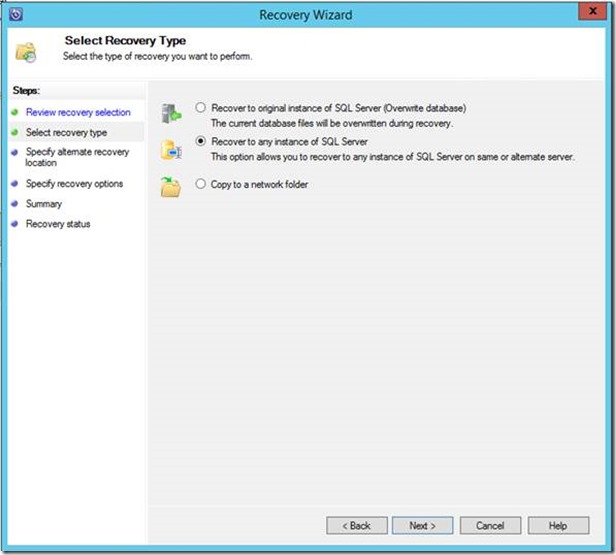
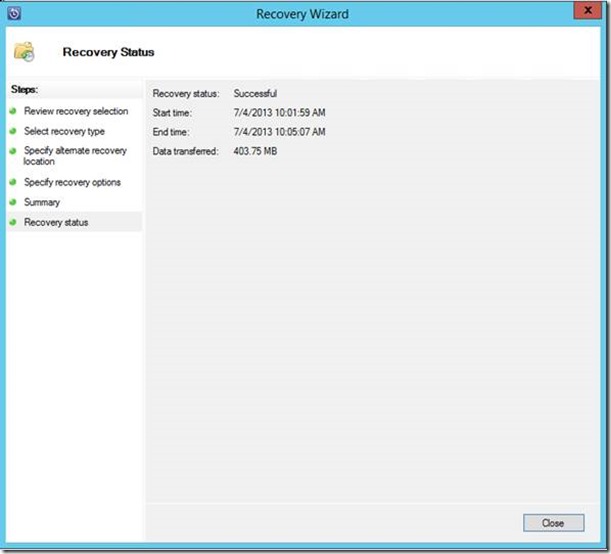
Doing a recovery test.
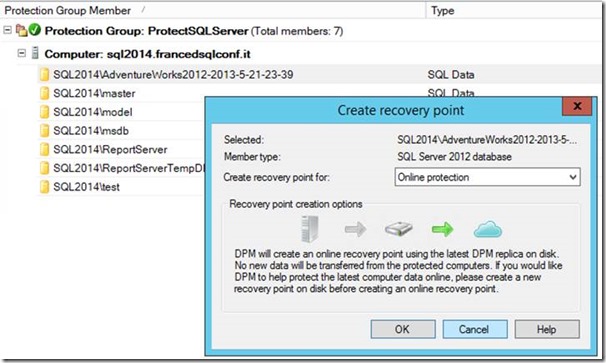
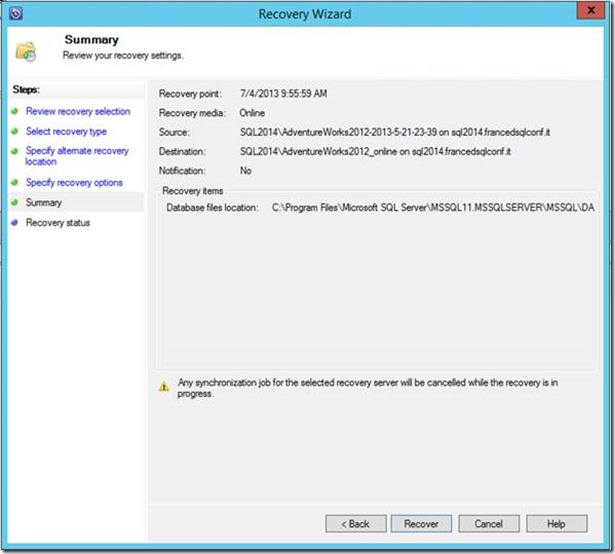
The recovery console allows you to choose the recovery point to use; in this case I’m recovering the database from the cloud to a new database called AdventureWorks2012_online.
To learn more about DPM 2012 R2 and Windows Azure Backup integration you can visit this page .
Francesco

