Microsoft Azure Web Sites: Deploying wordpress to a virtual directory within the azure web site
Microsoft Azure Web Sites allows you to have a virtual directory created within the site. There are many advantages to this. Consider a scenario where you your org's site is deployed to root https://<sitename>.azurewebsites.net. You now want to have separate branches for different departments within your org. For example:
- https://<sitename>.azurewebsites.net/marketing
- https://<sitename>.azurewebsites.net/sales
- https://<sitename>.azurewebsites.net/hr
Another example could be where you would want to setup a blog within your site. In this article I will demonstrate to deploy wordpress to virtual directory called BLOG within my site.
Here is my current set-up.
- SiteName: Kaushal
- HostName: kaushal.azurewebsites.net
- Application: ASP.NET MVC
- No databases are currently linked to my site
I would host the wordpress under my site so that it is accessible under https://kaushal.azurewebsites.net/blog. Here is what we need to do.
- Create a virtual directory within my site called BLOG via azure portal and link a MySQL database to this site.
- On my Local Machine, download and install WordPress via WebMatrix and deploy it to the virtual directory we created above.
Sounds easy right? Let's go ahead and deploy it.
Microsoft Azure Portal
Logon to Azure portal.
Go to the CONFIGURE page for the site and scroll to the virtual applications and directories section at the bottom of the page.
Add an entry as seen in the below image:
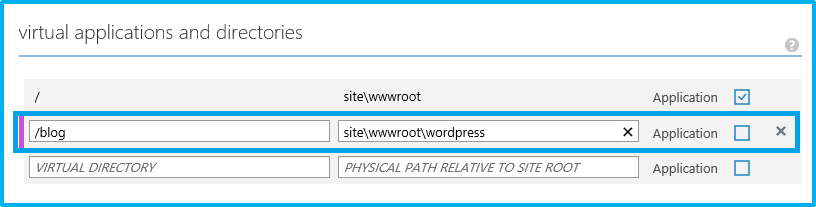
Click on SAVE.
Now go to the LINKED RESOURCES page and link a MySQL database to your site.
NOTE: Choose an existing MySQL DB or create a new one. Let's say you already have a free MySQL DB associated with your subscription but you want a separate MySQL database for the application. You will have to purchase a plan from CLEARDB for this |
- Once, linked. Go to the DASHBOARD page.
- Under quick glance section a hyperlink called View connection strings will be created.
NOTE: You could retrieve the connection string parameters from the LINKED RESOURCES page too. Click on MANAGE in the bottom pane for the site. This will redirect you to ClearDB site which will provide you with the following
|
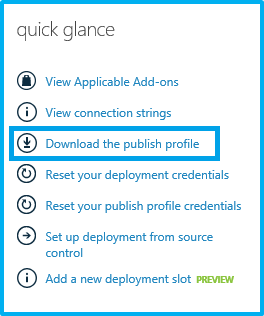
Download & save the publishsettings file for the website by clicking the hyperlink "Download the publish profile" under quick glance section of the DASHBOARD page.
Local Machine
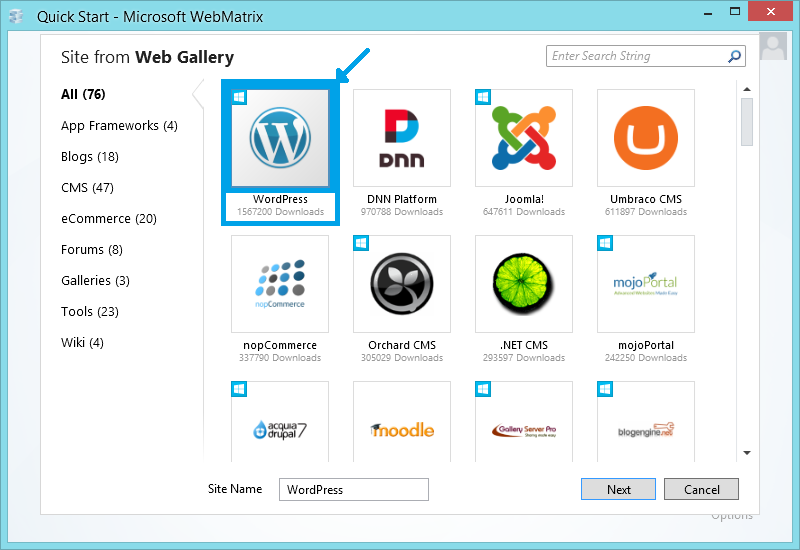
Launch Microsoft WebMatrix
Click on New -> App Gallery

Select WordPress from the App Gallery and click on Next.
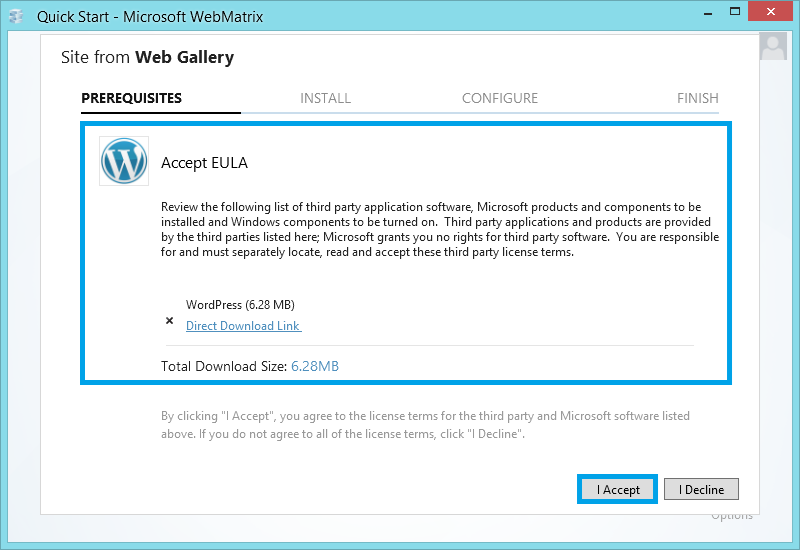
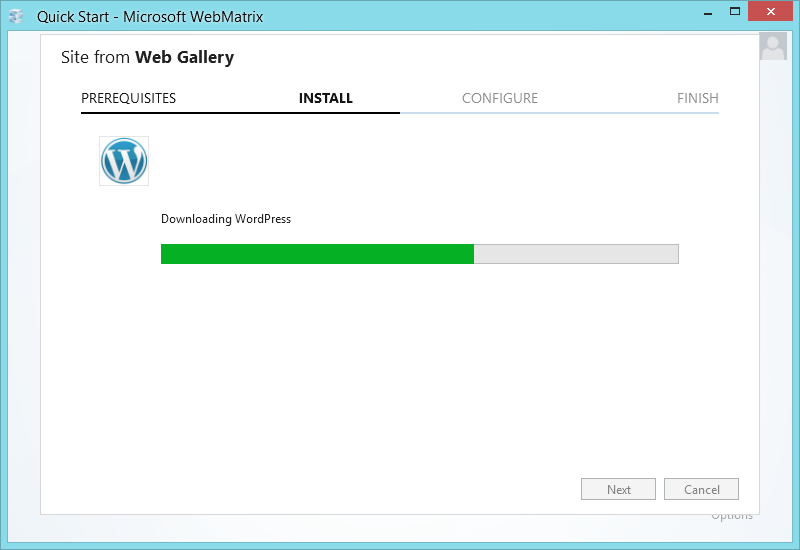
This will take you to through the WordPress setup.
Accept the EULA by clicking on "I ACCEPT"
Once done it will start downloading the contents to your local machine (C:\Users\<username>\Documents\My Web Sites\WordPress)
During these process it allows you to configure certain application parameters as shown below:
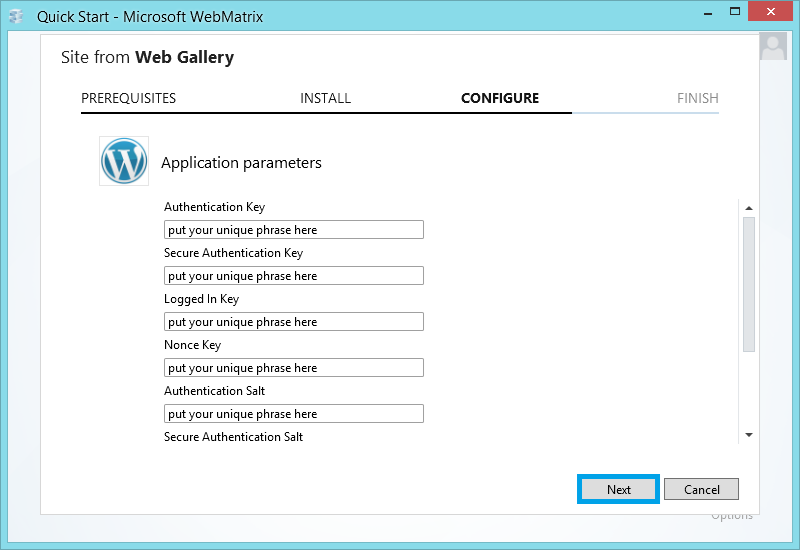
Once you specify the parameters and click on Next it proceeds with the installation.
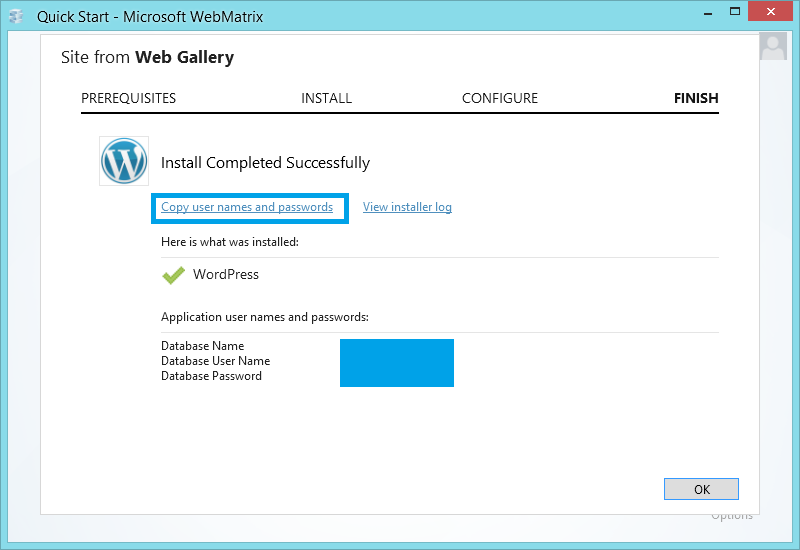
Once installed, click on "Copy user names and passwords". This will copy the details to clipboard which you could save in a text file.
Click on OK.
Now click on Publish
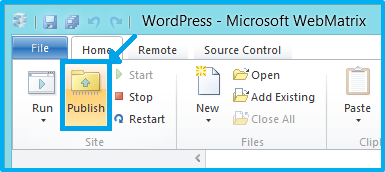
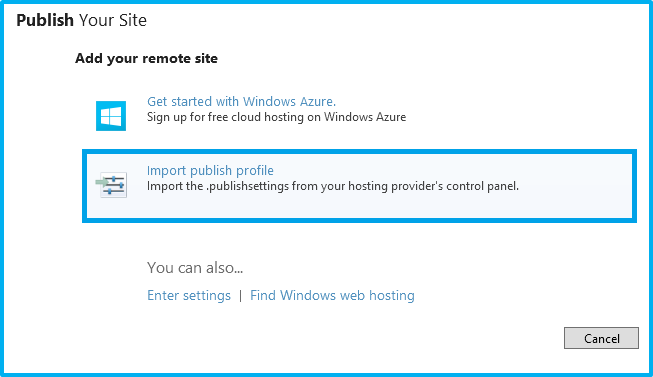
This will prompt you with another window.
Click on Import publish profile and point it to the location where we saved the publishsettings file we downloaded earlier.
Once selected, it will auto-populate the parameters from the publishsettings file.
We need to modify the following sections as shown below:
- Site name: kaushal\wordpress (physical path location relative to the root site)
- Destination URL: https://kaushal.azurewebsites.net/blog
(virtual directory name)
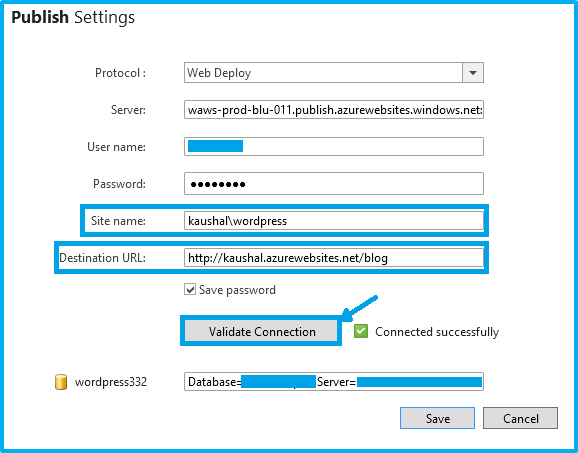
NOTE: Don't chose FTP as the protocol as it doesn't allow you to publish databases. |
Click on Validate Connection. Once validated, you will see the confirmation.
Click on Save.
This will take you to the Publish Compatibility page. Click on Continue.
Once compatibility check has been performed. Click on Continue again.
It will display the list of files that will deployed to the server.
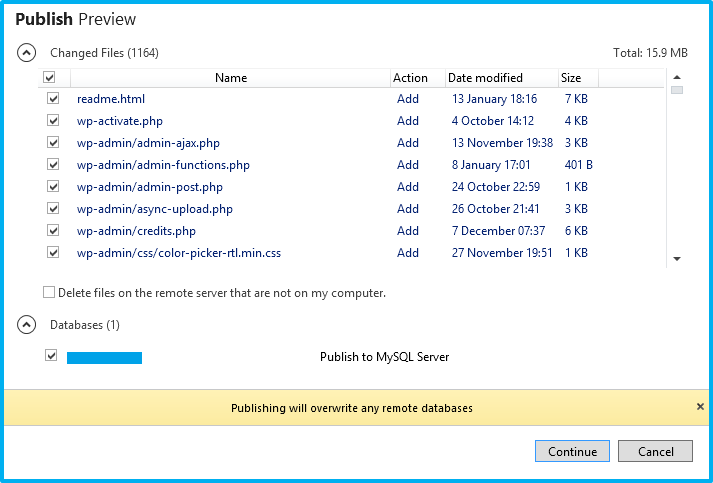
Click on Continue to start the deployment.

Once publishing is completed you could open the log file and analyze.
Click on the hyperlink as shown below to browse to the site:


HTH,
Kaushal
Comments
Anonymous
April 24, 2014
Thanks for posting this. Nicely done. One question though: is it possible then (with domain forwarding, htaccess code or domain records) to make kaushal.azurewebsites.net/blog appear as www.myblogsitename.com to visitors and search bots? My first look at using Azure for WP hosting fell short in this regard or maybe it was just my knowledge that did.Anonymous
April 25, 2014
@Joe.. Provided you have that domain mapped to your site, that should be possible via URL Rewrite.Anonymous
October 19, 2015
Is WebMatrix required? I'm publishing my webapp using Visual Studio - I know webmatrix is free but would like to avoid the tool just for this operation. thxAnonymous
December 31, 2015
Could you update this blog post? It's a couple of years old and the new Azure portal doesn't support some of what you're talking about.Anonymous
March 11, 2016
Hi Kaushal,Need you help to deploy to virtual directories within azure web site using release management online. I am stuck with this for weeks, not sure which task I should use to deploy a sub site withing azure website.Thanks in advance,Swatee