Azure Stack Edge Pro GPU でアップロードするために証明書を準備する
適用対象: Azure Stack Edge Pro - GPUAzure Stack Edge Pro 2Azure Stack Edge Pro RAzure Stack Edge Mini R
この記事では、Azure Stack Edge デバイスでアップロードできるように、証明書を適切な形式に変換する方法について説明します。 この手順は通常、独自の証明書を持ち込むときに必要になります。
これらの証明書の作成方法に関する詳細については、Azure PowerShell で証明書を作成する方法に関するページを参照してください。
証明書の準備
独自の証明書を持ち込む場合、デバイス用に作成した証明書は、既定では、クライアントの個人用ストアに格納されます。 これらの証明書は、デバイスにアップロードできるように、クライアントで適切なフォーマット ファイルにエクスポートする必要があります。
ルート証明書の準備: ルート証明書は、
.cer拡張子を使用した DER 形式としてエクスポートする必要があります。 詳細な手順については、DER 形式での証明書のエクスポートに関するページを参照してください。エンドポイント証明書の準備: エンドポイント証明書は、秘密キーを含む .pfx ファイルとしてエクスポートする必要があります。 詳細な手順については、秘密キーを含む .pfx ファイルとしての証明書のエクスポートに関するページを参照してください。
DER 形式で証明書をエクスポートする
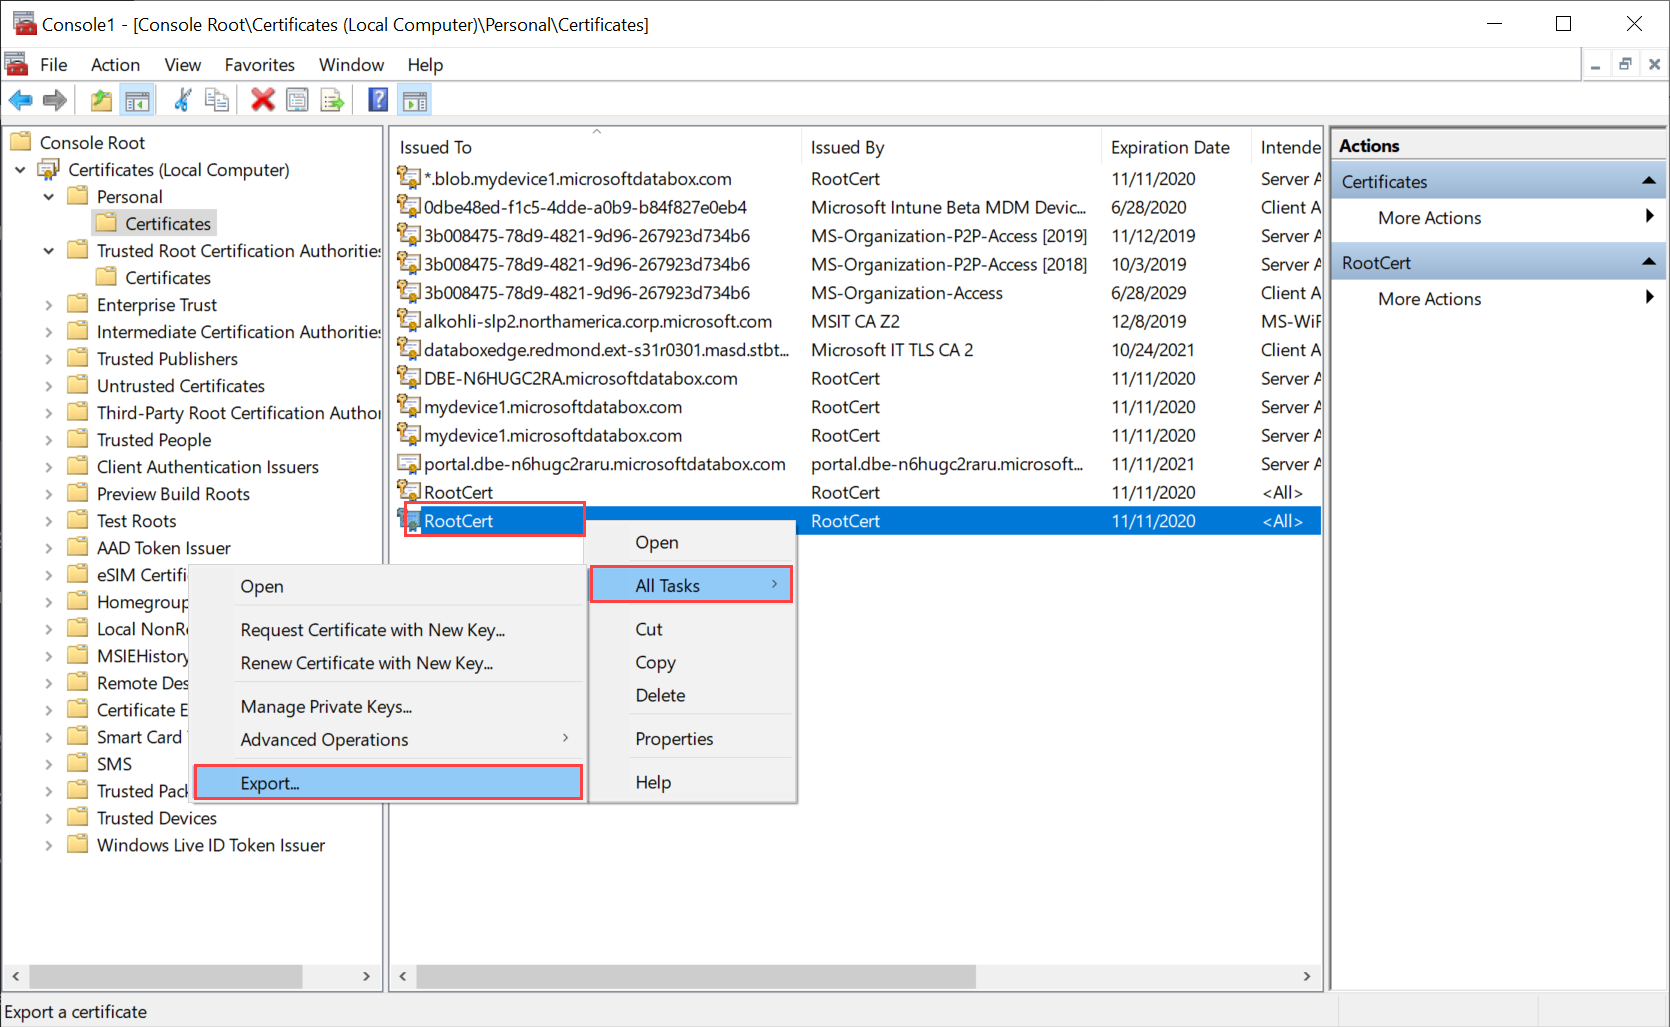
certlm.msc を実行して、ローカル コンピューターの証明書ストアを起動します。
個人用証明書ストアで、ルート証明書を選択します。 右クリックし、[すべてのタスク] > [エクスポート...] を選択します。
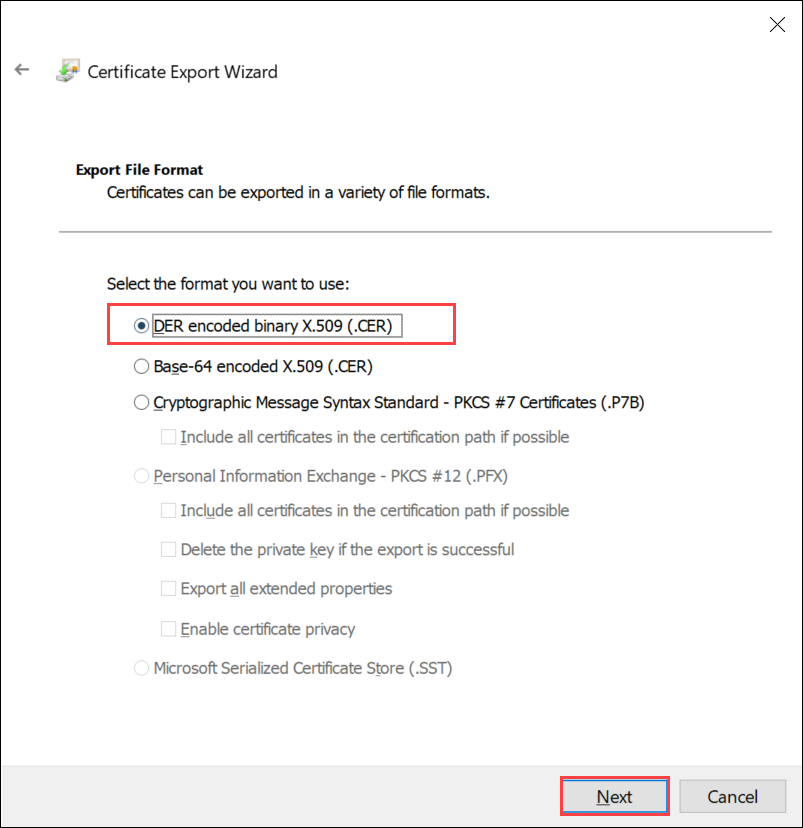
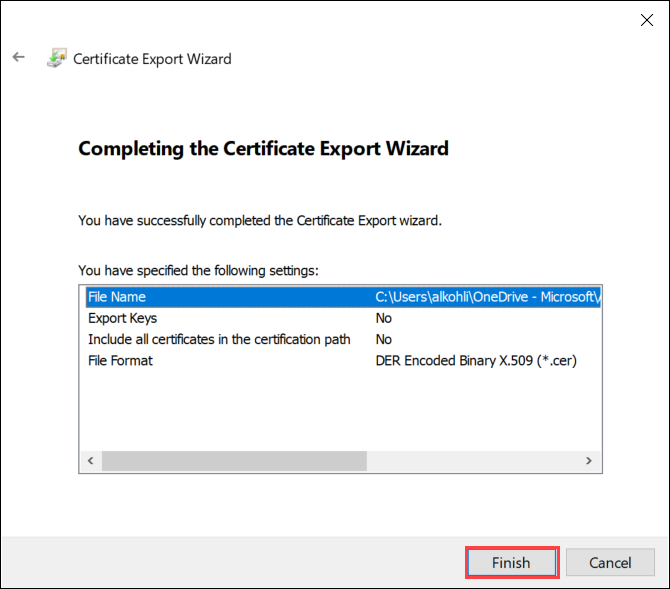
証明書ウィザードが開きます。 形式として [DER encoded binary X.509 (.cer)] を選択します。 [次へ] を選択します。
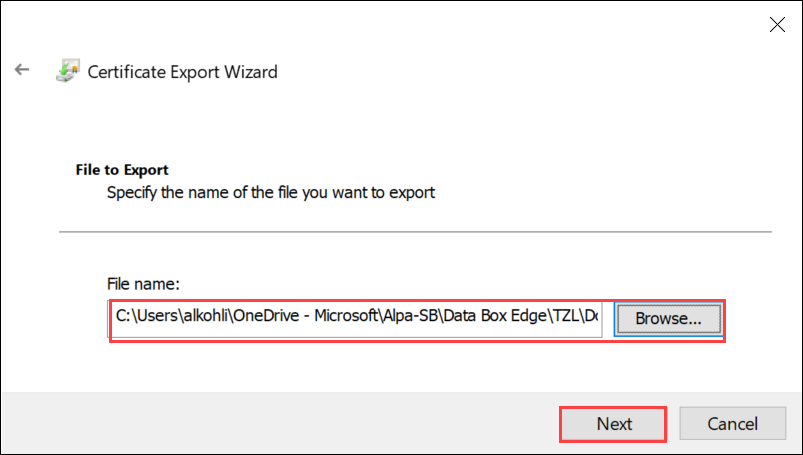
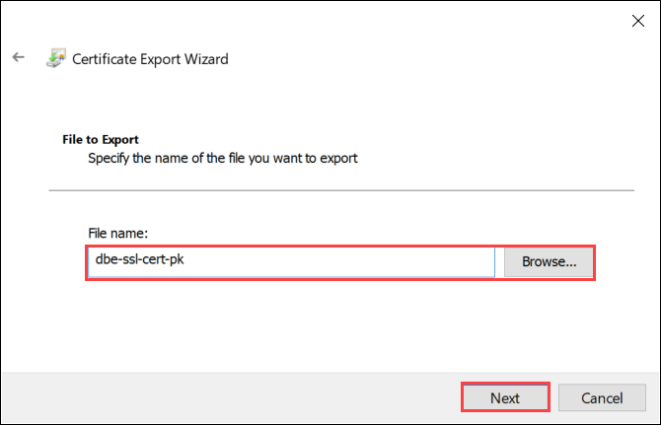
.cer 形式のファイルをエクスポートする場所を参照して選択します。
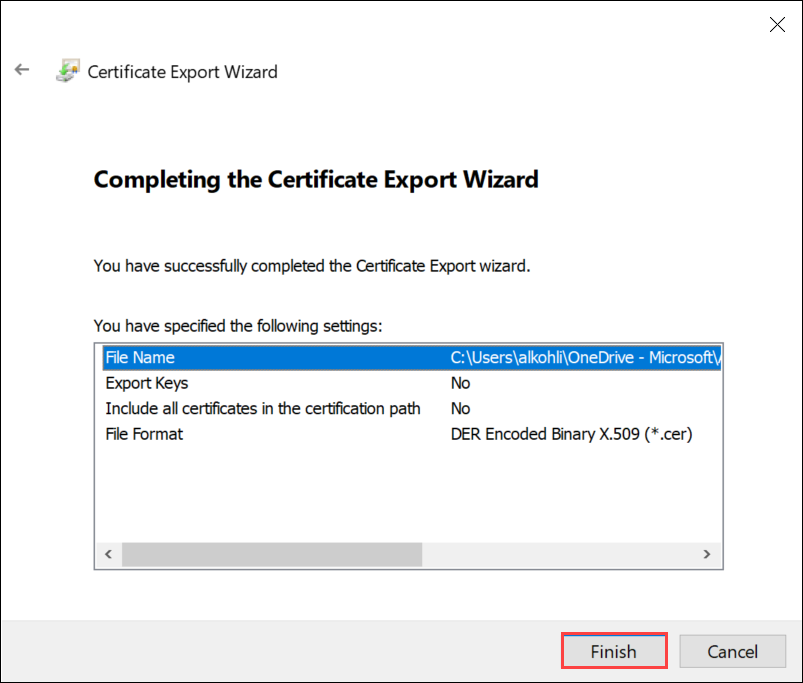
完了を選択します。
秘密キーを含む .pfx 形式で証明書をエクスポートする
秘密キー付きの SSL 証明書を Windows コンピューターにエクスポートするには、次の手順を実行します。
重要
これらの手順は、証明書の作成に使用したのと同じコンピューターで実行してください。
certlm.msc を実行して、ローカル コンピューターの証明書ストアを起動します。
[個人] フォルダーをダブルクリックし、[証明書] をダブルクリックします。
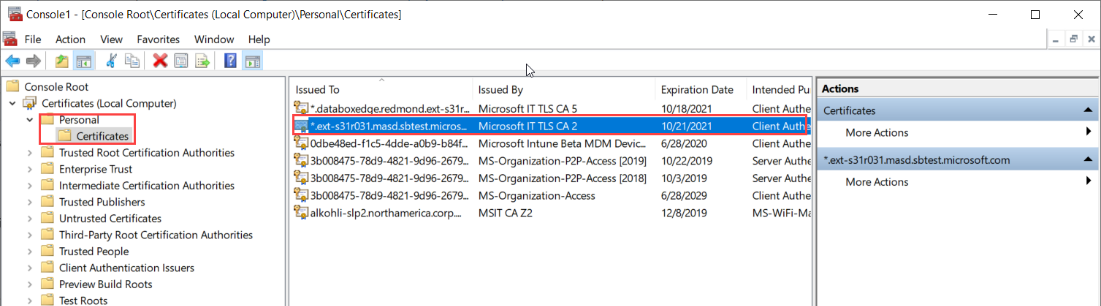
バックアップする証明書を右クリックし、[すべてのタスク] > [エクスポート...] を選択します。
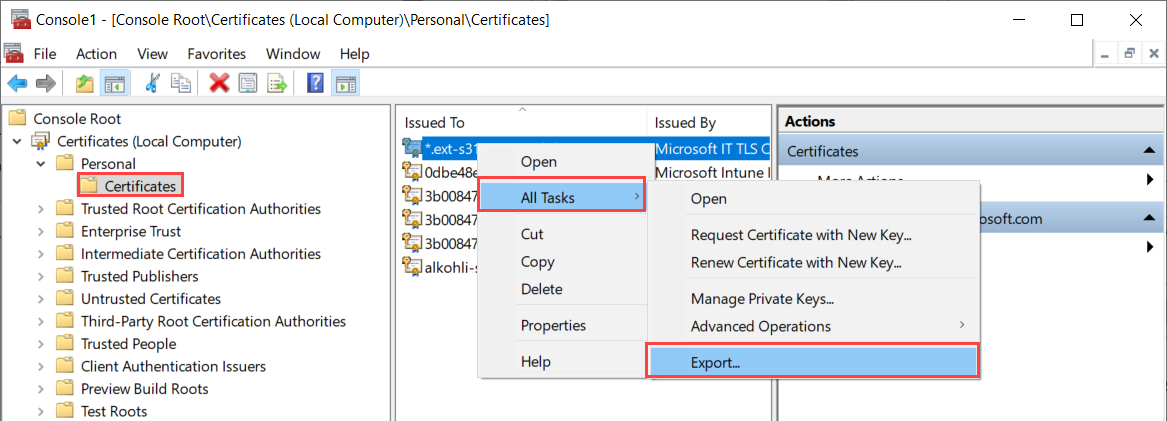
証明書のエクスポート ウィザードに従い、証明書を .pfx ファイルにバックアップします。

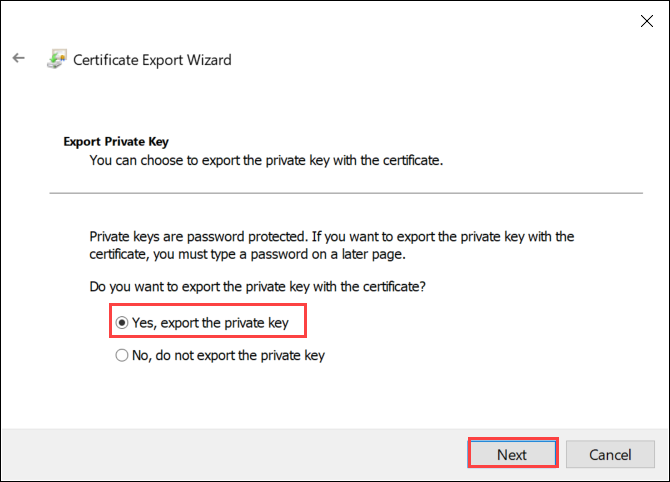
[はい、秘密キーをエクスポートします] を選択します。
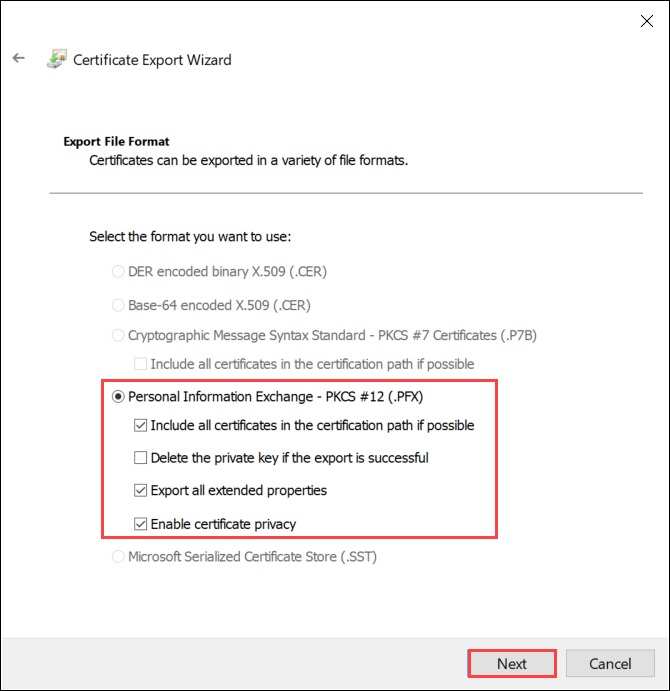
[Include all certificates in certificate path if possible]\(可能な場合は証明書パスのすべての証明書を含める\)、[すべての拡張プロパティをエクスポートする]、[証明書のプライバシーを有効にする] を選択します。
エクスポートにすべての証明書を含める場合は、ローカル Web UI を使用して証明書を構成するときに、その証明書を追加する前に、署名チェーンを個別に追加する必要はありません。 詳細については、「独自の証明書を持ち込む」をご覧ください。
重要
[Delete Private Key option if export is successful]\(エクスポートが成功した場合に秘密キーを削除する (オプション)\) は選択しないでください。
パスワードを入力し、これを憶えておきます。 パスワードを確認入力します。 パスワードによって秘密キーが保護されます。
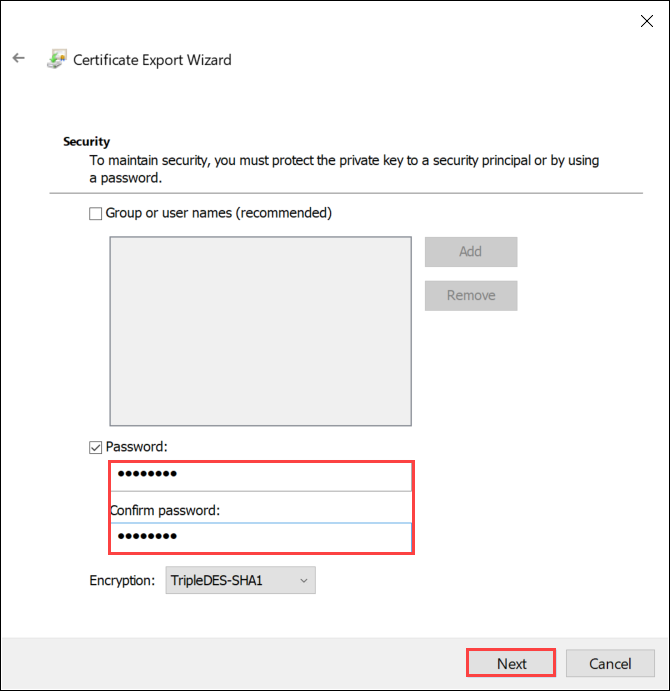
設定された場所にファイルを保存します。
完了を選択します。
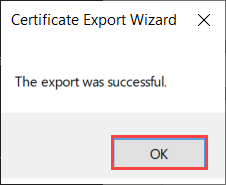
エクスポートが成功したことを示すメッセージが表示されます。 [OK] を選択します。
.pfx ファイル バックアップが選択した場所に保存され、安全に保存するために移動または保管する準備ができました。
次のステップ
お使いのデバイスで証明書をアップロードする方法を学習します。