モジュール 1: Data Factory を使用してパイプラインを作成する
このモジュールは、パイプラインのコピー アクティビティを使用して、ソース ストアから Data Lakehouse の Bronze テーブルに生データを取り込むのに 10 分かかります。
モジュール 1 の大まかな手順は次のとおりです。
- データ パイプラインを作成します。
- パイプラインのコピー アクティビティを使用して、Data Lakehouse にサンプル データを読み込みます。
データ パイプラインを作成する
アクティブなサブスクリプションを持つ Microsoft Fabric テナント アカウントが必要です。 無料アカウントを作成します。
Microsoft Fabric が有効になっているワークスペースがあることを確認します。ワークスペースを作成します。
Power BIにサインインします。
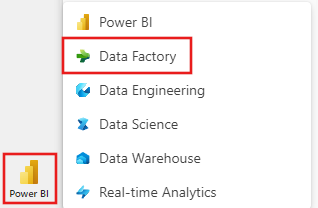
画面の左下にある既定の Power BI アイコンを選択し、Data Factory エクスペリエンスに切り替えます。
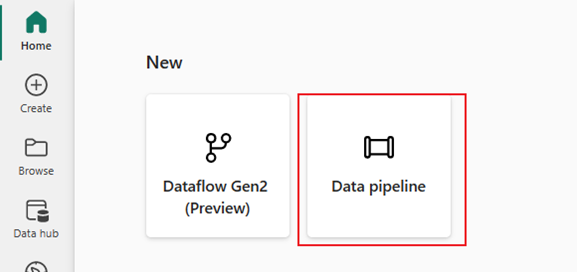
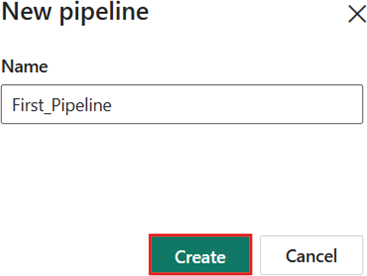
データ パイプライン を選択し、パイプライン名を指定します。 [作成] を選択します。
パイプラインのコピー アクティビティを使用して Data Lakehouse にサンプル データを読み込む
手順 1: コピー アシスタントを使用してコピー アクティビティを構成する。
「コピー データ アシスタント」 を選択して、コピー アシスタントツールを開きます。
![新しいパイプラインの開始ページからの [データのコピー] アクティビティの選択を示すスクリーンショット。](media/tutorial-end-to-end-pipeline/open-copy-assistant.png)
手順 2: コピー アシスタントで設定を構成する。
[データ のコピー] ダイアログボックスが表示され、最初の手順 [データ ソースの選択] が強調表示されます。 ダイアログの上部にあるオプションから
サンプル データ を選択し、NYC タクシー - 緑の選択します。 ![[データ ソースの選択] タブのコピー アシスタントでの NYC Taxi - Green データの選択を示すスクリーンショット。](media/tutorial-end-to-end-pipeline/select-sample-data-source.png)
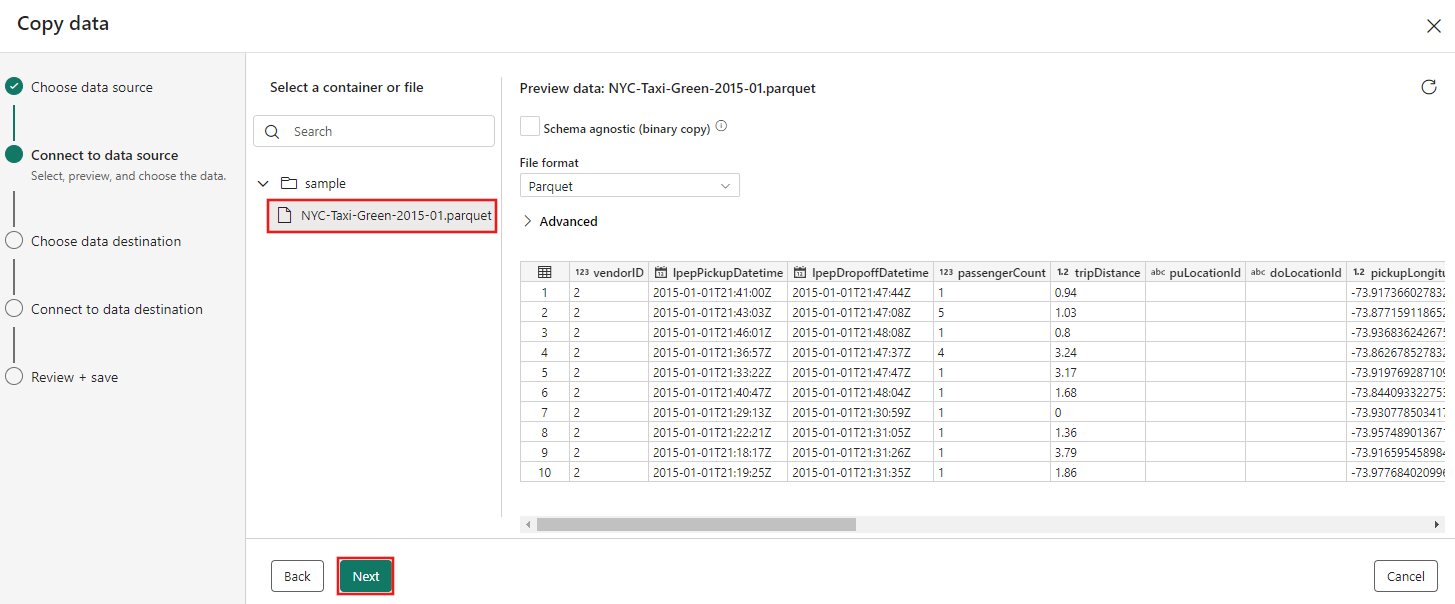
データ ソースのプレビューは、[データ ソースへの接続] ページの横に表示されます。 確認し、次へを選択します。
コピー アシスタントの [データの宛先の選択] ステップで、[Lakehouse] を選択し、[次へ] を選択します。
![データのコピー アシスタントの [データ 宛先の選択] タブで Lakehouse 宛先の選択を示すスクリーンショット。](media/tutorial-end-to-end-pipeline/choose-lakehouse-destination.png)
データ変換先の構成ページに表示される [新しい Lakehouse の作成] を選択し、新しい Lakehouse の名前を入力します。 次 次の をもう一度選択します。
![コピー アシスタントの [データ変換先の構成] ページを示すスクリーンショット。[新しい Lakehouse の作成] オプションを選択し、Lakehouse 名を指定します。](media/tutorial-end-to-end-pipeline/new-lakehouse-name.png)
次に、Select で Lakehouse の宛先の詳細を構成し、フォルダー パスまたはテーブルにマップします。 ページ。
ルート フォルダー のテーブル を選択し、テーブル名を指定して、 上書きアクション選択します。 [テーブルの上書き] アクションを選択した後に表示される [パーティションを有効にする] チェックボックスをオンにしないでください。 ![データ コピー アシスタントの [フォルダー パスまたはテーブルの選択とマップ] ステップの [データ宛先に接続] タブを示すスクリーンショット。](media/tutorial-end-to-end-pipeline/choose-destination-table-details.png)
最後に、コピー データ アシスタントの [確認と保存] ページで、構成を確認します。 このチュートリアルでは、次の手順でアクティビティを手動で実行するため、[データ転送をすぐに開始] チェック ボックスをオフにします。 次に、[OK]を選択します。
![[確認と保存] ページの [データのコピー] アシスタントを示すスクリーンショット。](media/tutorial-end-to-end-pipeline/review-save-copy-configuration.png)
手順 3: コピー アクティビティの結果を実行して表示する。
パイプライン エディターで [ 実行] タブを選択します。 次に、実行 ボタンを選択し、プロンプトが表示されたら 保存して実行 を選んで、コピーアクティビティを実行します。
![[実行] ボタンが強調表示された [パイプラインの実行] タブを示すスクリーンショット。](media/tutorial-end-to-end-pipeline/run-button.png)
![[保存して実行] ボタンが強調表示されている [保存して実行] ダイアログを示すスクリーンショット。](media/tutorial-end-to-end-pipeline/save-and-run.png)
実行を監視し、パイプライン キャンバスの下にある 出力 タブで結果を確認できます。 実行の詳細ボタン (実行中のパイプラインの実行にマウス ポインターを合わせると表示される "眼鏡" アイコン) を選択して、実行の詳細を表示します。
![パイプラインの [出力] タブの [実行の詳細] ボタンを示すスクリーンショット。](media/tutorial-end-to-end-pipeline/run-details-button.png)
実行の詳細には、1,508,501 行の読み取りと書き込みが表示されます。
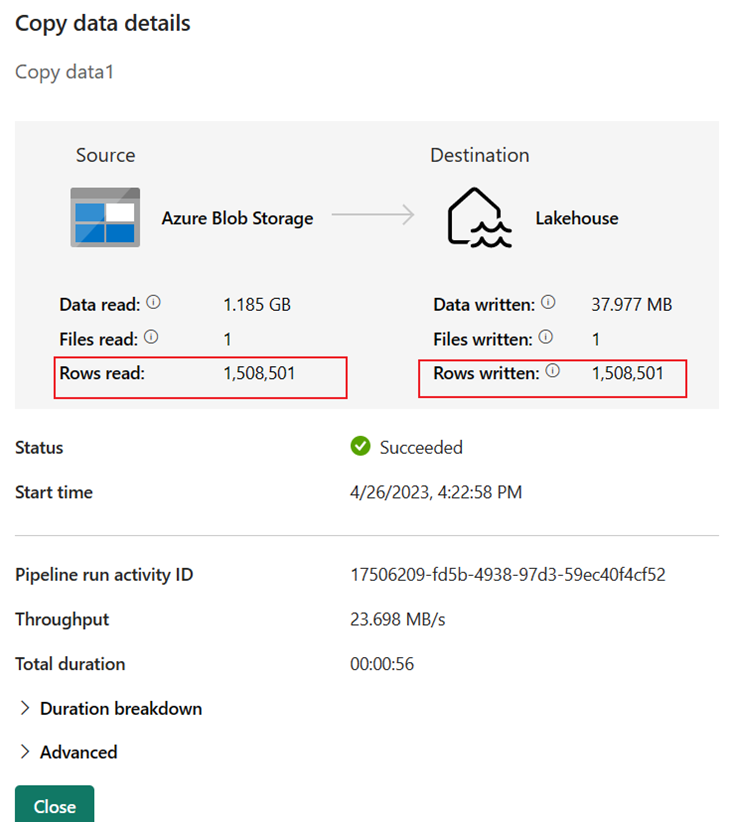
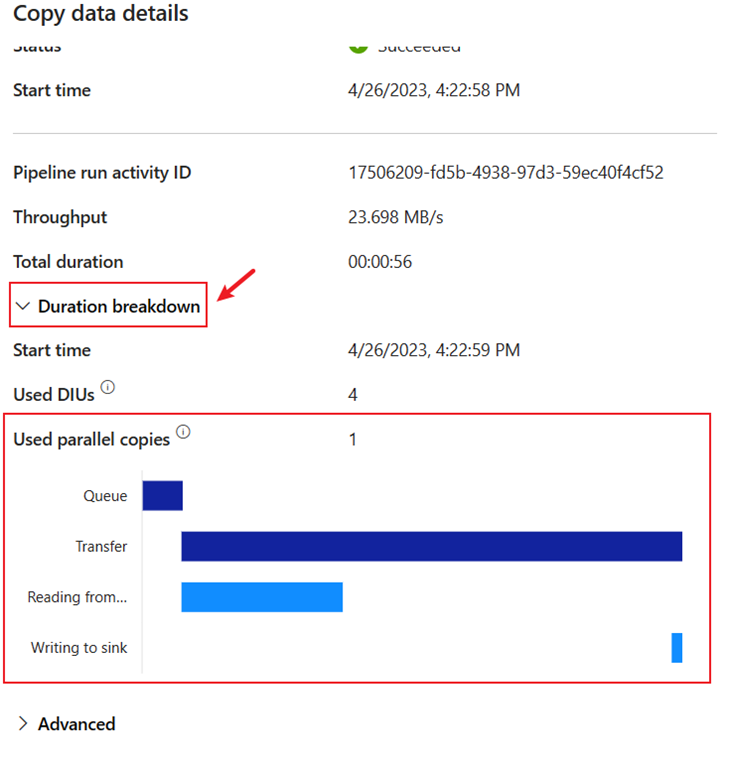
[期間の内訳] セクションを展開すると、Copy アクティビティの各段階の期間が表示されます。 コピーの詳細を確認した後、[閉じる] を選択します。
関連コンテンツ
この最初のモジュールでは、Microsoft Fabric の Data Factory を使用した最初のデータ統合に関するエンド ツー エンドのチュートリアルで、次の方法を学習しました。
- データ パイプラインを作成します。
- コピー アクティビティをパイプラインに追加します。
- サンプル データを使用し、新しいテーブルにデータを格納する Data Lakehouse を作成します。
- パイプラインを実行し、その詳細と期間の内訳を表示します。
次のセクションに進み、データフローを作成します。
モジュール 2: Data Factory のデータフローを使用してデータを変換する