Manage approvals

Important
Some or all of this functionality is available as part of a preview release. The content and the functionality are subject to change.
To send an assessment, requirement, or fact for approval, follow these steps to create and manage an approval policy and workflow.
Step 1: Create an approval policy
On the left navigation under Approvals, select Policies.
To create a new approval policy, select New.
Name the policy and select Save.
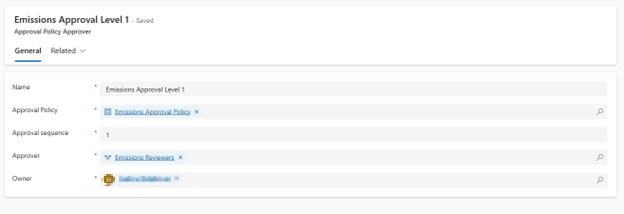
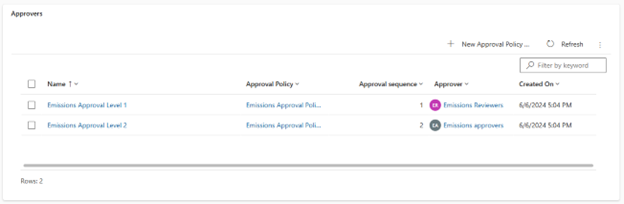
Select New Approval Policy Approver in the Approvers grid. For each approver, provide a name, select the team or individual assigned to that approval level, and specify their position in the approval sequence.
For example, if your approval policy requires two levels, add two approvers and assign them sequence numbers one and two.
Note
Teams or individuals assigned as approvers have permissions to read and write on the approval record details. You can enable approvers by assigning the ESG Approver role, as described in Assign security roles.
After you add all approvers, select Save & Close.
Step 2: Assign approval policy to assessment, fact, or requirement
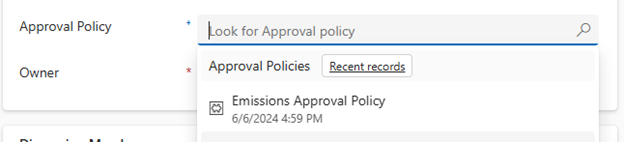
When creating or editing an assessment, fact, or requirement, you can add an approval policy. The dropdown menu displays previously created approval policies.
Step 3: Submit assessment, fact, or requirement for approval
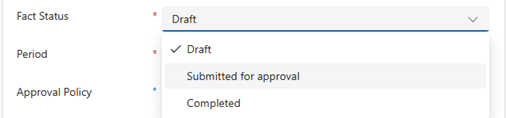
When you're ready to send your assessment, fact, or requirement for approval, change the record’s status from Draft to Submitted for approval. To avoid an error, ensure the approvers associated with the chosen approval policy have the ESG Approver role, as described in Assign security roles.
Step 4: Manage approvals
The record you created appears under the Approvals section in the left navigation. It contains fields including:
- Name of the record
- Artifact submitted for approval
- Assigned approval policy
- Approval status
- Creation date
You can customize and filter this table to your needs by selecting Edit columns and Edit filters.
An approver can select the name of the approval record to change its status. Approvers can Approve, Reject, or Cancel. They can also leave comments with their submission. The approver can then select Save & Close.
The Details tab shows the approvals related to the policy. For multilevel approvals, the current approver is marked as Active, and subsequent approvers are marked as Pending.
