Create facts

Important
Some or all of this functionality is available as part of a preview release. The content and the functionality are subject to change.
In Project ESG Reporting (preview), facts are the actual data points or values reported for each concept. A fact represents a specific instance of a concept, often including the value, context (such as time period), and units of measure. For example, if Greenhouse Gas Emissions is a concept, a fact could be 50,000 metric tons for the fiscal year 2023.
On the left navigation, select Facts.
Select New, name the fact, and enter information into the required fields. For example, you can add:
- Concept
- Numeric, text, boolean, or rich text response
- Unit (if applicable)
- Reporting period
- Approval policy (optional)
If you don't have a relevant concept created for this fact, you can create one directly by selecting New concept in the Concept field.

Select Save.
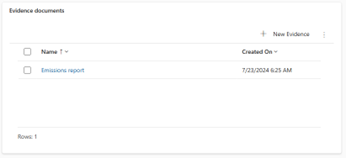
You can add evidence documents to substantiate your facts. Select New Evidence and enter the required fields.
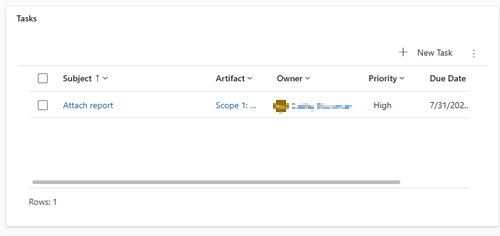
You can add a new task and assign it to a user or a team to collaborate on this fact as mentioned in the Tasks section. Any tasks that are associated with this fact appear in the tasks grid.
To further classify your facts with more detail, you can add dimensions. Select New Dimension to pick the dimension member. You can search for the dimension member to pick if you created them following the steps in [Create dimensions].
Example: Represent # of employees by gender and region as shown in the following sample table.

The fact value is Employee count, and the dimensions are Gender and Region. The entries under dimensions, such as Female or NA, are dimension members.
Each row in the table is a new fact entry. For example, create a new fact value with dimension members Female and NA, with fact value 1240 to get the first row. Repeat for the rest of the rows by creating new fact entries.
Start with adding dimensions and dimension members. For example, add Gender as a new dimension and Female and Male as dimension members under it. Do the same for the region.
Within your fact screen, add your fact value, and then select the Dimensions tab. Select New fact dimension, give it a name, select Female as the dimension member, and then select Save & Close. On the same fact, you can then add another dimension for region (NA) by following the same approach. In this way, you can achieve the first row by tying the fact value to Female and NA.
You can repeat the same process by adding three more facts with respective gender and region dimensions to add the entire table as your response.
You can enable audit history to review changes to the artifact. To enable audit history, follow the steps in Enable auditing in the Power Platform documentation.
After you enable auditing, you can review the following fields related to the fact.


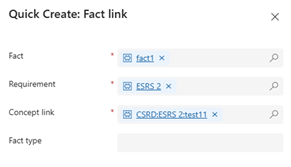
Link facts
You can link a fact to various standard requirements and concepts across various assessments.
Select the fact that you created, and then select Related.
Select Fact Link and then select New Fact Link. Select the standard requirement and concept link you want to link this fact to. Be sure to select the right concept link and requirement so the concept and fact appear correctly under the chosen requirement.
Select Save or Save & Close.