Importing data into SharePoint
Note
This is an open-source article with the community providing support for it. For official Microsoft content, see Microsoft 365 documentation.
This guide will help users understand the various options available to import files and data into SharePoint. We cover several different approaches:
| Method | Type of User |
|---|---|
| Document Libraries – Drag and drop files and folders | End user |
| Document Libraries – Upload files and folders | Power user |
| Document Libraries – Copy to and Move to | Power user |
| Lists – Export Spreadsheet to SharePoint | Power user |
| Lists – Import Spreadsheet to SharePoint | Power user |
| Document Libraries – SharePoint Migration Tool | Power user |
| Document Libraries – Sync | Power user |
Document Libraries – Drag and drop files and folders (User)
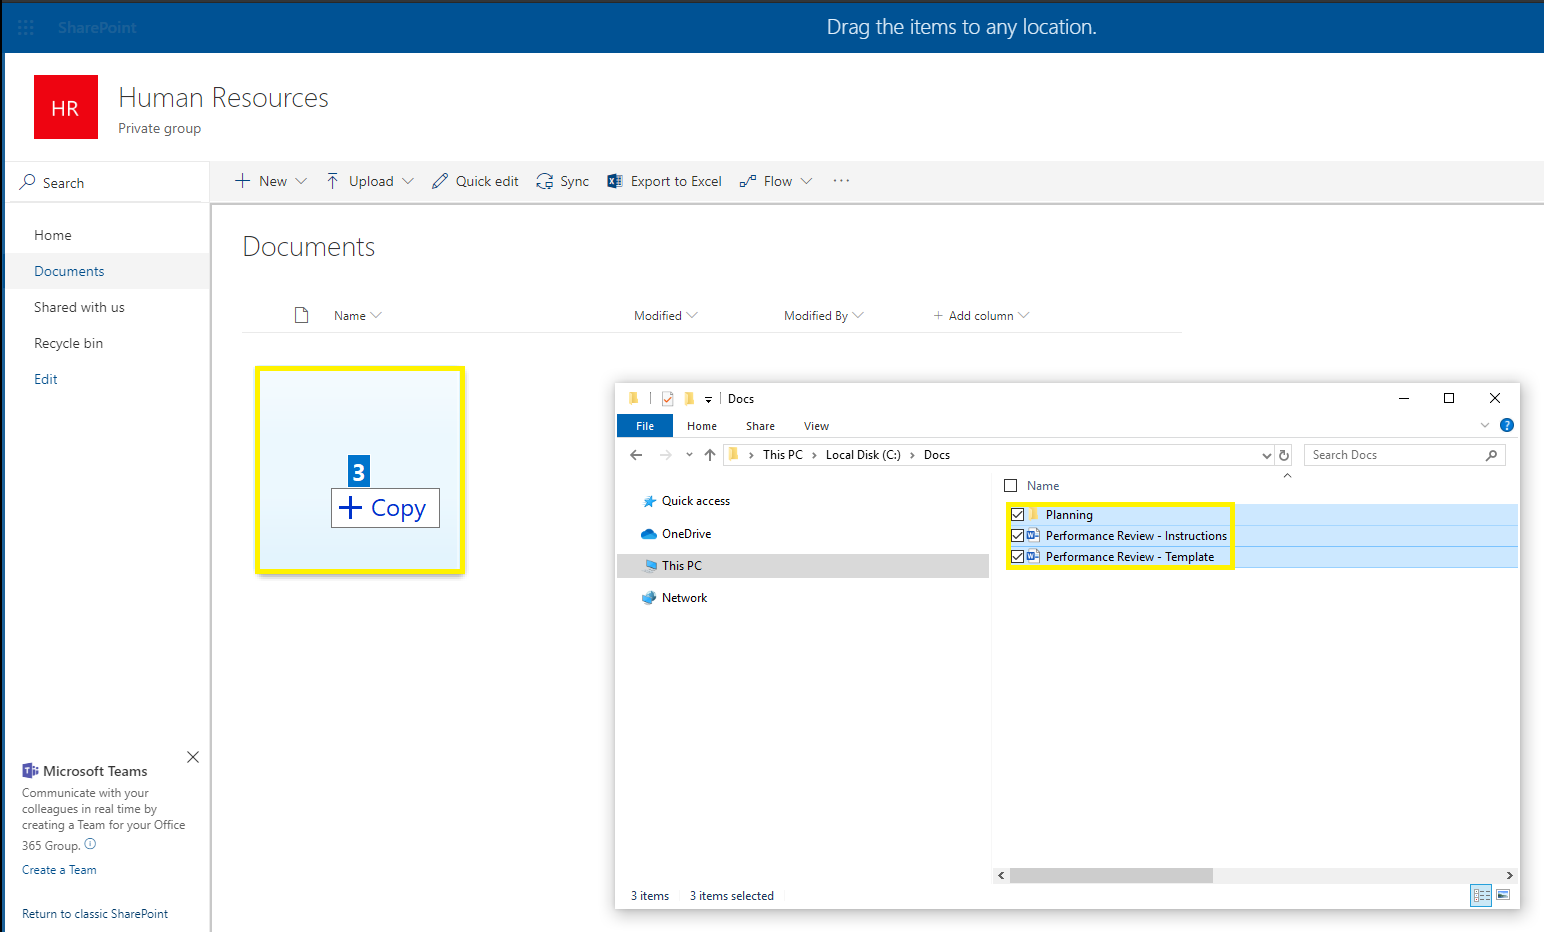
SharePoint document libraries support the drag and drop of files and folders from computer to site. With the target site and document library open:
Select the source files / folders.
Drag to the site and release.
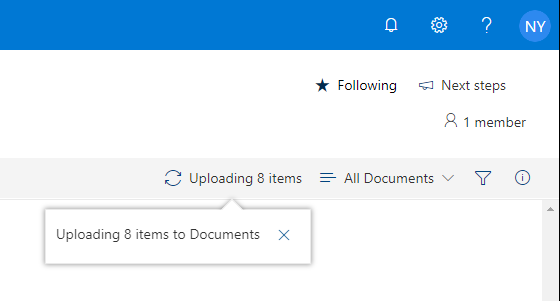
- The upload status can be monitored using the “Show progress” button on the document library menu.
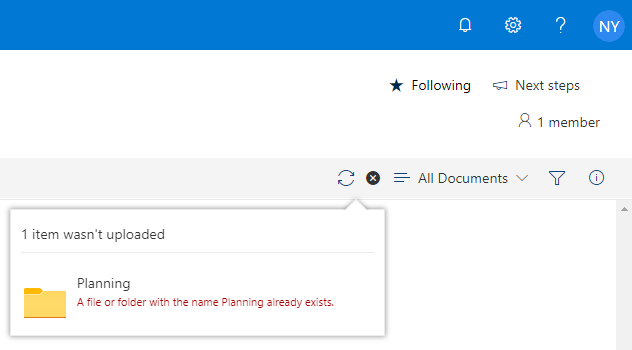
- The “Show progress” button will notify you of any errors and when possible provide an intervention.
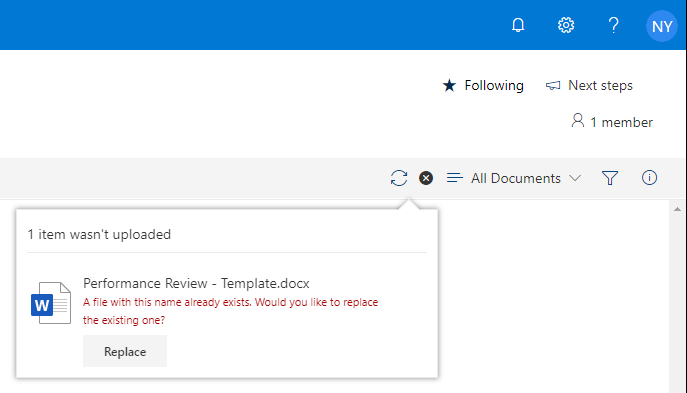
- Example error image shown below:
Document Libraries – Upload files and folders (User)
Like the drag and drop of files and folders, SharePoint document libraries also support the direct uploading files and folders. With the target site and document library open:
- Click “Upload” and select “Files” or “Folder”.
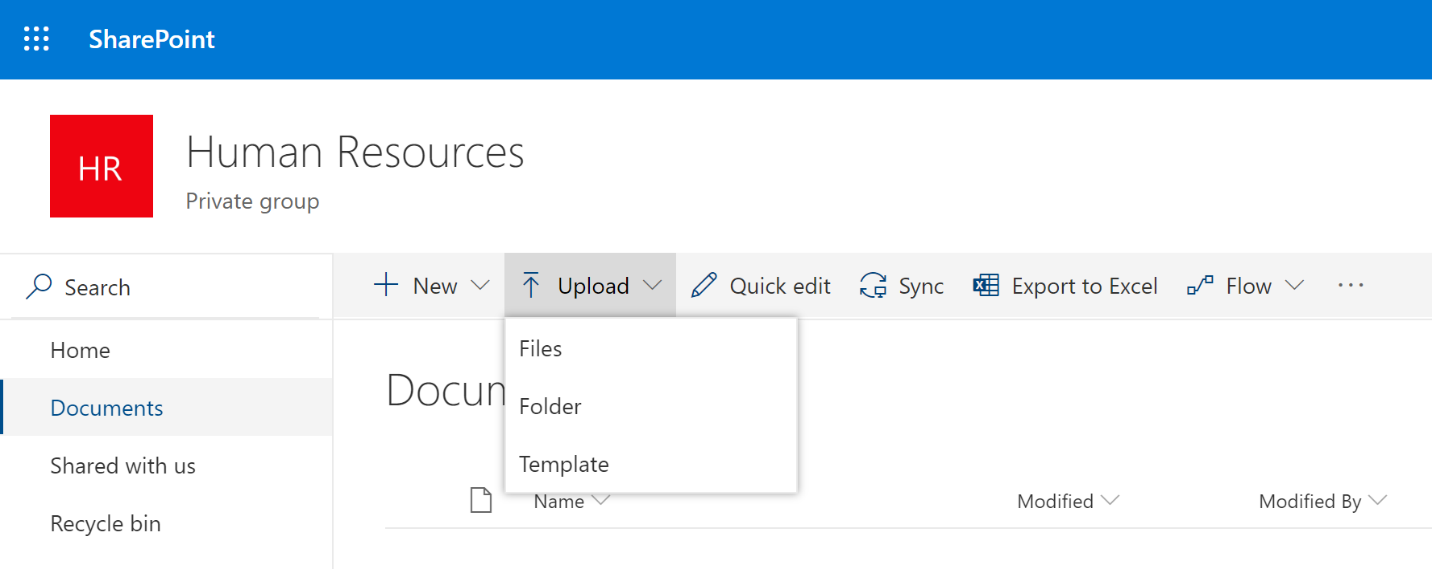
The “Files” option does not allow the uploading of folders. Similarly, the “Folder” option does not allow files.
- Select the source files / folders and click “Open”.

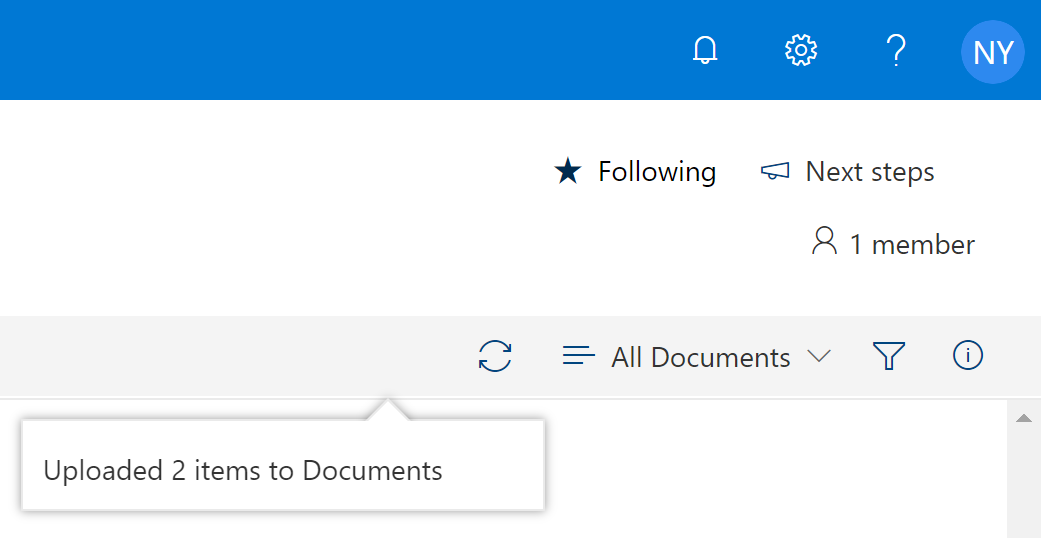
- The “Show progress” button will notify you of any errors and when possible provide an intervention.
Document Libraries – Copy to and Move to (Power user)
SharePoint document libraries support the copying and moving of files / folders to new locations. New locations can include a different folder, document library or site, including OneDrive for Business.
The “Copy to” feature will copy the files / folders to the new location while leaving the source files / folders unchanged. With the target site and document library open:
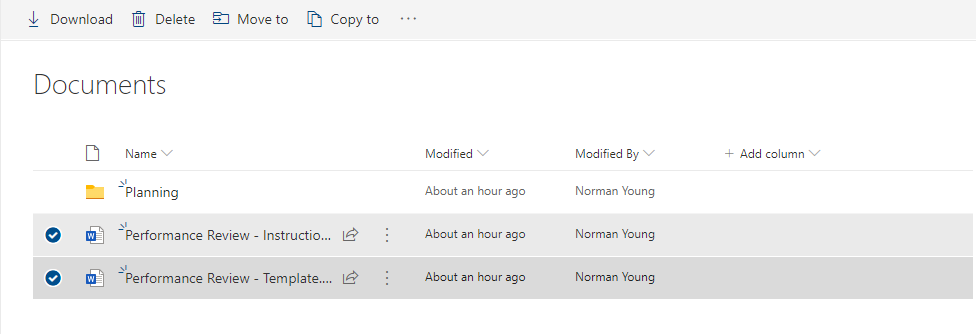
- Select the source files / folders and click “Copy to”.
- Select the target location (i.e. “Your OneDrive”).
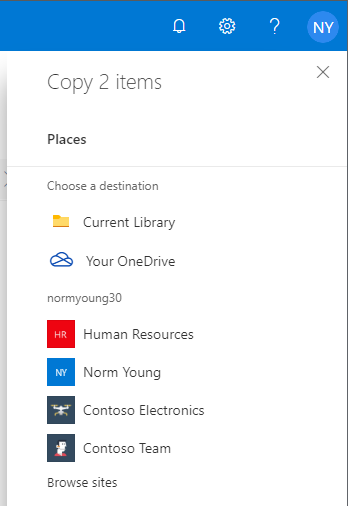
- Click “Copy here” to complete the file / folder copy.
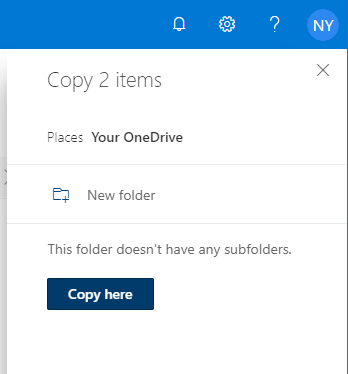
- The “Show progress” button will notify you of any errors and when possible provide an intervention.
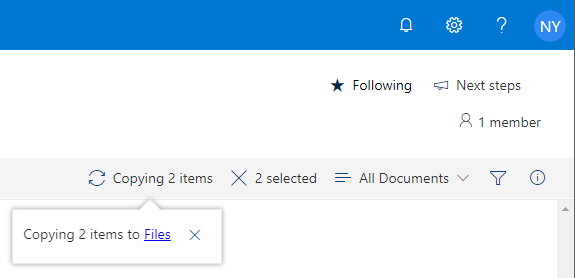
The “Move to” feature will copy the files / folders to the new location and will move the source files / folders to the site “Recycle bin”. With the target site and document library open:
- Select the source files / folders and click “Move to”.
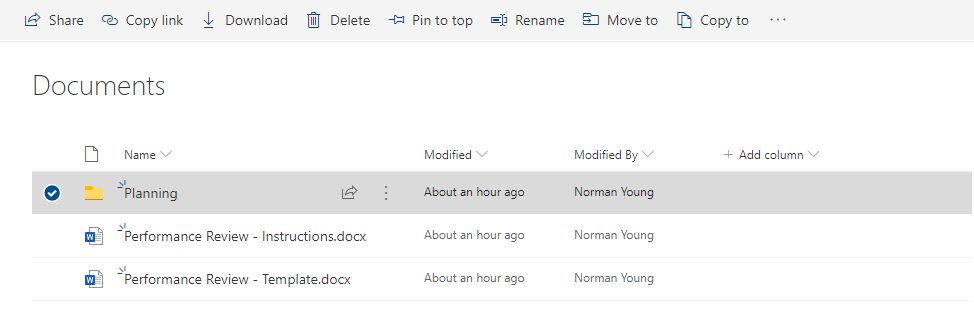
- Select the target location (i.e. “Planning” document library).
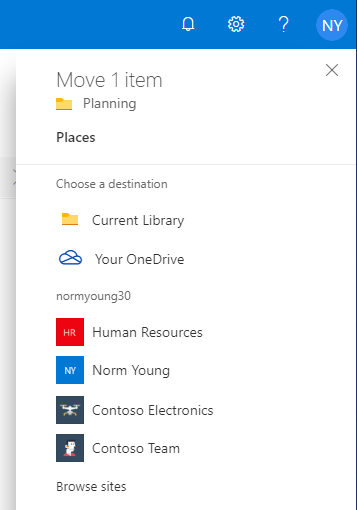
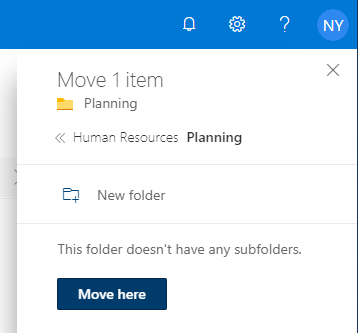
- Click the target site (i.e. “Human Resources” site) and then click the target document library (i.e. “Planning”).
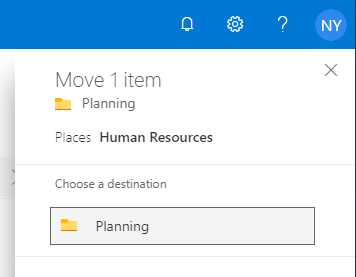
- Click “Move here” to complete the file / folder move.
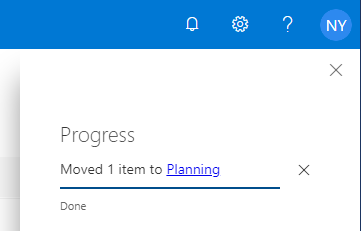
- The “Show progress” button can also be used to view the progress of a copy or upload operation.
Lists – Export Spreadsheet to SharePoint (Power user)
Microsoft Excel supports the exporting of “Tables” from spreadsheets to new SharePoint lists. With the source spreadsheet open:
Click “Table Design”.
Click “Export” and select “Export Table to SharePoint List…”.
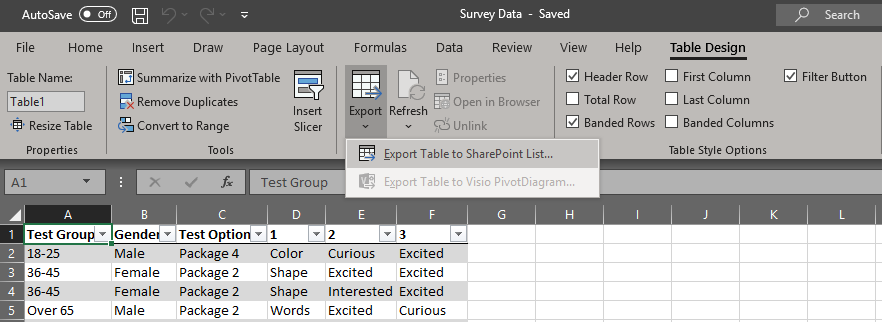
- Enter the target “Address”; provide a list name and click “Next”.
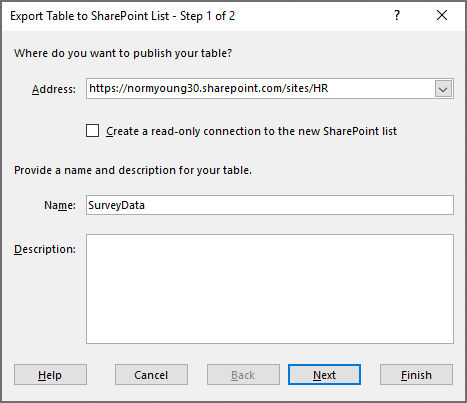
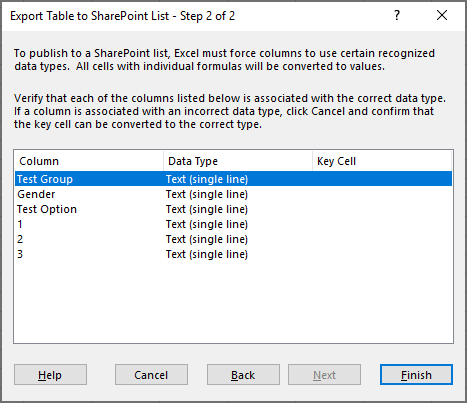
- Review the list design and click “Finish”.
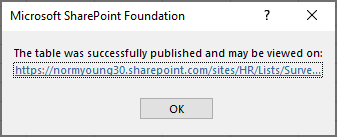
- Click the URL to view the new SharePoint list. Click “OK” to exit the export wizard.
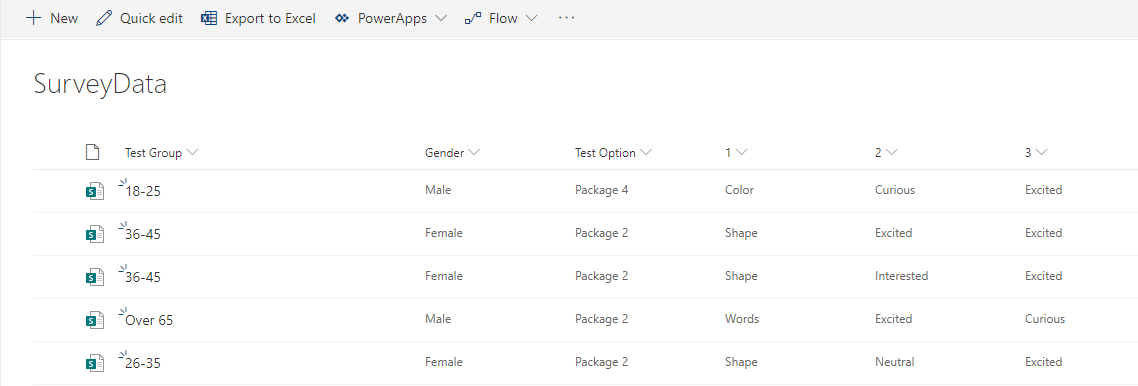
- Example exported list shown below:
Lists – Import Spreadsheet to SharePoint (Power user)
SharePoint supports the importing of “Tables” from spreadsheets to new SharePoint lists. From "Site contents":
Click “New” and click "List".
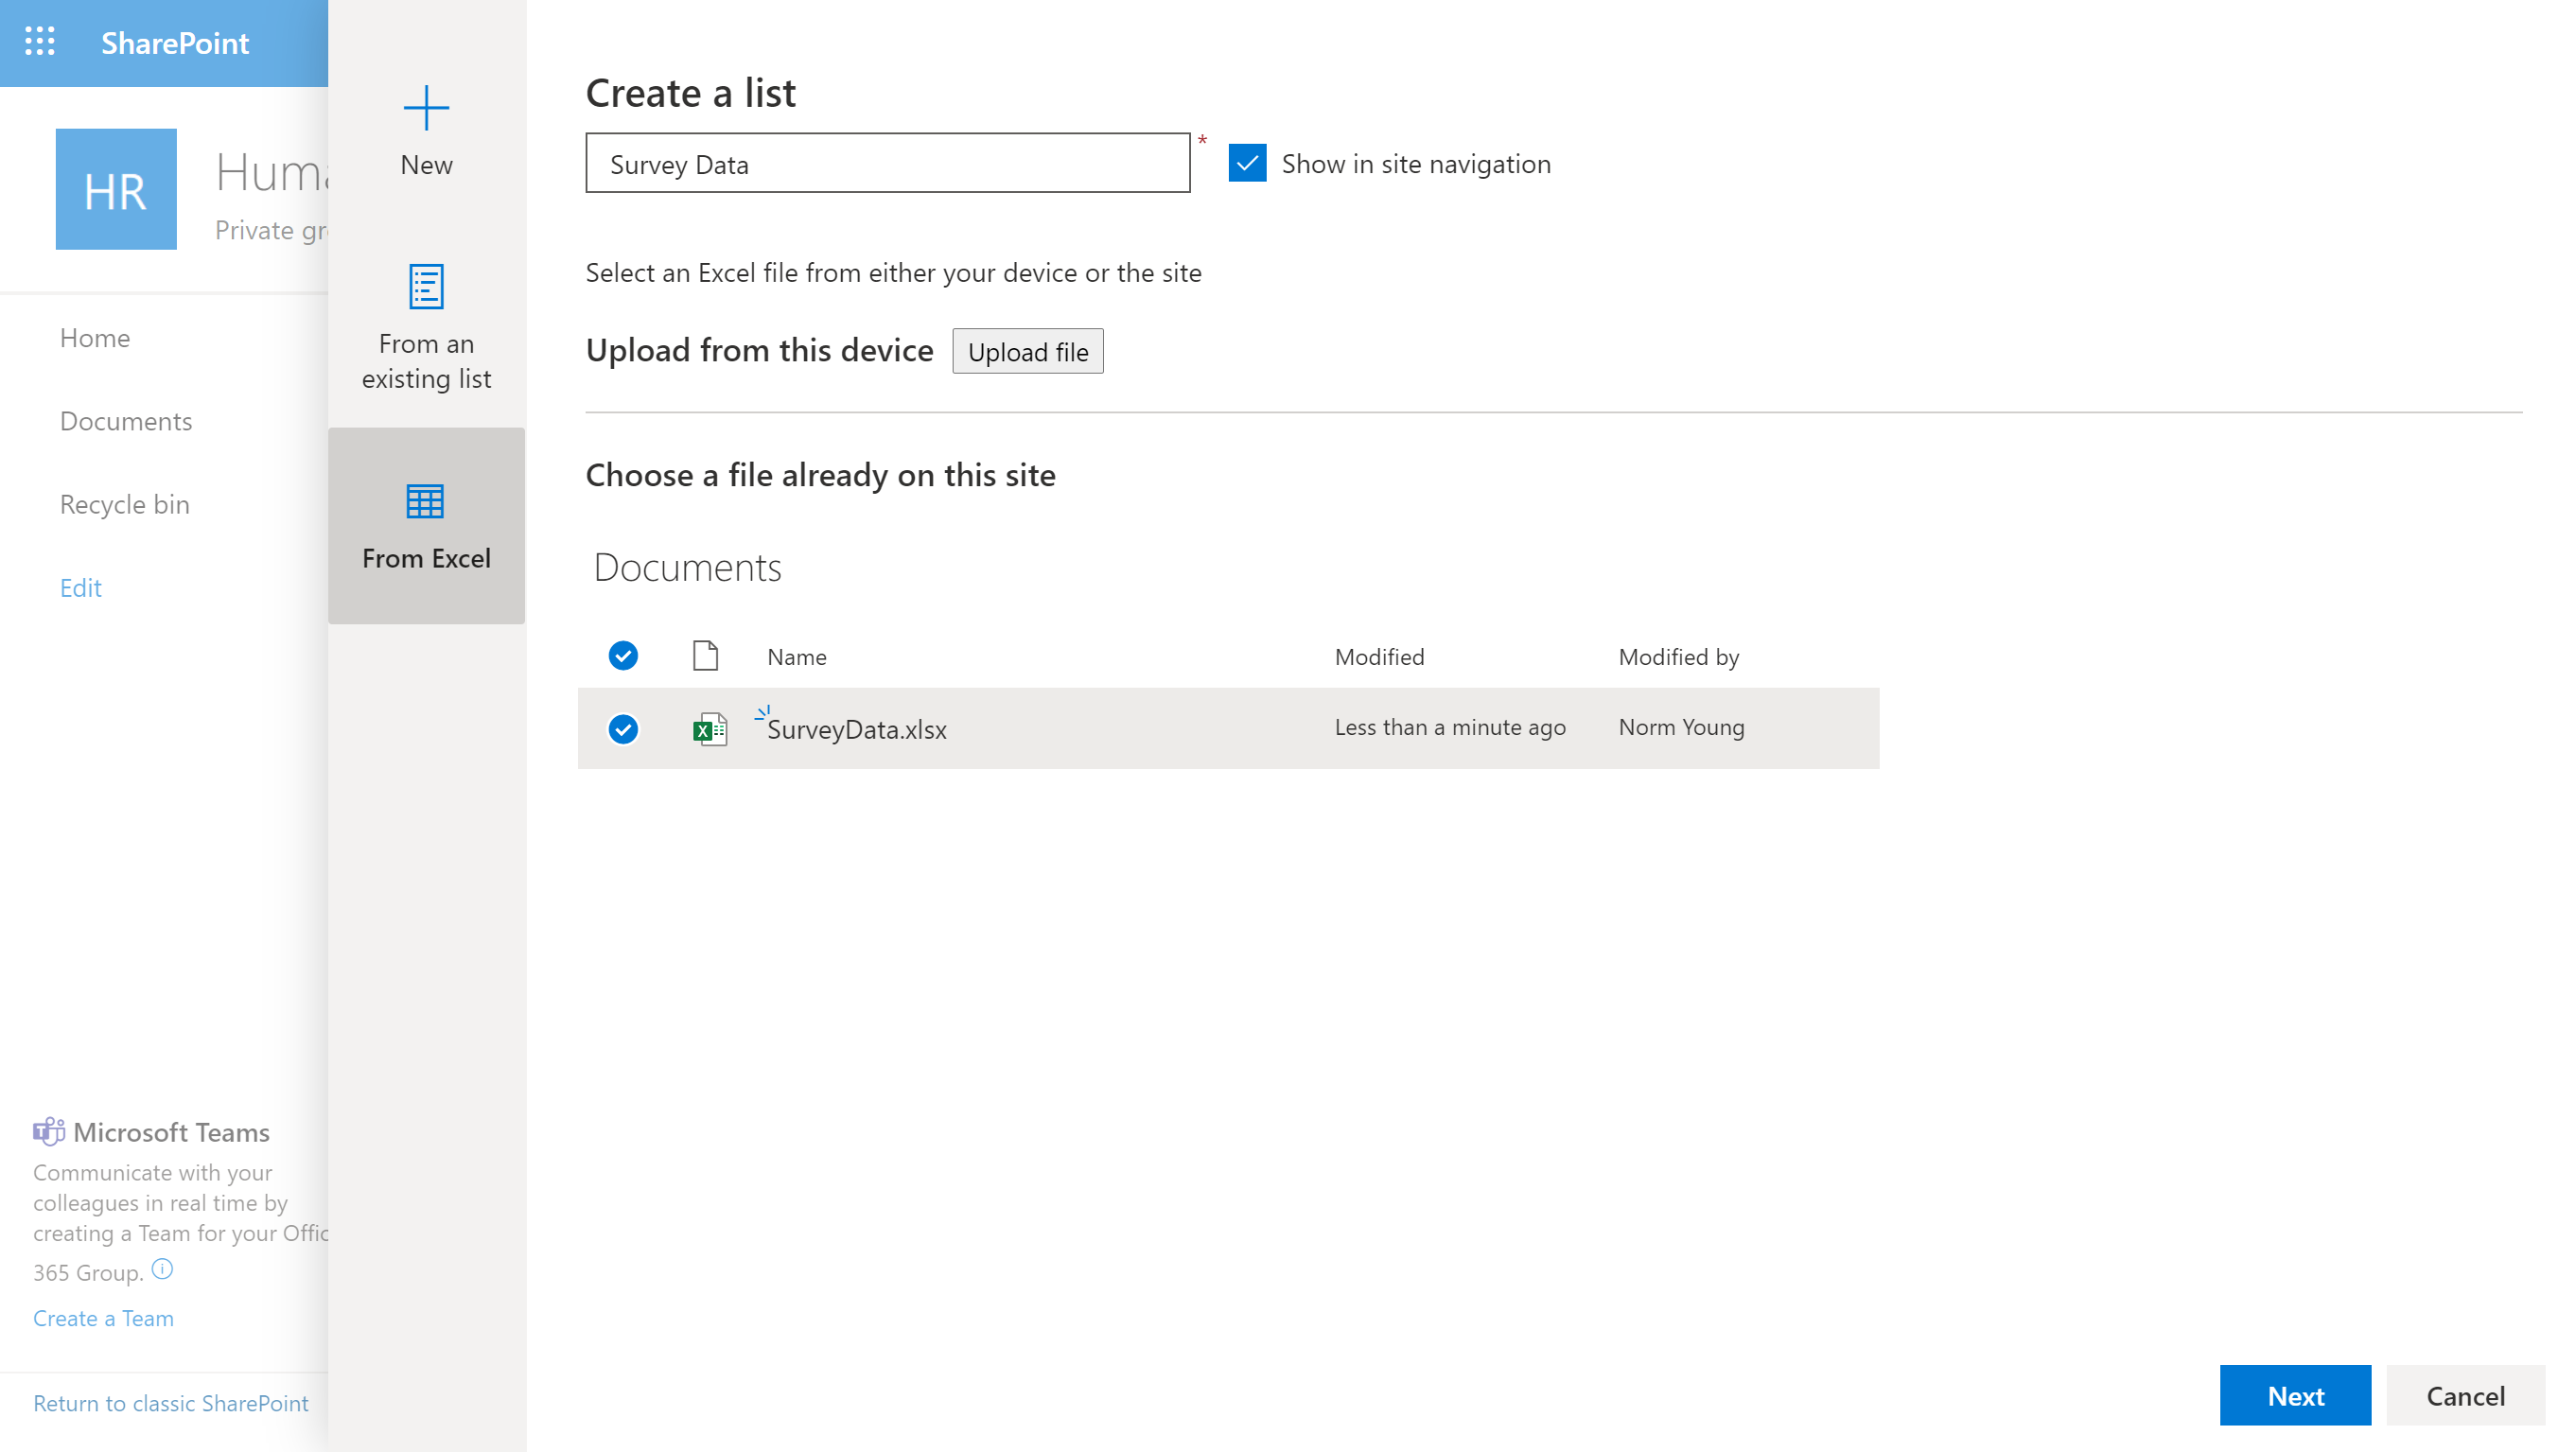
Click “From Excel”; provide a list name; upload a new spreadsheet or select an existing one and click "Next"
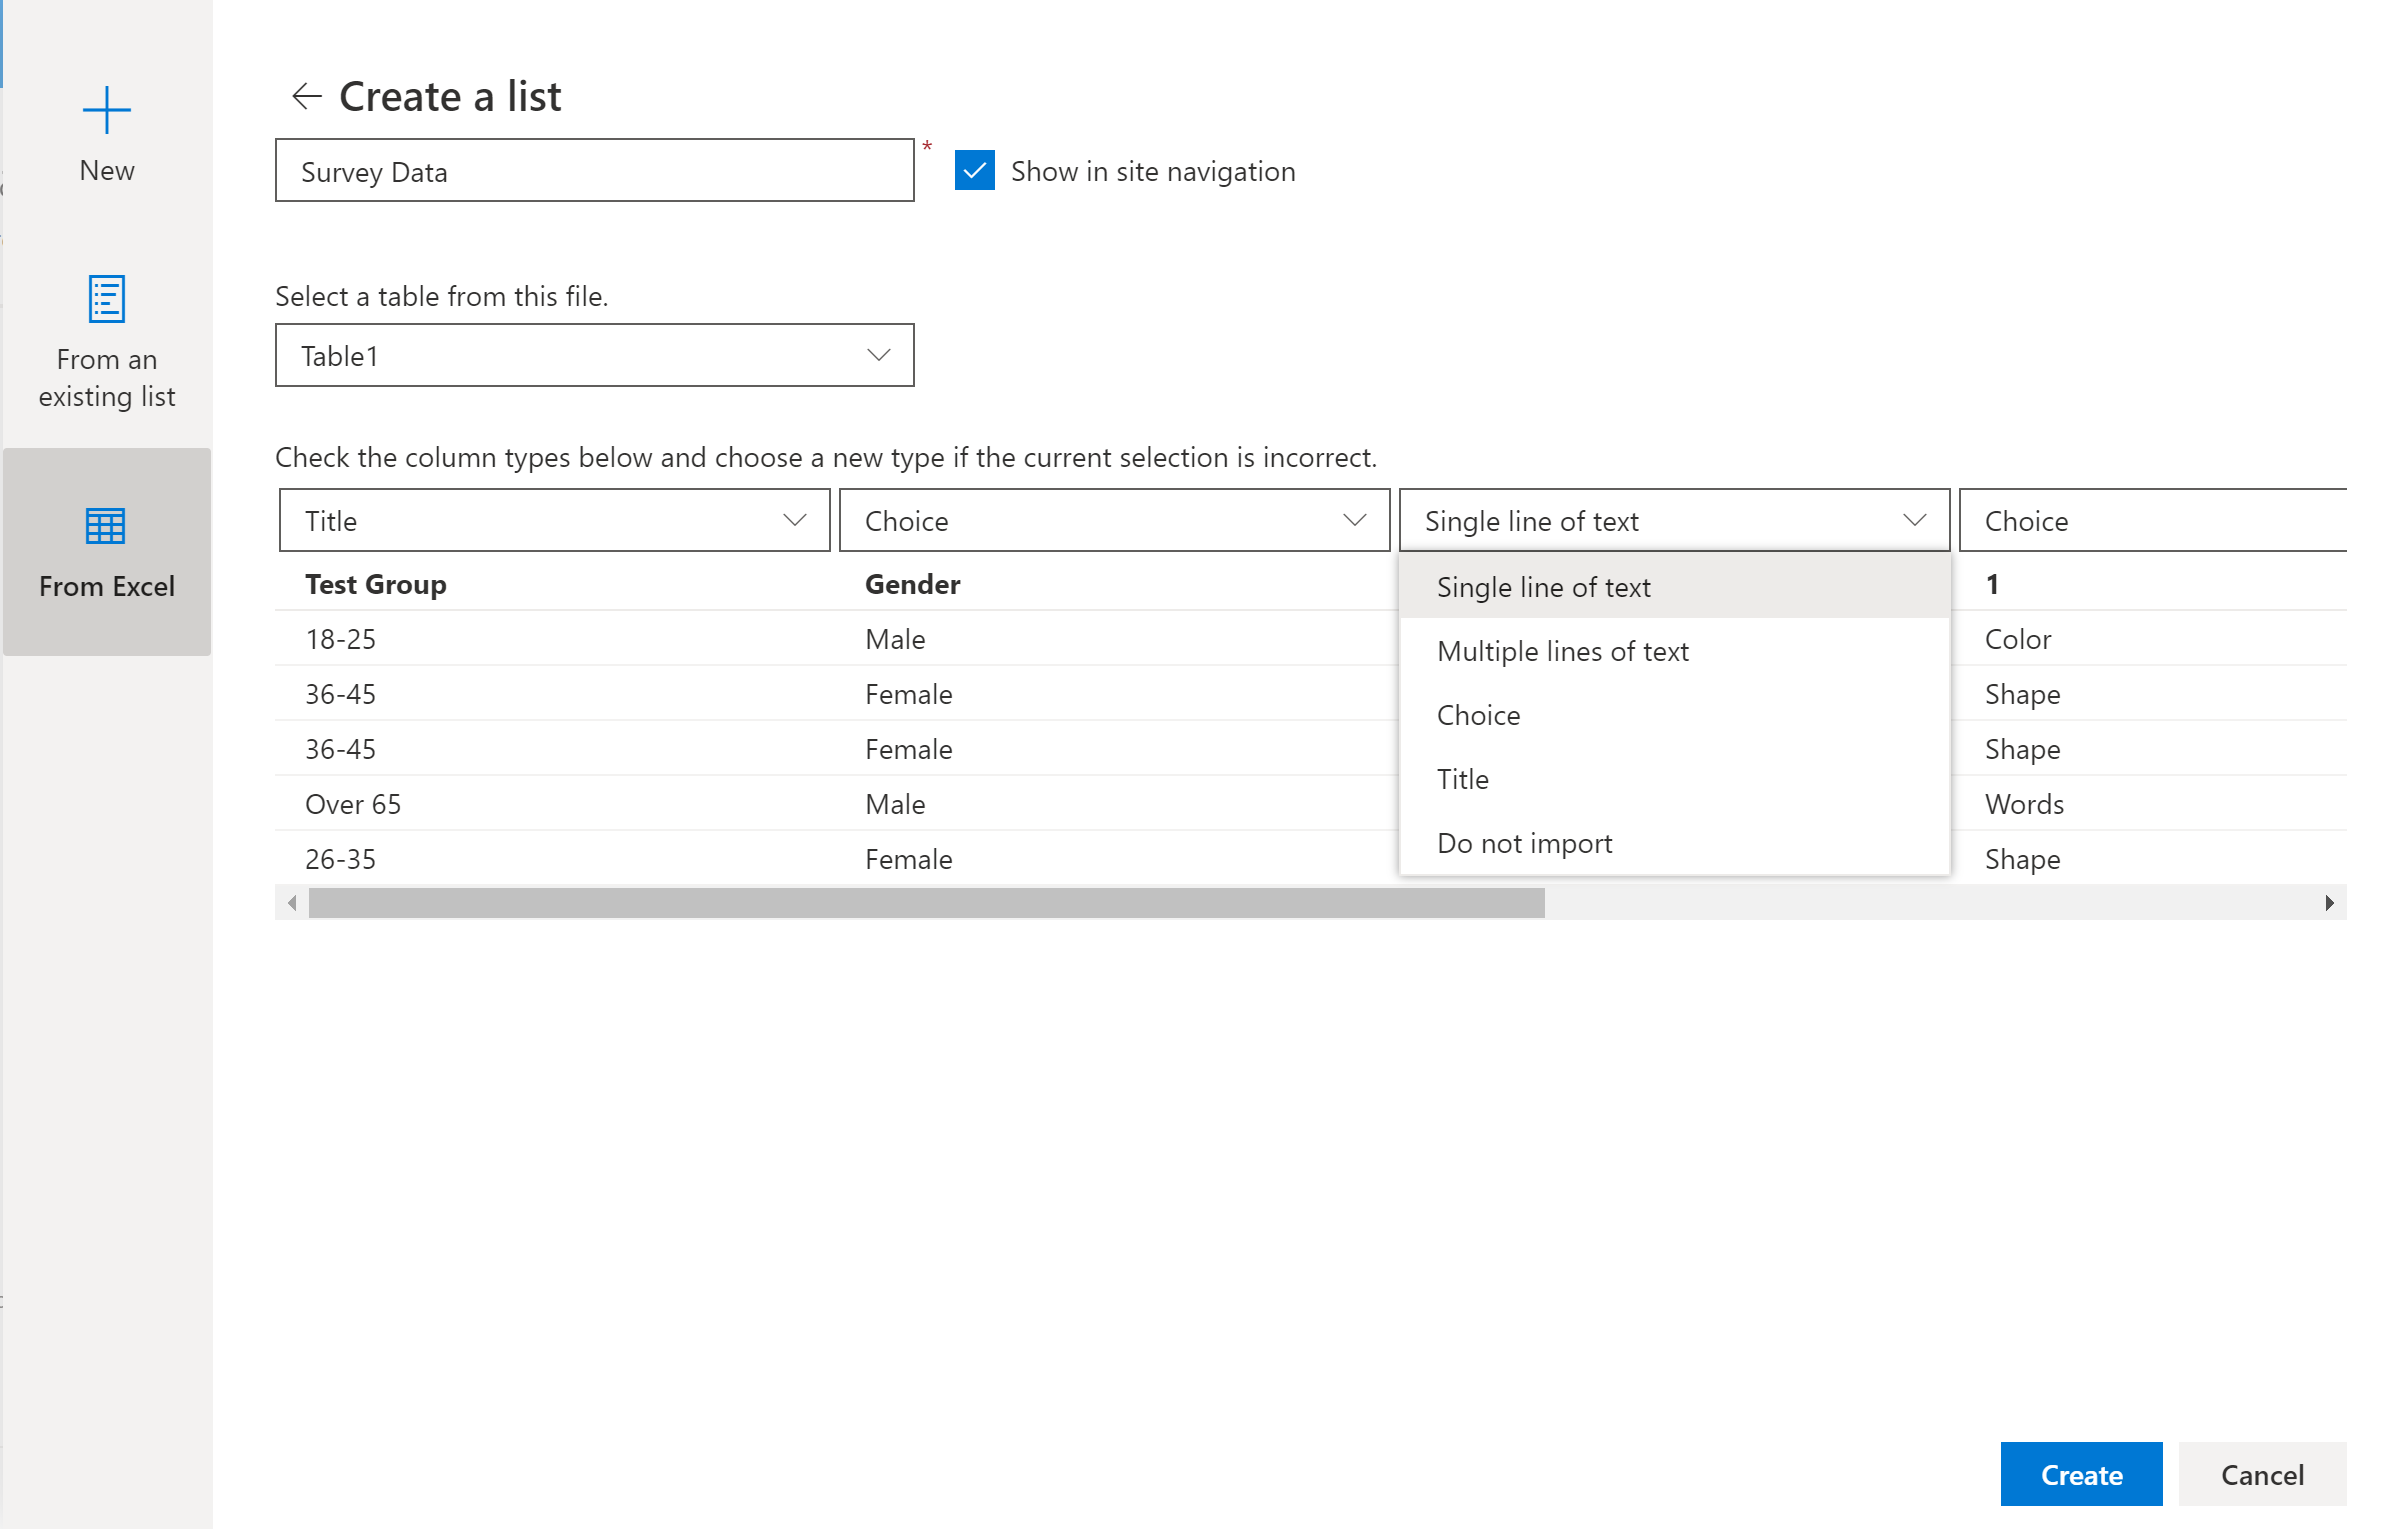
- Select the target "Table" from the spreadsheet; set the column types ("Single line of text", "Multiple lines of text", "Choice", "Title" or "Do not import") and click "Create"
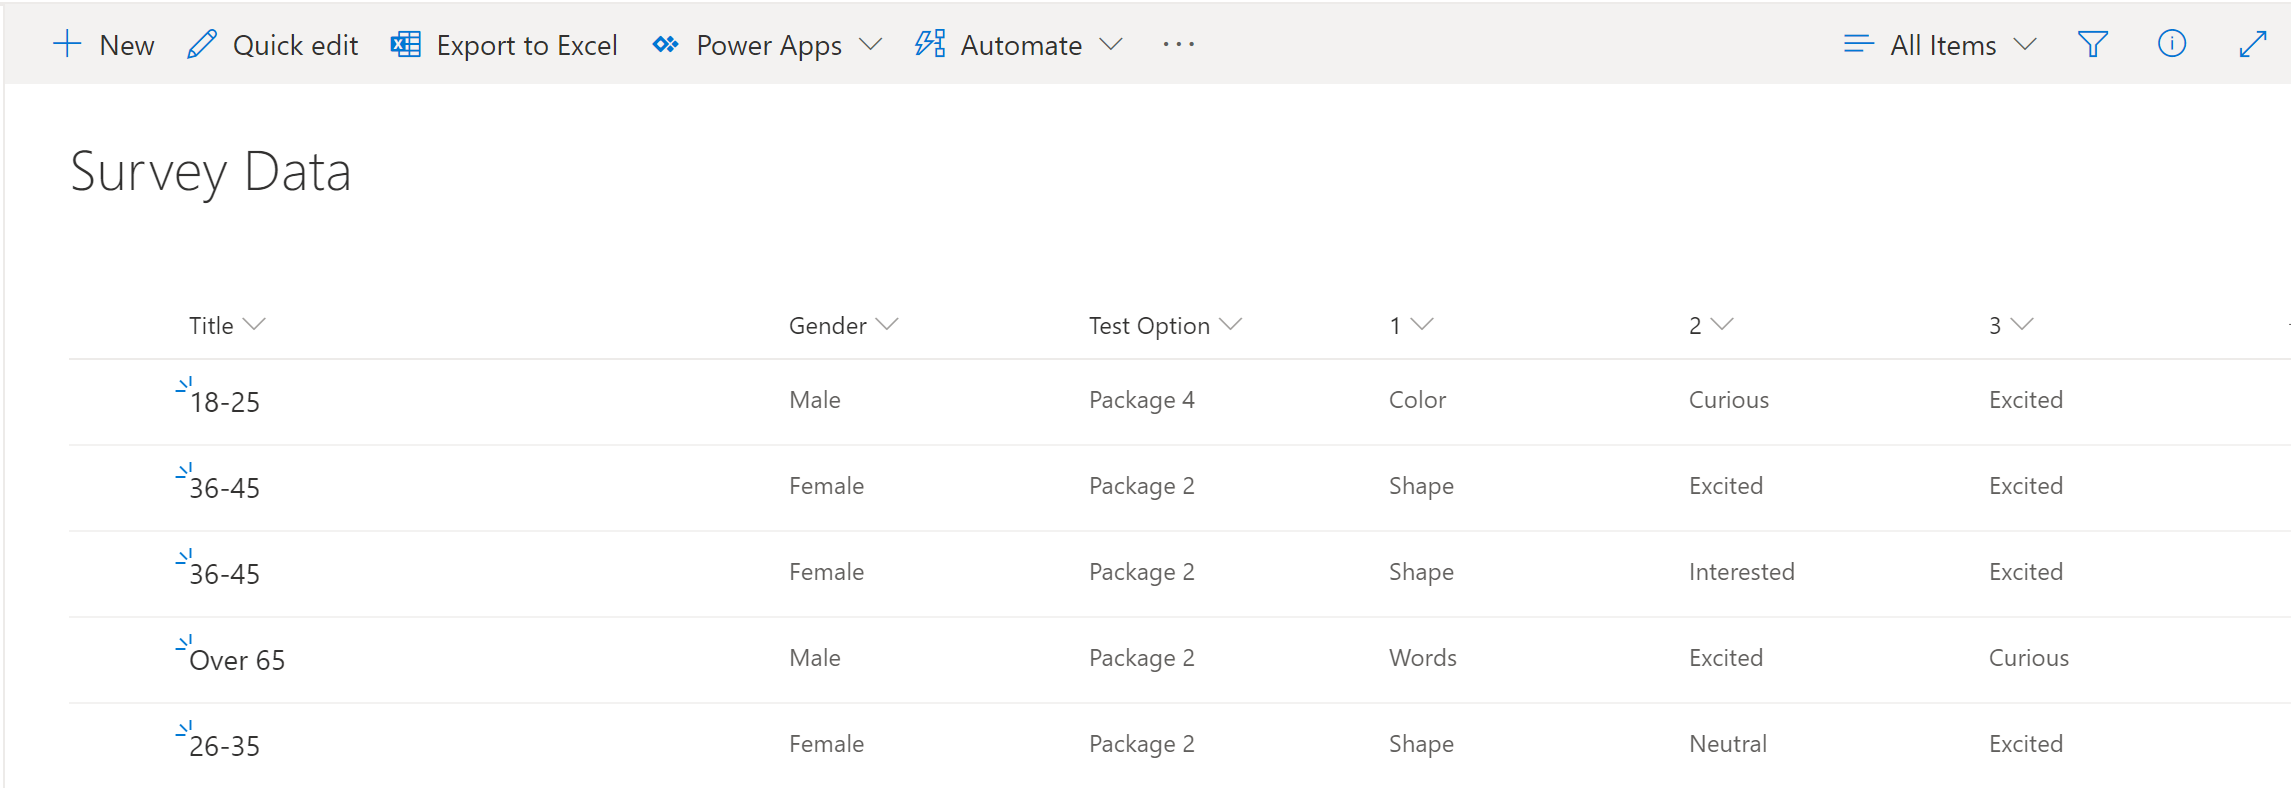
- Example imported list shown below:
Document Libraries – SharePoint Migration Tool (Power user)
The SharePoint Migration Tool (SPMT) can be used to import files into SharePoint. SPMT is especially useful when migrating a large volume of documents from a file share. Detailed information about SPMT can be found on the Download and install the SharePoint Migration Tool page.
From your SPMT computer:
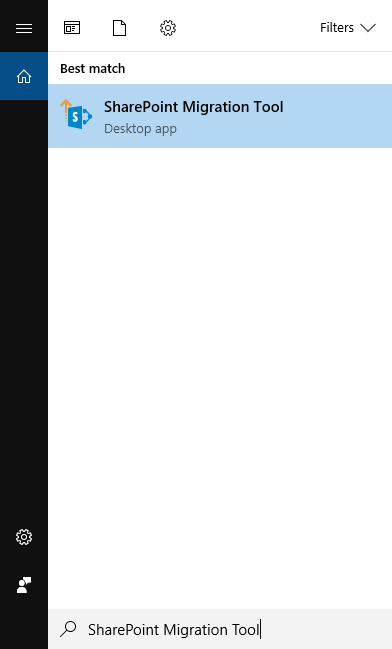
Open the “SharePoint Migration Tool”.
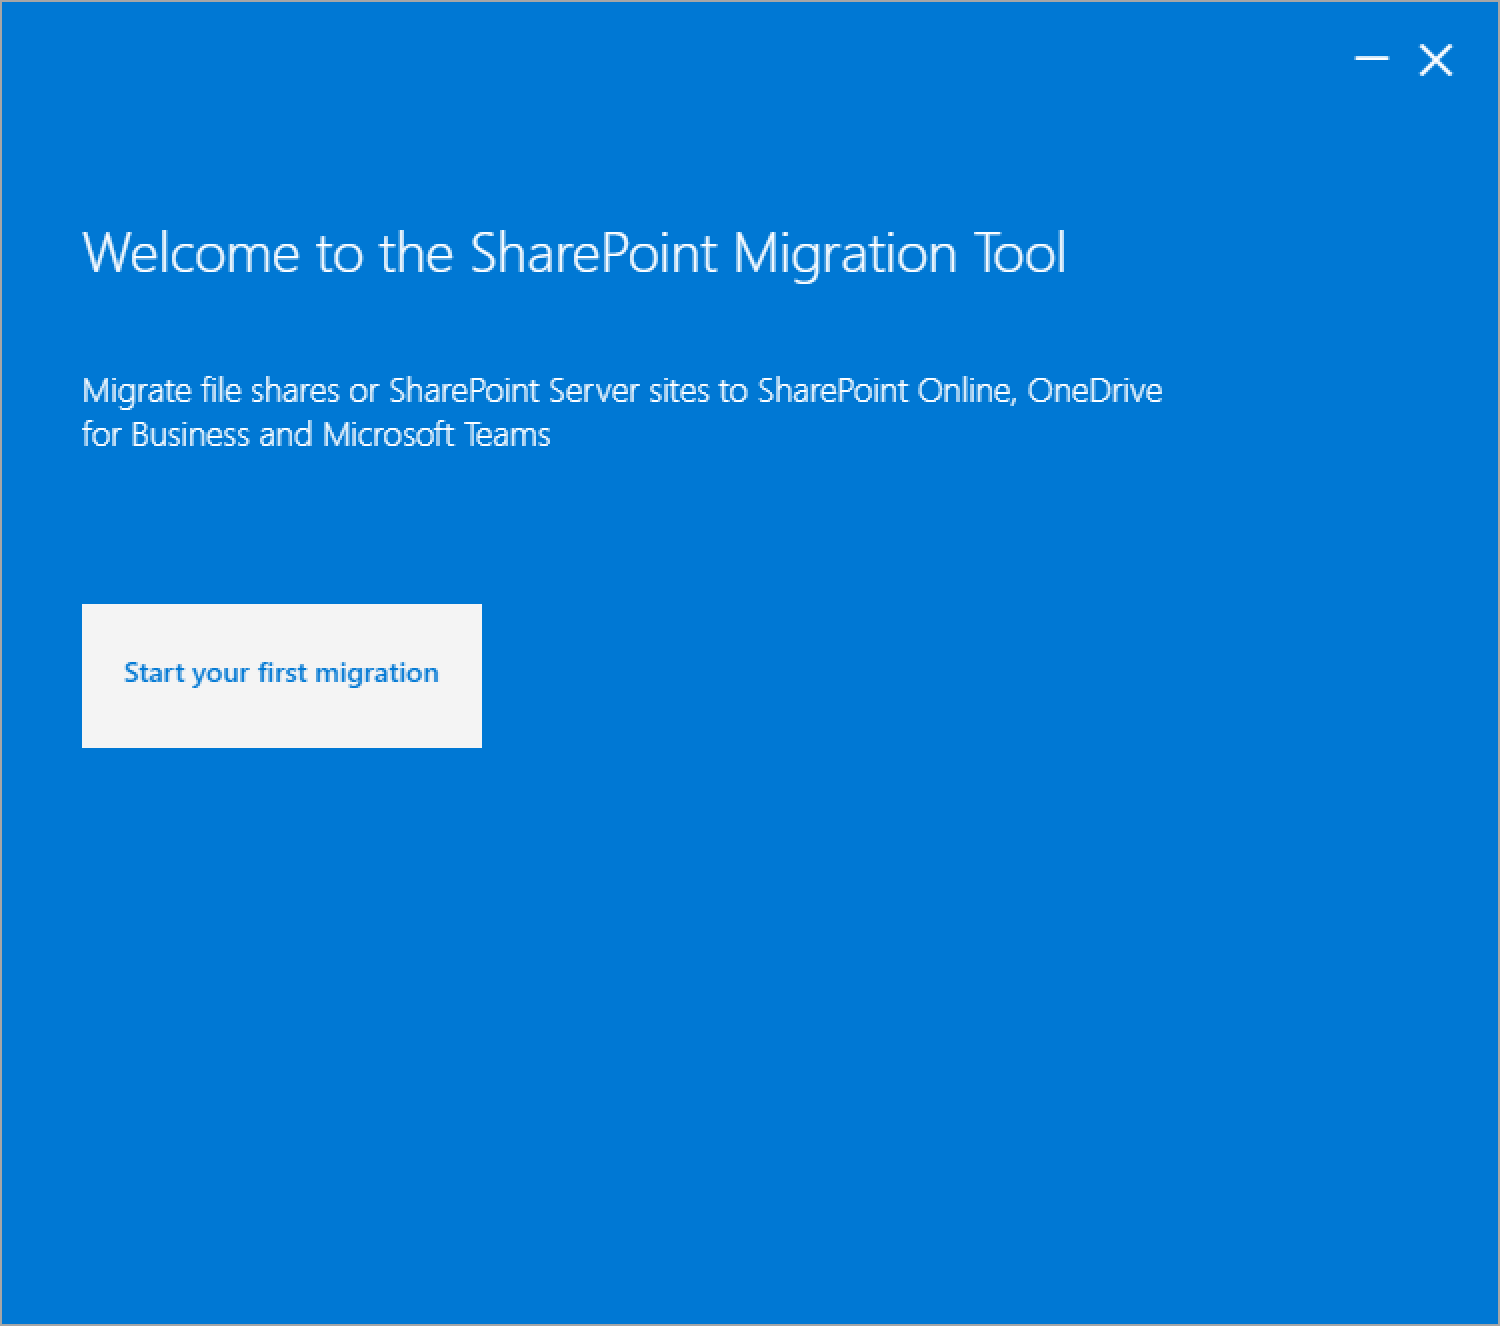
Click “Start your first migration”.
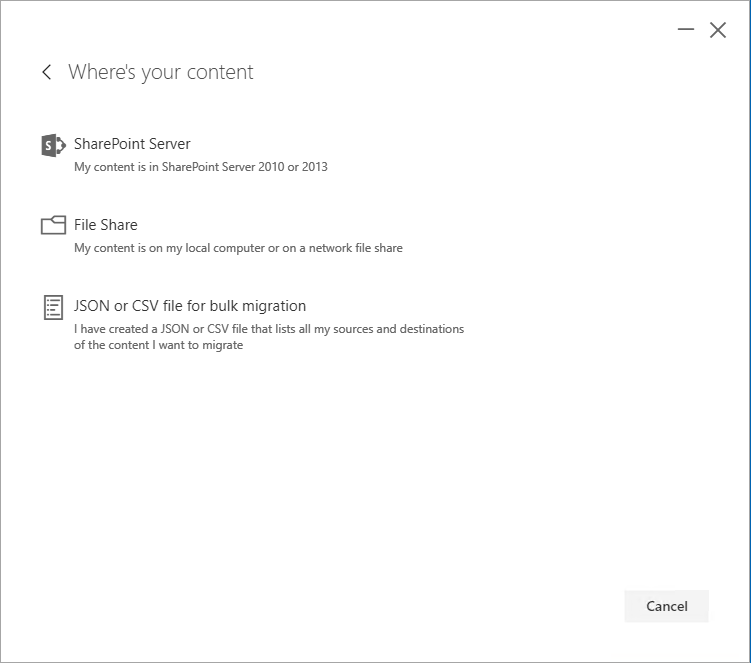
Click "File Share".
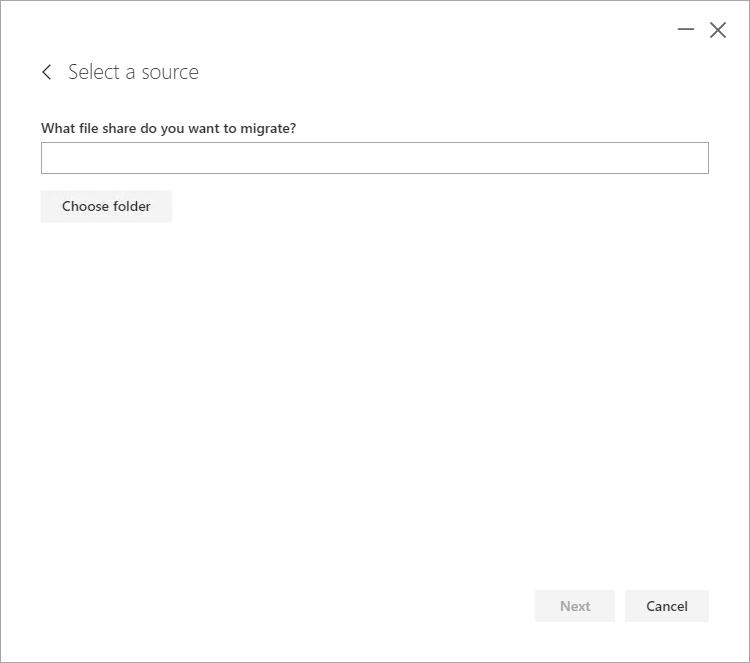
Click “Choose folder”.
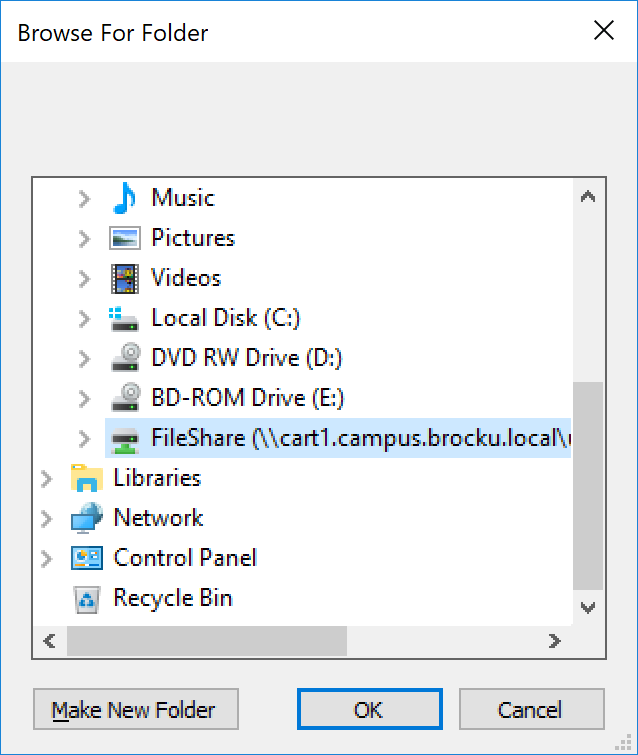
Select the source file share and click “OK”.
Click “Choose folder” to select a specific sub-folder or click “Next” to continue.
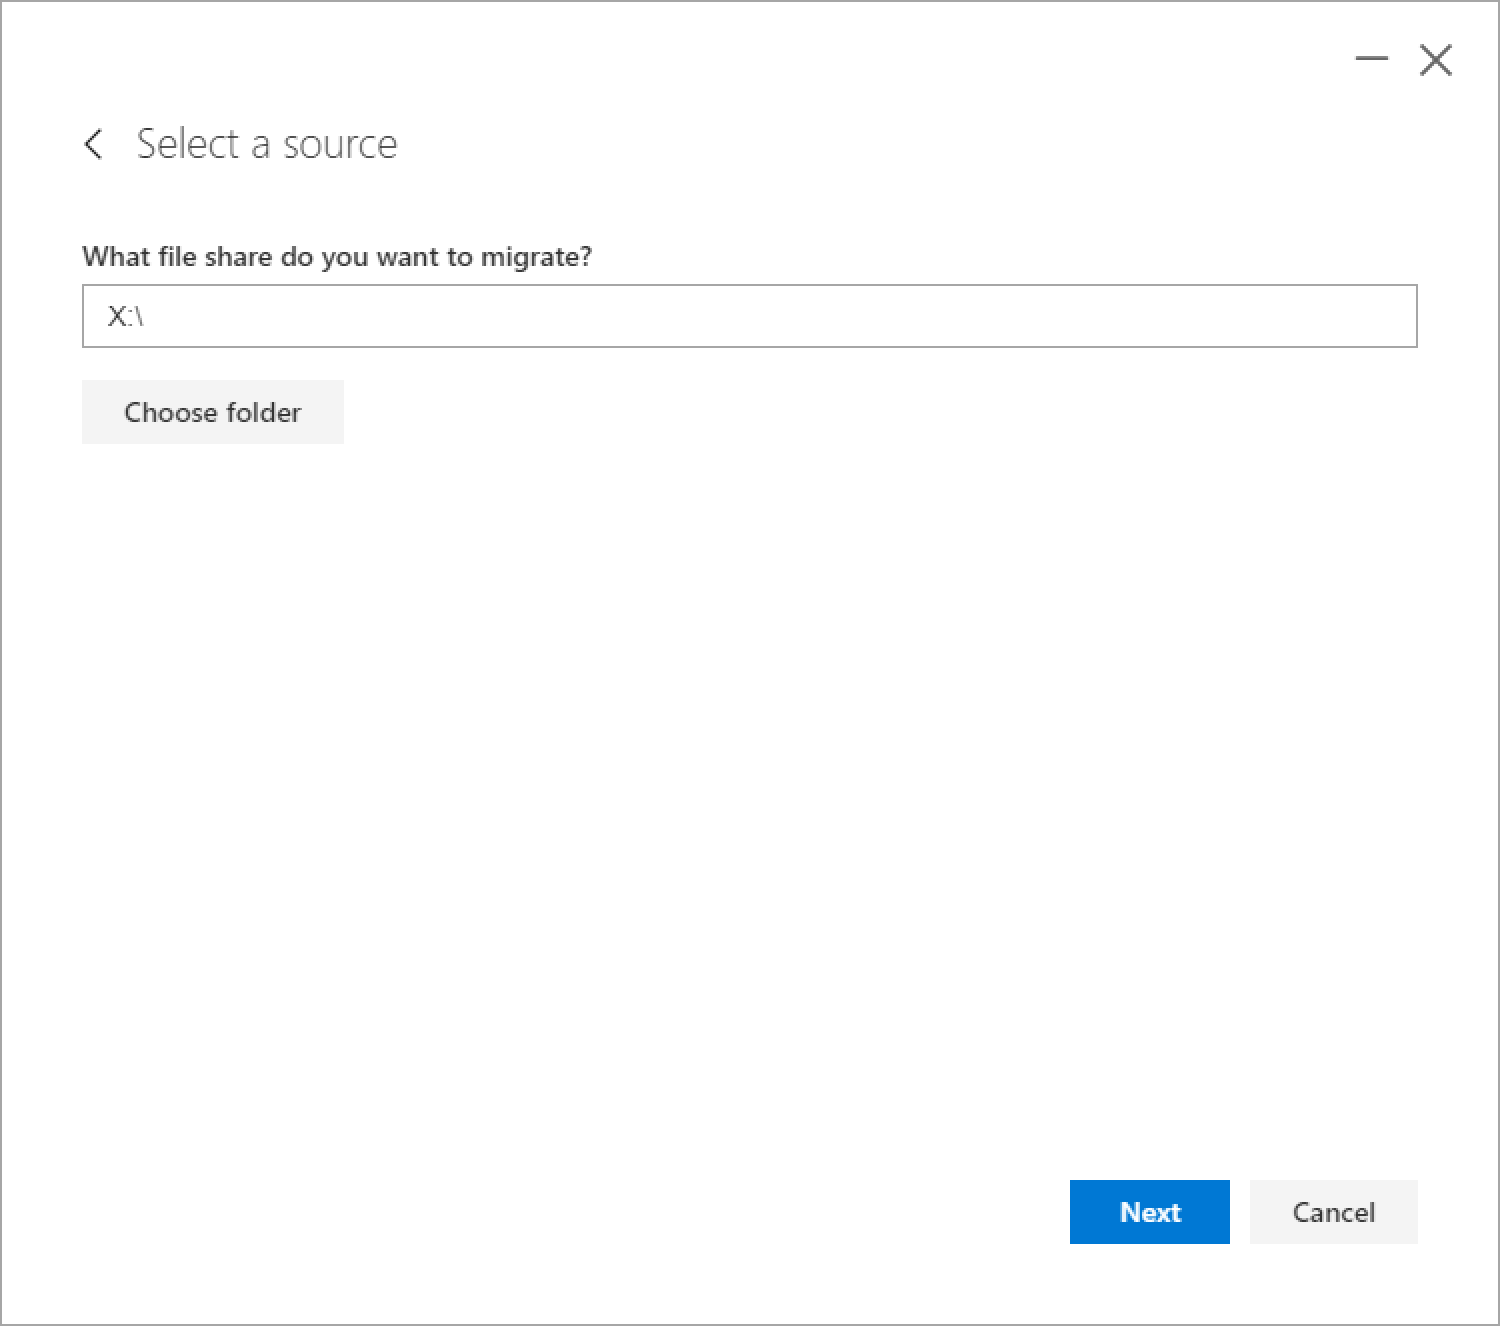
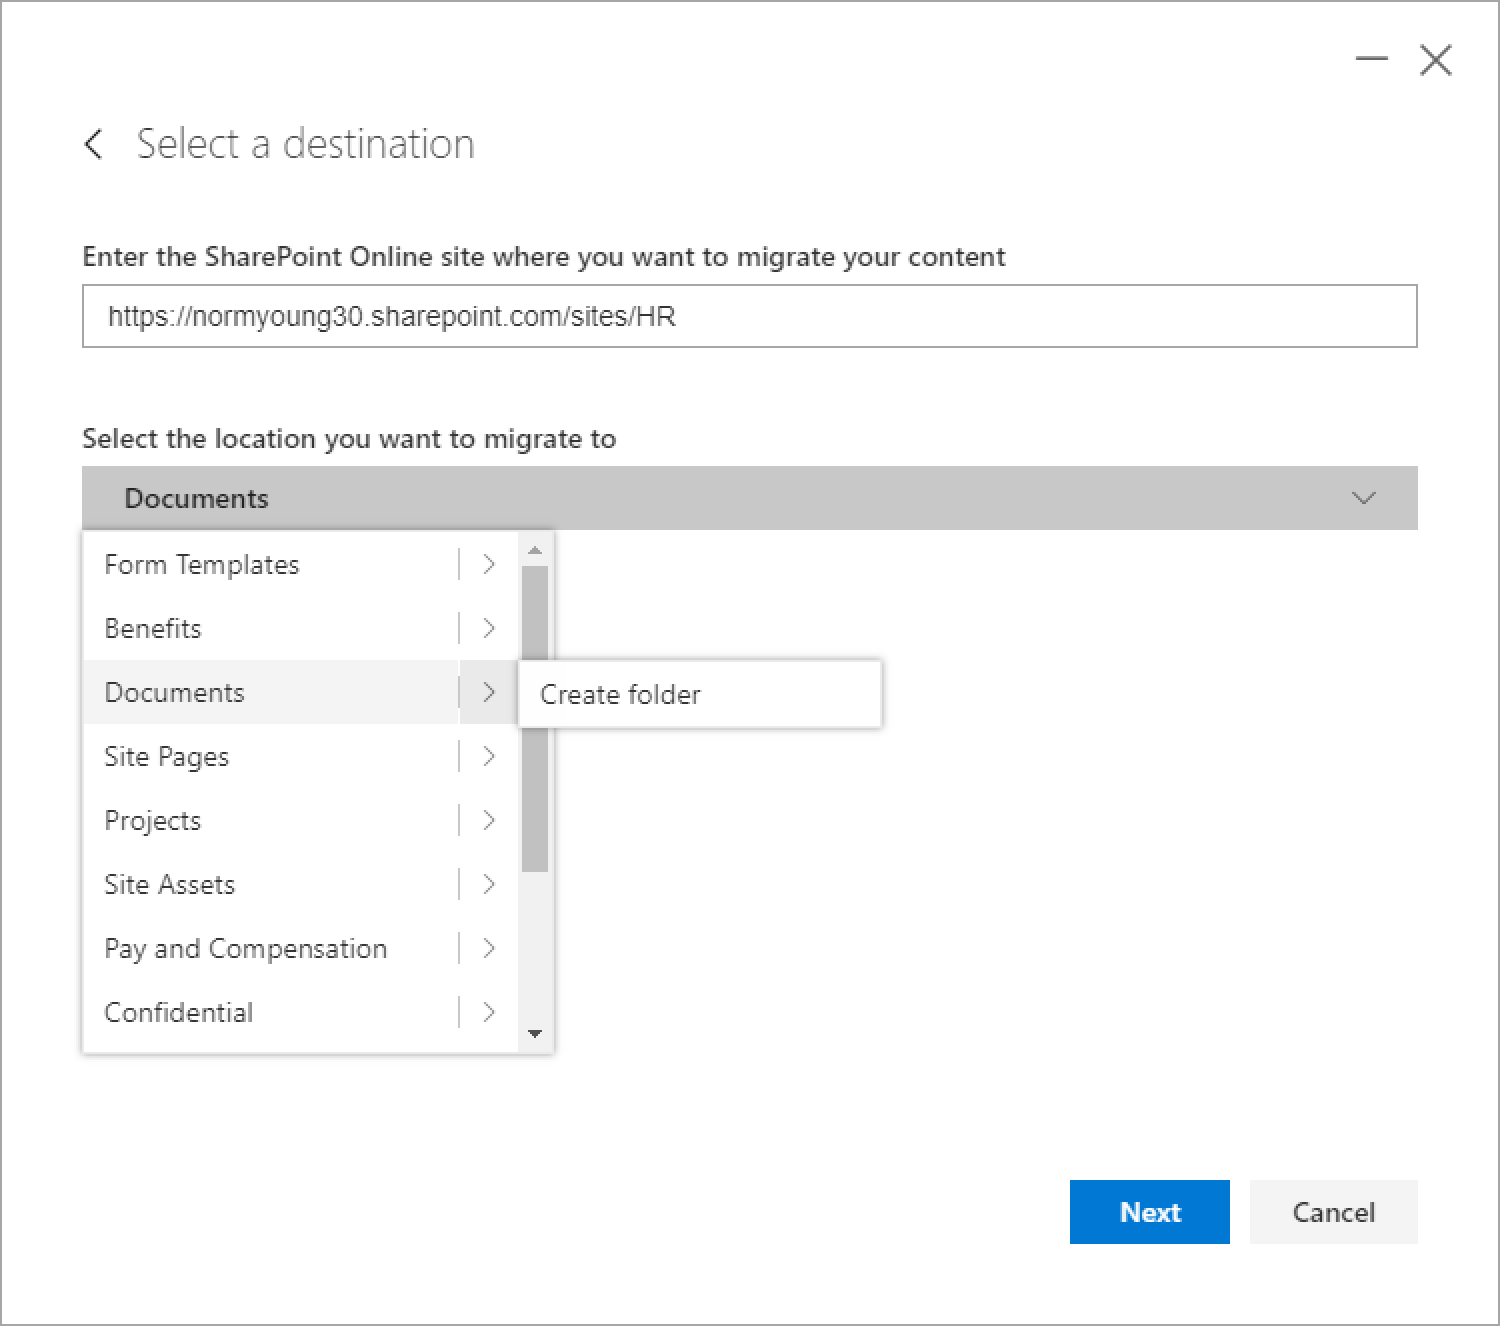
Enter the destination site URL and document library. Click “Next”.
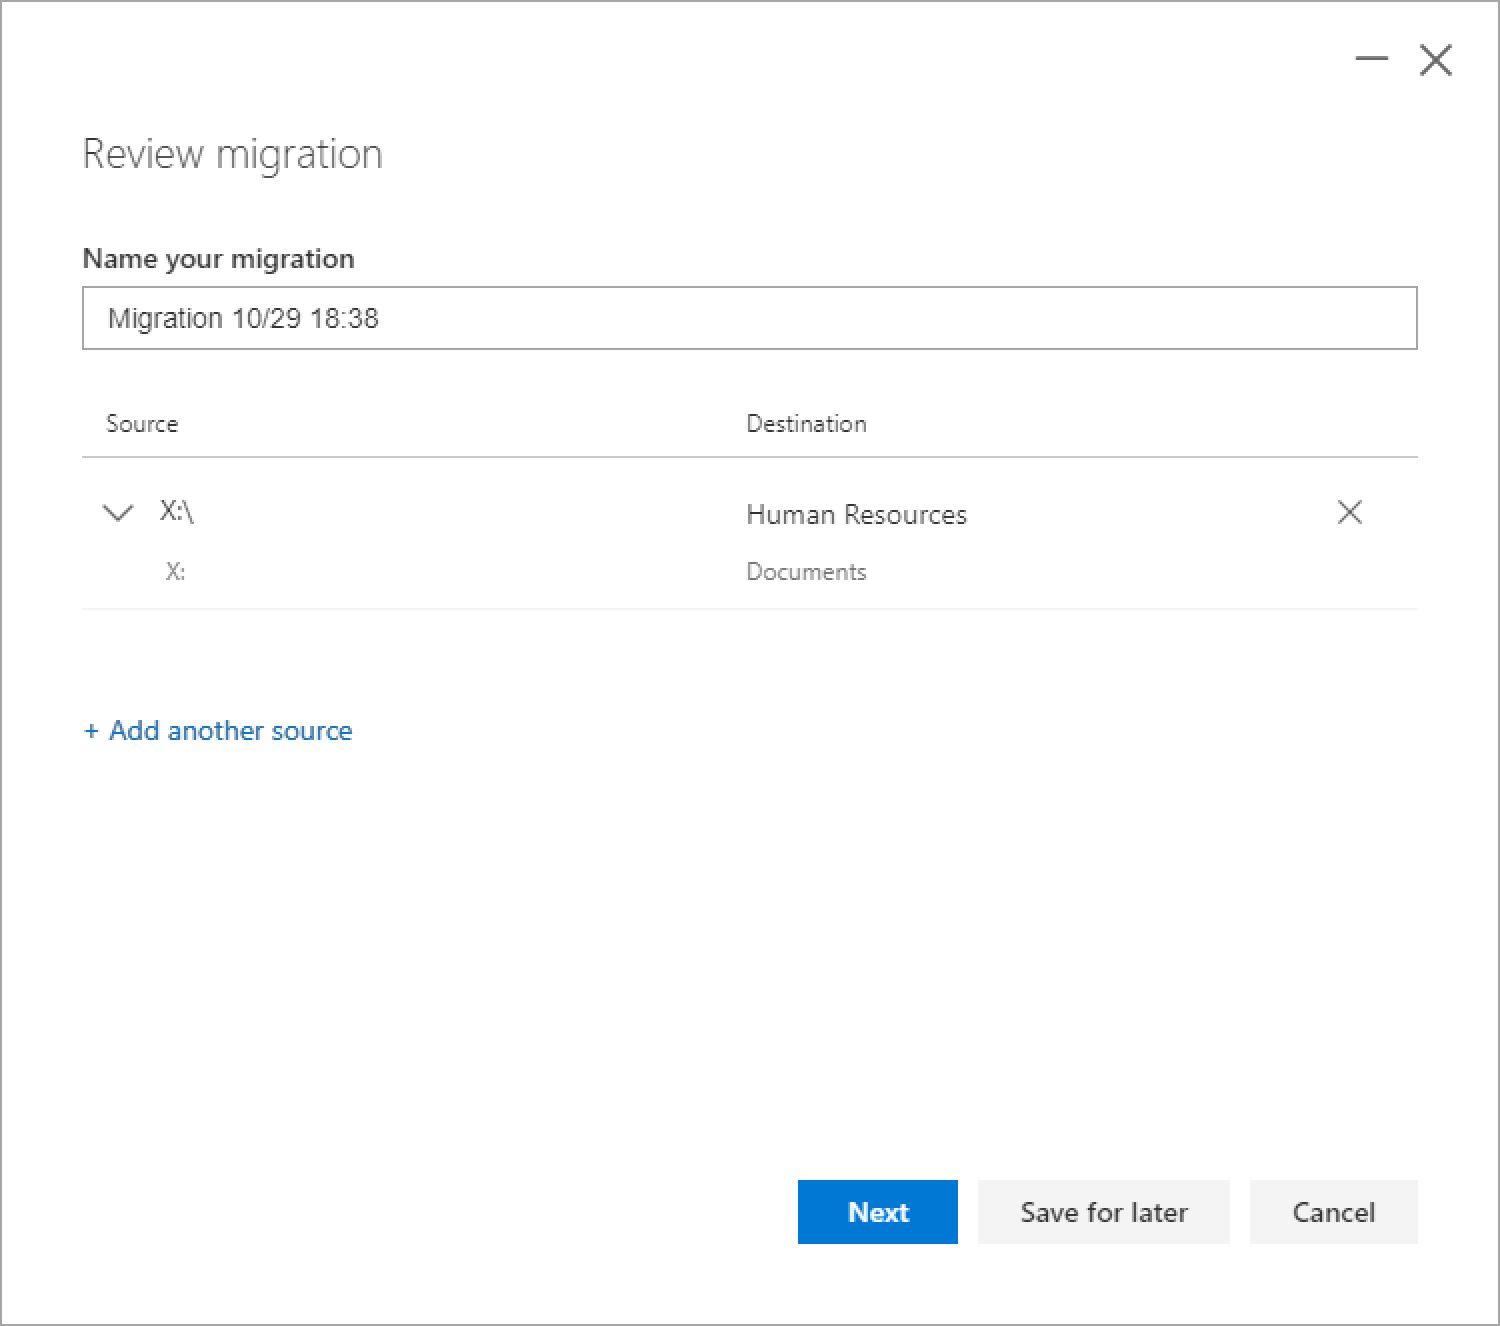
Name your migration if desired or click “Next” to continue.
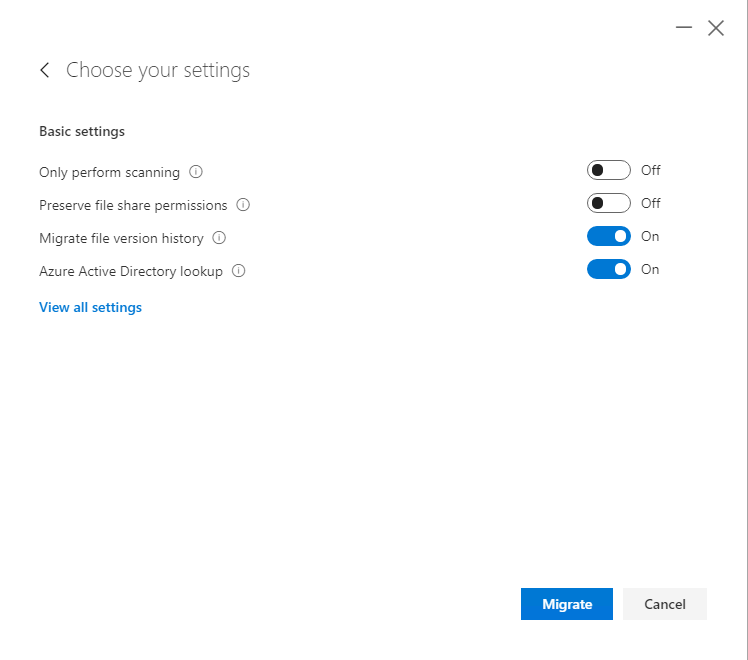
Update SPMT settings if required or click “Migrate” to continue. Detailed information on SPMT settings can be on the SharePoint Migration Tool Settings page.
Click “Save” to store the migration or click “No thanks” to continue.
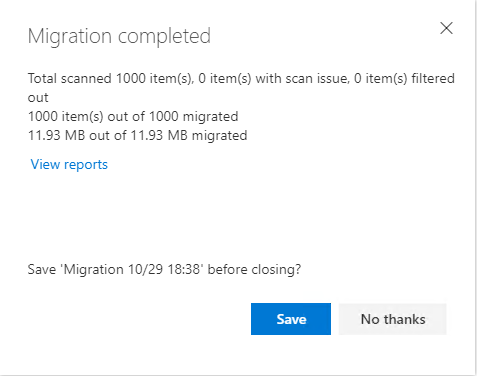
The summary screen will provide migration details and reports.
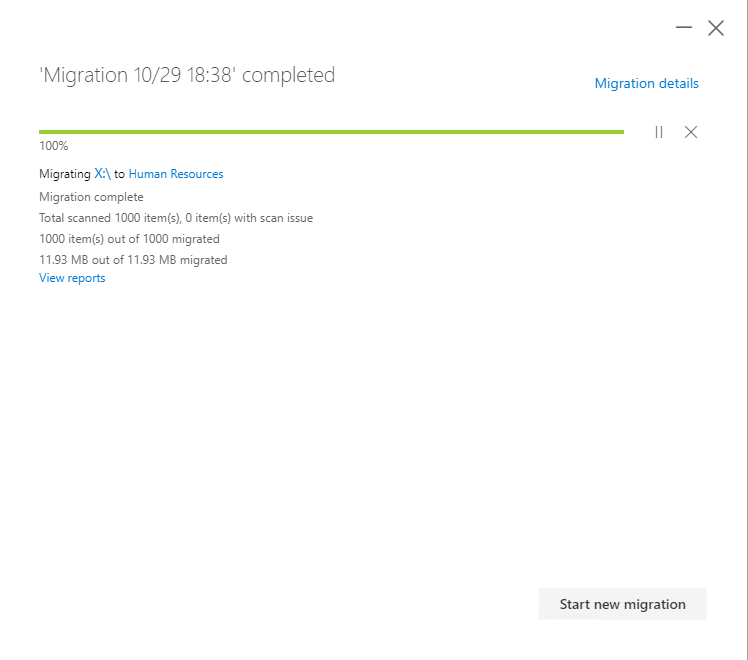
Document Libraries – Sync (Power user)
SharePoint document libraries support the syncing of files between computer and site using Microsoft OneDrive. The OneDrive sync app is especially useful when migrating a large volume of documents from computer to SharePoint document library. Detailed information about OneDrive can be found on the Sync SharePoint files with the new OneDrive sync app page.
With the target site and document library open:
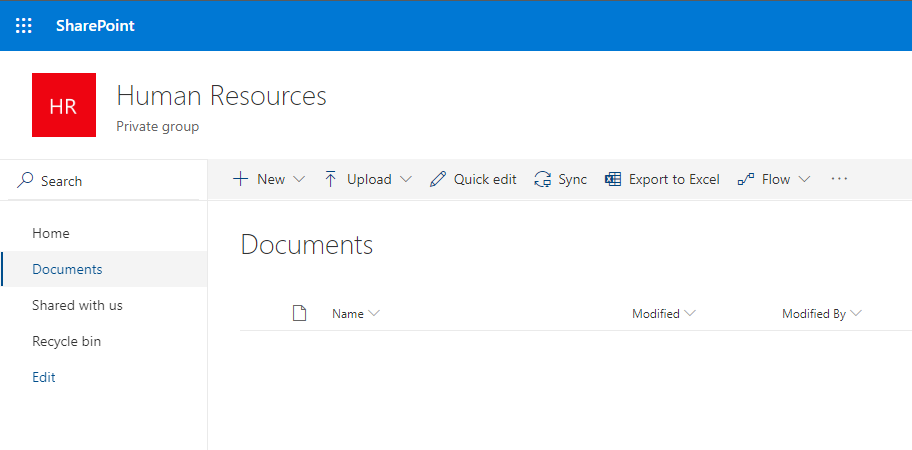
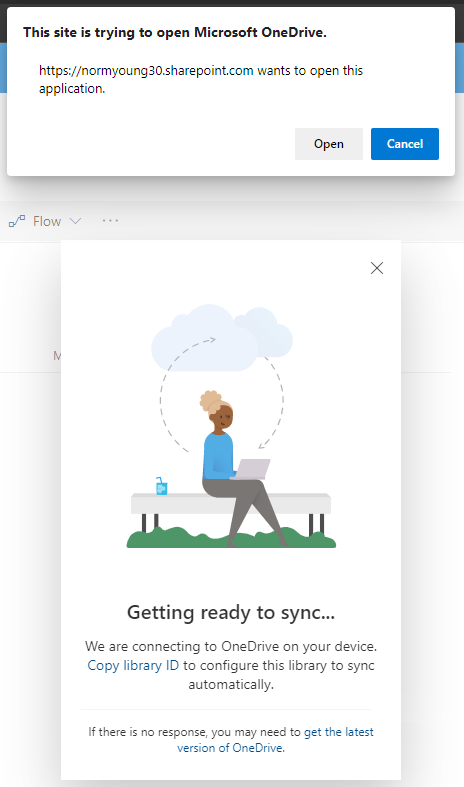
- Click “Sync”.
- Click “Open” to the “Getting ready to sync...” prompt.
- Confirm you login account name and click “Sign in”.
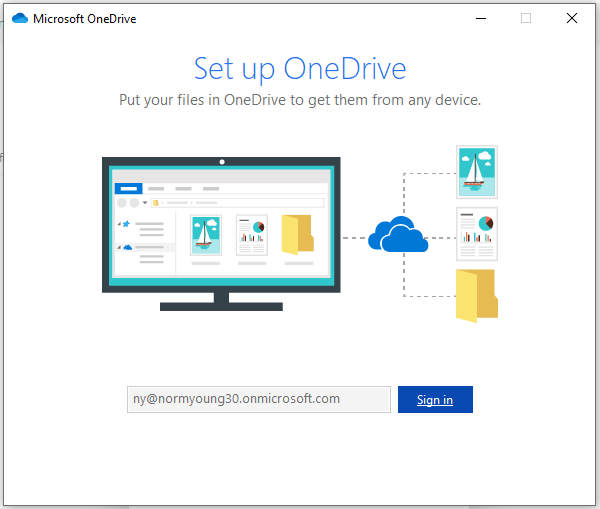
- Click “Next”.
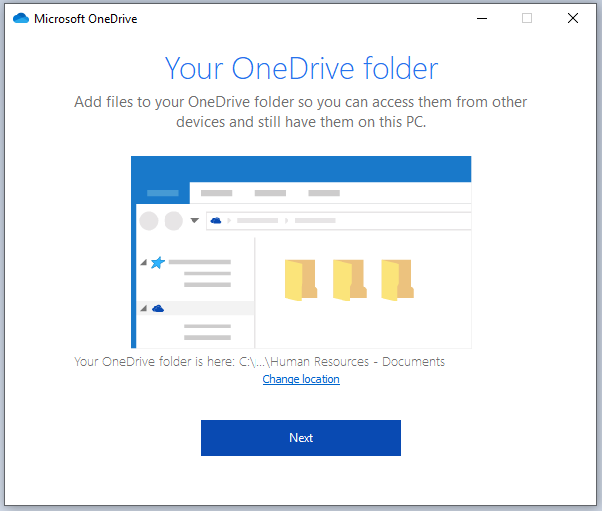
- Click through the “Welcome to OneDrive” screen and then click “Open my OneDrive folder”.
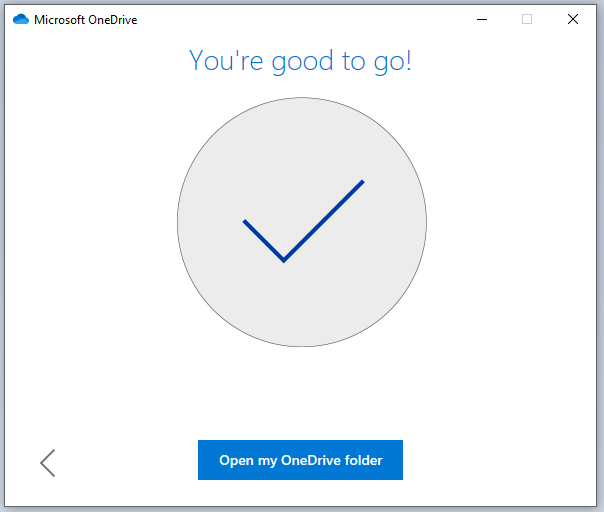
Using Windows Explorer, open the source documents folder:
Select the source files / folders.
Drag to the destination sync document library and release.
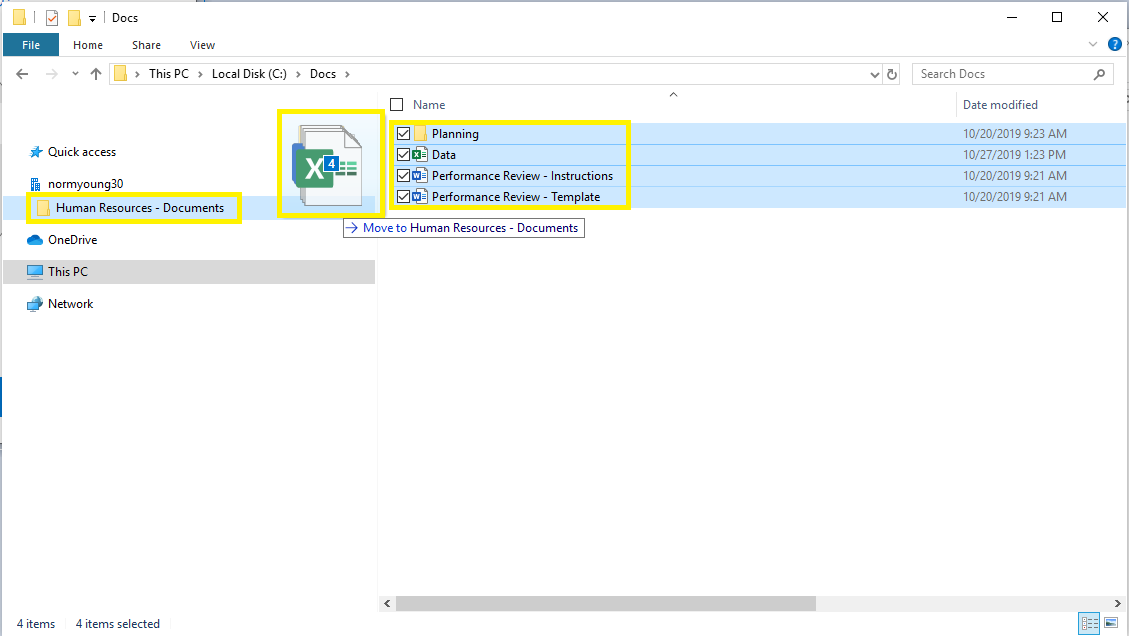
- Source folder and target document library will become synchronized.
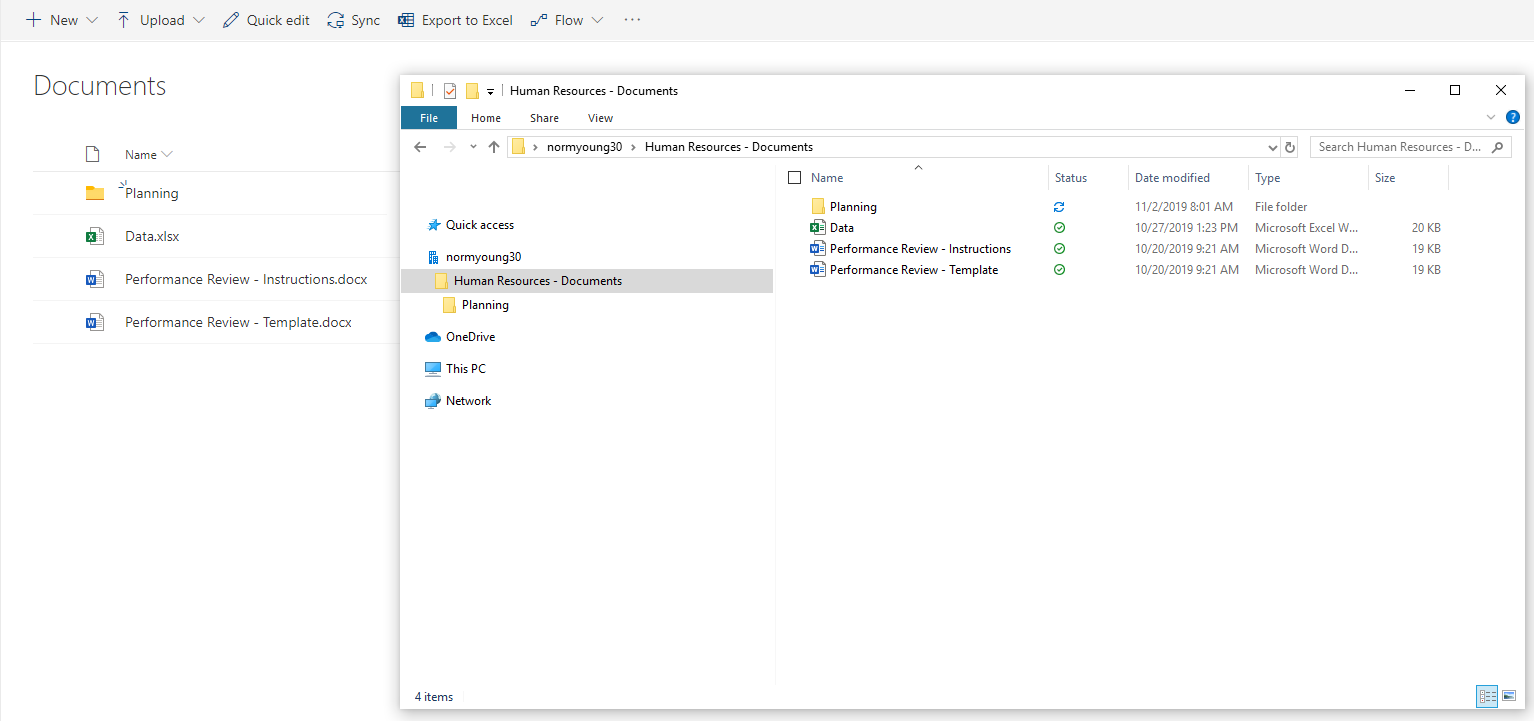
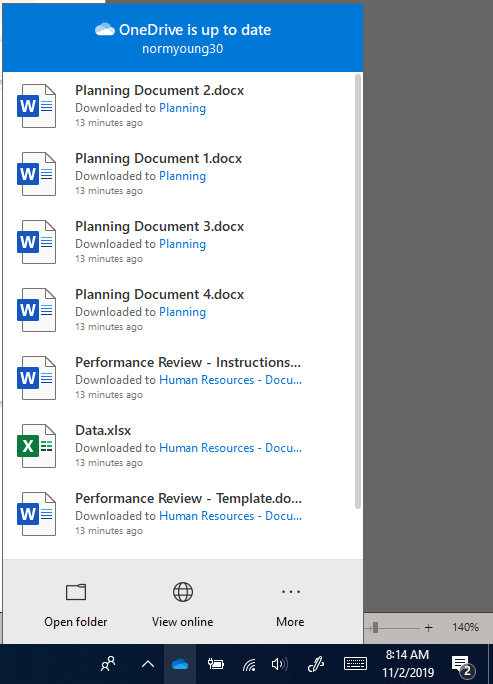
- See the OneDrive sync app in the system tray to view progress and any sync messages.
Principal author: Norm Young
Microsoft 365 community content