你当前正在访问 Microsoft Azure Global Edition 技术文档网站。 如果需要访问由世纪互联运营的 Microsoft Azure 中国技术文档网站,请访问 https://docs.azure.cn。
步骤 2 - 创建和加载搜索索引
按照以下步骤继续生成启用搜索的网站:
- 创建新索引
- 加载数据
该程序在用于 .NET 的 Azure SDK 中使用 Azure.Search.Documents:
在开始之前,请确保搜索服务中有足够的空间容纳新索引。 免费层限制为三个索引。 基本层限制为 15。
准备批量导入脚本以进行搜索
在 Visual Studio Code 中,在子目录
azure-search-static-web-app/bulk-insert中打开Program.cs文件,将以下变量替换为自己的值,以便在 Azure 搜索 SDK 中进行身份验证。- YOUR-SEARCH-SERVICE-NAME(不是完整 URL)
- YOUR-SEARCH-ADMIN-API-KEY(请参阅查找 API 密钥)
using Azure;
using Azure.Search.Documents;
using Azure.Search.Documents.Indexes;
using Azure.Search.Documents.Indexes.Models;
using AzureSearch.BulkInsert;
using ServiceStack;

const string BOOKS_URL = "https://raw.githubusercontent.com/Azure-Samples/azure-search-sample-data/main/good-books/books.csv";
const string SEARCH_ENDPOINT = "https://YOUR-SEARCH-RESOURCE-NAME.search.windows.net";
const string SEARCH_KEY = "YOUR-SEARCH-ADMIN-KEY";
const string SEARCH_INDEX_NAME = "good-books";

Uri searchEndpointUri = new(SEARCH_ENDPOINT);

SearchClient client = new(
    searchEndpointUri,
    SEARCH_INDEX_NAME,
    new AzureKeyCredential(SEARCH_KEY));

SearchIndexClient clientIndex = new(
    searchEndpointUri,
    new AzureKeyCredential(SEARCH_KEY));

await CreateIndexAsync(clientIndex);
await BulkInsertAsync(client);

static async Task CreateIndexAsync(SearchIndexClient clientIndex)
{
    Console.WriteLine("Creating (or updating) search index");
    SearchIndex index = new BookSearchIndex(SEARCH_INDEX_NAME);
    var result = await clientIndex.CreateOrUpdateIndexAsync(index);

    Console.WriteLine(result);
}

static async Task BulkInsertAsync(SearchClient client)
{
    Console.WriteLine("Download data file");
    using HttpClient httpClient = new();

    var csv = await httpClient.GetStringAsync(BOOKS_URL);

    Console.WriteLine("Reading and parsing raw CSV data");
    var books =
        csv.ReplaceFirst("book_id", "id").FromCsv<List<BookModel>>();

    Console.WriteLine("Uploading bulk book data");
    _ = await client.UploadDocumentsAsync(books);

    Console.WriteLine("Finished bulk inserting book data");
}
在 Visual Studio Code 中为项目目录的子目录
azure-search-static-web-app/bulk-insert打开集成终端。运行以下命令以安装依赖项。
dotnet restore
运行批量导入脚本以进行搜索
仍然在同一子目录 (
azure-search-static-web-app/bulk-insert) 中,运行程序:dotnet run当代码运行时,控制台将显示进度。 应会看到以下输出:
 Creating (or updating) search index
 Status: 201, Value: Azure.Search.Documents.Indexes.Models.SearchIndex
 Download data file
 Reading and parsing raw CSV data
 Uploading bulk book data
 Finished bulk inserting book data
查看新的搜索索引
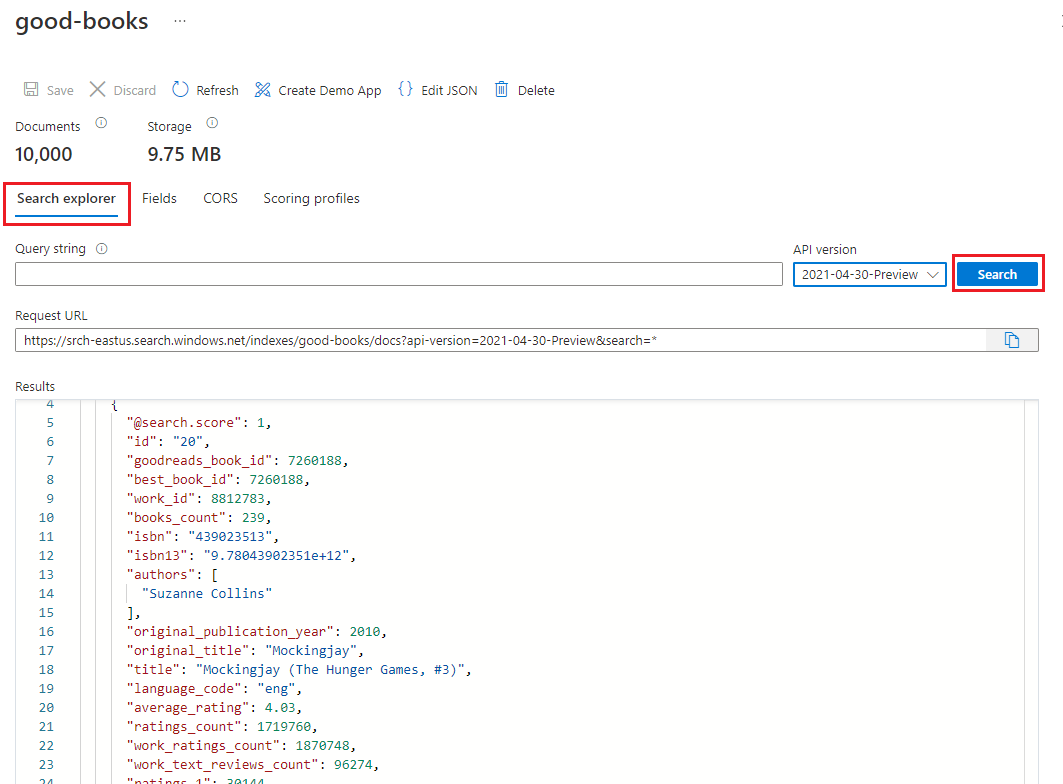
上传完成后,便可以使用搜索索引。 在 Azure 门户中查看新索引。
在 Azure 门户中,找到搜索服务。
在左侧,选择“搜索管理”>“索引”,然后选择好书索引。

默认情况下,索引将在“搜索资源管理器”选项卡中打开。选择“搜索”以从索引返回文档。


回滚批量导入文件更改
在 Visual Studio Code 集成终端中的 bulk-insert 目录中使用以下 git 命令将更改回滚到 Program.cs 文件。 无需继续学习本教程,不应将 API 密钥或搜索服务名称保存或推送到存储库。
git checkout .