This article steps through creating a standby pool for Virtual Machine Scale Sets with Flexible Orchestration.
Important
Standby pools for Virtual Machine Scale Sets with Flexible Orchestration is currently in preview. Previews are made available to you on the condition that you agree to the supplemental terms of use. Some aspects of this feature may change prior to general availability (GA).
Prerequisites
Before utilizing standby pools, complete the feature registration and configure role based access controls.
Feature Registration
Register the standby pool resource provider and the standby pool preview feature with your subscription using Azure Cloud Shell. Registration can take up to 30 minutes to successfully show as registered. You can rerun the below commands to determine when the feature is successfully registered.
Alternatively, you can register directly in the Azure portal.
In the Azure portal, navigate to your subscriptions.
Select the subscription you want to enable standby pools.
Under settings, select Resource providers.
Search for Microsoft.StandbyPool and register the provider.
Under settings, select Preview features.
Search for Standby Virtual Machine Pool Preview and register the feature.
Role-based Access Control Permissions
To allow standby pools to create virtual machines, you need to assign the appropriate RBAC permissions.
In the Azure portal, navigate to your subscriptions.
Select the subscription you want to adjust RBAC permissions.
Select Access Control (IAM).
Select Add -> Add Role Assignment.
Search for Virtual Machine Contributor and highlight it. Select Next.
Click on + Select Members.
Search for Standby pool Resource Provider.
Select the standby pool Resource Provider and select Review + Assign.
Repeat the above steps and for the Network Contributor role and the Managed Identity Operator role.
If you're using images stored in Compute Gallery when deploying your scale set, also repeat the above steps for the Compute Gallery Sharing Admin role.
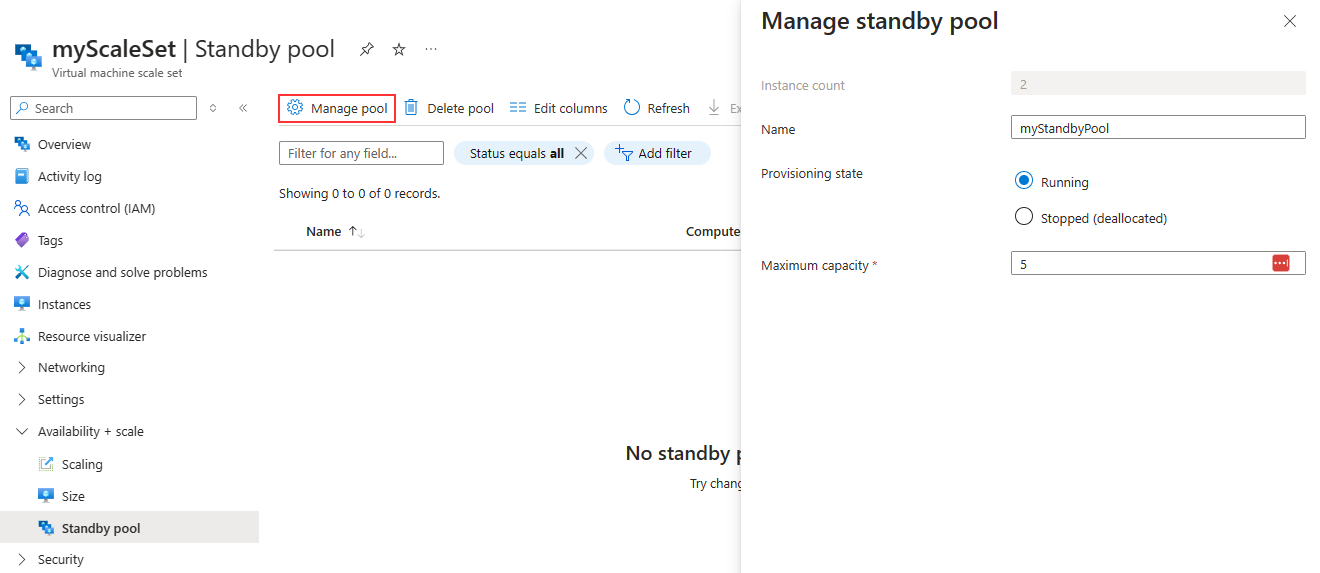
Provide a name for your pool, provisioning state and maximum ready capacity.
Select Save.
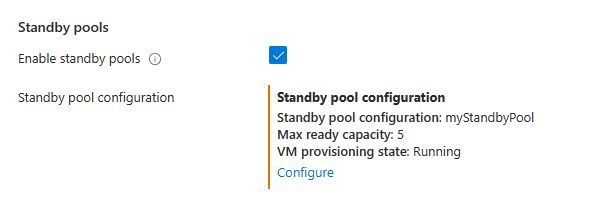
You can also configure a standby pool during Virtual Machine Scale Set creation by navigating to the Management tab and checking the box to enable standby pools.
Coming soon: Throughout 2024 we will be phasing out GitHub Issues as the feedback mechanism for content and replacing it with a new feedback system. For more information see: https://aka.ms/ContentUserFeedback.