Connect applications to Fabric API for GraphQL
Note
Microsoft Fabric API for GraphQL is in preview.
To connect an application to an API for GraphQL, you need three important pieces of information: a Client ID, your Tenant ID, and your GraphQL endpoint address in Fabric. In the following sections, we showcase how to create and retrieve all the details you need and how to access your API using a sample application.
Prerequisites
Currently API for GraphQL requires applications to use Microsoft Entra for authentication. Your application needs to be registered and configured adequately to perform API calls against Fabric. For more information, see Create a Microsoft Entra app in Azure.
The authenticated user calling the API needs to be a workspace member where both the API and data source items are located with a Contributor role. For more information, see Give users access to workspaces.
Before you connect an application, you must have an API for GraphQL in Fabric. For more information, see Create an API for GraphQL in Fabric and add data.
Create a Microsoft Entra app
In the following steps, we showcase how to configure support for a ReactJS application in Entra.
Sign in to the Azure portal.
Search for and select Microsoft Entra ID.
From the Manage list, select App registration.
Select New registration.
Fill in the required information:
Name - Enter a name for your application.
Supported account types - Select the accounts you want your app to support.
(Optional) Redirect URI - Enter a URI if needed.
Select Register. Your Microsoft Entra app Application (client) ID and Directory (tenant) ID values are displayed in the Summary box. Record these values as they're required later.
From the Manage list, select API permissions, then Add permission.
Add the PowerBI Service, select Delegated permissions, and select the Item.Execute.All and Datamart.ReadWrite.All permissions. Make sure Admin consent isn't required.
Back to the Manage list, select Authentication, select Add a platform, then select Single-page application.
For local development purposes, add
http://localhost:3000under Redirect URIs and confirm the application is enabled for the authorization code flow with Proof Key for Code Exchange (PKCE). Select the Configure button to save your changes.Back to Authorization, scroll down to Advanced Settings and, under Allow public client flows, select Yes for Enable the following mobile and desktop flows.
Set up a sample GraphQL API for application access
In this example, we create a GraphQL API to expose sample Lakehouse data to clients.
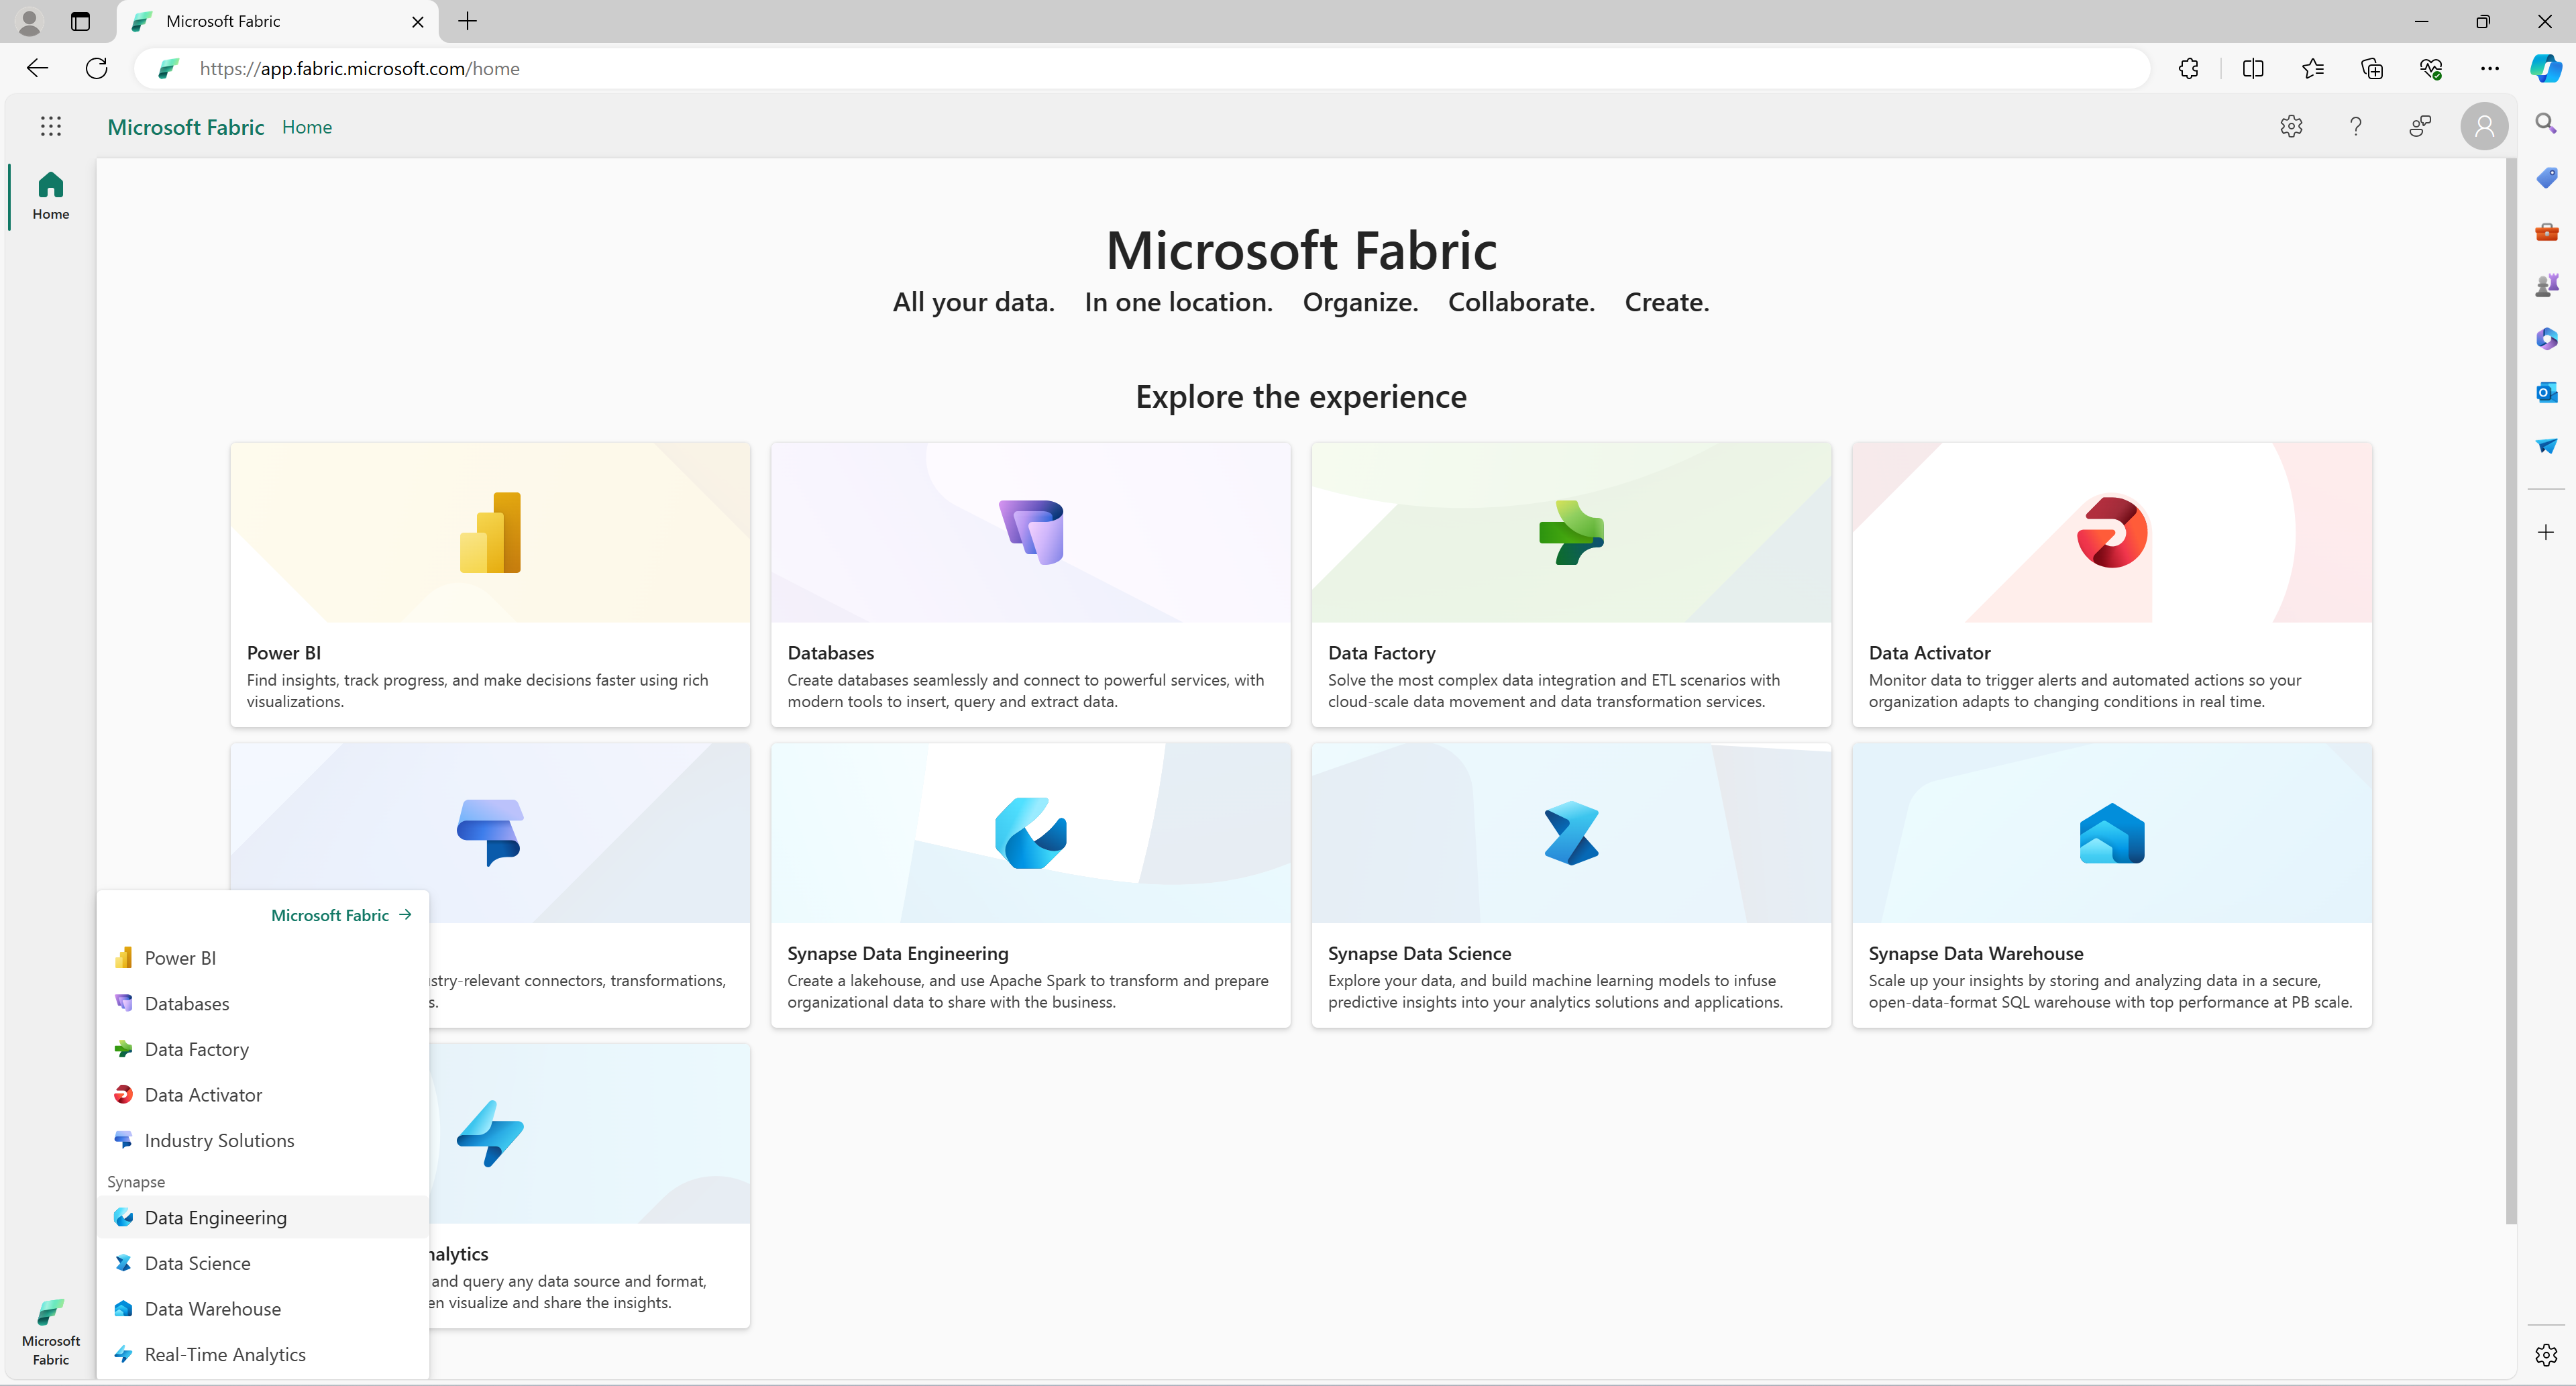
In the Fabric portal, select Data Engineering from the workload switcher at the bottom of the navigation bar. If you are in the Fabric home, you can also select the Data Engineering card.
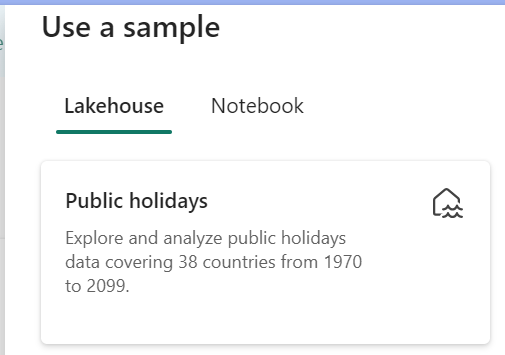
In the Data Engineering experience, select Use a sample and, under Lakehouse, select Public holidays to automatically create a new Lakehouse with public holidays data.
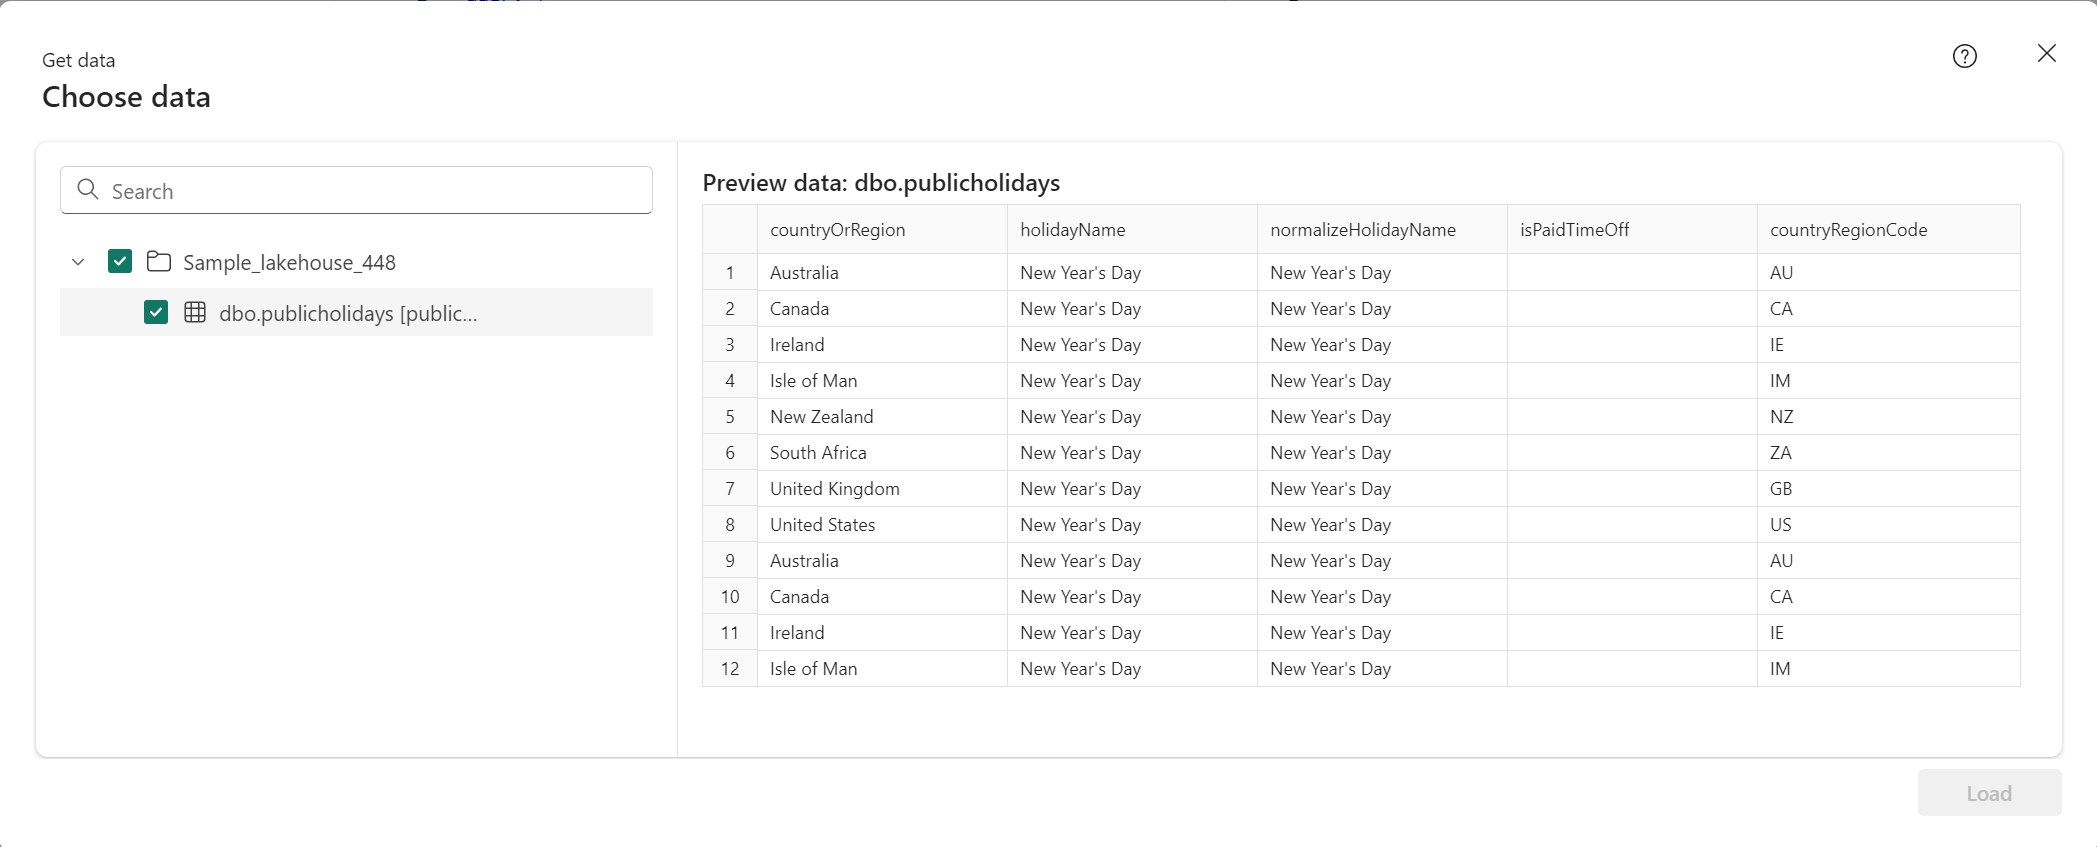
Following the steps from Create an API for GraphQL, create a new GraphQL API and select the Lakehouse you created. Add the public holidays table to let the clients access this data.
Test the GraphQL API in the API editor using the following sample query. It's the same query we use in our React client application:
 query {
   publicholidays (filter: {countryRegionCode: {eq:"US"}, date: {gte: "2024-01-01T00:00:00.000Z", lte: "2024-12-31T00:00:00.000Z"}}) {
     items {
       countryOrRegion
       holidayName
       date
     }
   }
 }
Select Copy endpoint on the API item's toolbar.

In the Copy link screen, select Copy.
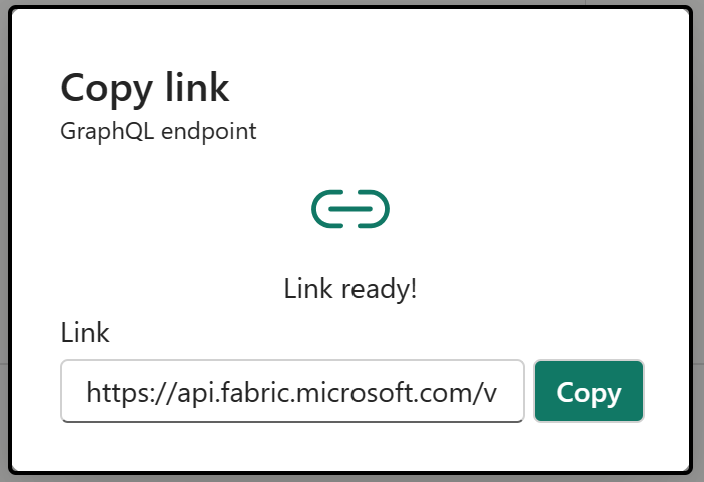
As the Client ID and Tenant ID from the Entra app recorded earlier, copy the endpoint URI as it's required later.
Configure a React app to access the public holidays API
We use an existing React app as a starting point. Follow all the steps on the tutorial Create a React single-page application and prepare it for authentication to create a React project with Entra authentication already configured, including additional files and folders required to be added to the project structure. We only need to change three files to adapt the app for our GraphQL use case.
In the src folder, open the authConfig.js file and replace the contents of the file with the following code snippet:
 /*
  * Copyright (c) Microsoft Corporation. All rights reserved.
  * Licensed under the MIT License.
  */

 import { LogLevel } from "@azure/msal-browser";

 /**
  * Configuration object to be passed to MSAL instance on creation.
  * For a full list of MSAL.js configuration parameters, visit:
  * https://github.com/AzureAD/microsoft-authentication-library-for-js/blob/dev/lib/msal-browser/docs/configuration.md
  */

 export const graphqlConfig = {
     graphqlEndpoint: "`Enter_the_GraphQL_Endpoint_Here"
 };

 export const msalConfig = {
     auth: {
         clientId: "Enter_the_Application_Id_Here",
         authority: "https://login.microsoftonline.com/Enter_the_Tenant_Info_Here",
         redirectUri: "http://localhost:3000",
     },
     cache: {
         cacheLocation: "sessionStorage", // This configures where your cache will be stored
         storeAuthStateInCookie: false, // Set this to "true" if you are having issues on IE11 or Edge
     },
     system: {
         loggerOptions: {
             loggerCallback: (level, message, containsPii) => {
                 if (containsPii) {
                     return;
                 }
                 switch (level) {
                     case LogLevel.Error:
                         console.error(message);
                         return;
                     case LogLevel.Info:
                         console.info(message);
                         return;
                     case LogLevel.Verbose:
                         console.debug(message);
                         return;
                     case LogLevel.Warning:
                         console.warn(message);
                         return;
                     default:
                         return;
                 }
             }
         }
     }
 };

 /**
  * Scopes you add here will be prompted for user consent during sign-in.
  * By default, MSAL.js will add OIDC scopes (openid, profile, email) to any login request.
  * For more information about OIDC scopes, visit:
  * https://docs.microsoft.com/azure/active-directory/develop/v2-permissions-and-consent#openid-connect-scopes
  */
 export const loginRequest = {
     scopes: ["https://analysis.windows.net/powerbi/api/Item.Execute.All","https://analysis.windows.net/powerbi/api/Datamart.ReadWrite.All"]
 };

 /**
  * Add here the scopes to request when obtaining an access token for MS Graph API. For more information, see:
  * https://github.com/AzureAD/microsoft-authentication-library-for-js/blob/dev/lib/msal-browser/docs/resources-and-scopes.md
  */
 export const graphConfig = {
     graphMeEndpoint: "https://graph.microsoft.com/v1.0/me",
 };
As you can see in the code above, it's important to use the correct scope to access the application. In our case
https://analysis.windows.net/powerbi/api/Item.Execute.Allandhttps://analysis.windows.net/powerbi/api/Datamart.ReadWrite.All.Important
Scopes might change during Microsoft Fabric API for GraphQL preview.
Replace the following values with the values from the Microsoft Entra admin center.
clientId- The identifier of the application, also referred to as the client. ReplaceEnter_the_Application_Id_Herewith the Application (client) ID value that was recorded earlier from the overview page of the registered Entra application.authority- This is composed of two parts:- The Instance is endpoint of the cloud provider. Check with the different available endpoints in National clouds.
- The Tenant ID is the identifier of the tenant where the application is registered. Replace Enter_the_Tenant_Info_Here with the Directory (tenant) ID value that was recorded earlier from the overview page of the registered application.
graphQLEndpoint- The Fabric API for GraphQL endpoint. ReplaceEnter_the_GraphQL_Endpoint_Herewith the GraphQL API endpoint recorded earlier.
Save the file.
In the same src folder, open the App.js file and replace the contents of the file with the following code snippet:
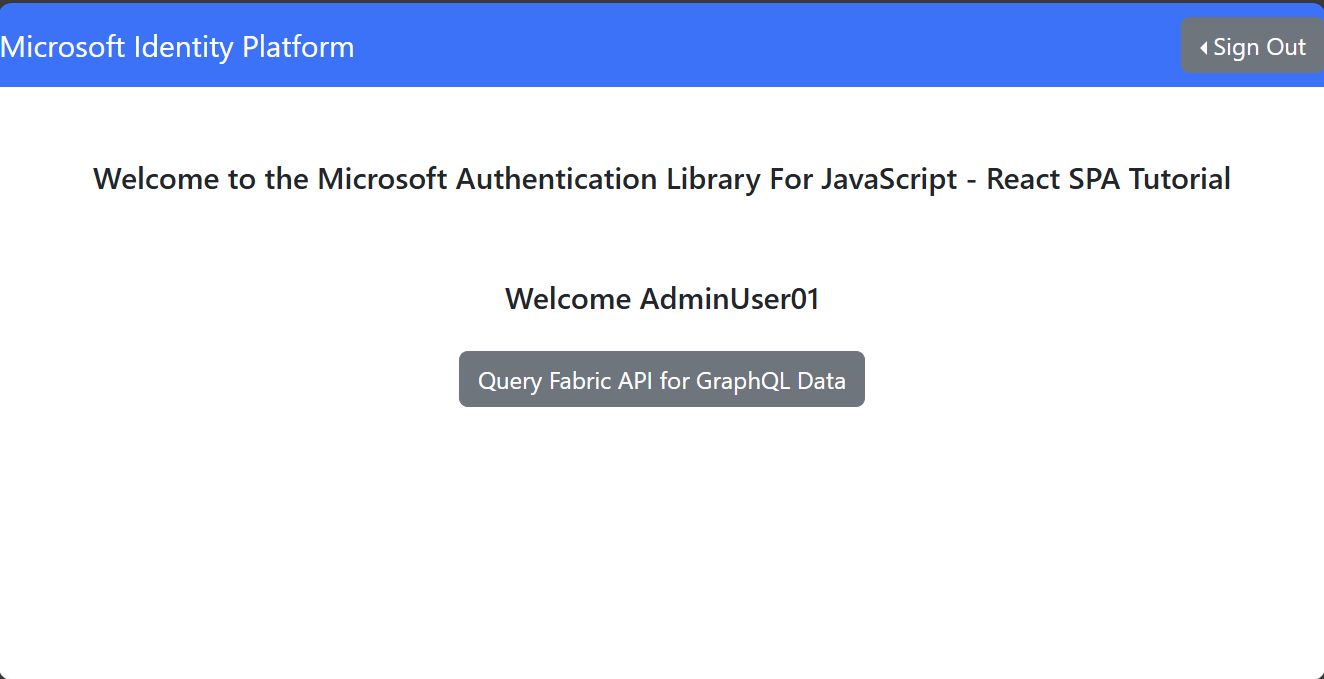
 import React, { useState } from 'react';
 import { PageLayout } from './components/PageLayout';
 import { loginRequest, graphqlConfig } from './authConfig';
 import { ProfileData } from './components/ProfileData';
 import { AuthenticatedTemplate, UnauthenticatedTemplate, useMsal } from '@azure/msal-react';
 import './App.css';
 import Button from 'react-bootstrap/Button';
 import Spinner from 'react-bootstrap/Spinner';

 /**
 * Renders information about the signed-in user or a button to retrieve data about the user
 */
 const ProfileContent = () => {
   const { instance, accounts } = useMsal();
   const [graphqlData, setGraphqlData] = useState(null);
   const [display, setDisplay] = useState(false);

   function RequestGraphQL() {
       // Silently acquires an access token which is then attached to a request for GraphQL data
       instance
           .acquireTokenSilent({
               ...loginRequest,
               account: accounts[0],
           })
           .then((response) => {
               callGraphQL(response.accessToken).then((response) => setGraphqlData(response));
           });
   }

 async function callGraphQL(accessToken) {
   setDisplay(true);
   const query = `query {
     publicholidays (filter: {countryRegionCode: {eq:"US"}, date: {gte: "2024-01-01T00:00:00.000Z", lte: "2024-12-31T00:00:00.000Z"}}) {
       items {
         countryOrRegion
         holidayName
         date
       }
     }
   }`;
   fetch(graphqlConfig.graphqlEndpoint, {
           method: 'POST',
           headers: {
               'Content-Type': 'application/json',
               'Authorization': `Bearer ${accessToken}`,
           },
           body: JSON.stringify({
               query: query
           })
       })
       .then((res) => res.json())
       .then((result) => setGraphqlData(result));
 }

   return (
       <>
           <h5 className="card-title">Welcome {accounts[0].name}</h5>
           <br/>
           {graphqlData ? (
               <ProfileData graphqlData={graphqlData} />
           ) : (
               <Button variant="primary" onClick={RequestGraphQL}>
                   Query Fabric API for GraphQL Data
                   {display ? (
                         <Spinner
                             as="span"
                             animation="border"
                             size="sm"
                             role="status"
                             aria-hidden="true"
                         />
                     ) : null}
               </Button>
           )}
       </>
   );
 };

 /**
 * If a user is authenticated the ProfileContent component above is rendered. Otherwise a message indicating a user is not authenticated is rendered.
 */
 const MainContent = () => {
   return (
       <div className="App">
           <AuthenticatedTemplate>
               <ProfileContent />
           </AuthenticatedTemplate>

           <UnauthenticatedTemplate>
               <h5>
                   <center>
                       Please sign-in to see your profile information.
                   </center>
               </h5>
           </UnauthenticatedTemplate>
       </div>
   );
 };

 export default function App() {
   return (
       <PageLayout>
           <center>
               <MainContent />
           </center>
       </PageLayout>
   );
 }
Save the file.
Finally, under the src/components folder, open the ProfileData.jsx file and replace the contents of the file with the following code snippet:
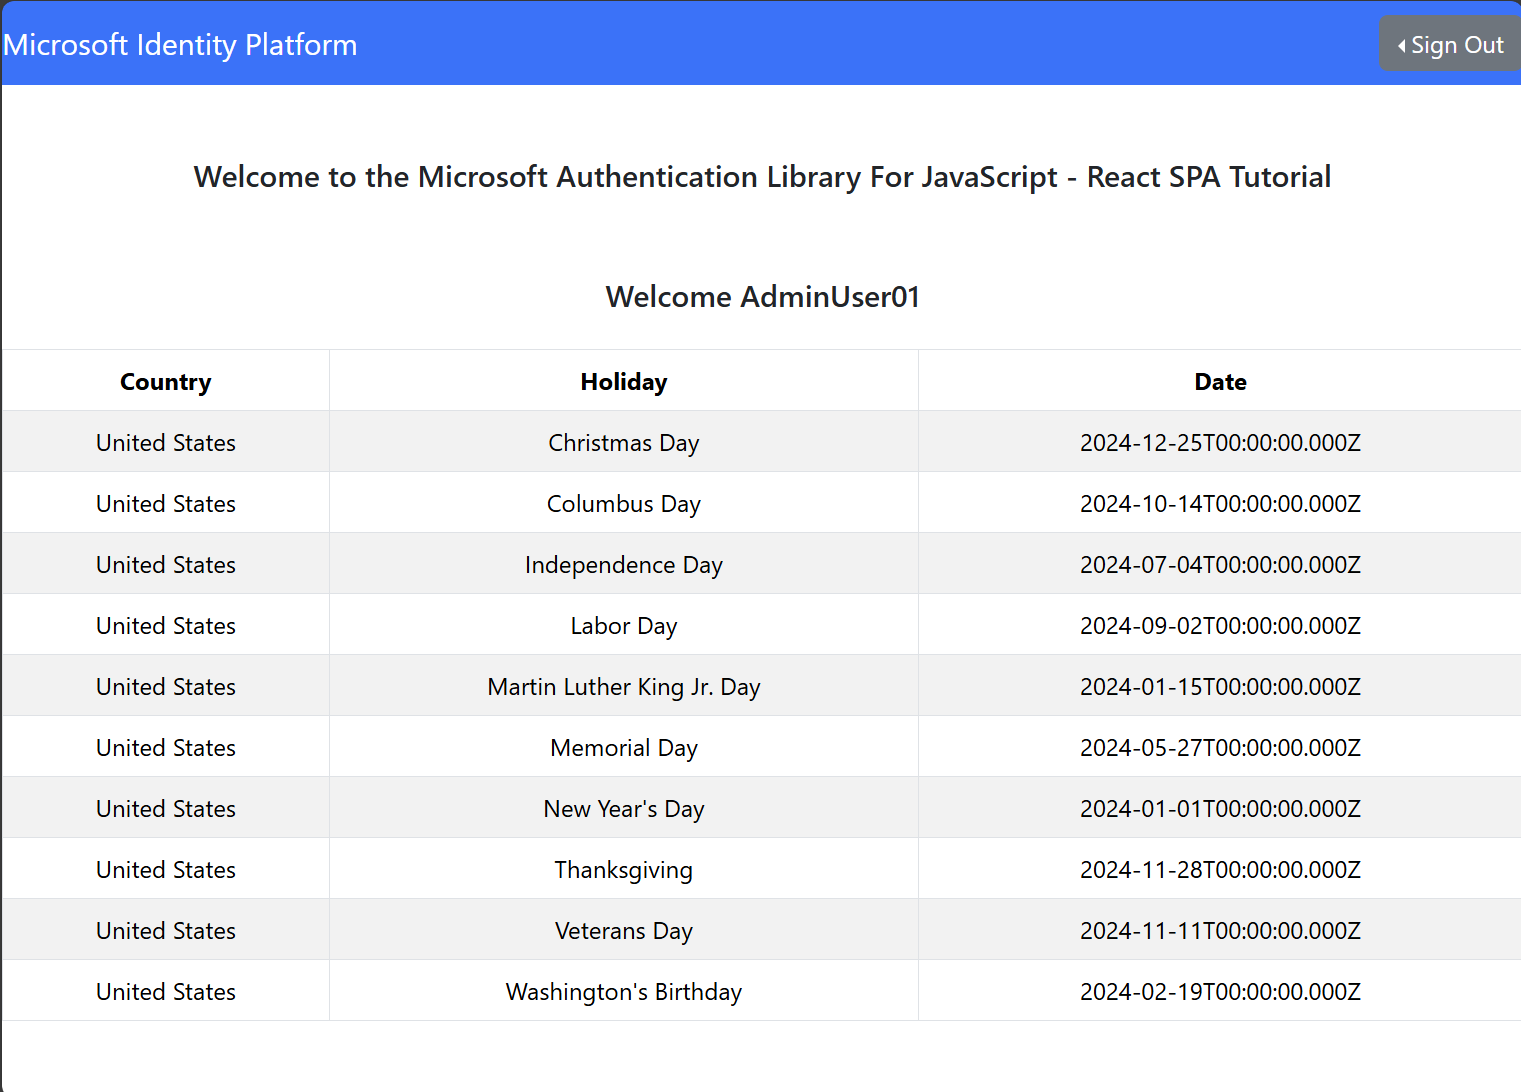
 import React from "react";
 import ListGroup from 'react-bootstrap/ListGroup';
 import Table from 'react-bootstrap/Table';
 /**
  * Renders information about the user obtained from MS Graph
  * @param props
  */
 export const ProfileData = (props) => {
   const holidays = props.graphqlData.data.publicholidays.items;
   return (
     <Table striped bordered hover responsive>
     <thead>
       <tr>
         <th>Country</th>
         <th>Holiday</th>
         <th>Date</th>
       </tr>
     </thead>
     <tbody>
       {holidays.map((item,i) => (
       <tr key={i}>
         <td>{item.countryOrRegion}</td>
         <td>{item.holidayName}</td>
         <td>{item.date}</td>
       </tr>
       ))}
       </tbody>
     </Table>
 )};
Save all the file changes.
In your terminal application of choice, go the root folder of the React project and execute the command
npm startto test the application locally.Once the application loads in your browser from
http://localhost:3000, follow the steps on the last part of the tutorial Call the API from the application to authenticate.After signing in, click on the button Query Fabric API for GraphQL Data.
A successful authenticated request to the GraphQL API in Fabric returns the data from GraphQL query to the Lakehouse in our React client application:
Other languages
Find C#, Python, and other language samples for connecting to your GraphQL API in the Microsoft Fabric Samples GitHub repository.
Related content
Feedback
Coming soon: Throughout 2024 we will be phasing out GitHub Issues as the feedback mechanism for content and replacing it with a new feedback system. For more information see: https://aka.ms/ContentUserFeedback.
Submit and view feedback for