Create, work with, and delete Visual Studio projects and solutions
In this article, you learn how to create Visual Studio projects from scratch and use them to store the artifacts you need to build your apps. If you aren't familiar with projects in Visual Studio, see this overview of Projects and Solutions. To learn how to quickly create a project from a template, see Create a new project in Visual Studio.
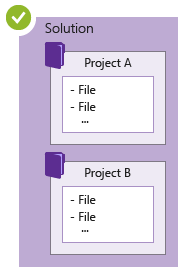
Projects hold the items needed to build your app in Visual Studio, such as source code files, bitmaps, icons, and component and service references. When you create a new project, Visual Studio creates a solution to contain the project. You can then add other new or existing projects to the solution if you want. You can also create blank or empty solutions. Solutions can also contain files that aren't connected to any specific project.
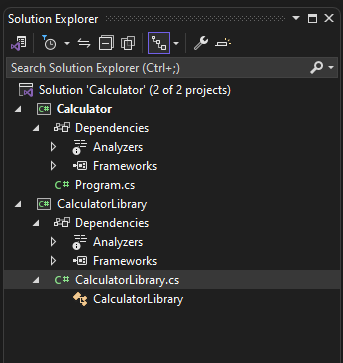
You can view your solutions and projects in a tool window called Solution Explorer. The following screenshot shows an example of a C# console solution in Solution Explorer. The solution contains two projects: Calculator and CalculatorLibrary. Each project contains multiple files and folders. The project name in bold is the startup project; that is, the project that starts when you run the app. You can specify which project is the startup project.
Although you can construct a project yourself by adding the necessary files to it, Visual Studio offers a selection of project templates to give you a head start. Creating a new project from a template gives you a project that has the essentials for that project type. You can rename the files or add new or existing code and other resources to the project as needed.
That said, you don't need to use solutions and projects to develop apps in Visual Studio. You can also open code that you have cloned from Git or downloaded from another source. For more information, see Develop code in Visual Studio without projects or solutions.
Create a project by using a project template
For information about how to select a template to create a project, see Create a new project in Visual Studio. To construct a sample project and solution as an exercise, see Introduction to projects and solutions.
Create a project from existing code files
If you have a collection of code source files, you can easily add them to a project.
On the Visual Studio menu, select File > New > Project From Existing Code.
In the Create Project from Existing Code Files Wizard, select the project type you want in the What type of project would you like to create? list, and then select Next.
On the Specify Project Details page, browse to the location of the files and then enter a name for the new project in the Name box. When you're done, select Finish.
Note
This option works best for a relatively simple collection of files. Currently, only C++, Visual Basic, and C# project types are supported.
Add files to a solution
If you have a file that applies to multiple projects, like a readme file for the solution, or other files that logically belong at the solution level rather than under a specific project, you can add them to the solution itself. To add an item to a solution, on the context (right-click) menu of the solution node in Solution Explorer, select Add > New Item or Add > Existing Item.
Tip
A solution file is a structure for organizing projects in Visual Studio. It contains the state of solution information in two files: an .sln (text-based, shared) file and an .suo (binary, hidden, user-specific solution options) file. Therefore, you shouldn't copy and rename a solution. It's best to create a new solution and then add existing items to it.
Compare files
Starting with version 17.7, you can compare files in Solution Explorer by using the right-click context menu options. For more information, see The file comparison tool in Learn about Solution Explorer.
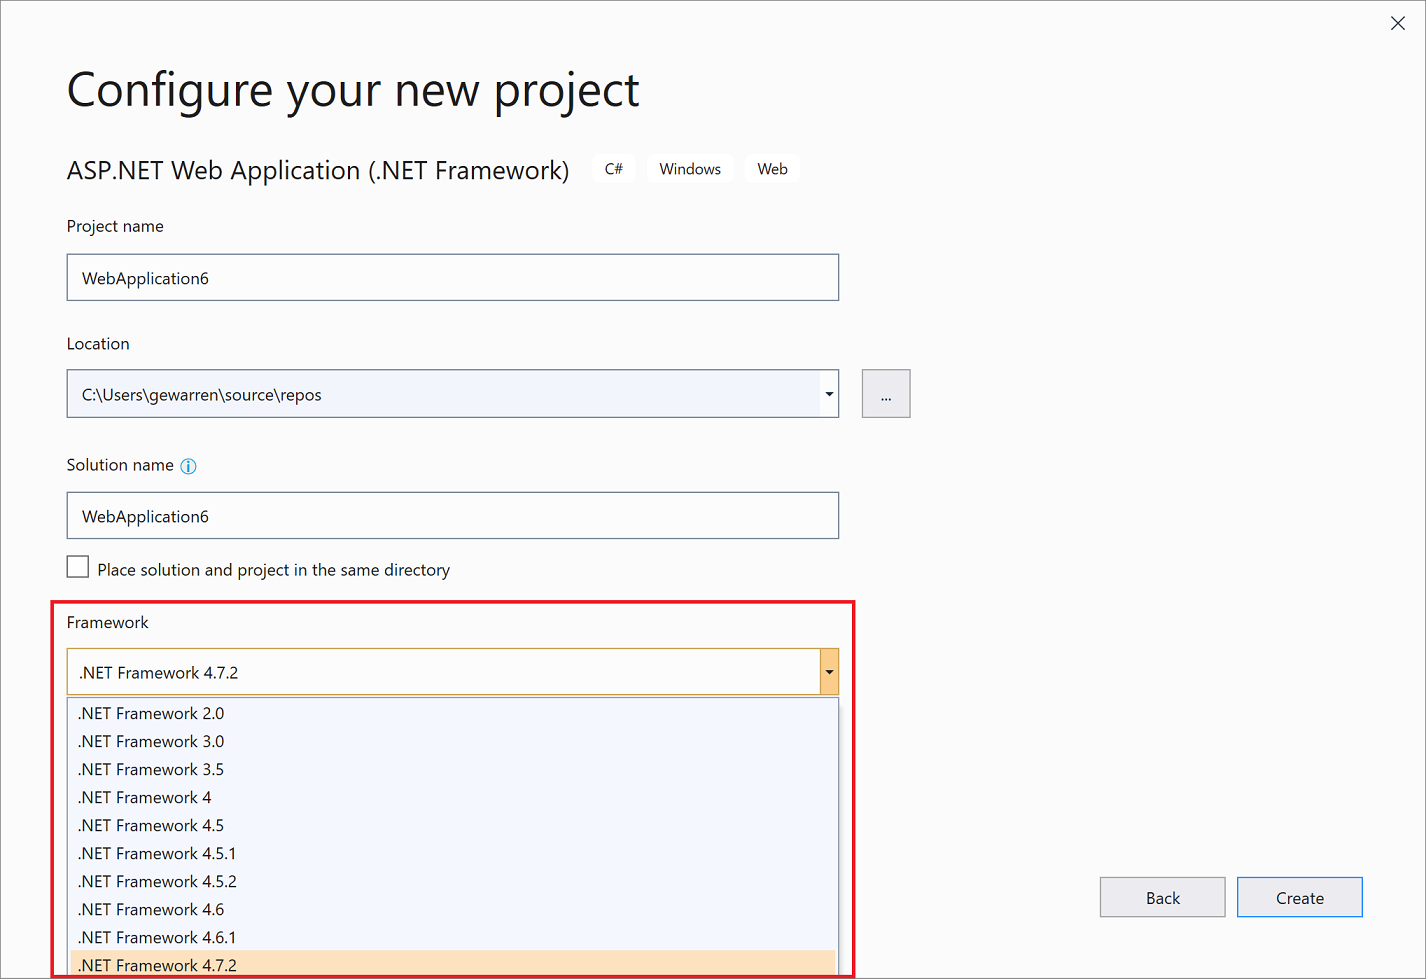
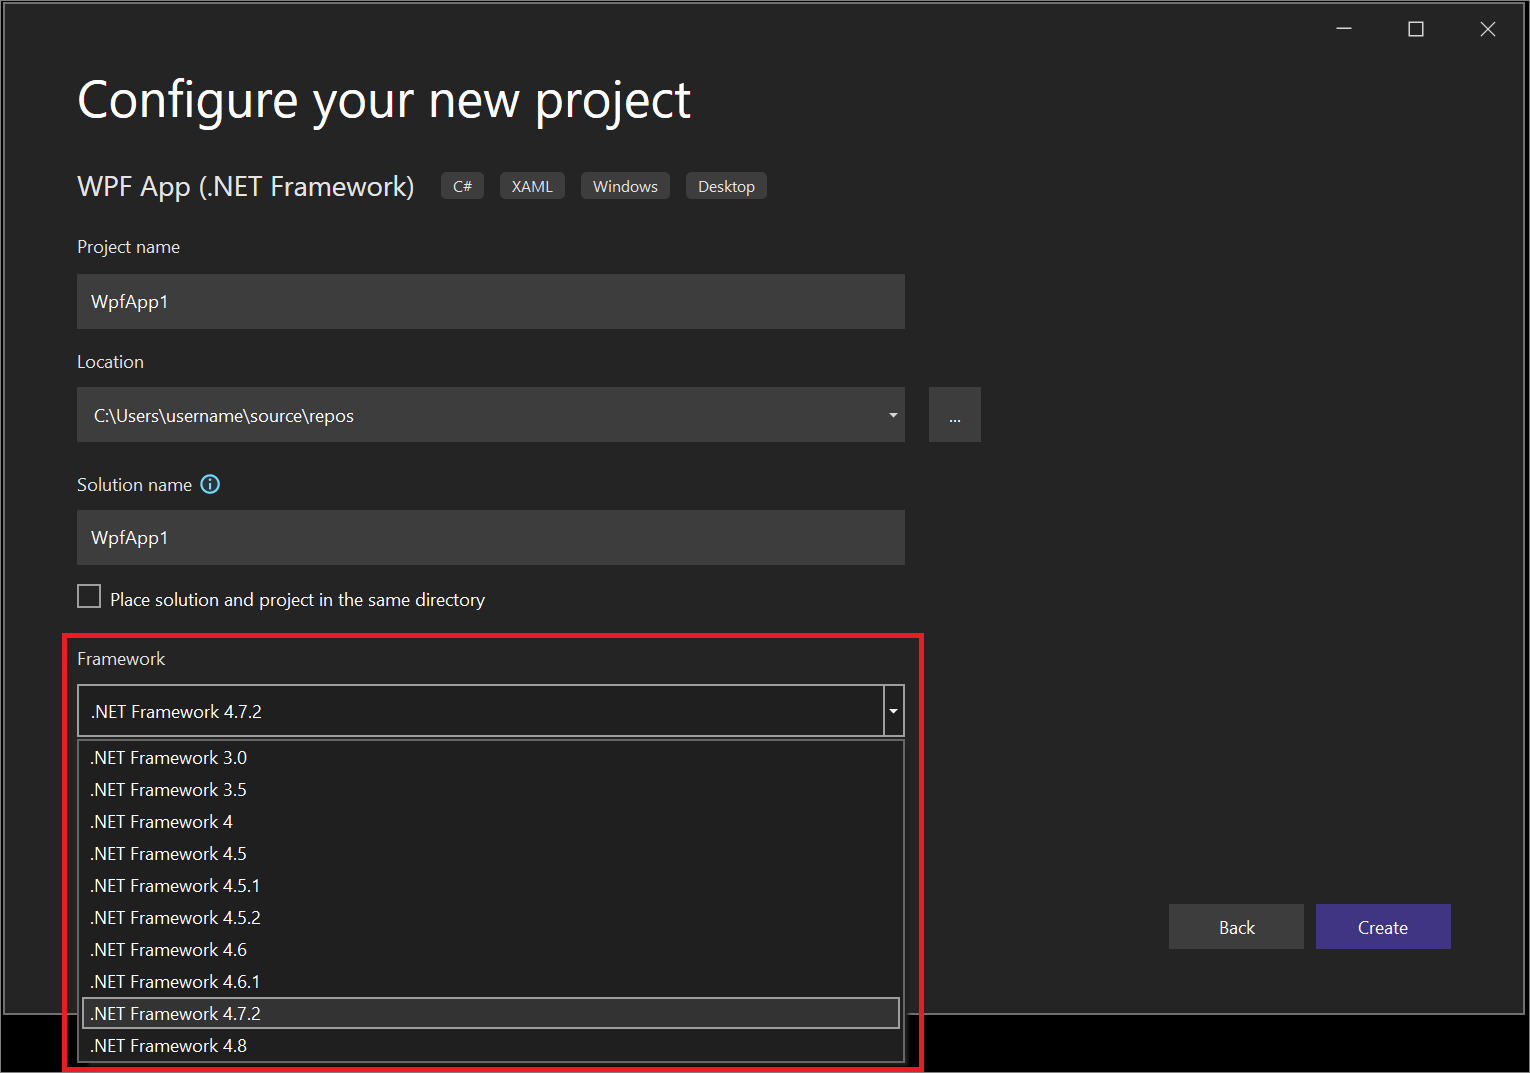
Create a .NET project that targets a specific version of the .NET Framework
When you create a .NET Framework project, you can specify a specific version of the .NET Framework that you want the project to use. (When you create a .NET Core project, you don't specify a framework version.)
To specify a .NET Framework version, select an item in the Framework list on the Configure your new project page.
Create empty solutions
You can also create empty solutions that don't contain projects. This option might work well when you want to construct your solution and projects from scratch.
To create an empty solution
On the menu bar, select File > New > Project.
On the Create a new project page, enter solution in the search box.
Select the Blank Solution template, and then select Next.
Enter Solution name and Location values for your solution, and then select Create.
After you create an empty solution, you can add new or existing projects or items to it by selecting Add New Item or Add Existing Item on the Project menu.
As noted earlier, you can also open code files without using a project or solution. To learn about developing code in this way, see Develop code in Visual Studio without projects or solutions.
Multi-project solution
You can create a solution that contains multiple projects. Start with an empty solution or a solution containing a project and add multiple new or existing projects to it by using Add > New project/Existing project. For example, you can create a solution that contains a C# project and a Visual Basic project.
To learn more about building a solution that contains multiple projects, see Create and remove project dependencies and Set multiple startup projects.
Delete a solution, project, or item
You can use the right-click context menu to delete or remove solutions, projects, or items in Visual Studio, but that only removes them from the current solution or project.
To permanently delete a solution or other components from your system, use File Explorer in Windows to delete the folder that contains the .sln and .suo solution files. (Before you delete a solution, you might want to back up your projects and files in case you need them again.)
Note
The .suo file is a hidden file that isn't displayed if you use the default File Explorer settings. To show hidden files, on the View menu in File Explorer, select Show > Hidden items.
Permanently delete a solution
You can access File Explorer in Windows by using Solution Explorer in Visual Studio. Here's how.
In Solution Explorer, on the right-click menu of the solution you want to delete, select Open Folder in File Explorer.
In File Explorer, navigate up one level.
Select the folder that contains the solution, and then select the Delete key.