Add a Reflex destination to an eventstream
This article shows you how to add Reflex destination to an eventstream.
Note
If you want to use enhanced capabilities that are in preview, select Enhanced Capabilities at the top. Otherwise, select Standard Capabilities. For information about enhanced capabilities that are in preview, see Introduction to Fabric event streams.
Prerequisites
- Access to the Fabric premium workspace where your eventstream is located with Contributor or higher permissions.
- If you already have a Reflex you want to use, access to the premium workspace where your Reflex is located with Contributor or higher permissions.
Note
The maximum number of sources and destinations for one eventstream is 11.
Add Reflex as a destination
To add a Reflex destination to a default stream or derived stream, follow these steps.
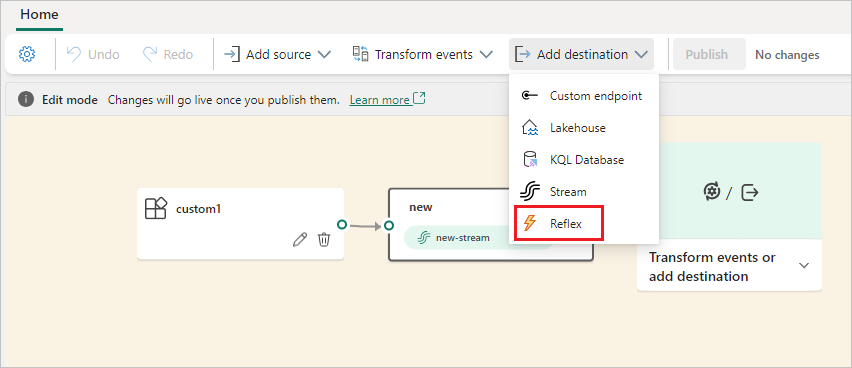
In Edit mode for your eventstream, select Add destination on the ribbon and select Reflex from the dropdown list.
On the Reflex screen, enter a Destination name, select a Workspace, and select an existing Reflex or select Create new to create a new one.
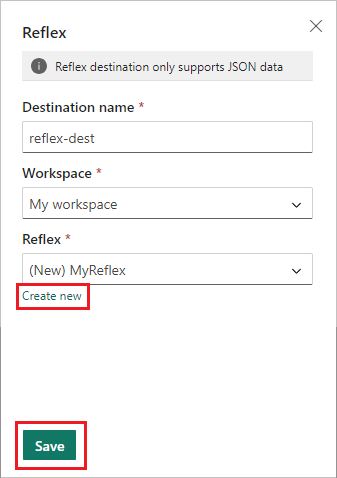
Select Save.
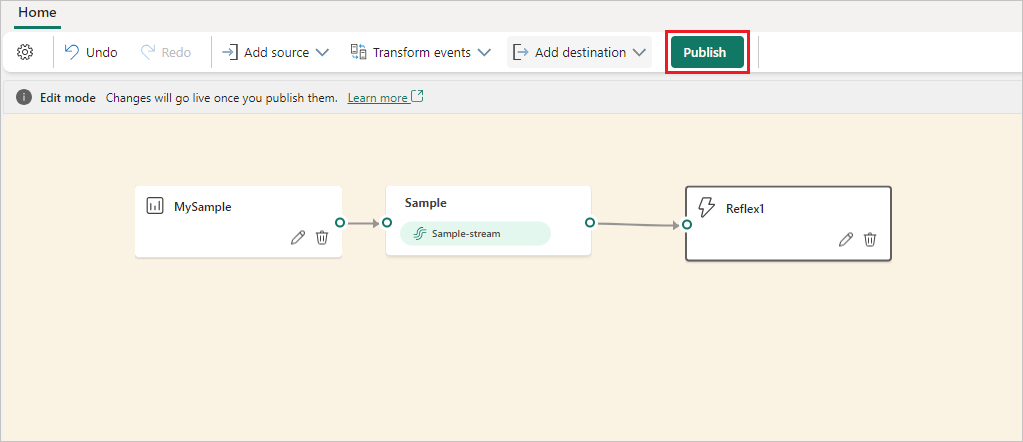
To implement the newly added Reflex destination, select Publish.
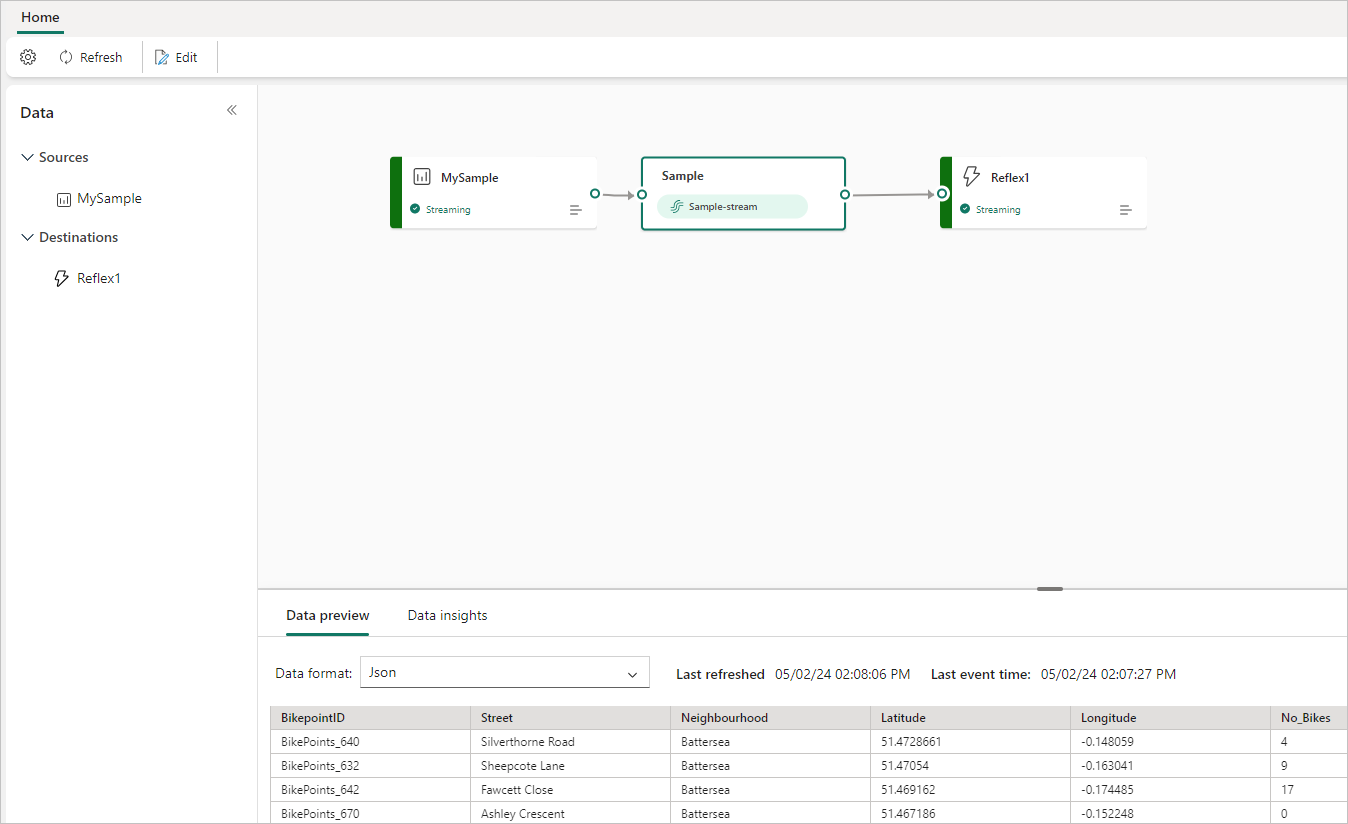
Once you complete these steps, the Reflex destination is available for visualization in Live view.
Related content
To learn how to add other destinations to an eventstream, see the following articles:
Prerequisites
Before you start, you must complete the following prerequisites:
- Get access to a premium workspace with Contributor or above permissions where your eventstream is located.
- Get access to a premium workspace with Contributor or above permissions where your destination is located.
Note
The maximum number of sources and destinations for one eventstream is 11.
Add a Reflex as a destination
To add a Reflex from your workspace as an eventstream's destination, do the following steps:
Select New destination on the ribbon or "+" in the main editor canvas and then select Reflex. The Reflex destination configuration screen appears.
Enter a name for the eventstream destination and complete the information about your Reflex.
Reflex: Select an existing Reflex or create a new one to receive data.

After you select on the Add button, you can see a Reflex destination on the canvas that is linked to your eventstream.


Manage a destination
Edit/remove: You can edit or remove an eventstream destination either through the navigation pane or canvas.
When you select Edit, the edit pane opens in the right side of the main editor. You can modify the configuration as you wish, including the event transformation logic through the event processor editor.

Related content
To learn how to add other destinations to an eventstream, see the following articles:
Feedback
Coming soon: Throughout 2024 we will be phasing out GitHub Issues as the feedback mechanism for content and replacing it with a new feedback system. For more information see: https://aka.ms/ContentUserFeedback.
Submit and view feedback for