Add custom endpoint source to an eventstream
If you want to connect your own application with an eventstream, you can add a custom endpoint (i.e., Custom App in standard capability) source. Then you can send data to the eventstream from your own application with the connection endpoint displayed as the custom endpoint (i.e., Custom App in standard capability). This article shows you how to add a custom endpoint (i.e., Custom App in standard capability) source to an eventstream.
Note
If you want to use enhanced capabilities that are in preview, select Enhanced Capabilities at the top. Otherwise, select Standard Capabilities. For information about enhanced capabilities that are in preview, see Introduction to Fabric event streams.
Prerequisites
- Access to the Fabric premium workspace with Contributor or higher permissions.
Important
Enhanced capabilities of Fabric event streams are currently in preview.
Note
The maximum number of sources and destinations for one eventstream is 11.
Add custom endpoint data as a source
Follow these steps to add a custom endpoint source:
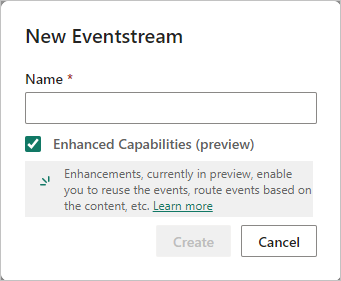
To create a new eventstream, select Eventstream from the Home screen. Make sure the Enhanced Capabilities (preview) option is enabled.
To add custom endpoint source, on the get-started page, select Use custom endpoint.

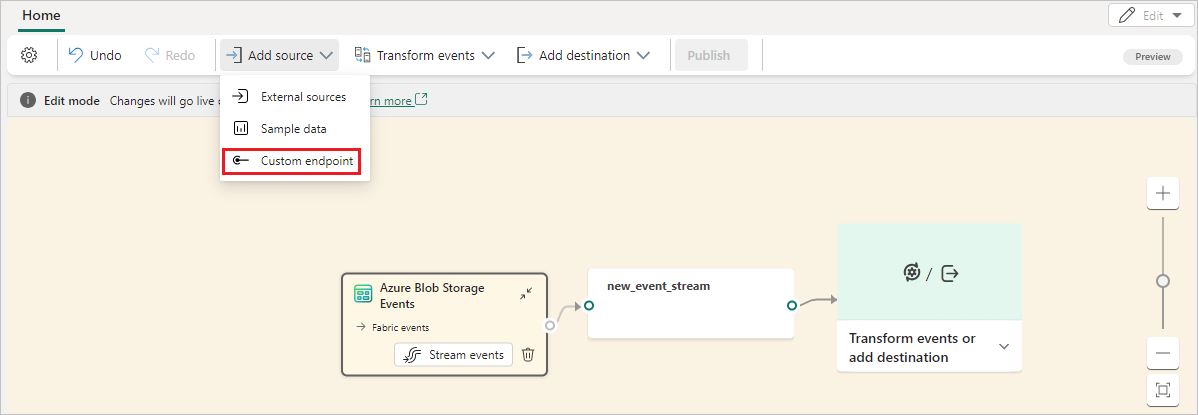
Or, if you already have a published eventstream and want to add custom endpoint data as a source, switch to Edit mode. Then select Add source in the ribbon, and select Custom endpoint.
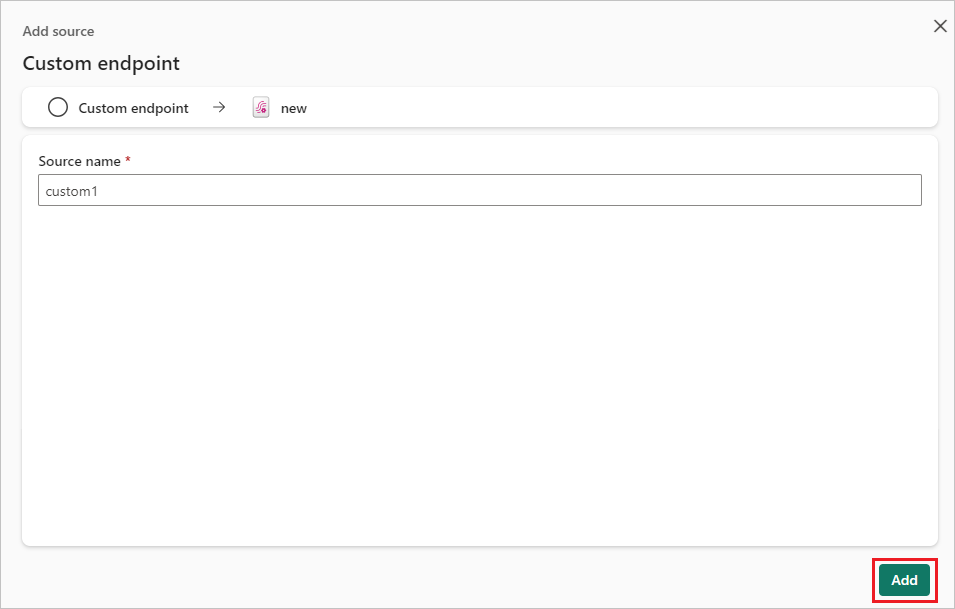
On the Custom endpoint screen, enter a name for the custom source under Source name, and then select Add.
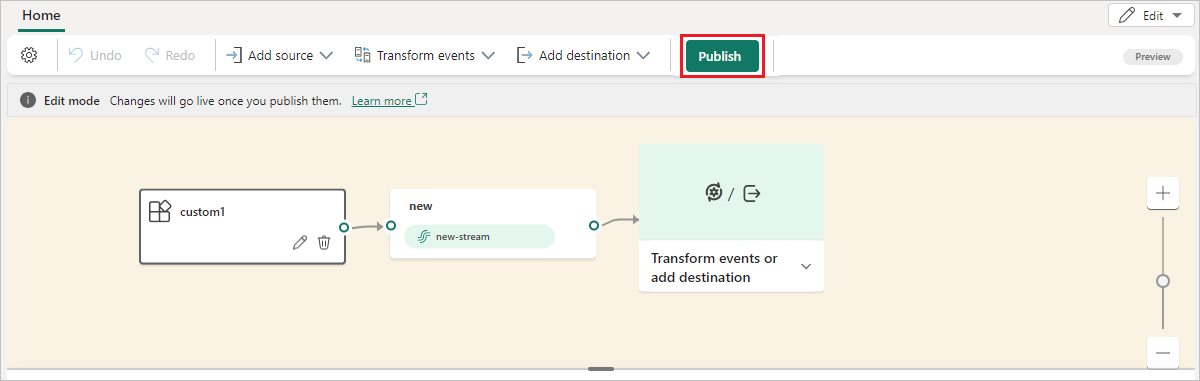
After you create the custom endpoint source, you see it added to your eventstream on the canvas in Edit mode. To implement this newly added custom app source data, select Publish.
Once you complete these steps, the custom endpoint data is available for visualization in Live view.
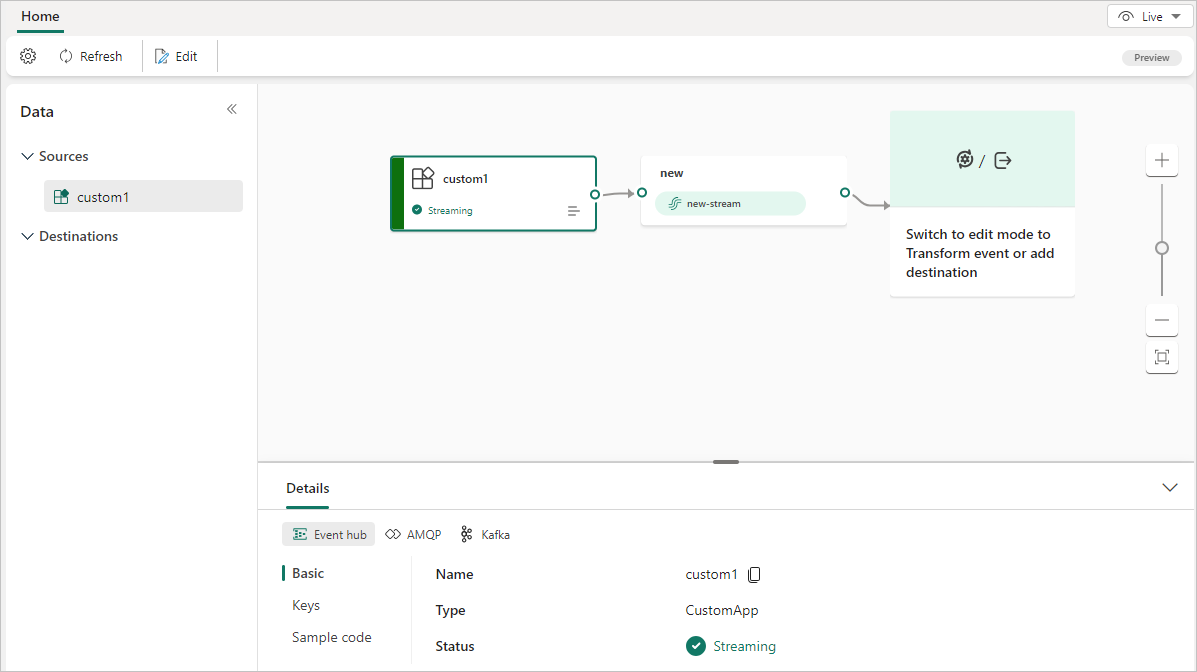
Get connection strings and sample code
In the Live view Details pane, you can see three categories: Basic, Keys, and Sample code. You can also select from three protocol tabs: Event hub, AMQP, and Kafka. The Keys and Sample code information varies by protocol.
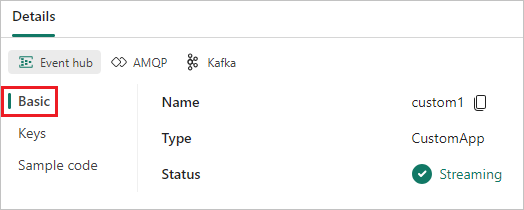
Basic shows the name, description, type, and status of your custom endpoint.
Keys shows connection strings for your custom endpoint, which you can copy and paste into your application.
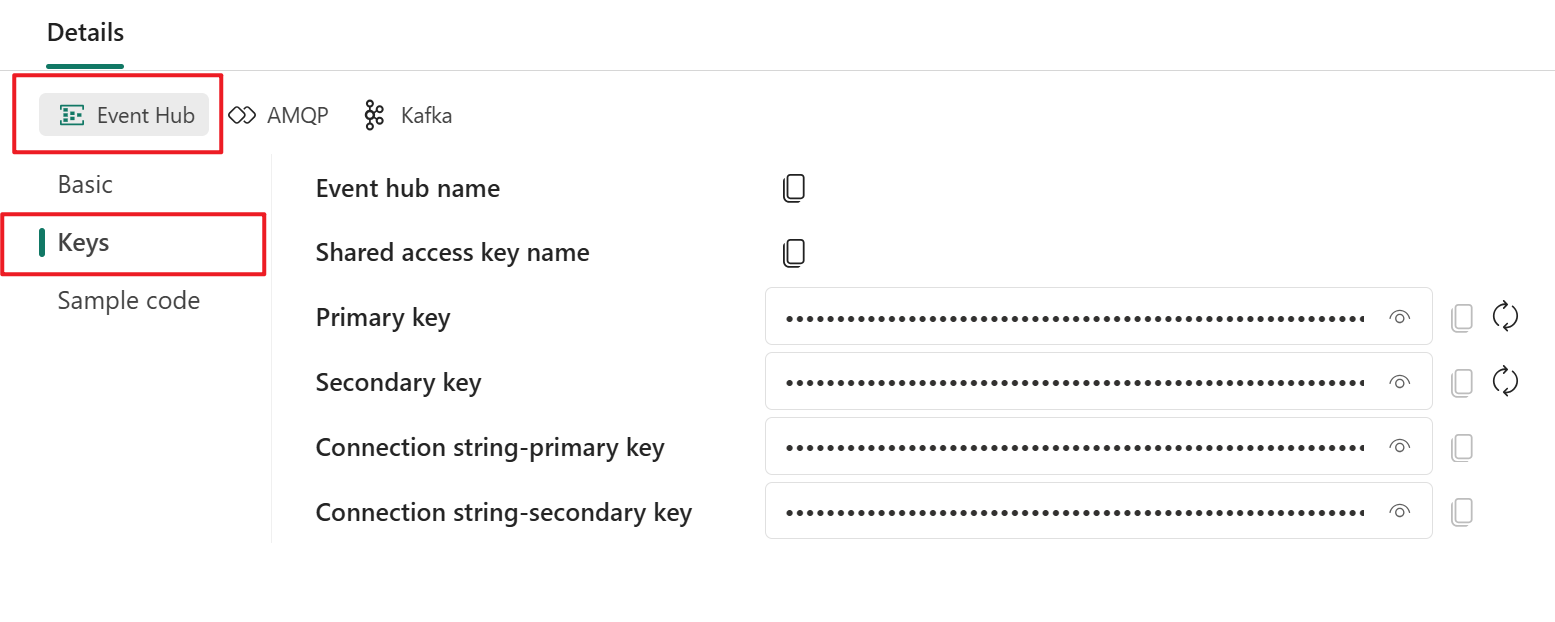
The connection string is an event hub-compatible string you can use in your application to receive events from this eventstream. The Event hub format is the default format for the connection string, and is compatible with the Azure Event Hubs SDK. You can use this format to connect to eventstreams by using the Event Hubs protocol.
The following example shows what the connection string looks like in Event hub format:
Endpoint=sb://eventstream-xxxxxxxx.servicebus.windows.net/;SharedAccessKeyName=key_xxxxxxxx;SharedAccessKey=xxxxxxxx;EntityPath=es_xxxxxxxx
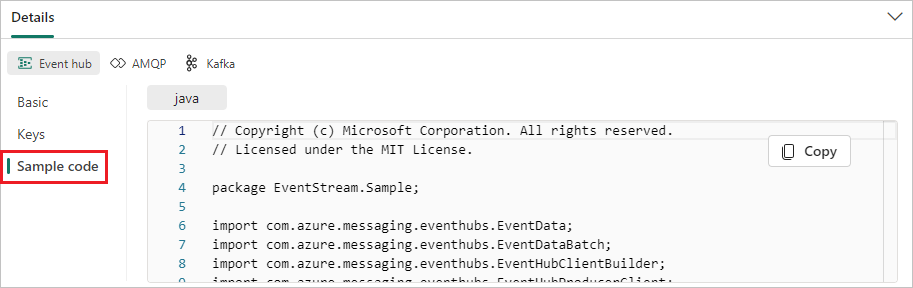
Sample code shows sample code you can refer to or copy and paste into your application, to push or pull event data to or from this eventstream.
Other than Event hub, the other two protocol format tabs you can select in the Details pane are AMQP and Kafka.
The AMQP format is compatible with the AMQP 1.0 protocol, a standard messaging protocol that supports interoperability between different platforms and languages. You can use this format to connect to eventstreams by using the AMQP protocol.
The Kafka format is compatible with the Apache Kafka protocol, a popular distributed streaming platform that supports high-throughput and low-latency data processing. You can use this format to connect to eventstreams by using the Kafka protocol.
You can choose the protocol format that suits your application needs and preferences. Select these tabs in the Details pane to get customized Keys and Sample code. Copy and paste the connection strings from the Keys section into your application. Refer to or copy and paste the provided sample code to send or receive events by using the different protocols.
Related content
To learn how to add other sources to an eventstream, see the following articles:
Prerequisites
Before you start, you must complete the following prerequisites:
- Get access to a premium workspace with Contributor or above permissions where your eventstream is located.
Note
The maximum number of sources and destinations for one eventstream is 11.
Add a custom app as a source
If you want to connect your own application with an eventstream, you can add a custom app source. Then, send data to the eventstream with your own application with the connection endpoint exposed in the custom app. Follow these steps to add a custom app source:
Select New source on the ribbon or "+" in the main editor canvas and then Custom App.
Enter a Source name for the custom app and select Add.

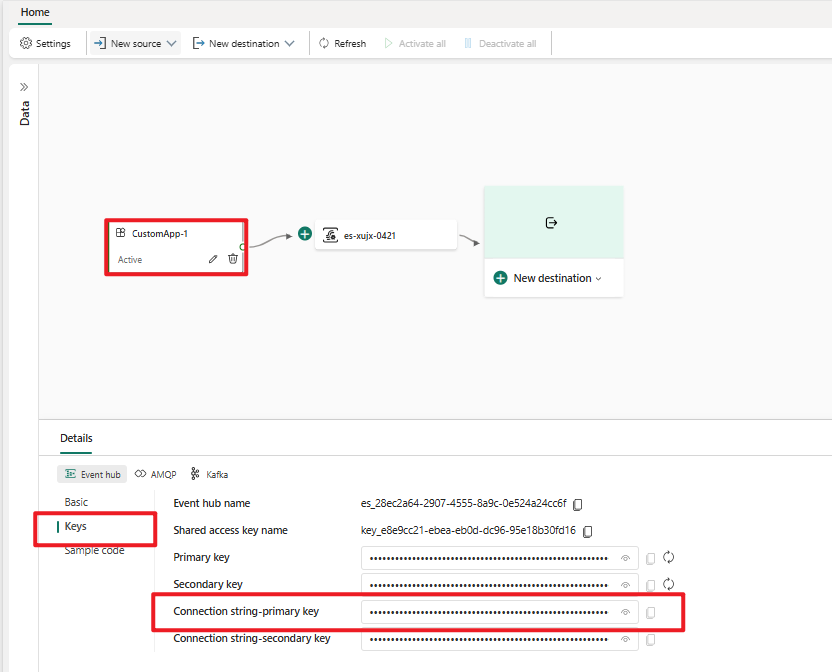
After you have successfully created the custom application source, you can switch and view the following information in the Details tab in the lower pane:

- Basic: Shows the name, description, type and status of your custom app.
- Keys: Shows the connection string for your custom app, which you can copy and paste into your application.
- Sample code: Shows sample code, which you can refer to or copy to push the event data to this eventstream or pull the event data from this eventstream.
For each tab (Basic / Keys / Sample code), you can also switch three protocol tabs: Eventhub, AMQP, and Kafka to access diverse protocol formats information:
The connection string is an event hub compatible connection string, and you can use it in your application to receive events from your eventstream. The connection string has multiple protocol formats, which you can switch and select in the Keys tab. The following example shows what the connection string looks like in Event Hubs format:
Endpoint=sb://eventstream-xxxxxxxx.servicebus.windows.net/;SharedAccessKeyName=key_xxxxxxxx;SharedAccessKey=xxxxxxxx;EntityPath=es_xxxxxxxxThe Event hub format is the default format for the connection string, and it's compatible with the Azure Event Hubs SDK. You can use this format to connect to eventstream using the Event Hubs protocol.
The other two protocol formats are AMQP and Kafka, which you can select by clicking on the corresponding tabs in the Keys tab.
The AMQP format is compatible with the AMQP 1.0 protocol, which is a standard messaging protocol that supports interoperability between different platforms and languages. You can use this format to connect to eventstream using the AMQP protocol.
The Kafka format is compatible with the Apache Kafka protocol, which is a popular distributed streaming platform that supports high-throughput and low-latency data processing. You can use this format to connect to eventstream using the Kafka protocol.
You can choose the protocol format that suits your application needs and preferences, and copy and paste the connection string into your application. You can also refer to or copy the sample code that we provide in the Sample code tab, which shows how to send or receive events using different protocols.


Related content
To learn how to add other sources to an eventstream, see the following articles:
Feedback
Coming soon: Throughout 2024 we will be phasing out GitHub Issues as the feedback mechanism for content and replacing it with a new feedback system. For more information see: https://aka.ms/ContentUserFeedback.
Submit and view feedback for