Use sites to manage your service locations
Introduction
Create sites to define the locations where you provide service to your customers. When you’re scheduling resources, you can define which resources will work on which site.
You can also create a site in Dynamics 365 Customer Engagement (on-premises) 9.1 also. More information: New features in Dynamics 365 Customer Engagement (on-premises)
Create a site
Before you begin, make sure you have the System Administrator or System Customizer security role or equivalent permissions.
Navigate to the Customer Service admin center or Customer Service Hub app, and perform the following steps:
- In the site map, select Service Scheduling in Operations. The Service Scheduling page appears.
- In the Sites section, select Manage.
The All Sites view is displayed. You can switch between various system views using the drop-down list.
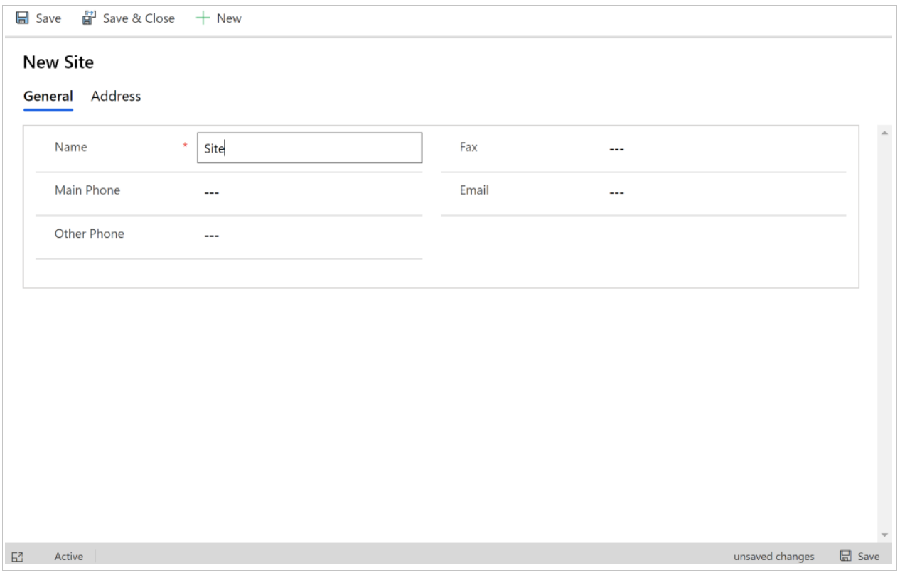
Select New.

Enter the details and select Save.